The Scanning Project
Part 1
Like many folks who made photos during the film days, I disassembled my darkroom years back. I contributed the equipment to schools that still teach the chemical craft.
Yet, I still had boxes and sleeves with transparencies and black and white and color negatives in various formats that might not ever see the light of a print again—were it not for the ability to scan and digitize the images for web publishing and printing.
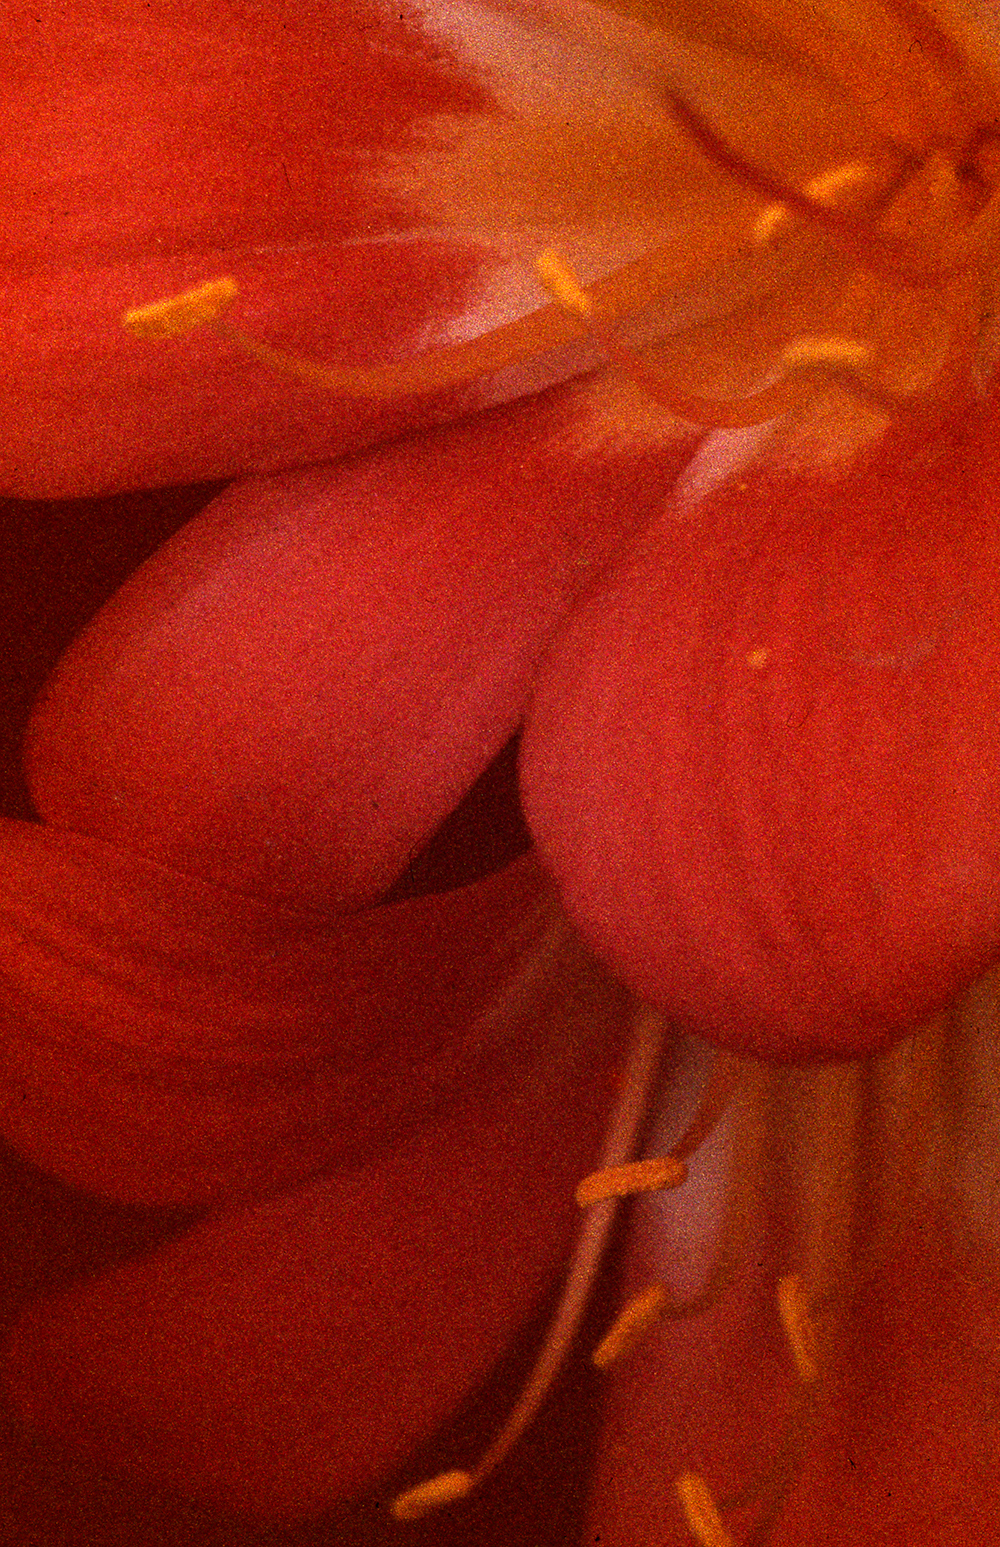
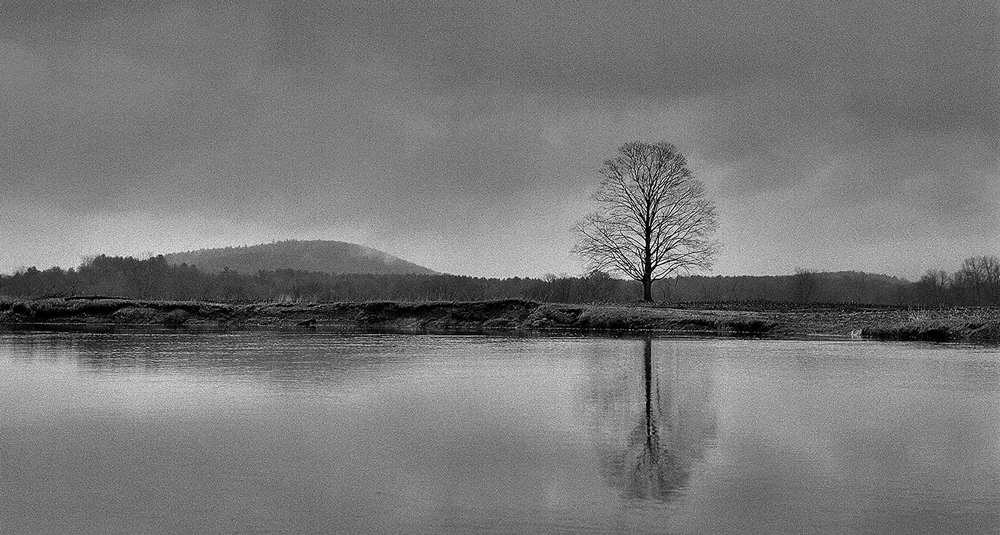
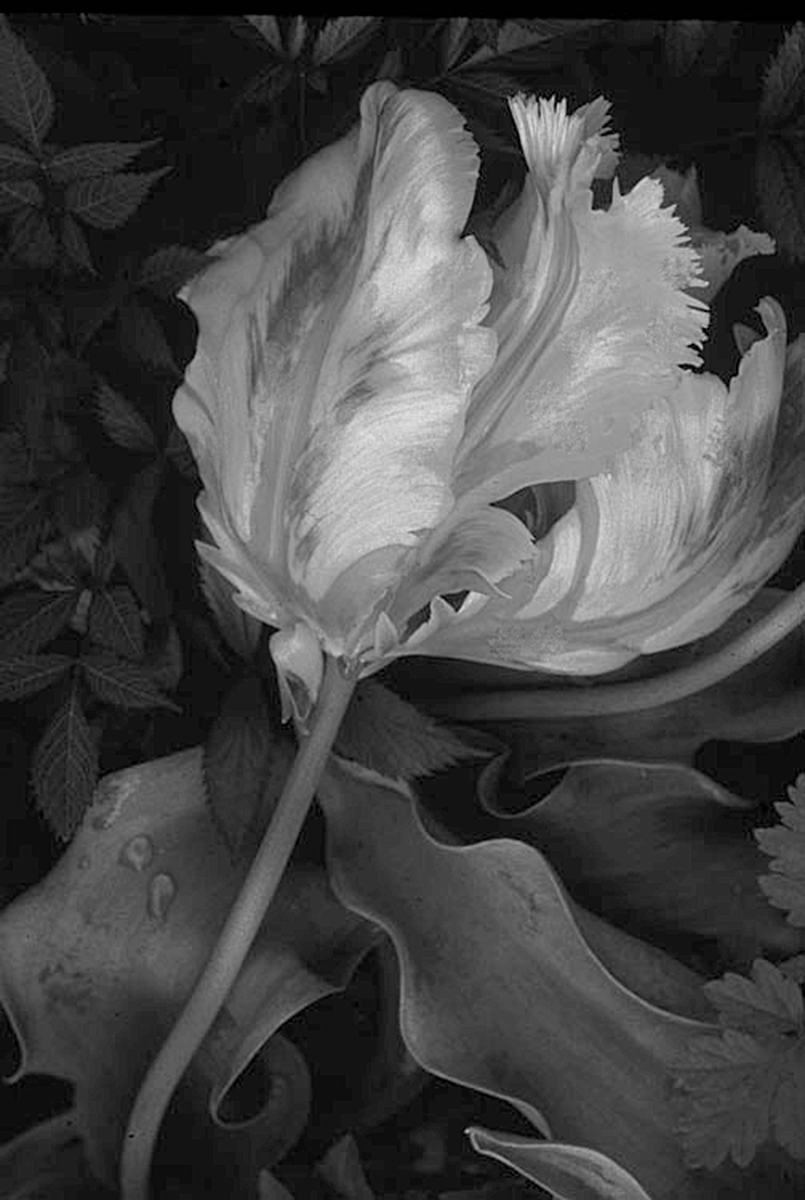
Somehow I felt I owed it to the work done, the time spent and visions captured to at least make the effort to transfer them to a medium that allowed me to both re-explore the work and manifest it in some new fashion. While my main medium during those film days was black and white negatives, I also have lots of slides in both 35mm and medium format, and a scattering of color negatives and some chromogenic film (film that could be processed in color chemistry yet that lacked color dye layers so it was essentially a black-and-white medium.)
As I considered this task it became clear to me that this was not something I could do in a week. I have been photographing for almost 40 years and amassed a large collection of images. I had thankfully done culling throughout those years, yet I was still confronted by thousands of images in different formats and film types. The ones I kept were for sentimental reasons (family and such) and those I thought were images that defined my vision and photographic quests. They are still around simply because I just couldn’t make up my mind whether to keep or chuck them on my edit go-rounds.
That’s when the importance of editing became apparent to me, and while this is personal to each and every photographer it is an essential part of the process. I was never shy about using film and shooting a “brick” (20 rolls) on various stock and assignment jaunts. Some went to stock agencies and others were published in magazines or used to illustrate my books and articles.
Luckily, in my past position as editor of various photo magazines, I had access to and tested numerous types of scanners and software along the way. During that period I would spend an intense week or more with each type of scanner and software and learn their capabilities and foibles to write my reviews. But I never quite had the time to take on the “big project” of addressing all my past images, although the lessons learned during that time served as a good basis for the task at hand.
The Project’s Approach
My approach to this project is not overly technical, yet some technical discussion is unavoidable. I have always regarded technical matters as more “benefits” than become tangled in the technical “thing”; in a sense mine is a practical approach and in that way hopefully accessible and applicable to anyone who wants to take on a similar task.
This project is not aimed at archivists at large institutions who have access to very high end scanning systems, but is more suited to those with medium-size film collections who want to digitize their work within a budget and with equipment that does not require an advanced degree, or major investment. It is also aimed at those who remain dedicated to film capture but want to output on inkjet printers or for the web. The procedures discussed should also prove useful for small museums, historical societies and collectors who have negatives, prints and even glass plates and tintypes who want to preserve and perhaps enhance those images. That’s why I have included a section on print and larger format scanning procedures as well.
It is unfortunate that scanning older photographic material is necessary at all. But those still working with film and chemicals understand as much as those who want to digitize work that older photographic materials are transient and subject to decay, be it density loss, color shifting or the deterioration of the image due to poor processing and/or storage.
Indeed, the film from various manufacturers itself is often the root of the problem. I once interview Arnold Newman who told me that all the older Ektachrome film he worked with in the 50’s through the 70’s was “gone.” While some emulsions are irredeemable, scanning stops any progressive loss at the moment you perform the scan.
Project Outline
The project begins with a discussion on editing, and while this is a personal affair, it’s clearly the first step in the process. I do encourage creating groups or bodies of work to start, as this will help you get started rather than risk becoming overwhelmed by the task. I’ll also discuss what may make an image a “lost cause.”
I’ll then briefly cover the mechanics of a scanner, including certain criteria to use when obtaining the best scanner for your type and scope of work. There are various types of scanners available, and while budget is important, using a poor or low-quality, limited option scanner and software is simply a waste of time. There are plenty of those floating around.
I’ll then outline what you might call a “philosophy” of scanning, an approach that I find yields the best results, and then get into the main body of this project: scanner workflow. This includes step-by-step procedures for negatives, transparencies, and hard copy. I’ll explore matters such as calibration, resolution, profiling, dust removal, sharpening, contrast, color balance and more.
The only thing I can teach about scanning is what I have learned through experience. Like me, you will find that a certain degree of trial and error is necessary, including modifying (or hopefully exceeding) your expectations and procedures, depending on the scanner and software you own.
My hope is that this project will encourage you to respect your work by scanning your images. As you journey back through your archives you will see how you have grown in your vision, and most likely discover some “lost” images that still hold meaning for you.
This posting by George Schaub is part of a proposal for a series that goes into detail on scanning options and procedures. You can see the scope of the discussion in the introduction here. Please give us your feedback on whether this would be of interest to you.
Geaoge Schuab
September 2019
Guilford, CT
George Schaub served as Executive Editor of Popular Photography, Editorial Director of the photo group at PTN Publishing, and Editorial Director of Shutterbug Magazine. He served as an Adjunct Professor in the Visual Arts Department at the New School in New York City for 20 years, and has taught printing and imaging workshops at numerous workshops including the Maine Photographic Workshop, the Santa Fe Photo Workshops, and the Palm Beach Photo Centre, and has led travel workshops in the US and abroad. He currently serves as vice-chairman of the Technical Image Press Association.