The Scanning Project – Part 2
The Edit
While you might think the first thing to do is run out and buy a good scanner. Hold off: the most time consuming and crucial part of the process is figuring out what you want to scan, and then pick your scanner. My suggestion is that you first take the time to edit your work.
Once you do you can then decide on which scanner, and software, you might want to use. Have a large file of 4×5’s or medium format images? Then a flatbed would probably be your best choice. Have only 35mm work? Then a dedicated 35mm scanner would be a good choice, although some higher-end flatbeds will do the job as well. (I’ll go over different types of scanners and their benefits in a future section.)
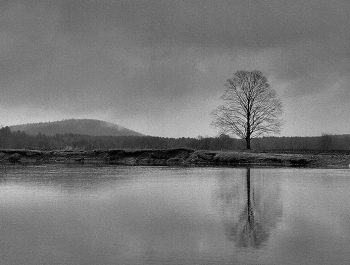
When considering past work take time to “digest” whether that work still holds meaning for you. This helps in the editing process, especially if you have a large volume of work. Perhaps your tastes have changed or you may have become more discerning in terms of image quality. In short, consider which images stand the test of time. In some cases, for those who shot film way back, the physical condition of certain types of film will play a big role in the process.
Let’s look at some considerations when selecting film images to scan.
Color Slide Film
Unfortunately, more than a few types and brands of color slide films have poor keeping qualities. A good read is Henry Wilhelm’s tome, “The Permanence and Care of Color Photographs” in which he rightfully chastises certain manufacturers for the “half life” of products that promised to be “the memory keepers.”
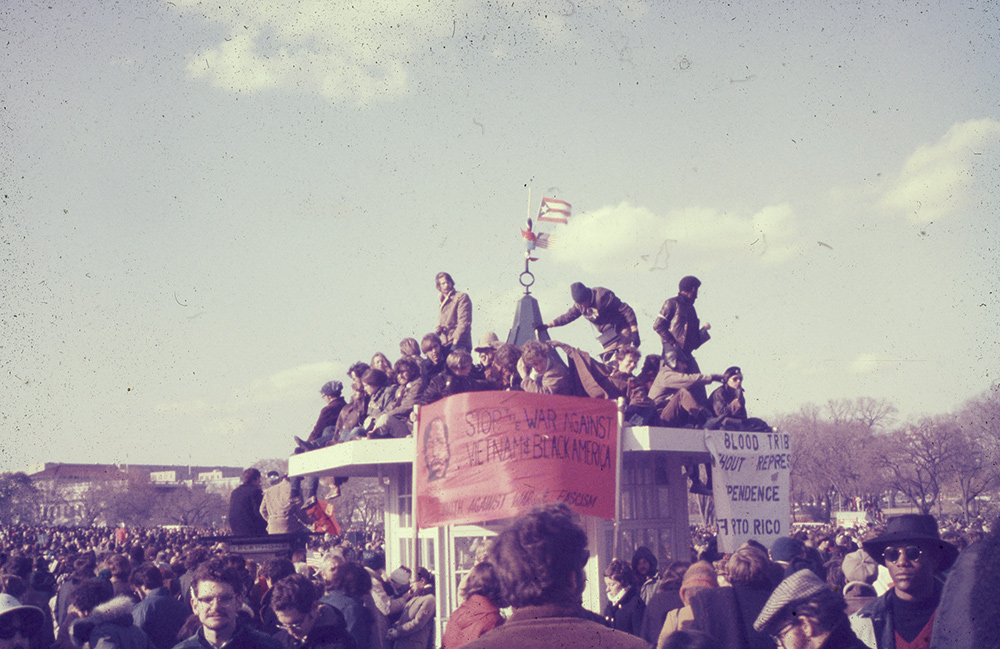
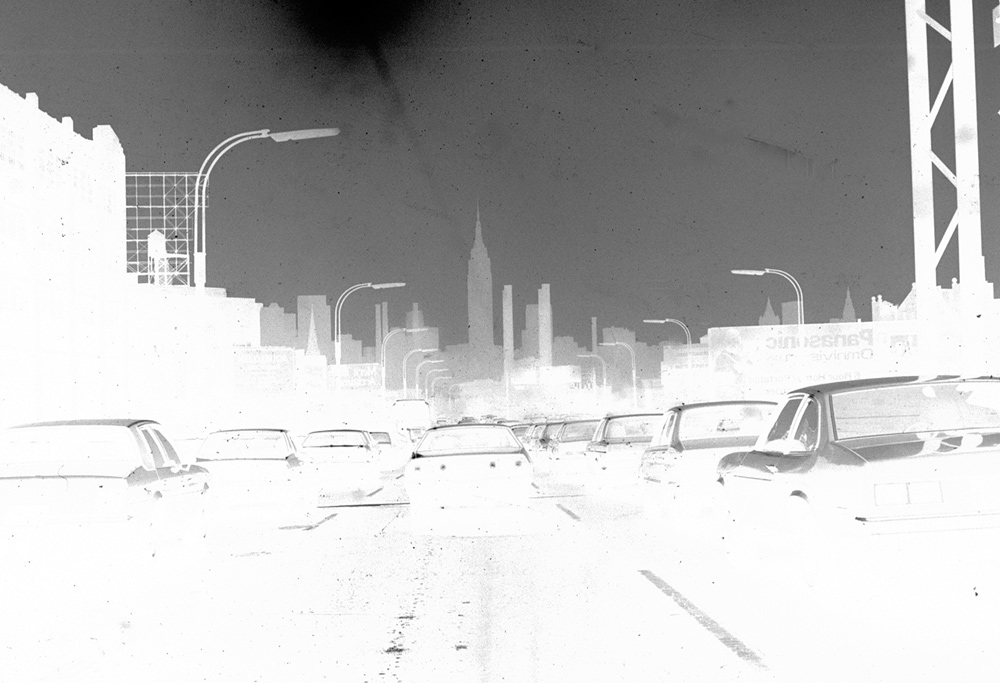
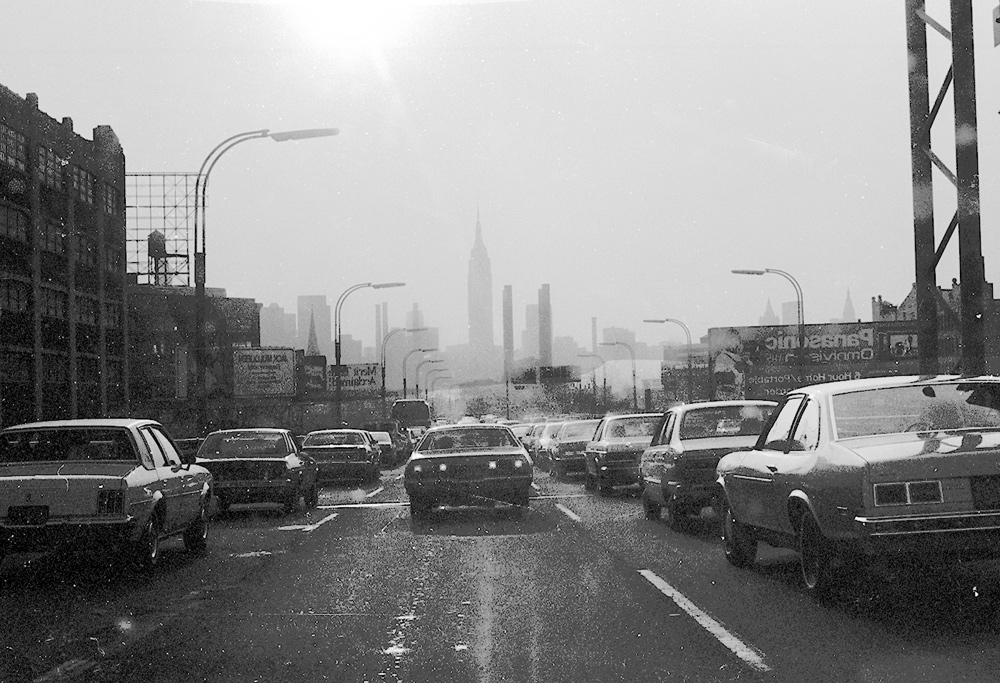
Even with optimal storage conditions, many types of transparency film will, by their very nature, begin to deteriorate way before one would anticipate, or hope. If you have not looked at old slides of a certain breed for many years you might be shocked at what you discover—color shifts (mainly towards magenta, as cyan dyes were notoriously unstable), surface deterioration (due to poor slide storage materials or dust and scratches that inevitably mar the surface), and density loss (blacks becoming mottled, whites and highlights blanking out). This is nothing new. Photographers found this out many years ago when trying to salvage their old chromes.
Some of this loss, such as mild color shifts, can be ameliorated through image processing, but when highlights are gone there’s no bringing them back. Overall, this is a common occurrence with most slide films of a certain vintage, although Kodachrome, due to its unique construction and processing, does best in this regard. Other Kodak produced films turned out to be real dogs, including higher speed Ektachromes and especially older Ektachromes prior to E6 processing. Brands like Anscochrome, Agfachrome and Scotch can be abysmal in their keeping qualities.
The proper storage for film materials is not in the realm of this discussion, and again Wilhelm is a prime source on this matter, but common sense methods include storage in low humidity and low heat conditions; using so-called archival storage materials, and limiting exposure to light. One interesting sidebar is that while Kodachrome generally stands the test of time much better than other materials if you regularly projected Kodachromes you substantially cut down on their life expectancy. That’s why slide trays of experienced presenters contained not originals, but dupes.
In any case, one of the first considerations in editing might be to choose and salvage as best you can those slides that are starting to go over the edge. They will become apparent to you as you edit your materials. Keep in mind that some may be irredeemable, but if the image is important to you, such as childhood photos of your now-grown children, you can always ignore the color shifts by converting the image to black and white. In many cases, you can recover the “natural” color via post-processing, or, with certain scan software, during scanning itself.
Finally, batch your edits by film type as best you can, as you might be working with scanning software that factors in film “profiles”: as we’ll see, doing so allows you to preset a ballpark read on the proper settings for each type of material.
Black and White Negatives
Aside from the deterioration of the film base onto which the emulsion is laid (cracking, splitting, severe curvature due to roll-up storage), two main causes of black and white negative problems are poor processing (failure to clear hypo properly) and destructive storage materials or containers. Both can cause staining and deterioration. I trust that if you did your own processing the staining from poor hypo clearing will be minimal, but if you outsourced your processing this could indeed be a problem.

As one of my mentors, Pop Photo editor Bob Schwalberg used to say, “density defends density,” which means that old negatives which have been processed and exposed properly and have a rich range of tones will always do better in the long run. Well, there isn’t much you can do about that at this point, but it is self-evident that rich negatives will always yield a better scan than “thin” negatives since the thin get thinner as time goes on.
There is one caveat: if the material was grossly overexposed and/or over-developed (thus making for a “thick” negative), or conversely, with very weak shadows and blown-out highlights, you might want to pass. Scanners often have trouble penetrating the density in blown highlights or lifting any detail from weak shadows. There are ways around this with some marginal negatives (multi-scanning is one), which will be covered in the step by steps, but very opaque or thin negatives will always be bothersome.
A Note on Your Vintage Prints
If you have made satisfying prints from some of your negatives in the past you might think that scanning the “positive” (a print in your archives) will deliver a better result. The problem is that darkroom printing always and necessarily compresses the full tonal values available in the negative. If you have only had prints and the negative is lost then this is the obvious way to go. However, in my experience, a decent negative scan will usually allow you much more creative leeway (and yield a better result) than an original print from that negative.
Depending on the film used or the way it was processed you may run into grain issues. This is something you have to live with, although there are certainly ways to reduce unwanted grain when scanning and later. However, keep in mind that all grain reduction methods (called “noise” these days) entail a certain amount of image softening. (Note: the new Texture adjustment layer in Photoshop can help by cutting down on harsh areas.)
Check your negatives with an 8X loupe to see if that grain will be ruinous, Keep in mind that scanning etches in grain, unlike anything you might have seen in your silver printing days. Scanning, like a magnifying mirror in your bathroom, can be cruel.
Another issue to consider when editing is dirt and scratches embedded or etched into the emulsion surface. Unfortunately, some dirt reduction procedures and software programs do not work on black and white film. (Advanced software may help with this issue.) Retouching can be tedious, but it can be done (such as with the Healing Brush).
In some cases you might be able to remove the objectionable material by rewashing with PhotoFlo or similar liquid, or using a kind of diffusion mask on the frame when scanning, a technique we’ll cover later, although the latter may well soften the image.
Like all films, each type of black and white film has a “characteristic curve”—sometimes called gamma or contrast– which describes a certain contrast, density and relationship between tonal values. For example, Panatomic-X and Ilford HP5 have a quite different character. When editing, it is wise to batch all similar film types together. Even though there may be variations in different stocks (dates of manufacture) this allows you to set up various responses to maximize the film’s character and certainly helps in the time spent in setting up each frame, another topic to be covered later.
There are other types of black and white film you may have in your collection, including black and white positives, chromogenic, IR film, high-speed surveillance film, Polaroid “Instant” B&W, etc. None of these pose any particular challenge, so do not disregard them in your selection process. However, they don’t usually respond in the way a “regular” panchromatic film does to scanning and require some special setups, so batch these in your edits.
Next: Part III – Color Negatives, Prints and Some Final Thoughts on Editing
George Schaub
November 2019
Guilford, CT
George Schaub served as Executive Editor of Popular Photography, Editorial Director of the photo group at PTN Publishing, and Editorial Director of Shutterbug Magazine. He served as an Adjunct Professor in the Visual Arts Department at the New School in New York City for 20 years, and has taught printing and imaging workshops at numerous workshops including the Maine Photographic Workshop, the Santa Fe Photo Workshops, and the Palm Beach Photo Centre, and has led travel workshops in the US and abroad. He currently serves as vice-chairman of the Technical Image Press Association.