Tangent Wave 2 – Does It Make Editing Faster?
Over the years, we have come to depend on the mouse to control our editing for applications like Capture One and Lightroom. There are many steps involved in the editing of RAW images and lots of choices. I have looked at numerous options to make this process easier. There are devices like Loupedeck, Loupedeck CT as well as Blackmagic DiVinci Resolve Micro Panel to help the editor work smarter and faster. Most of these panels are designed for the video industry but they have also found a place for the still photographer.
I first saw the Tangent system when visiting PhaseOne a few years ago. At that time, James Johnson was working on the Capture One team working with Tangent to adapt it to Capture One. Being a major Capture One user—and pretty damn fast with it using a mouse—I was intrigued to see if a control panel like the Tangent Wave could make a difference.
About two years ago, Tangent released a new version of the Tangent Wave. It was a bit smaller than the first version, and had new connection abilities and some capabilities. Tangent was kind enough to send me a unit for evaluation.
The Tangent Wave Video – See It In Action
Set Up
There is only one USB cable needed to connect the Wave to your computer. After the Wave is connected, you go to preferences in Capture One and Enable Tangent Device Support.
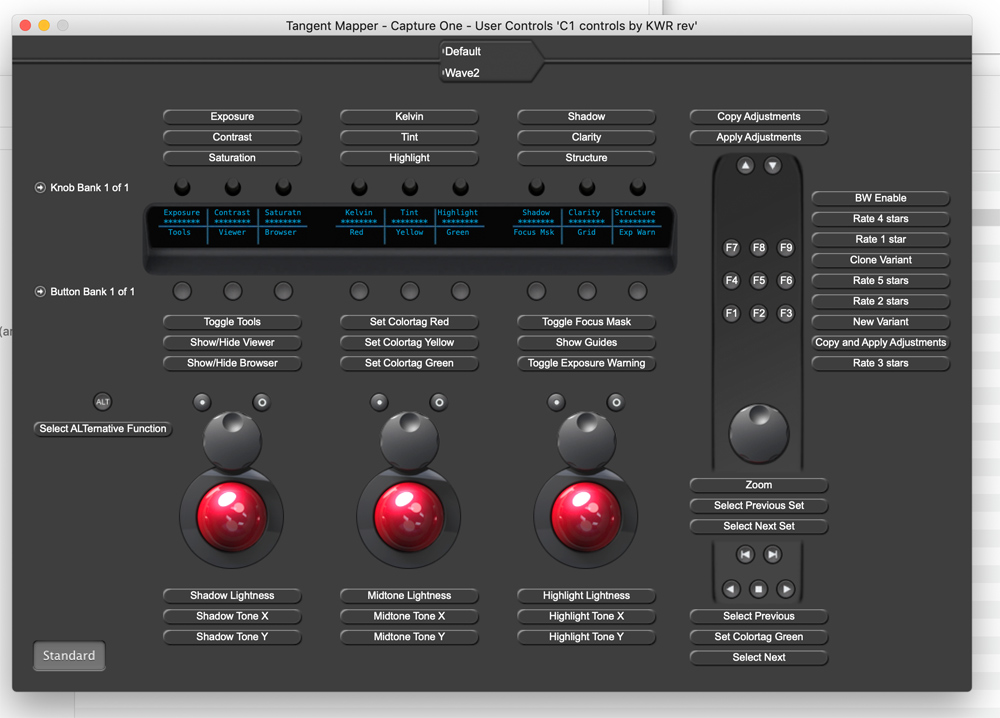
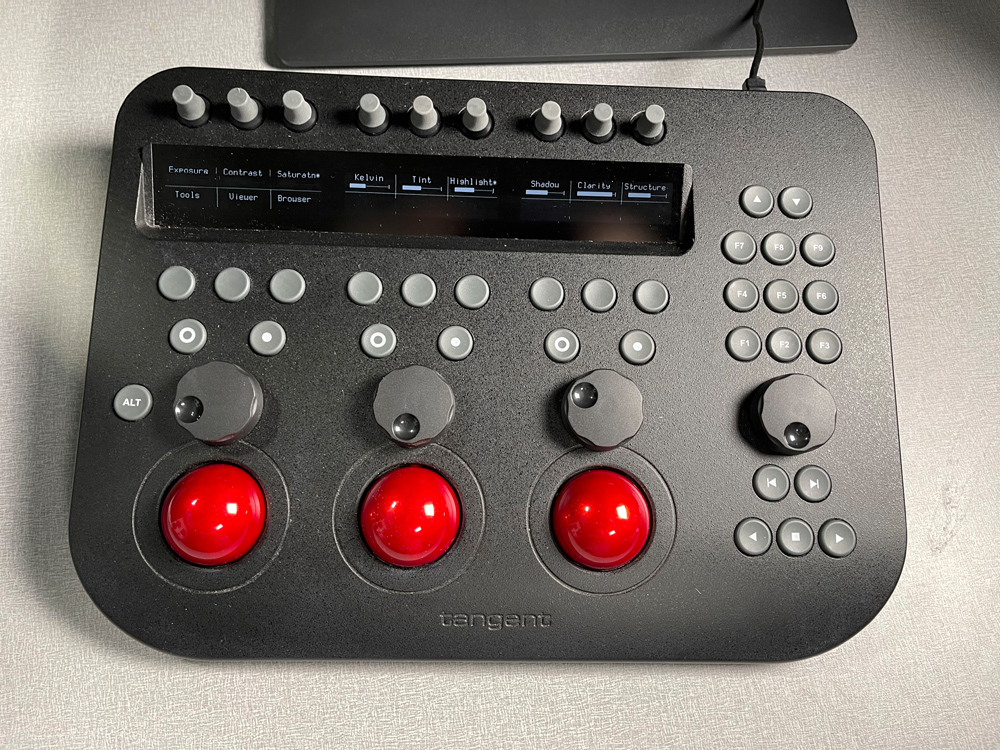
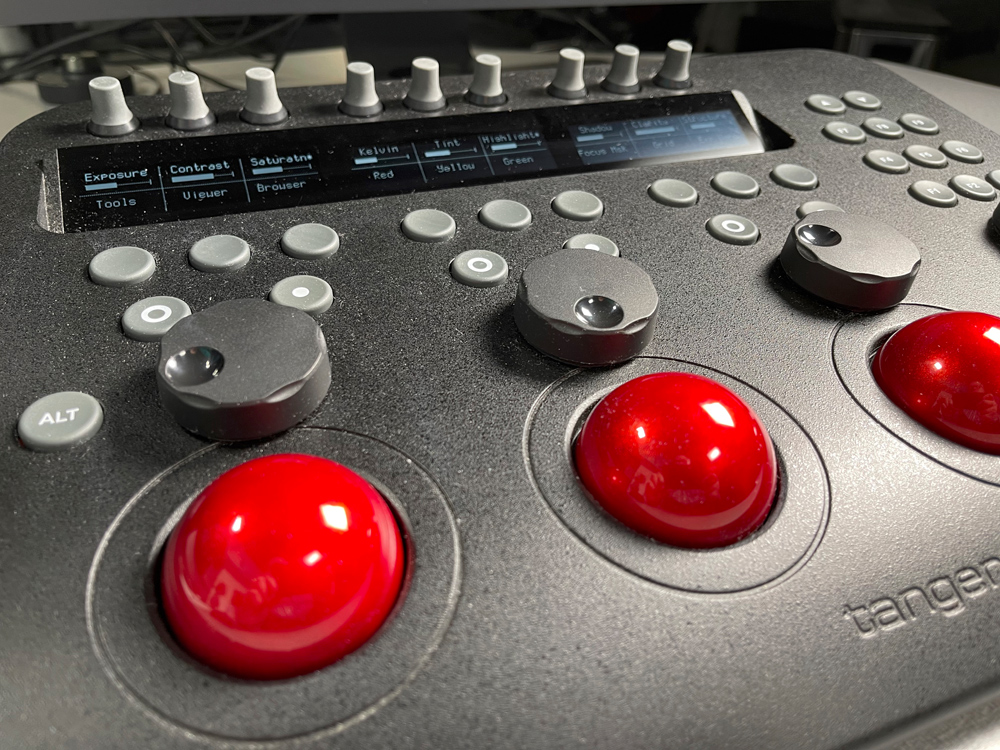
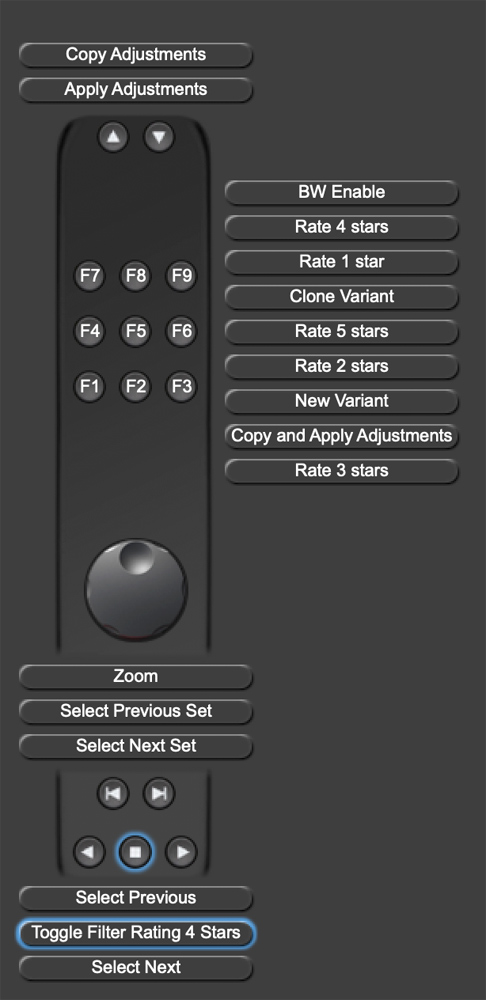
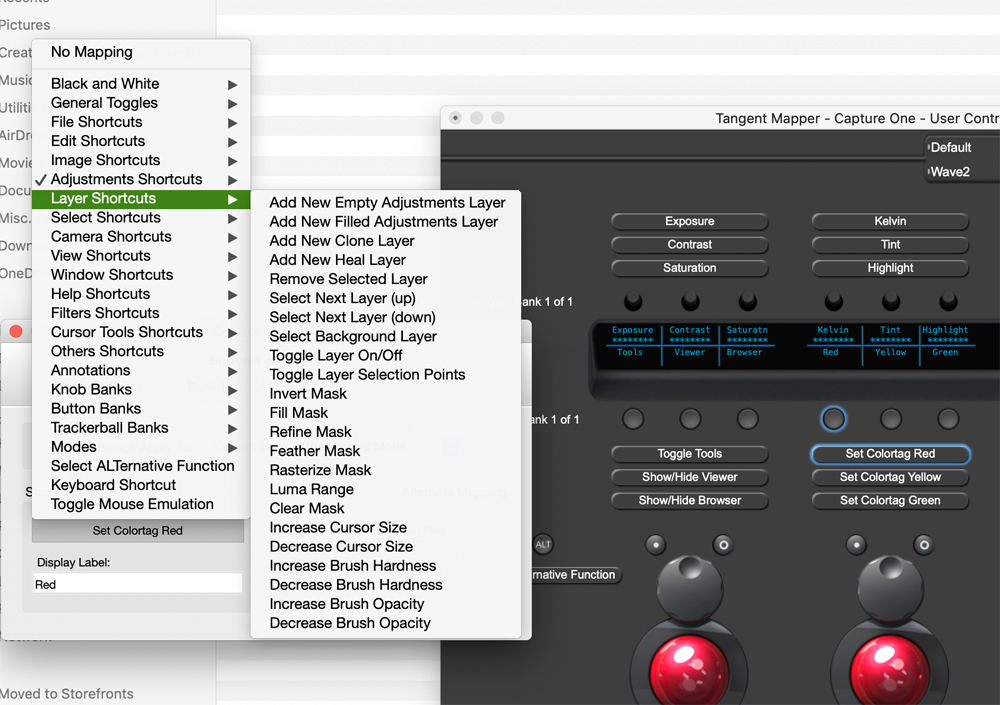
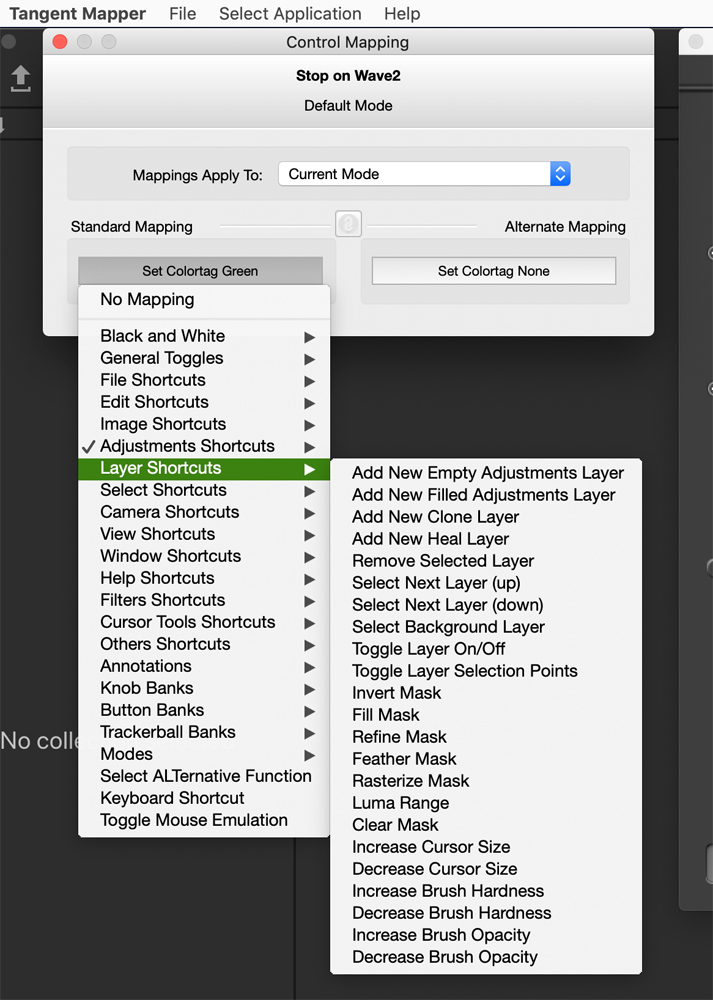
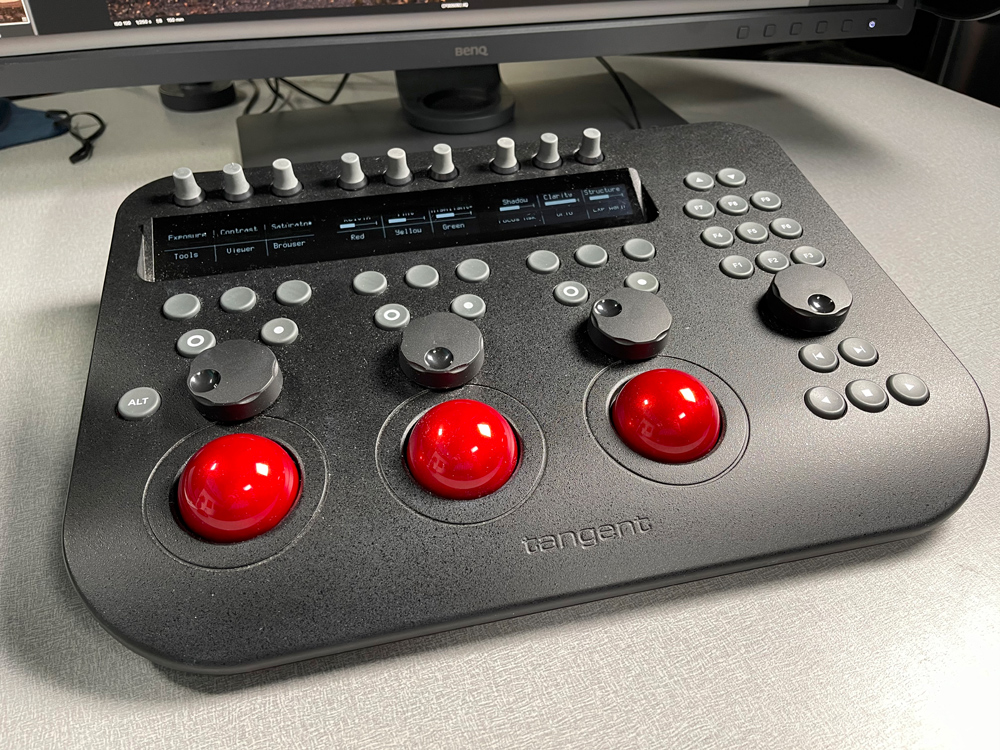
The Wave comes preconfigured for Capture One. The knobs and buttons are preconfigured to a typical workflow starting with the knobs at the top. All of the buttons can be remapped if you want to change them. I remapped the F keys for some of the tools I need such as ratings, focus mask, before and after.
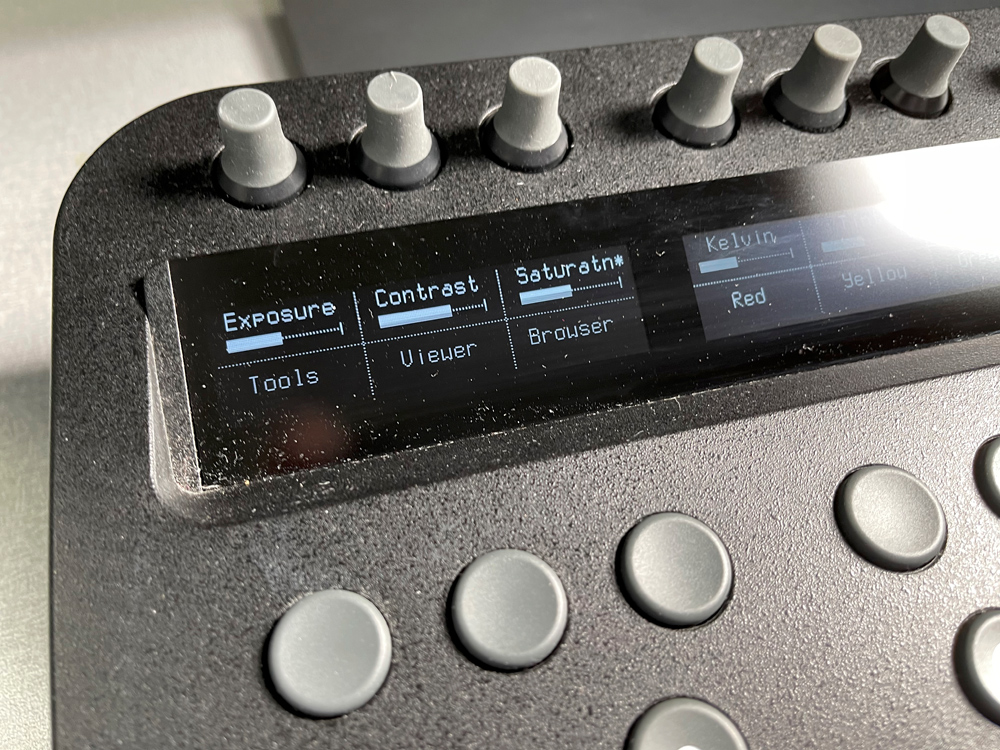
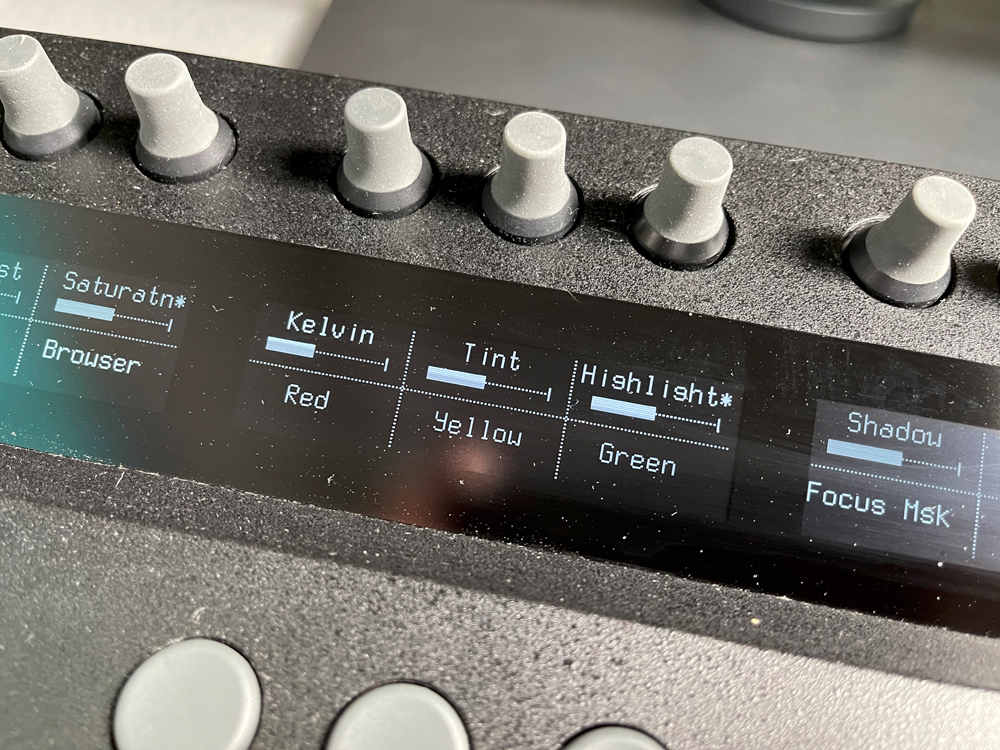
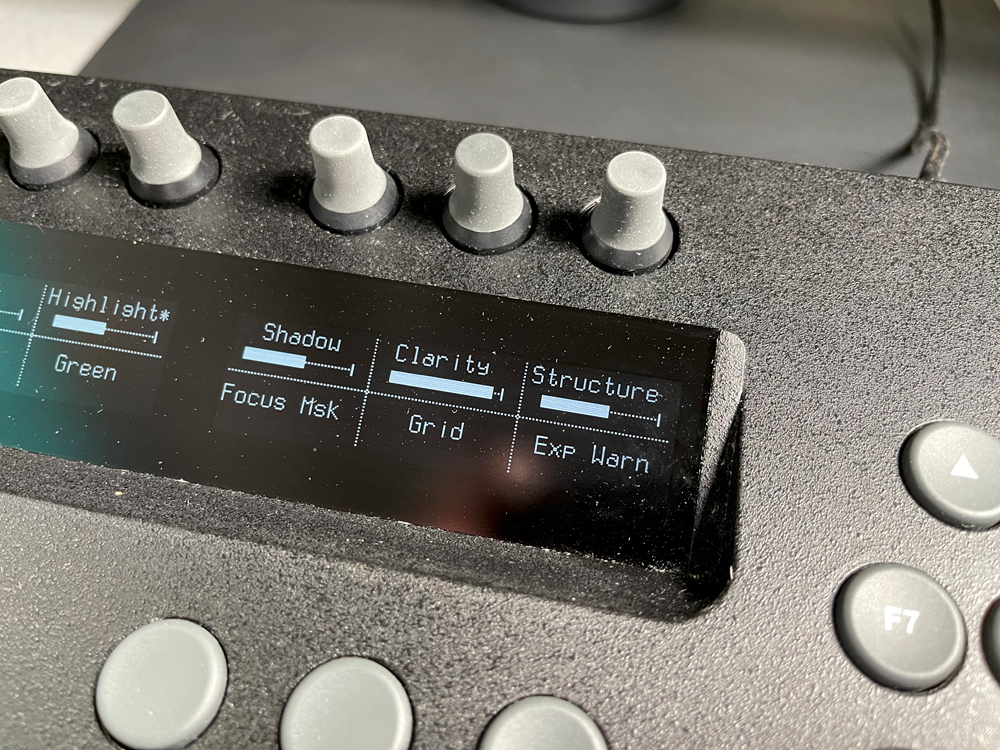
As I mentioned above, the top row is knobs. These work the assigned sliders. The second row is buttons, and these are assigned tool functions like showing and hiding tools, and the browser. I also use color ratings, exposure warning, guides and so forth.
There is a digital window that gives a description that corresponds to knobs and buttons. You can see the results in the Capture One window when using the knobs, as you can see the sliders moving in the direction you are turning the knobs.
In Use
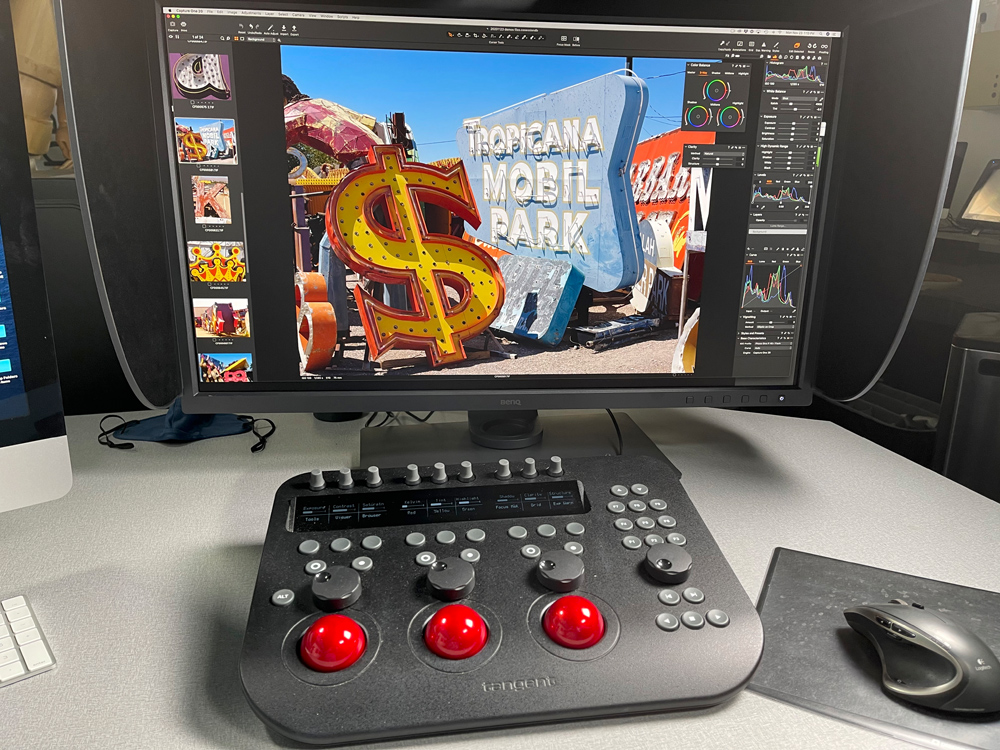
I set my Wave up in front of my computer and moved the normal keyboard off to the side. I open a session and use the show/hide browser to go to the browser, and now all the images in the session show in the window. Using the buttons on the right side of the Wave, I can browse forward or backwards and see my images. Using the F1 – 5 buttons, I can rate the images. When editing, I can speed though selecting what images I want to work on. Normally, I use rating 1 for bracketing exposures, and rating 2 for images that are for panos. Rating 2 are for iamges that are good and need to be adjusted. Rating 4 are I’m ages that have been worked on and are really good or images that are very good. Rating 5 is the best you can get, and I don’t get that many. Once in a while, I have an image that is a 5 star image and portfolio worthy.
The Wave makes it very easy with my right hand to advance and rate my images. After I have rated the images, I can then sort them by rating and begin the edits.
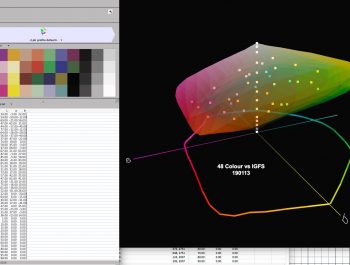
It should be noted that while this article isn’t about Capture One, that in the latest release of Capture One there is a new feature that is called Speed Edit. It allows you to speed through edits using yeboard commands and is even faster than using a mouse or a control panel. I talked about that in my article on Capture One 21.
The Edits
Now that I have sorted my images, I start my adjustments. I can use the arrow keys to move from one page to another. I start my adjustments with exposure by turning the top knob above the Exposure label. As I turn the knob, I can see the adjustment as well as seeing the slider going in either direction. Next, I adjust contrast and work my way to the right, making adjustments with each knob. It’s pretty simple and pretty fast. I am not convinced, though, that it is any faster than they way I do it now using a mouse.
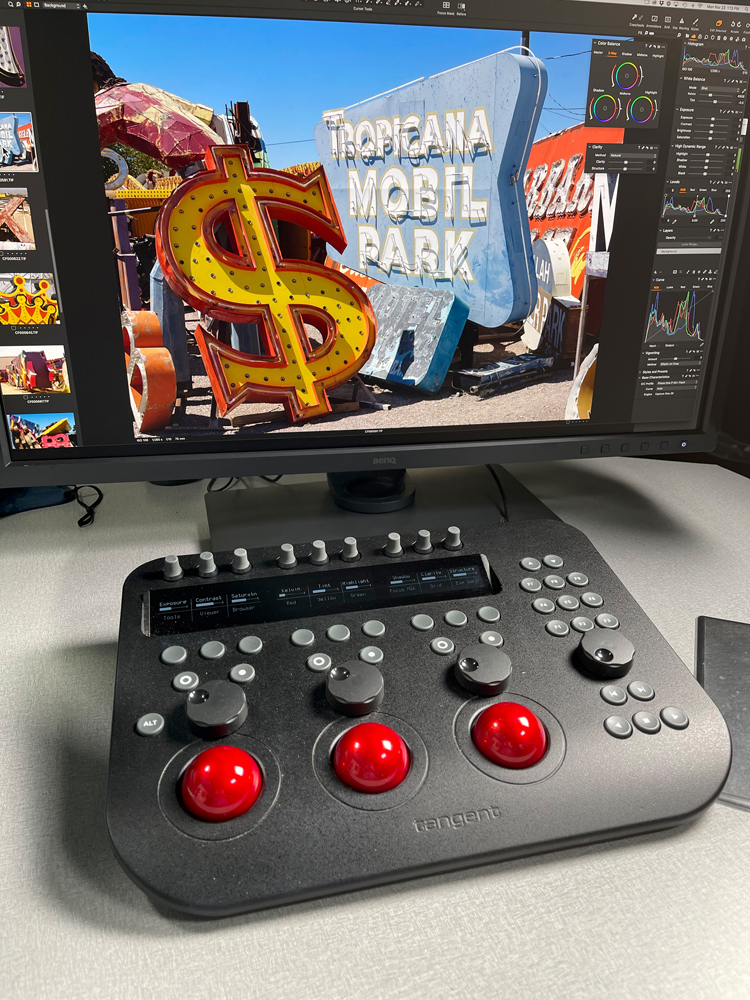
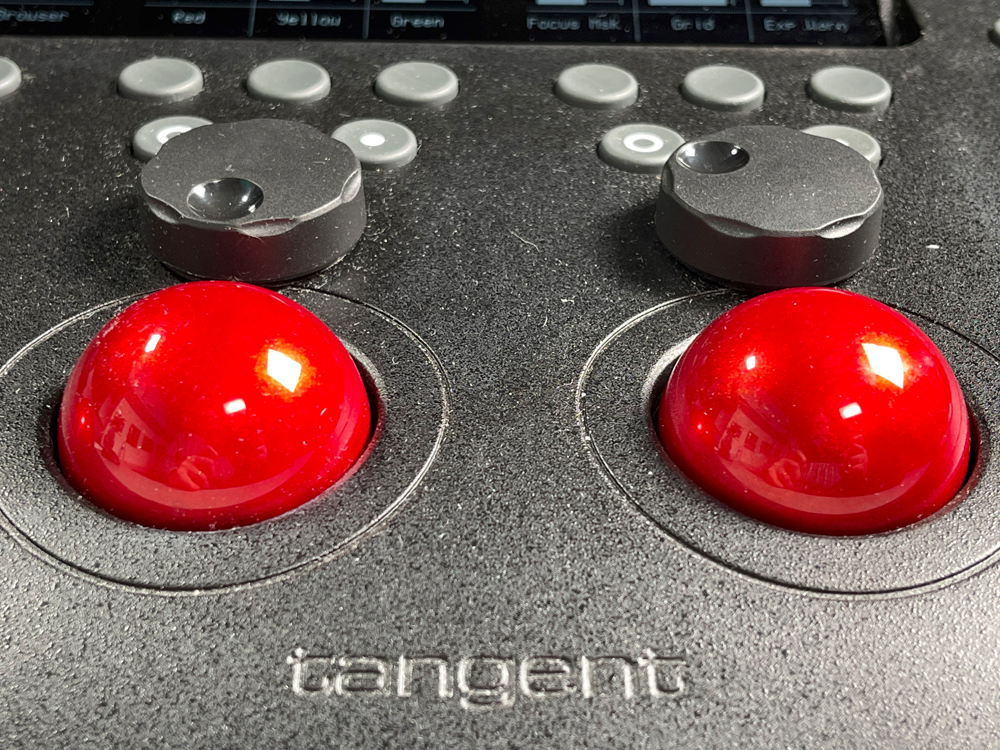
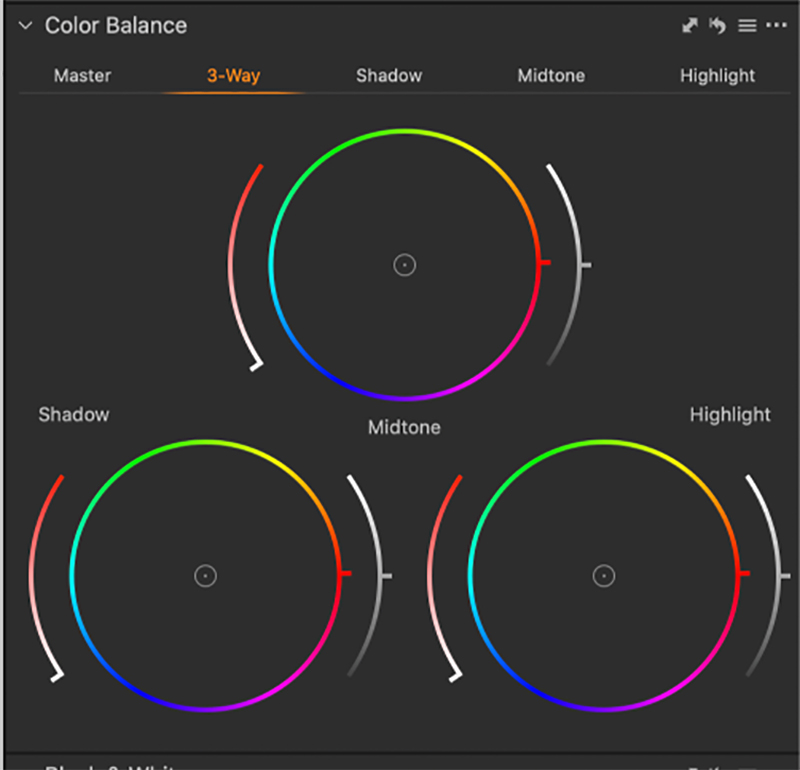
The area where this panel really shines is in the color grading of an image. In the color Tab of Capture One there is a Color Balance tool tab. Using this tool, you can adjust the shadow, mid-tones, and highlights of an image. The three balls on the Wave 2, along with the larger adjustment knob, give you the same control. It’s much easier on the Wave 2 once you get used to it to make adjustments, rather than using a mouse. For me, however, I hardly ever use these tools. As a tool, they are aimed more at portrait and fashion photographers who are trying to set a particular color tonality for their images. As a landscape photographer, I avoid changing the mood using this method except in rare cases.
Final Take
This is a cool product, but expensive at $902.00 USD. It is easy to use and set up and performs as you would expect it to. The build quality is good. You must be careful, though as the balls are not locked in and can easily fall out and roll away. Once, when I dropped the ball during a move of the panel, my cats thought it was a gift from heaven.
The Wave 2 is easy to customize to your specific needs. I really tried to give this product a run for its money. For the most part, it worked as advertised and the flow and left to right know adjustments fell into my workflow pretty well. However, I was constantly reaching for the mouse and for the kind of editing I do, I think I can edit with the mouse faster and better. I do a lot of layer masks, and when doing that I need the mouse or a tablet (which I do use and like).
I can see filmmakers liking this product, and this was what this panel was designed for. But, for still photographers I will most likely be staying with my mouse. Maybe I have become too used to the mouse, but I was consistently faster using it than I was when using the Wave 2. As a photographer, this may be a product you might find works for you. For me, with the customized workflow I have set up I can speed through edits with the mouse.
It’s a tough call. I like the product and it works as advertised, but it doesn’t fit my needs. That doesn’t mean it won’t fit yours. If I was also doing a lot of film editing, I may find it worth the price. For now, I am sticking with a mouse and a tablet.
Kevin Raber
December 2020
Indianapolis, IN
Photography is my passion and has been for 50 plus years. My career in photography has allowed me to travel the world, meet some of the most interesting people on the planet and see things I could never have dreamed of. My goal is to share the passion of picture taking through photographs and teaching with as many people as I can, hoping it brings them as much joy and happiness as it has me. I do this through photoPXL.com, this site, as well as Rockhopper Workshops, and other projects, as well as teaching as Artist In Residence at the Indianapolis Art Center.