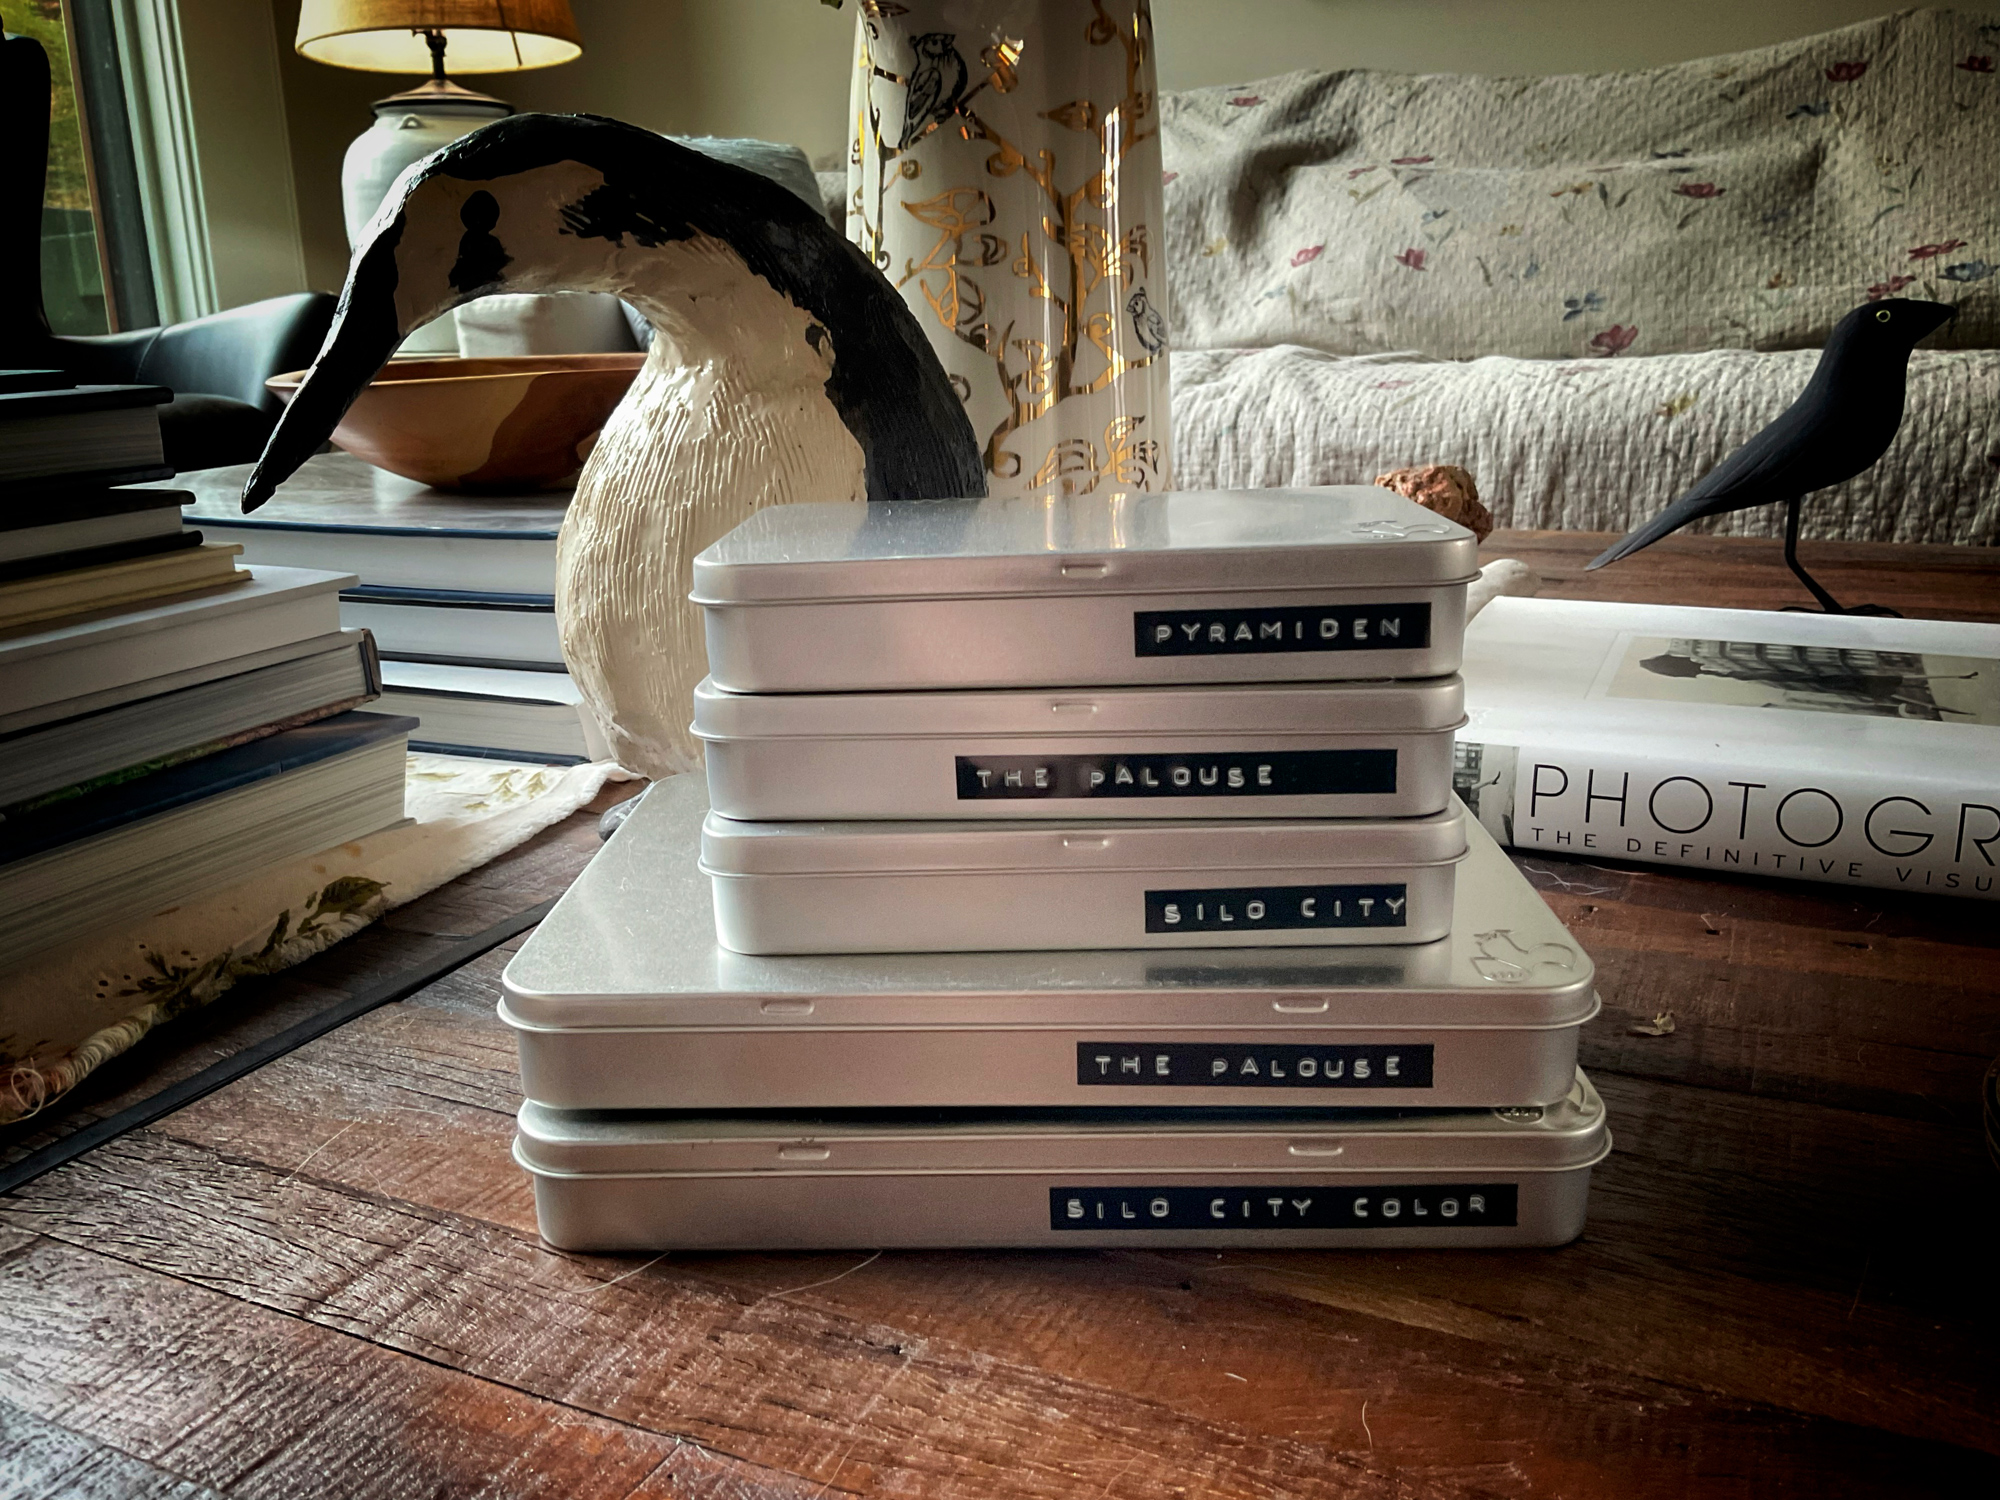
Fine Art Photo Tins – For Photography Projects
Part of the PXLprint it series
As any regular reader of PXL would know, I am a huge proponent of printing your work. To me — and I have said this at least a hundred times — “you don’t have a photograph until you can hold it in your hands.” With most of the new printers out there, as well as easy-to-use software, printing no longer has to intimidate you.
It is easy to make good prints. It is fast and prints can be made wirelessly in many cases over your network, from your computer or mobile devices. In most cases, it is as simple as just picking the paper and then laying your image out in a “what you see is what you get” format and pushing the print button.
A lot of my photography is done while traveling or as part of an assignment. Let’s call these projects. Usually, these projects consist of a number of good images as well as a few wall-worthy images. I consider these as photo projects.
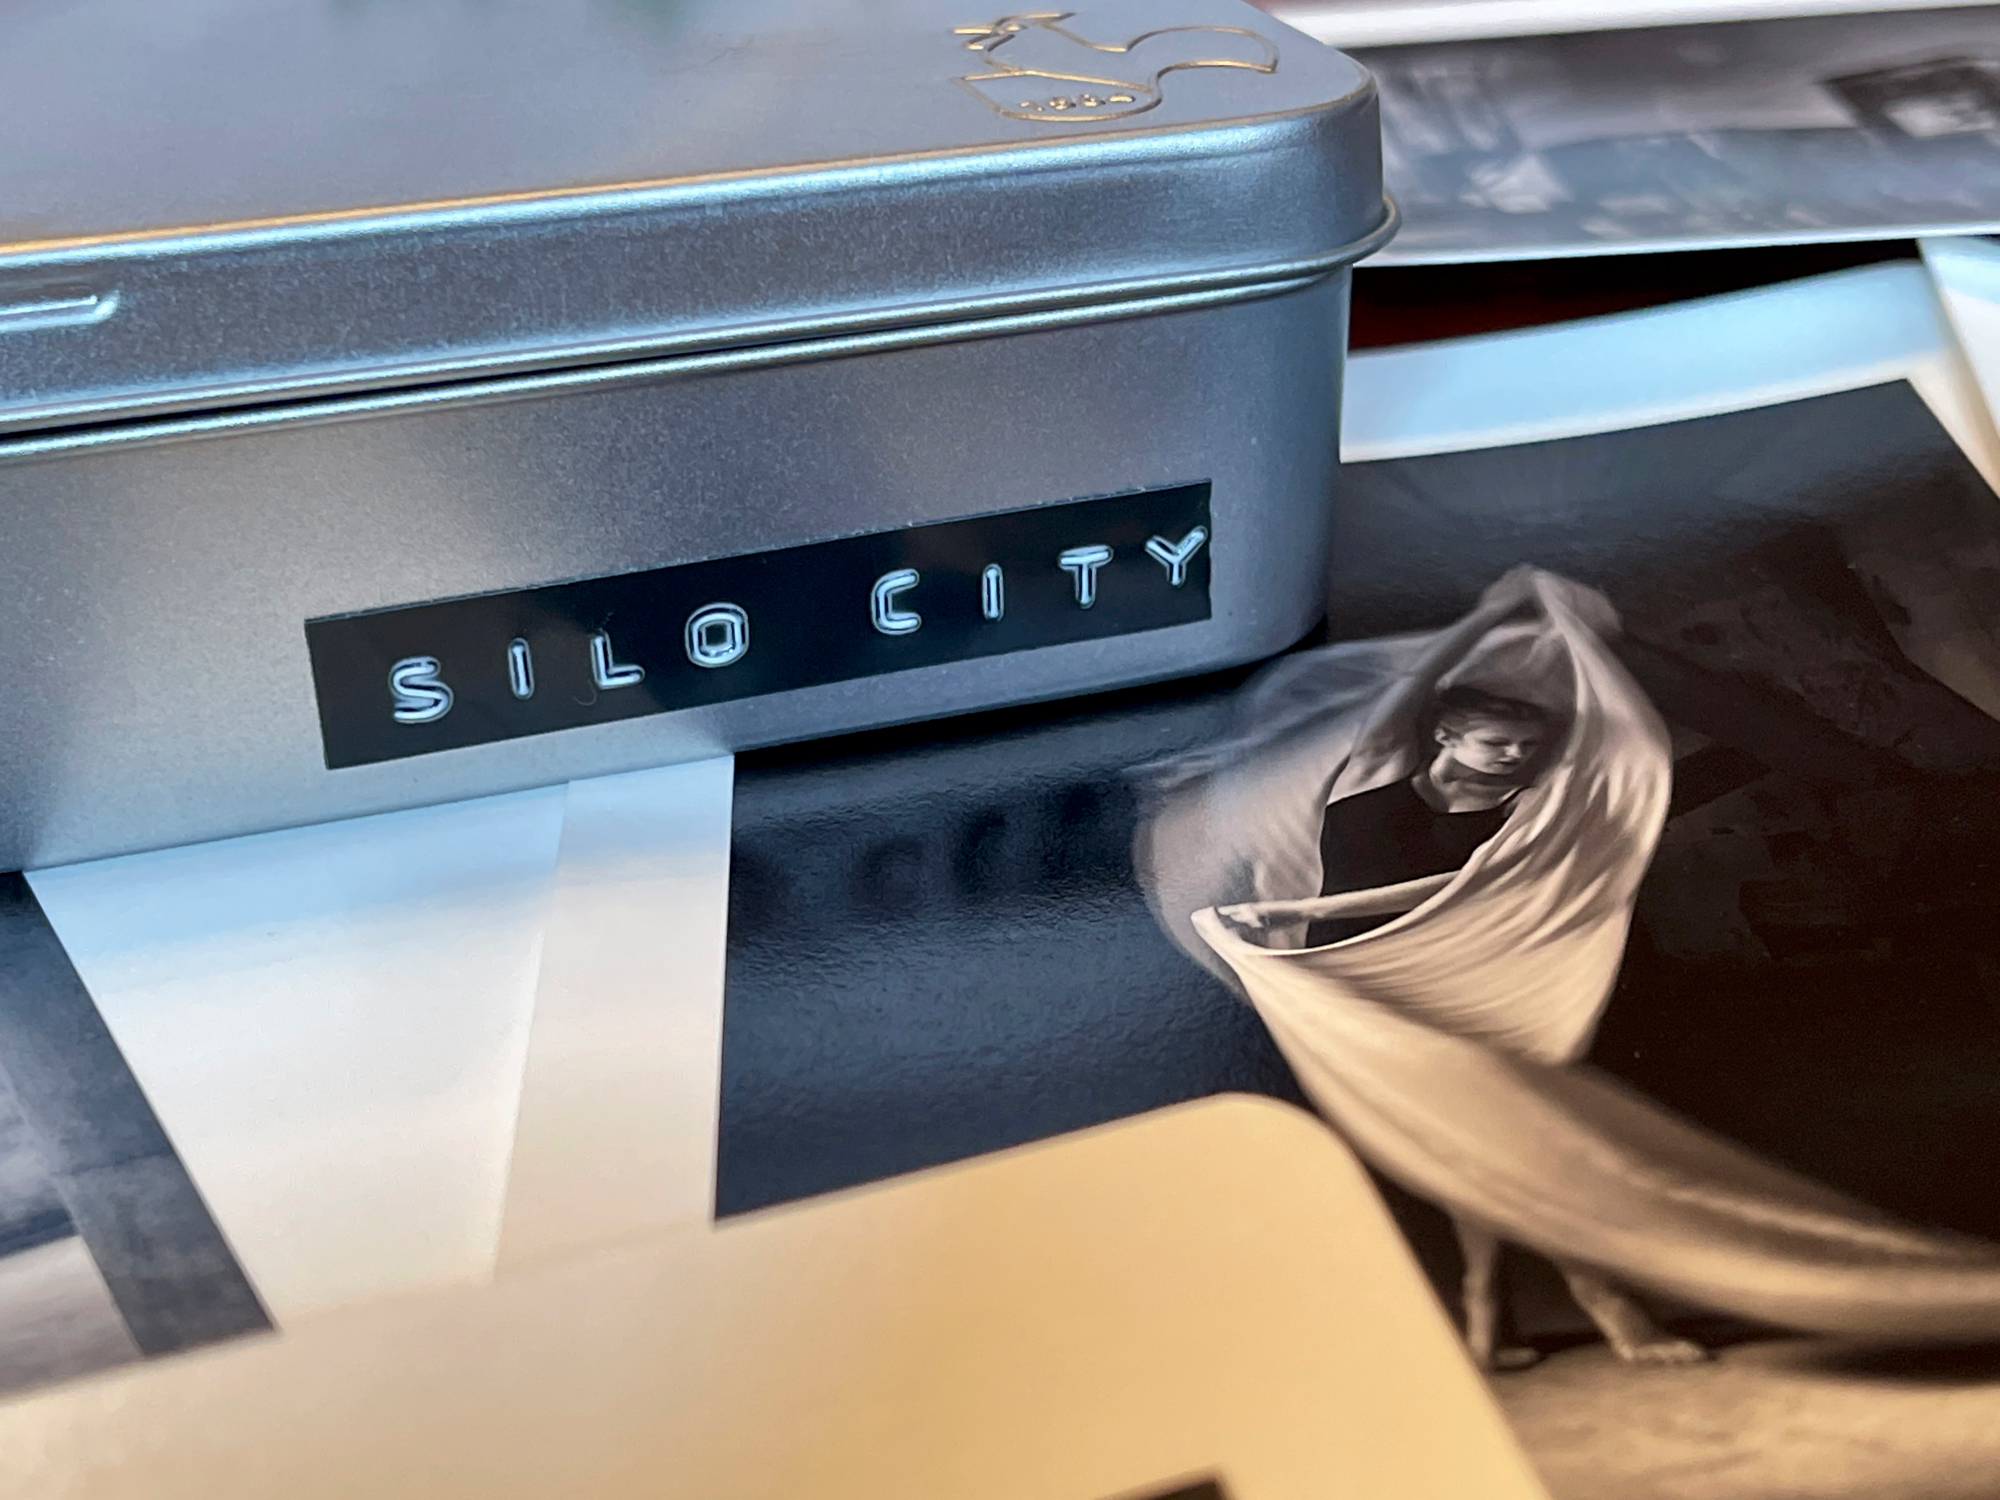
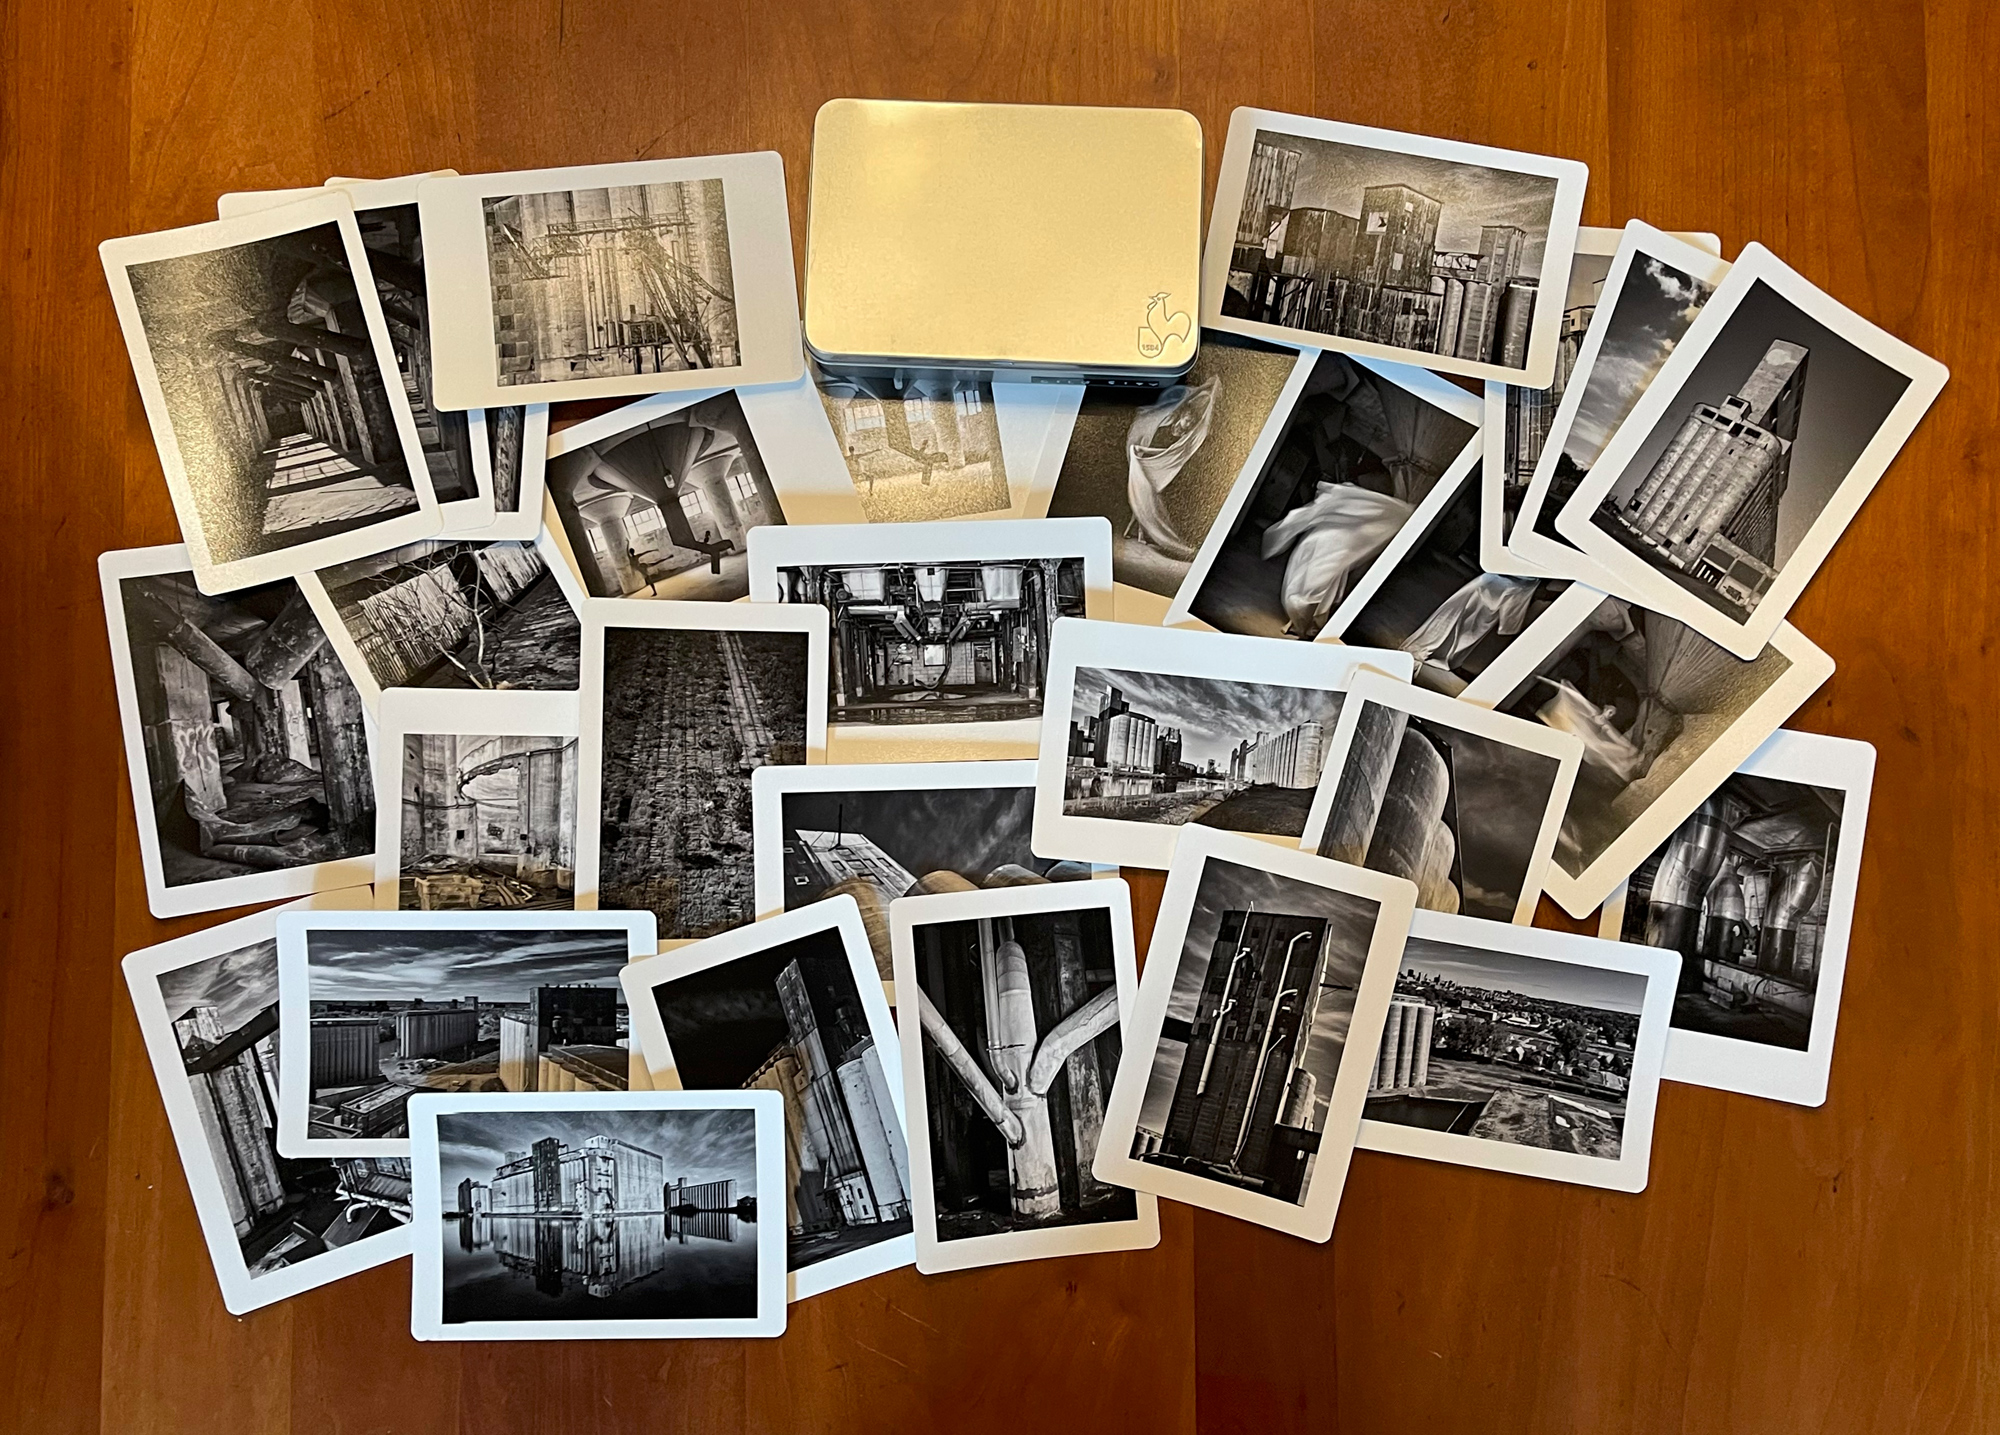
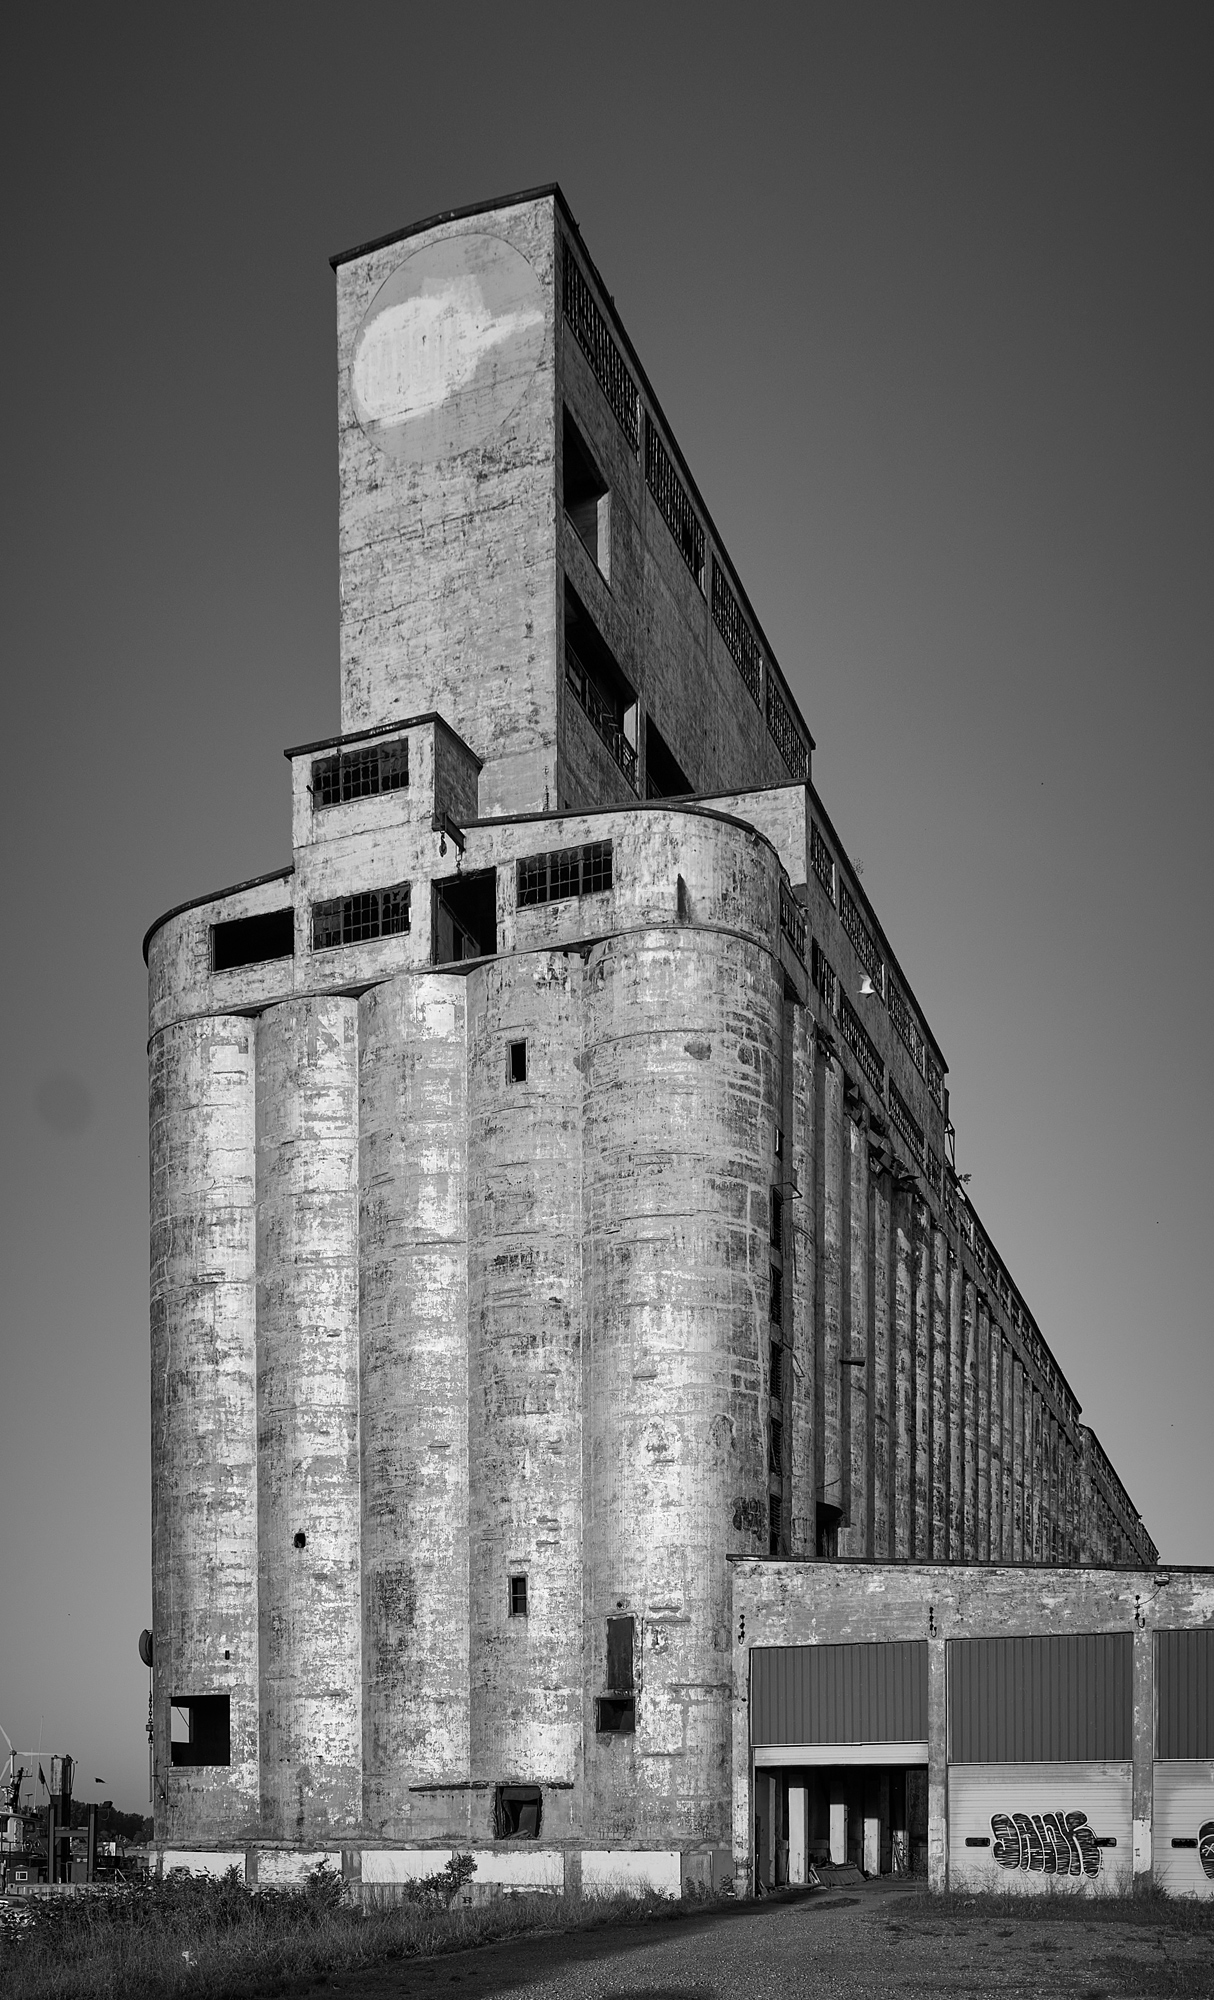
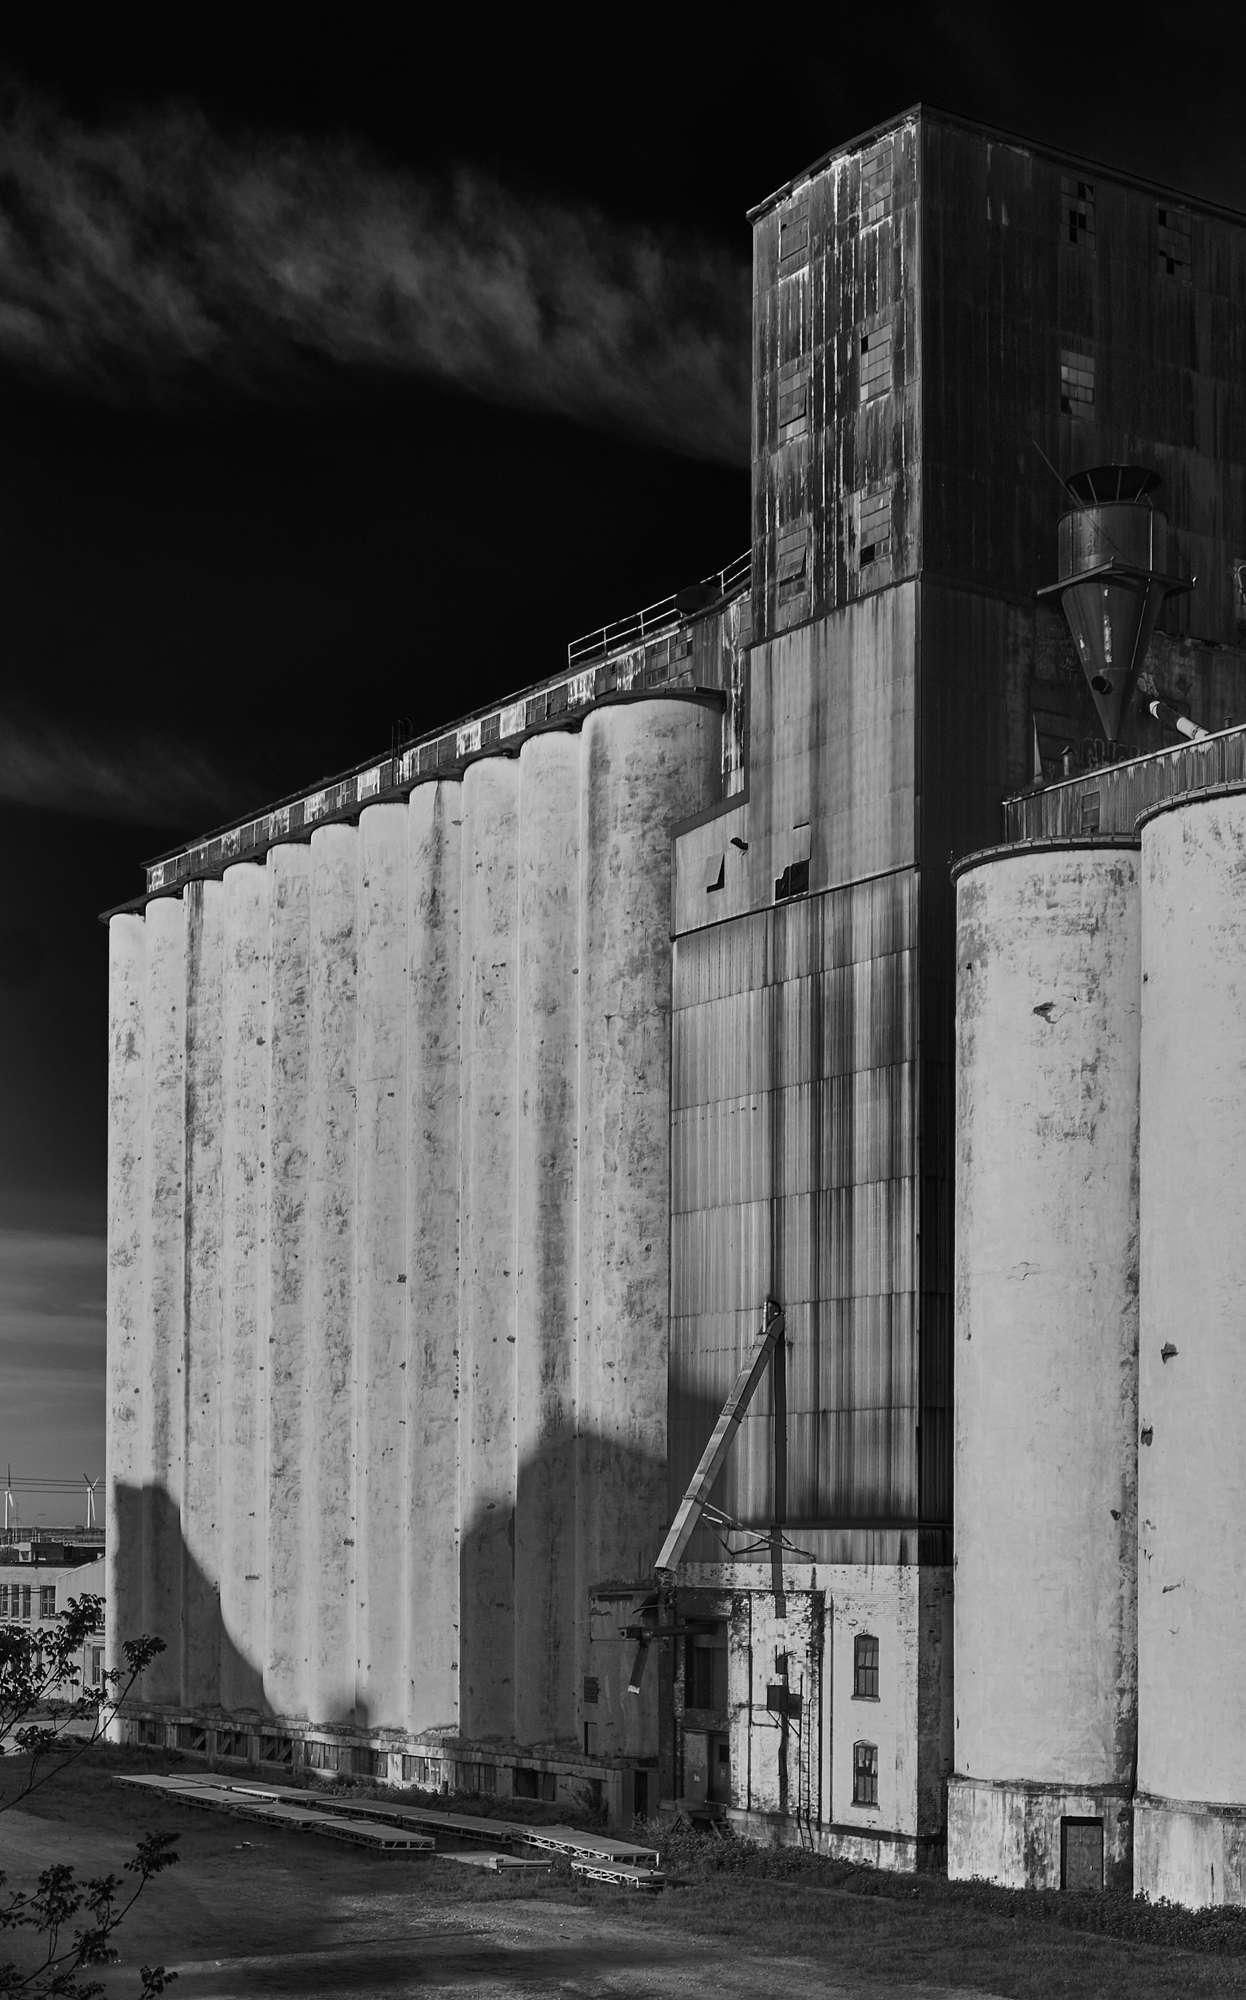
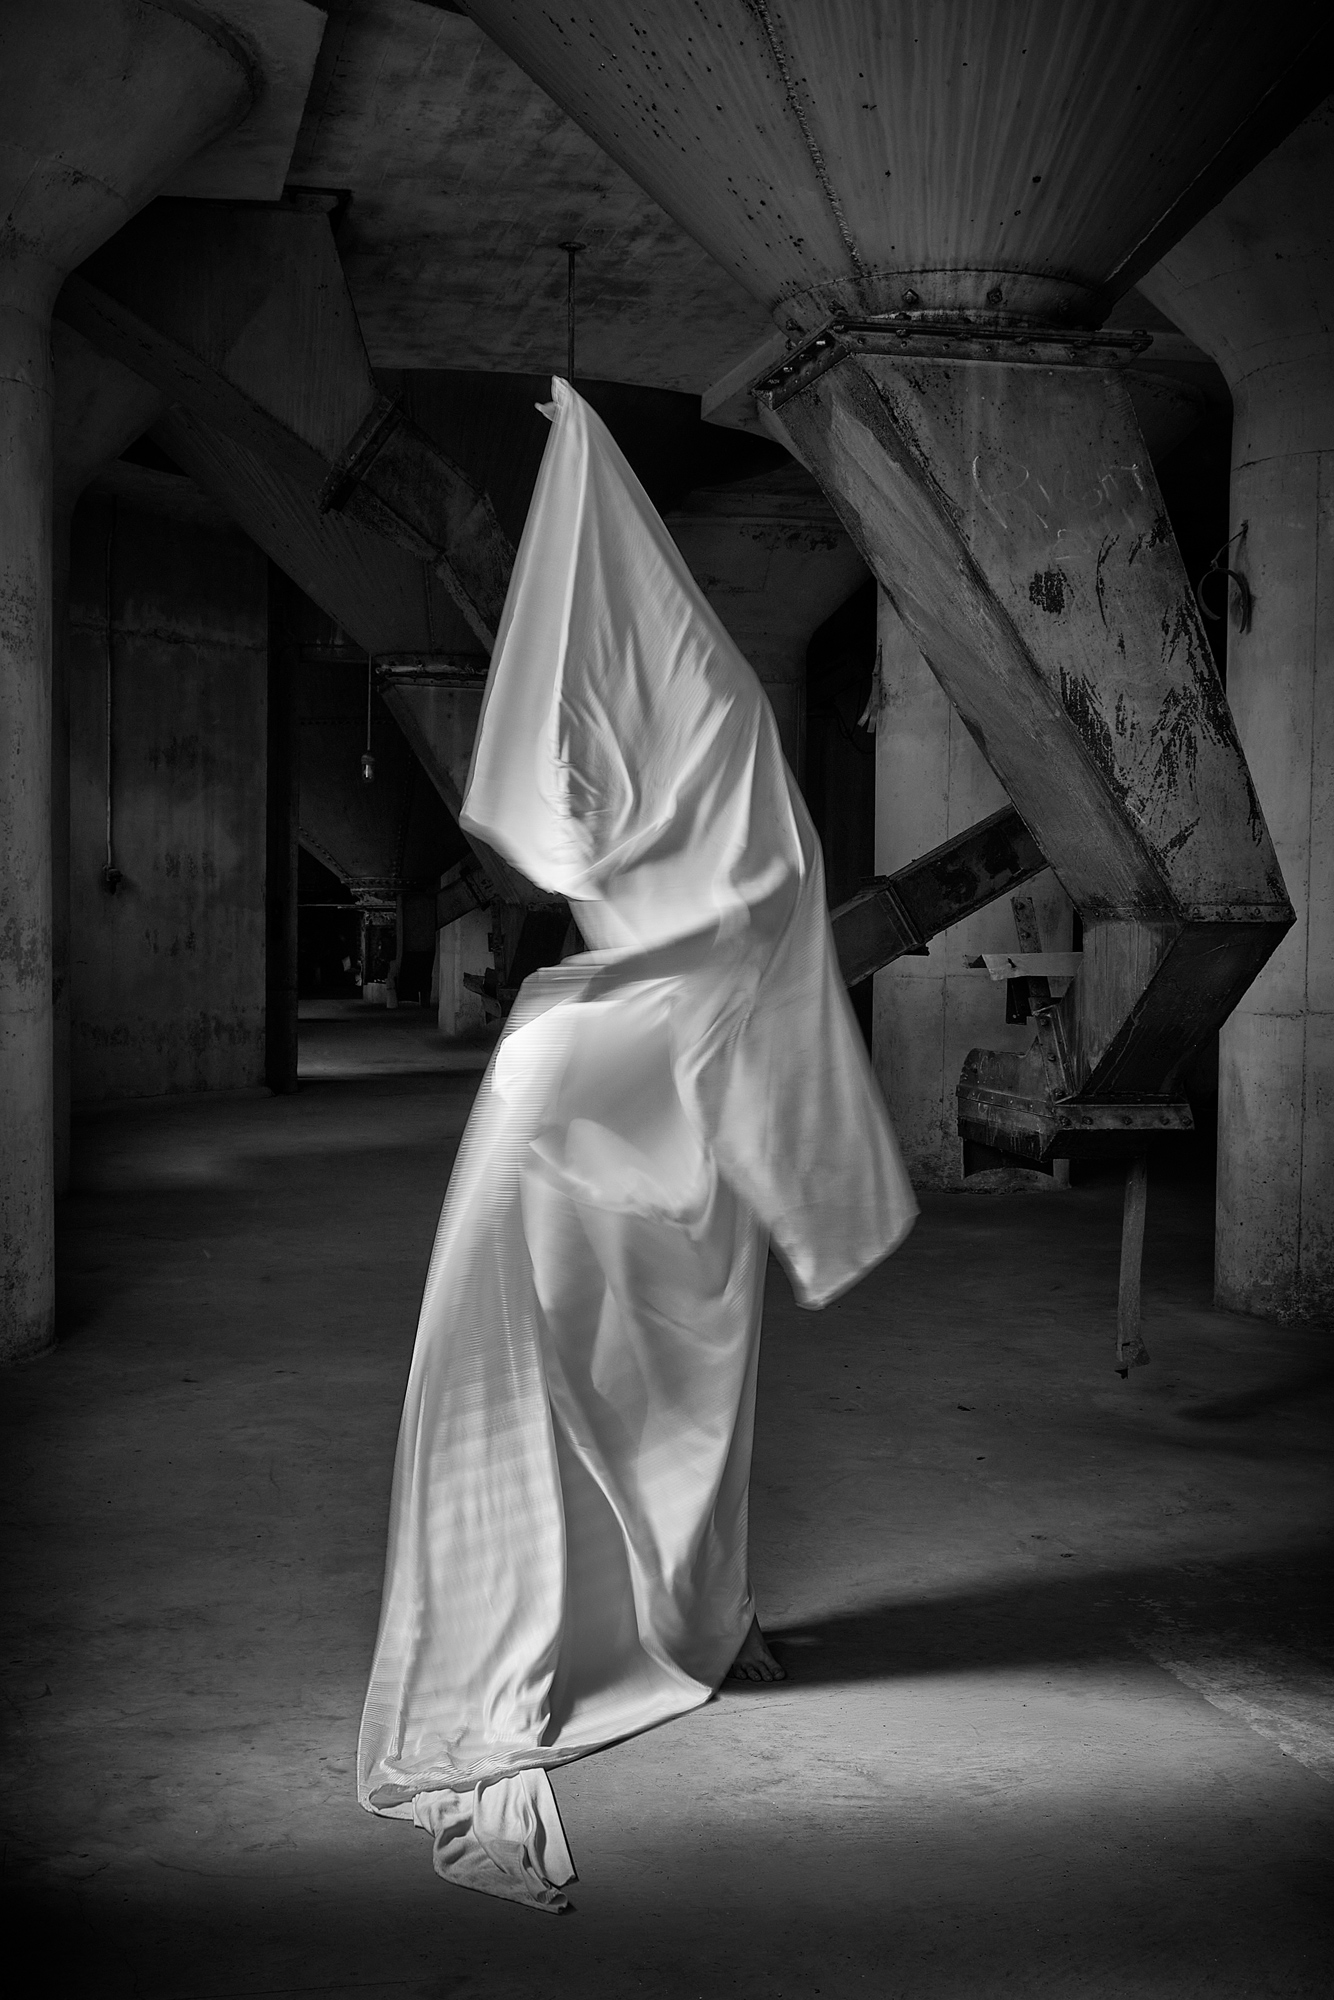
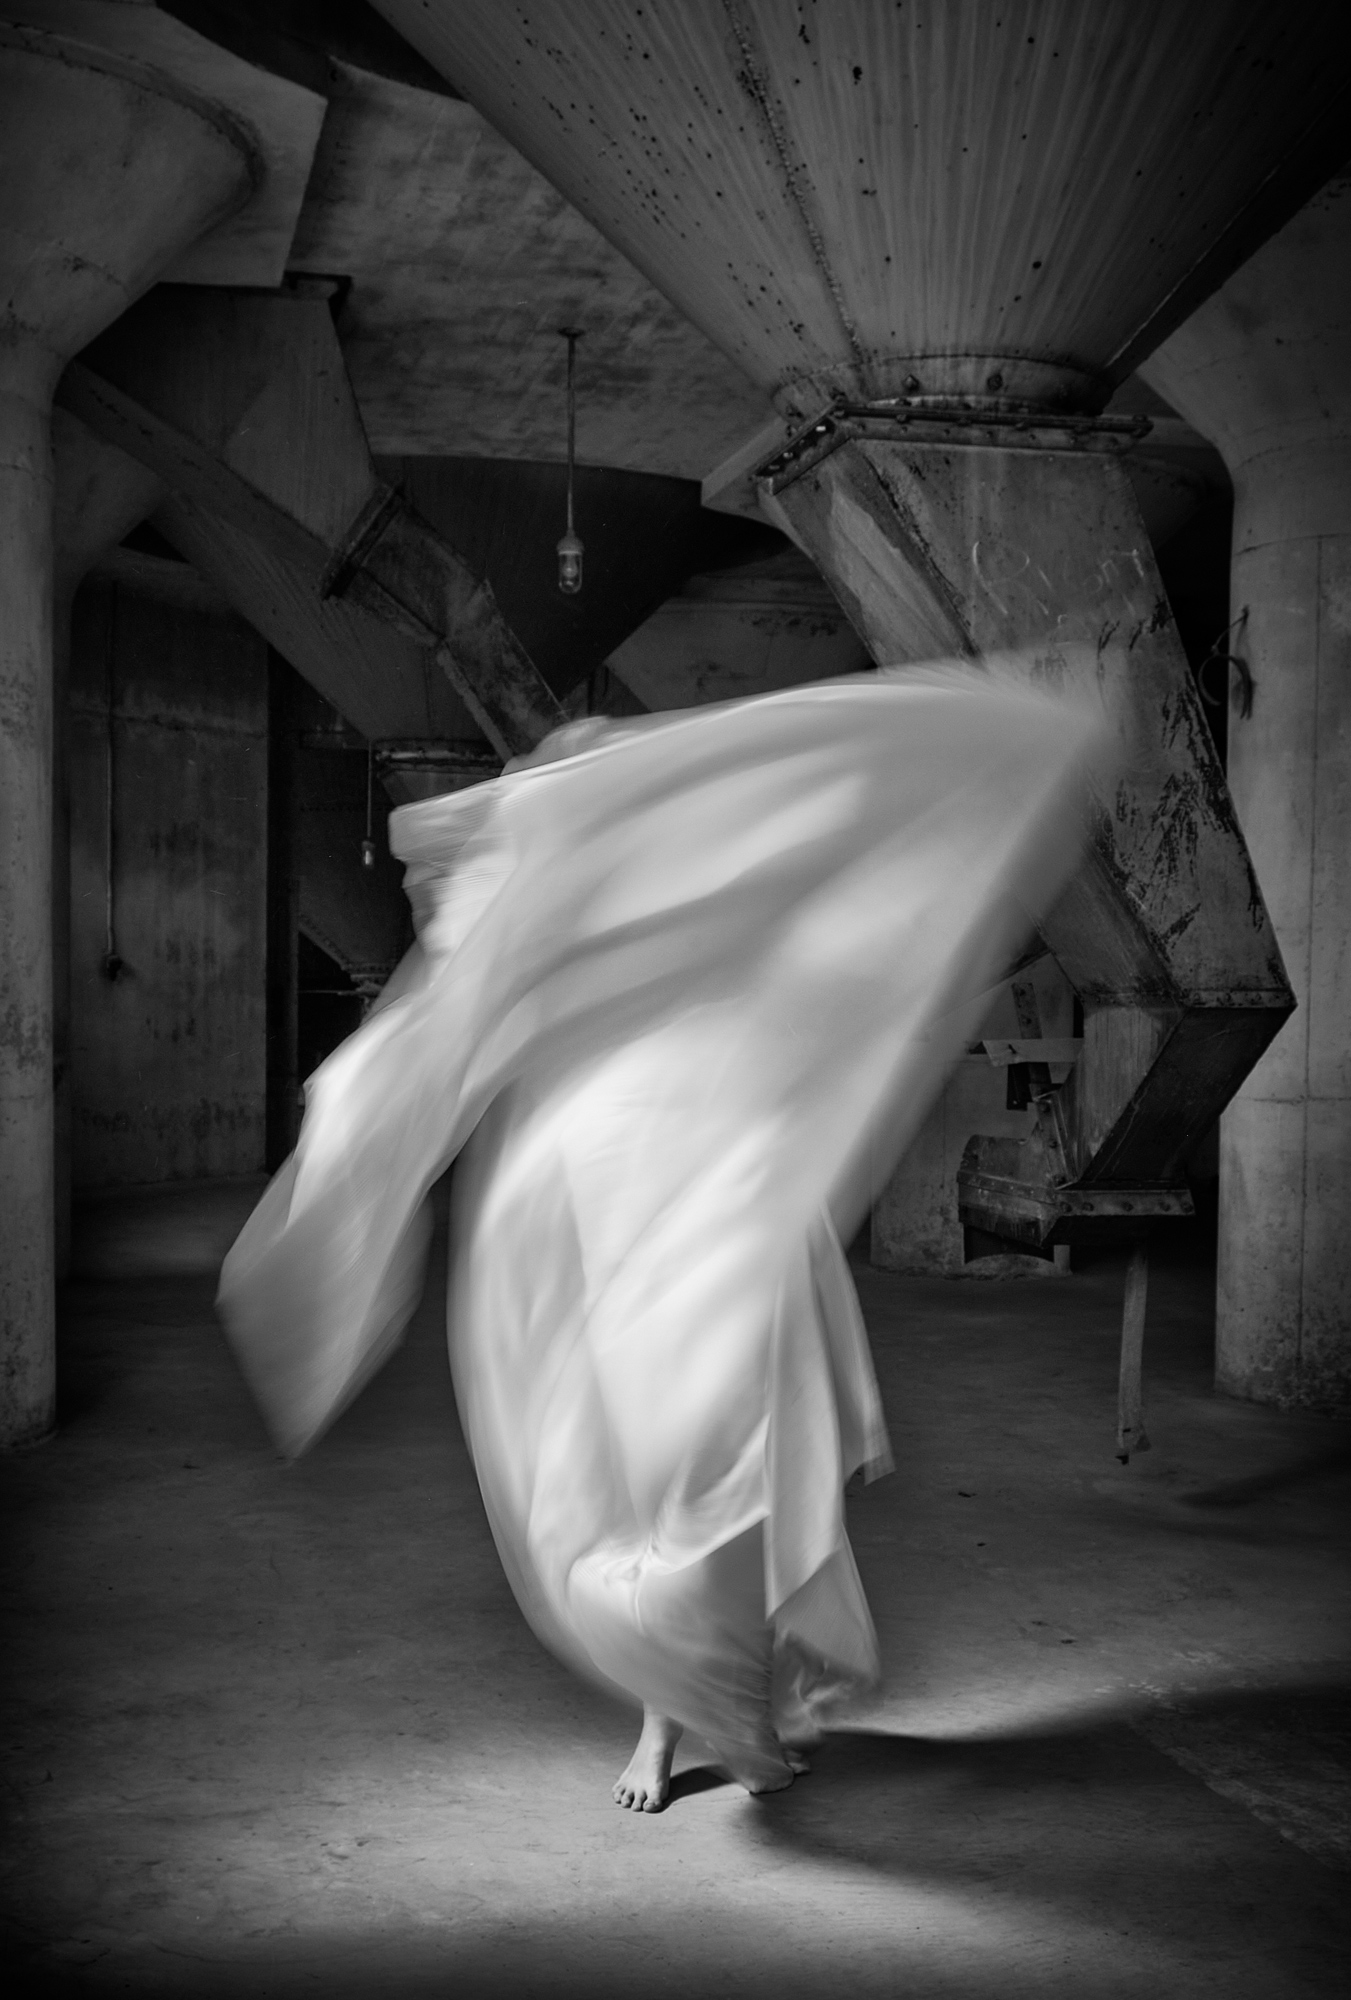
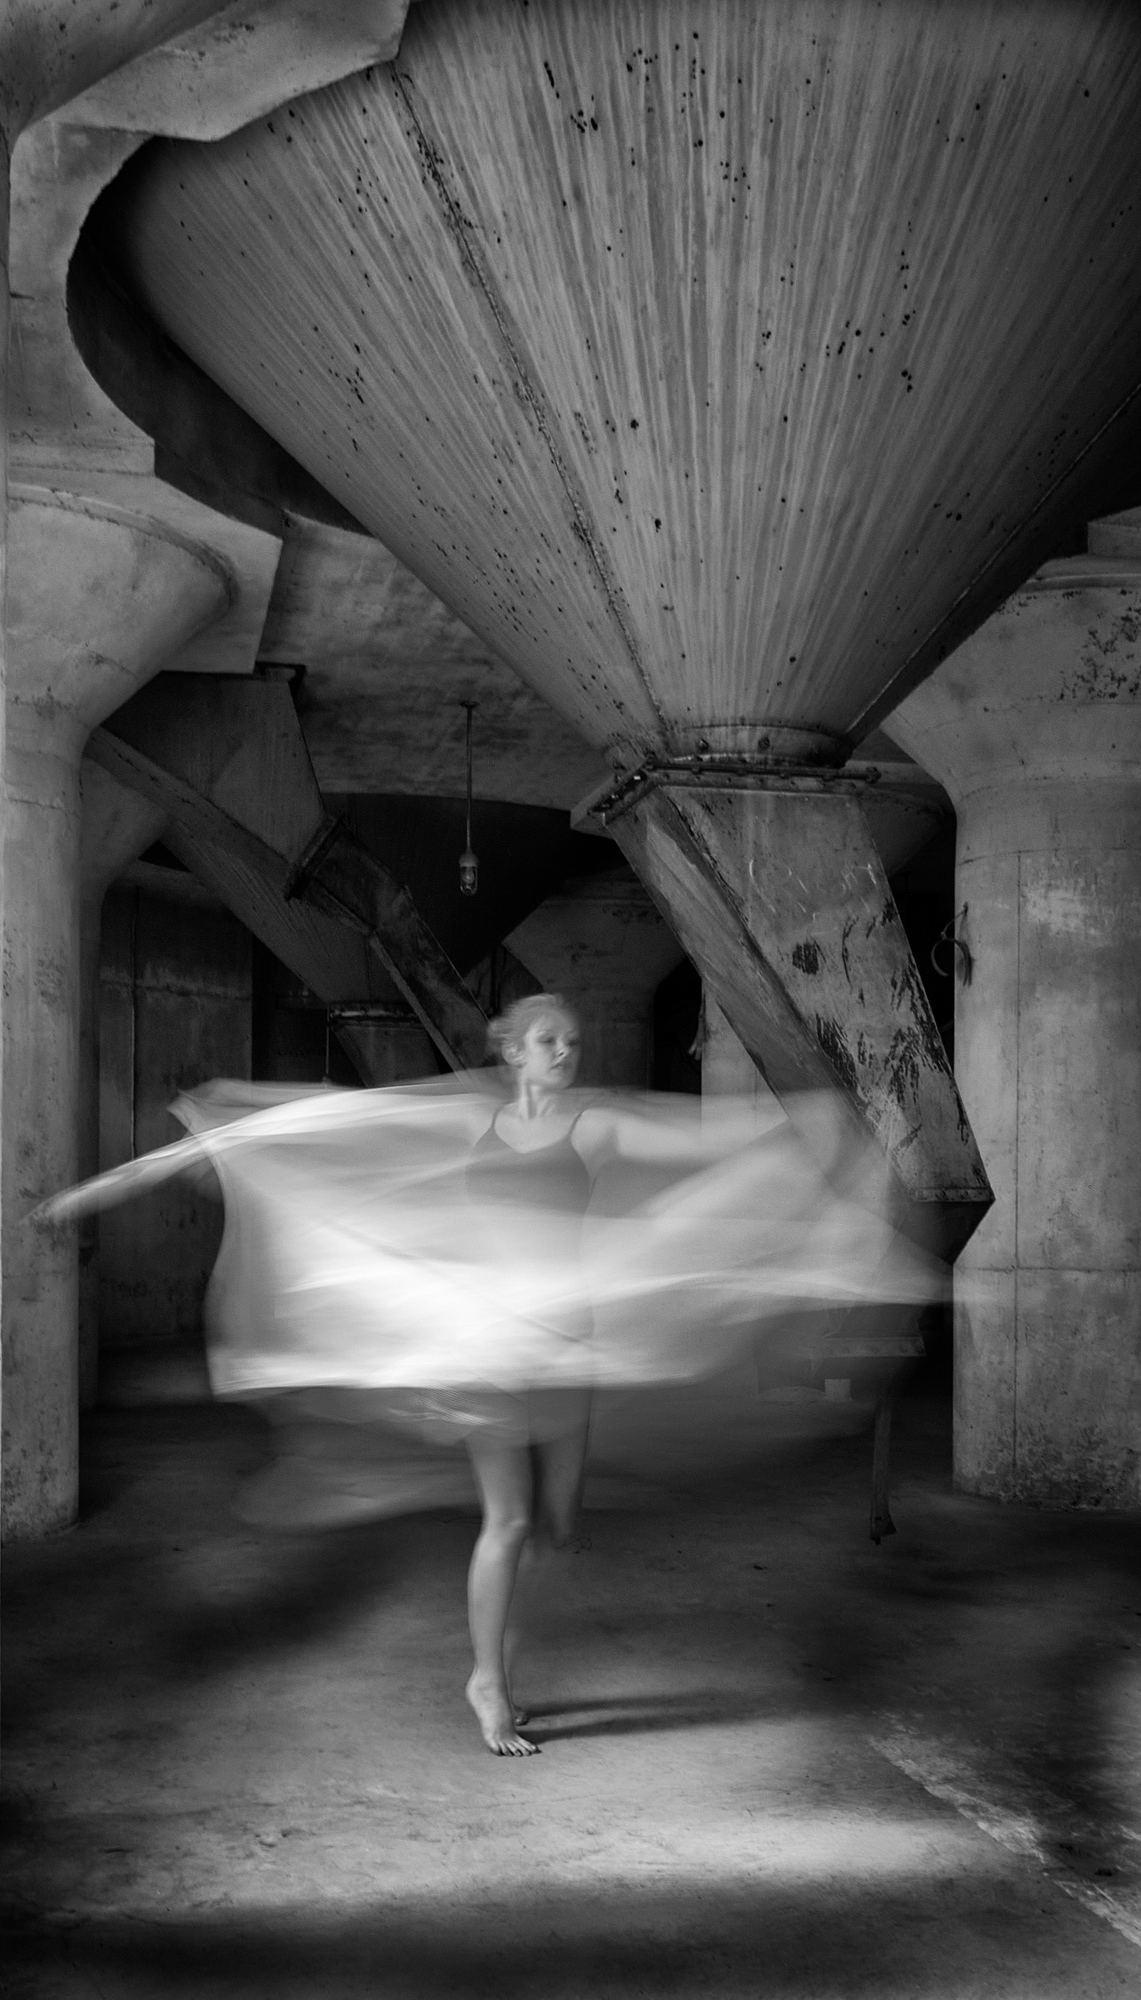
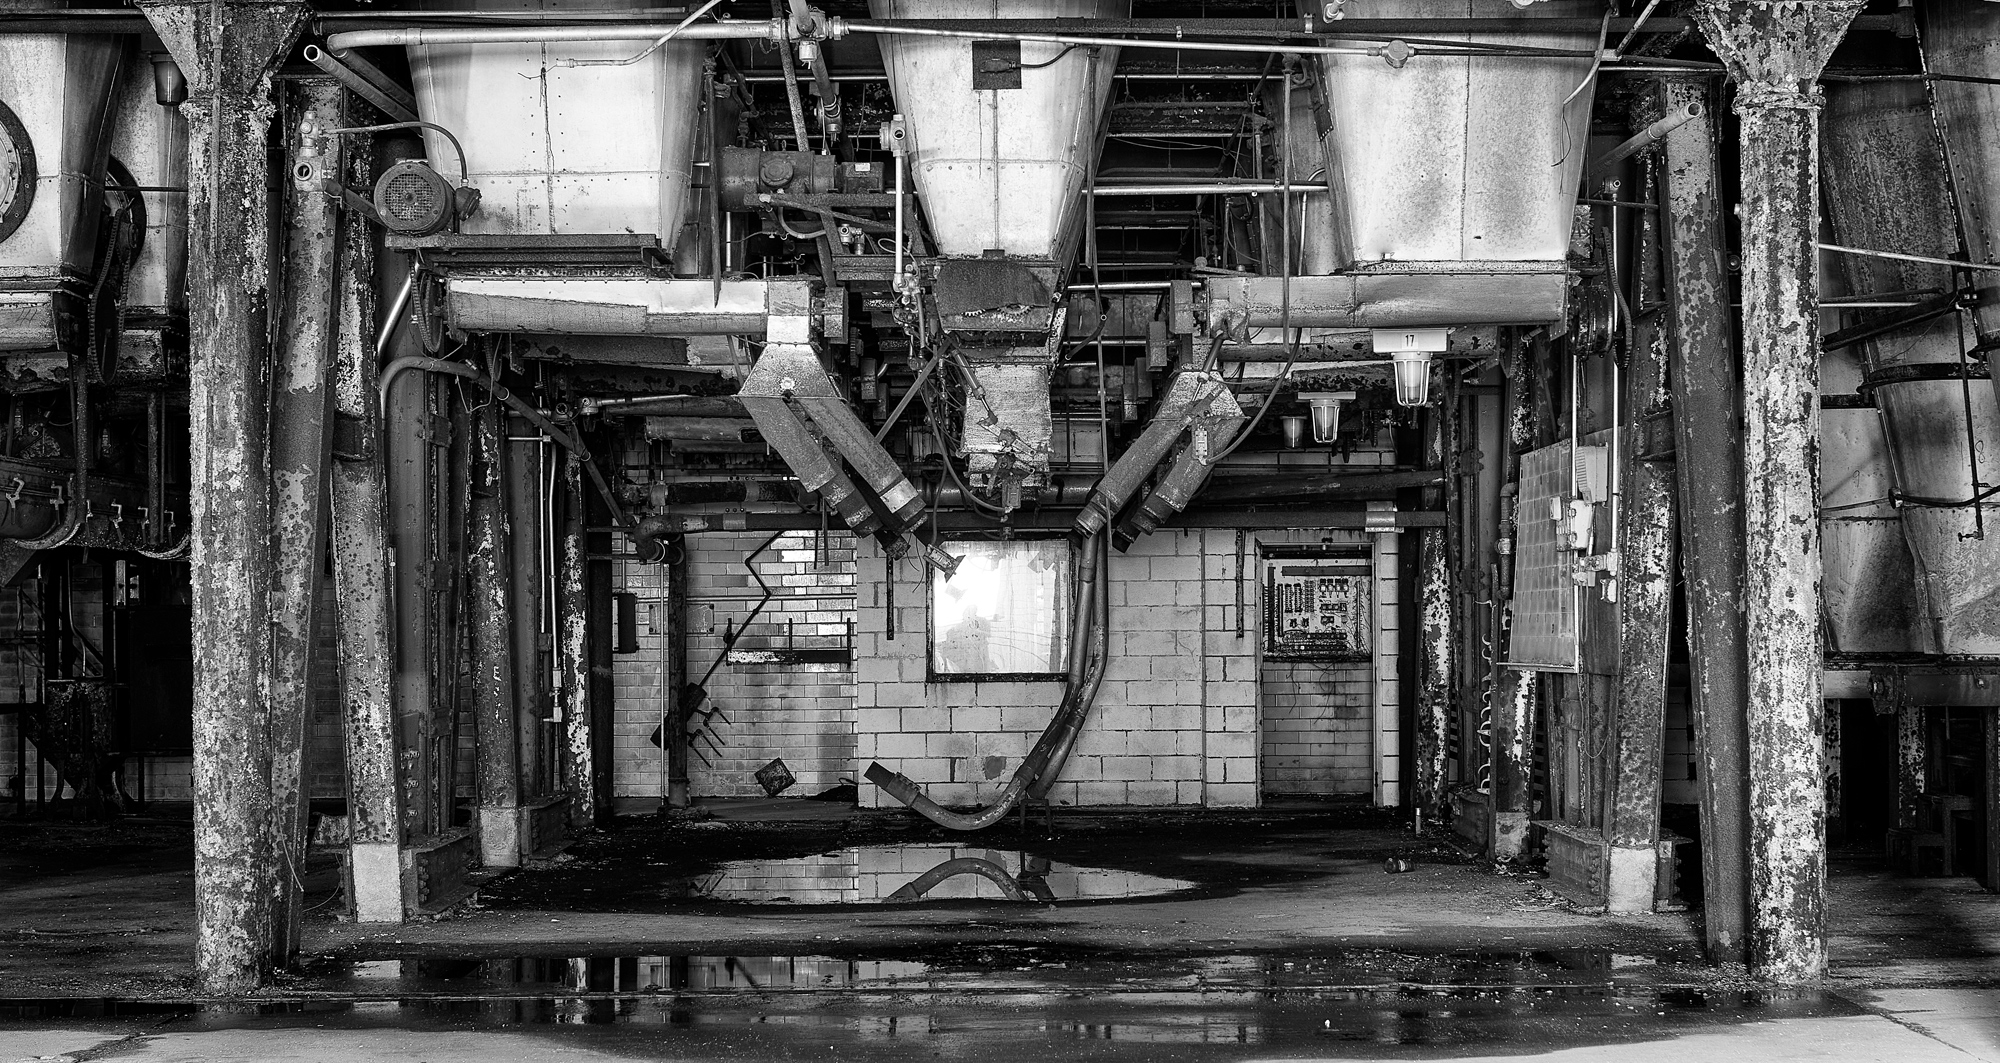
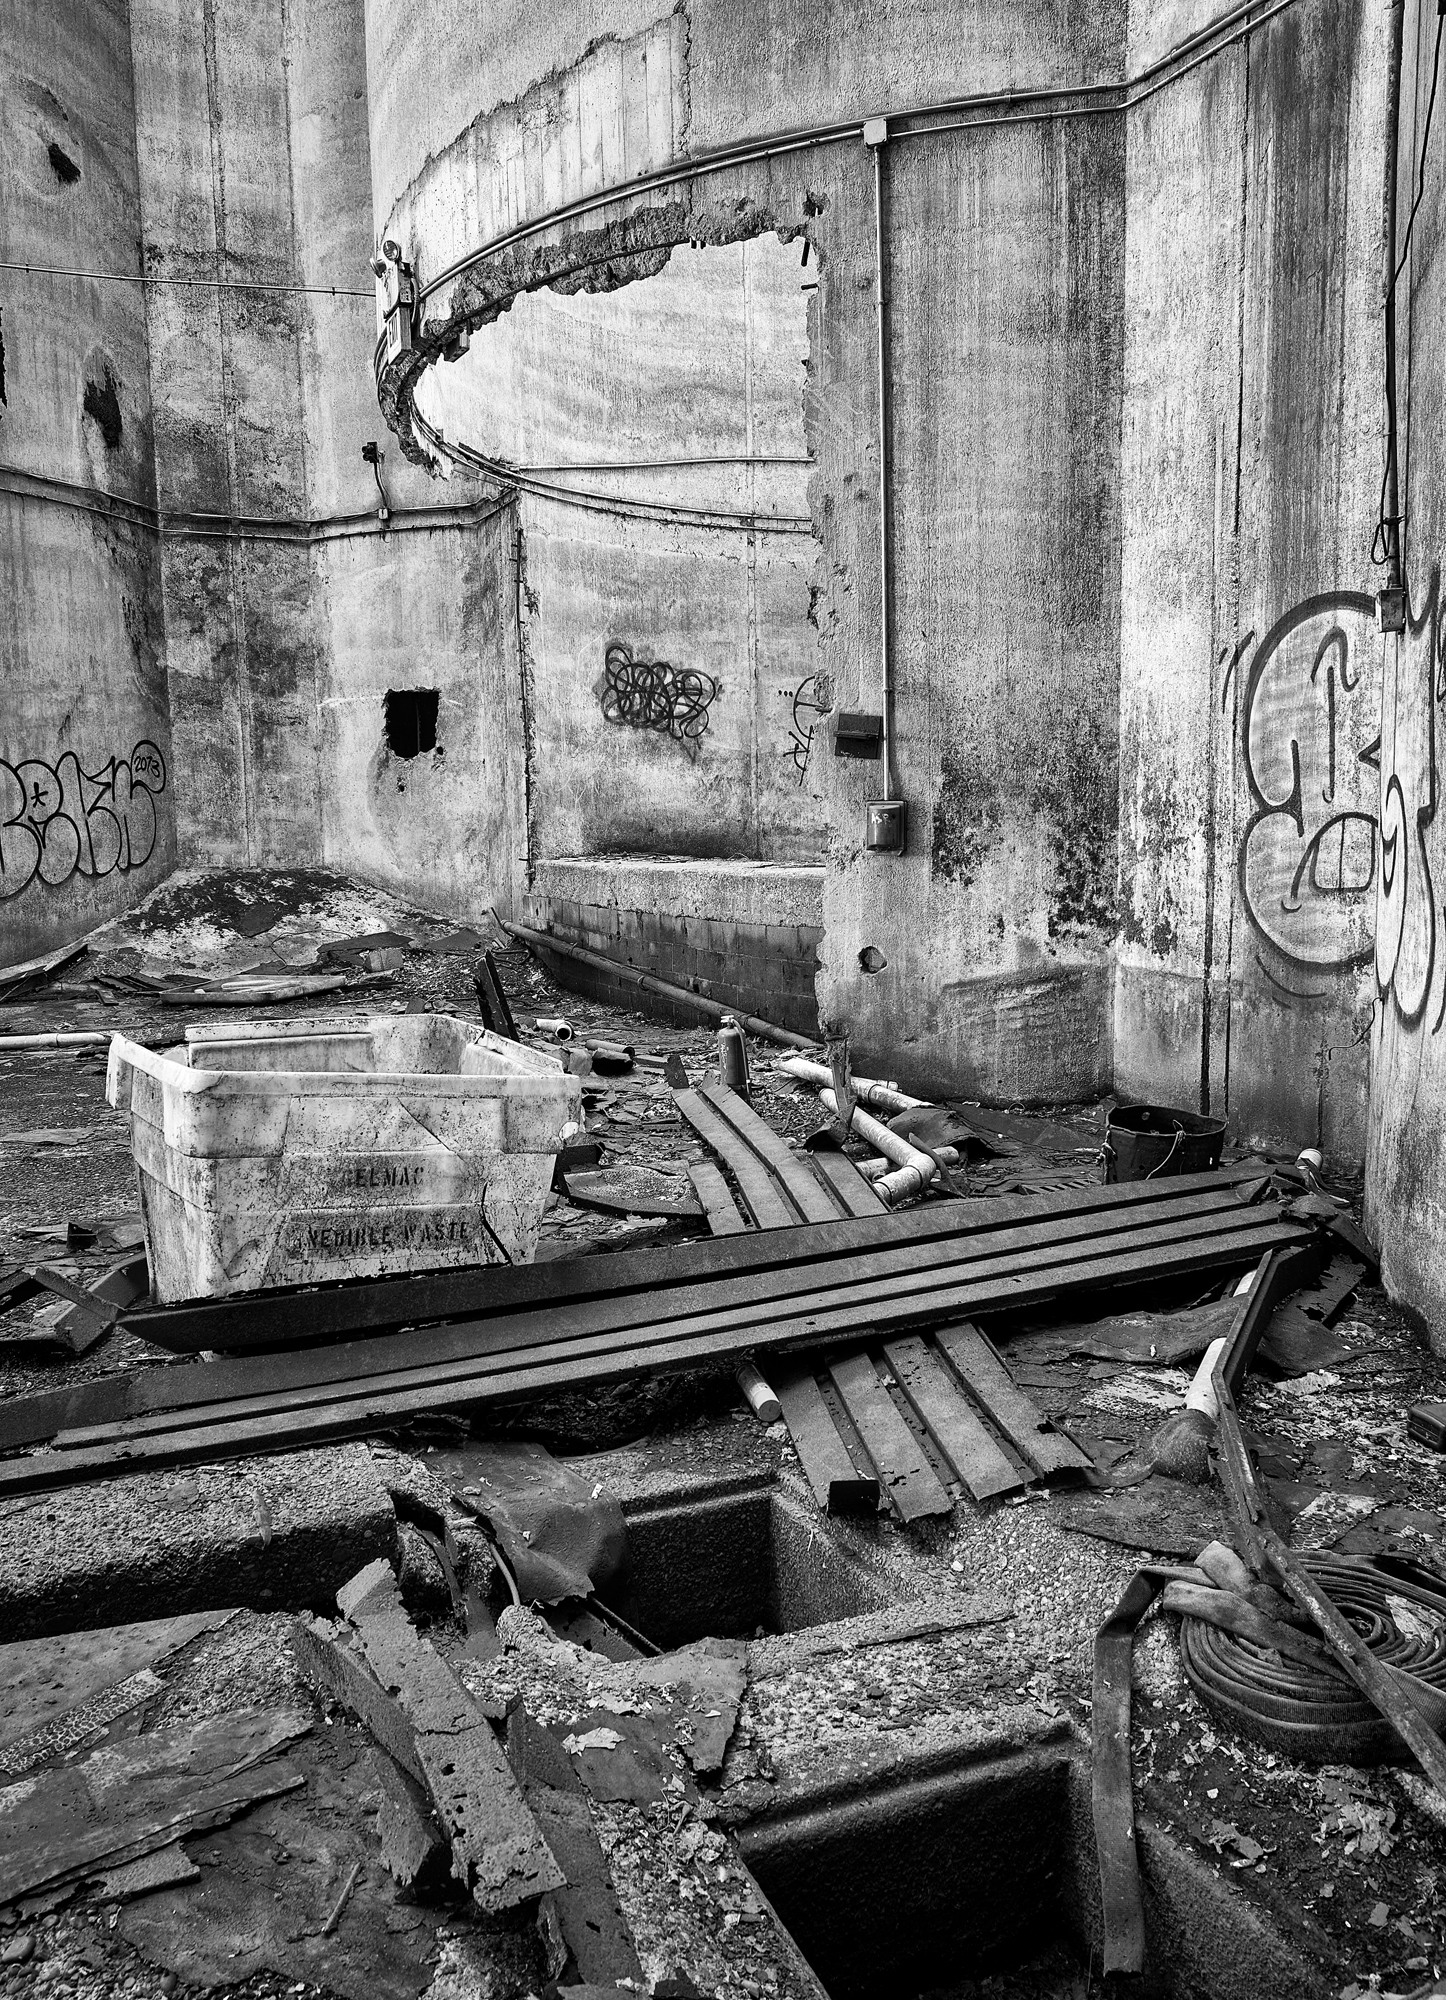
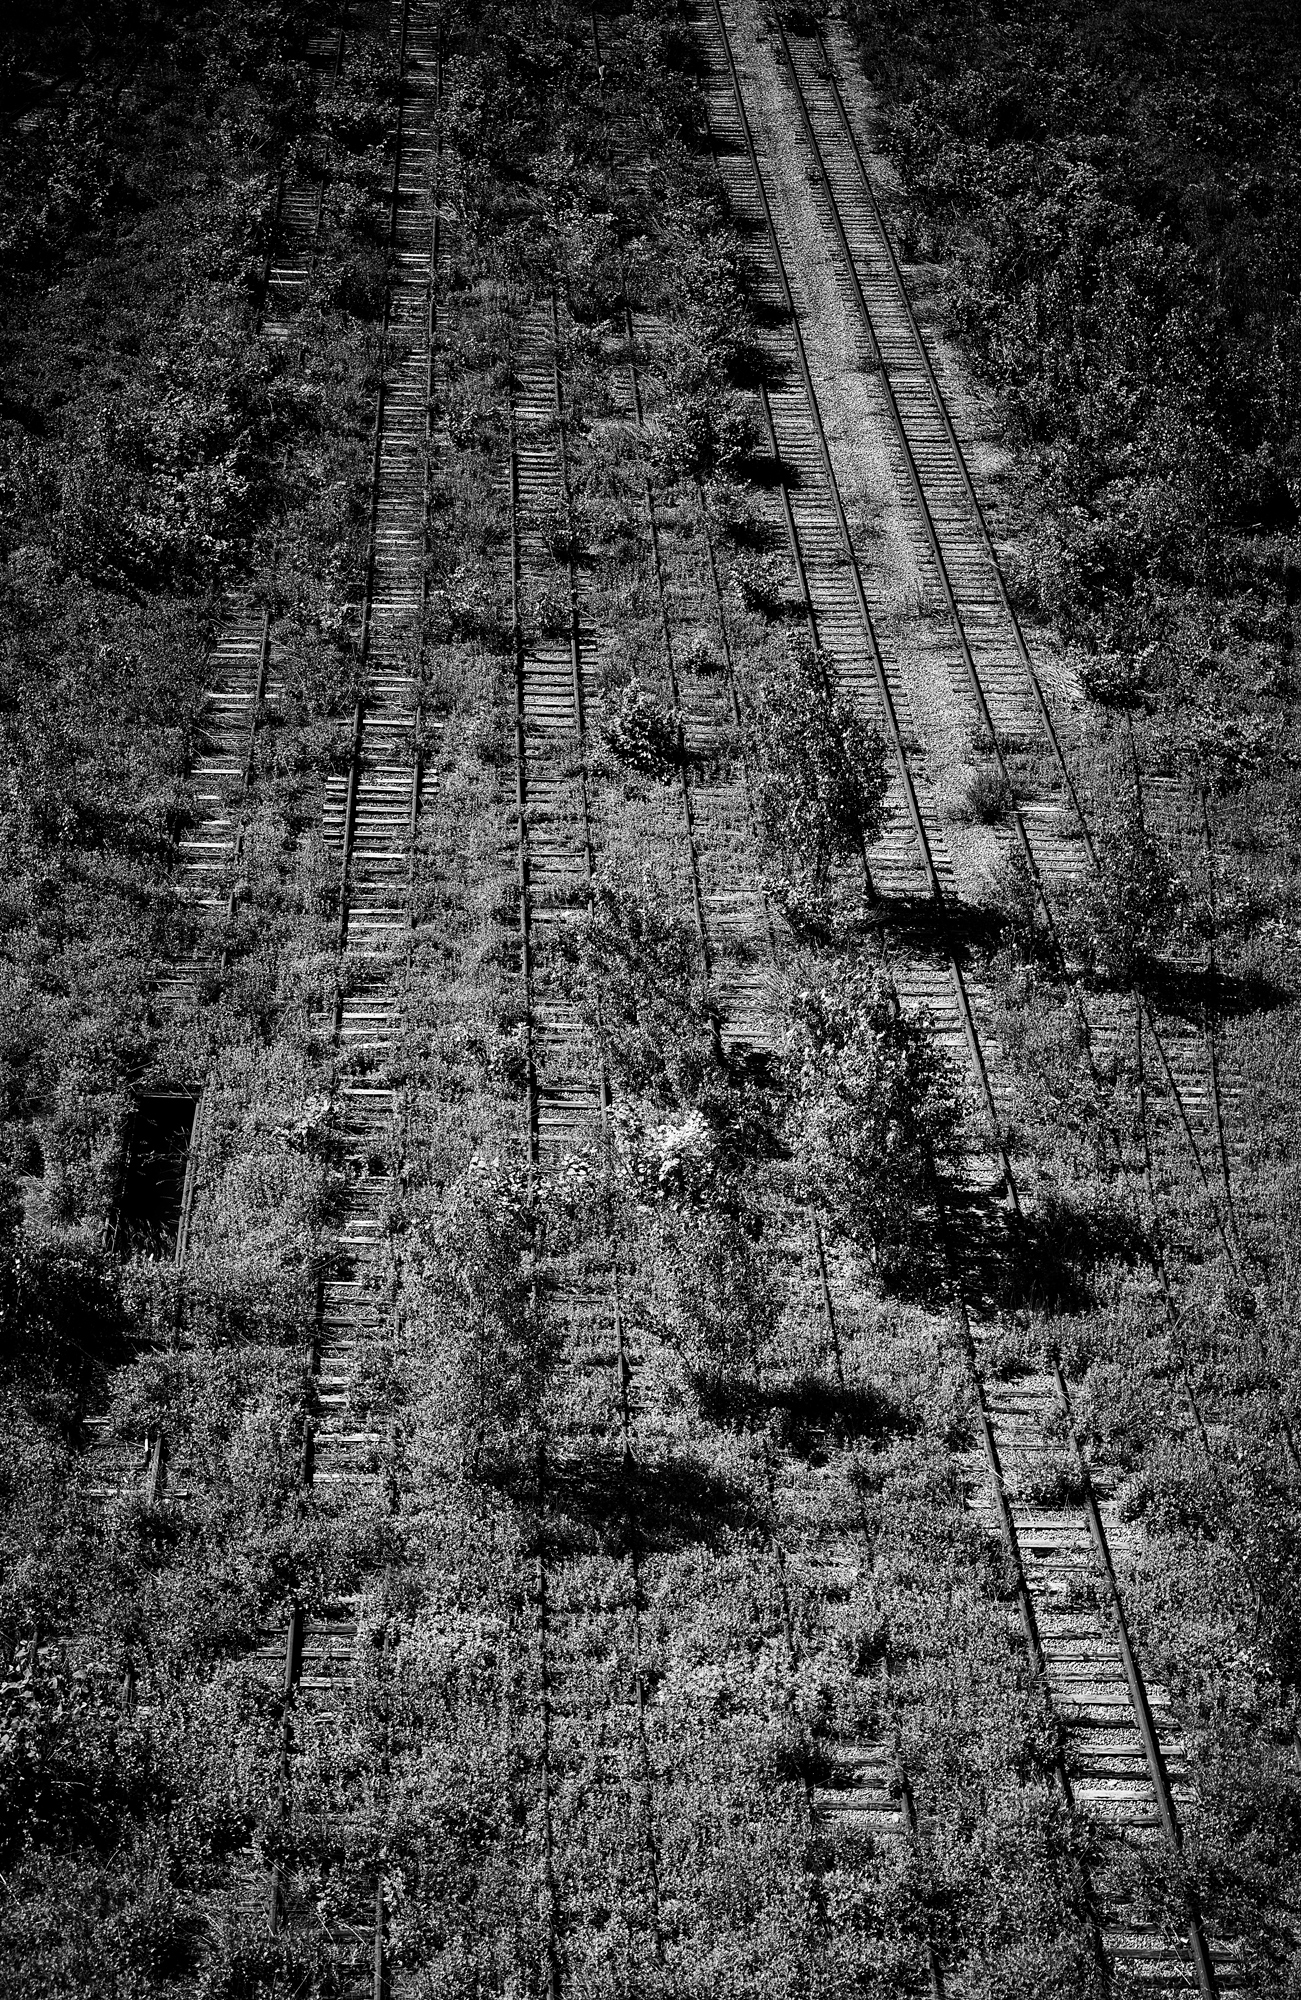
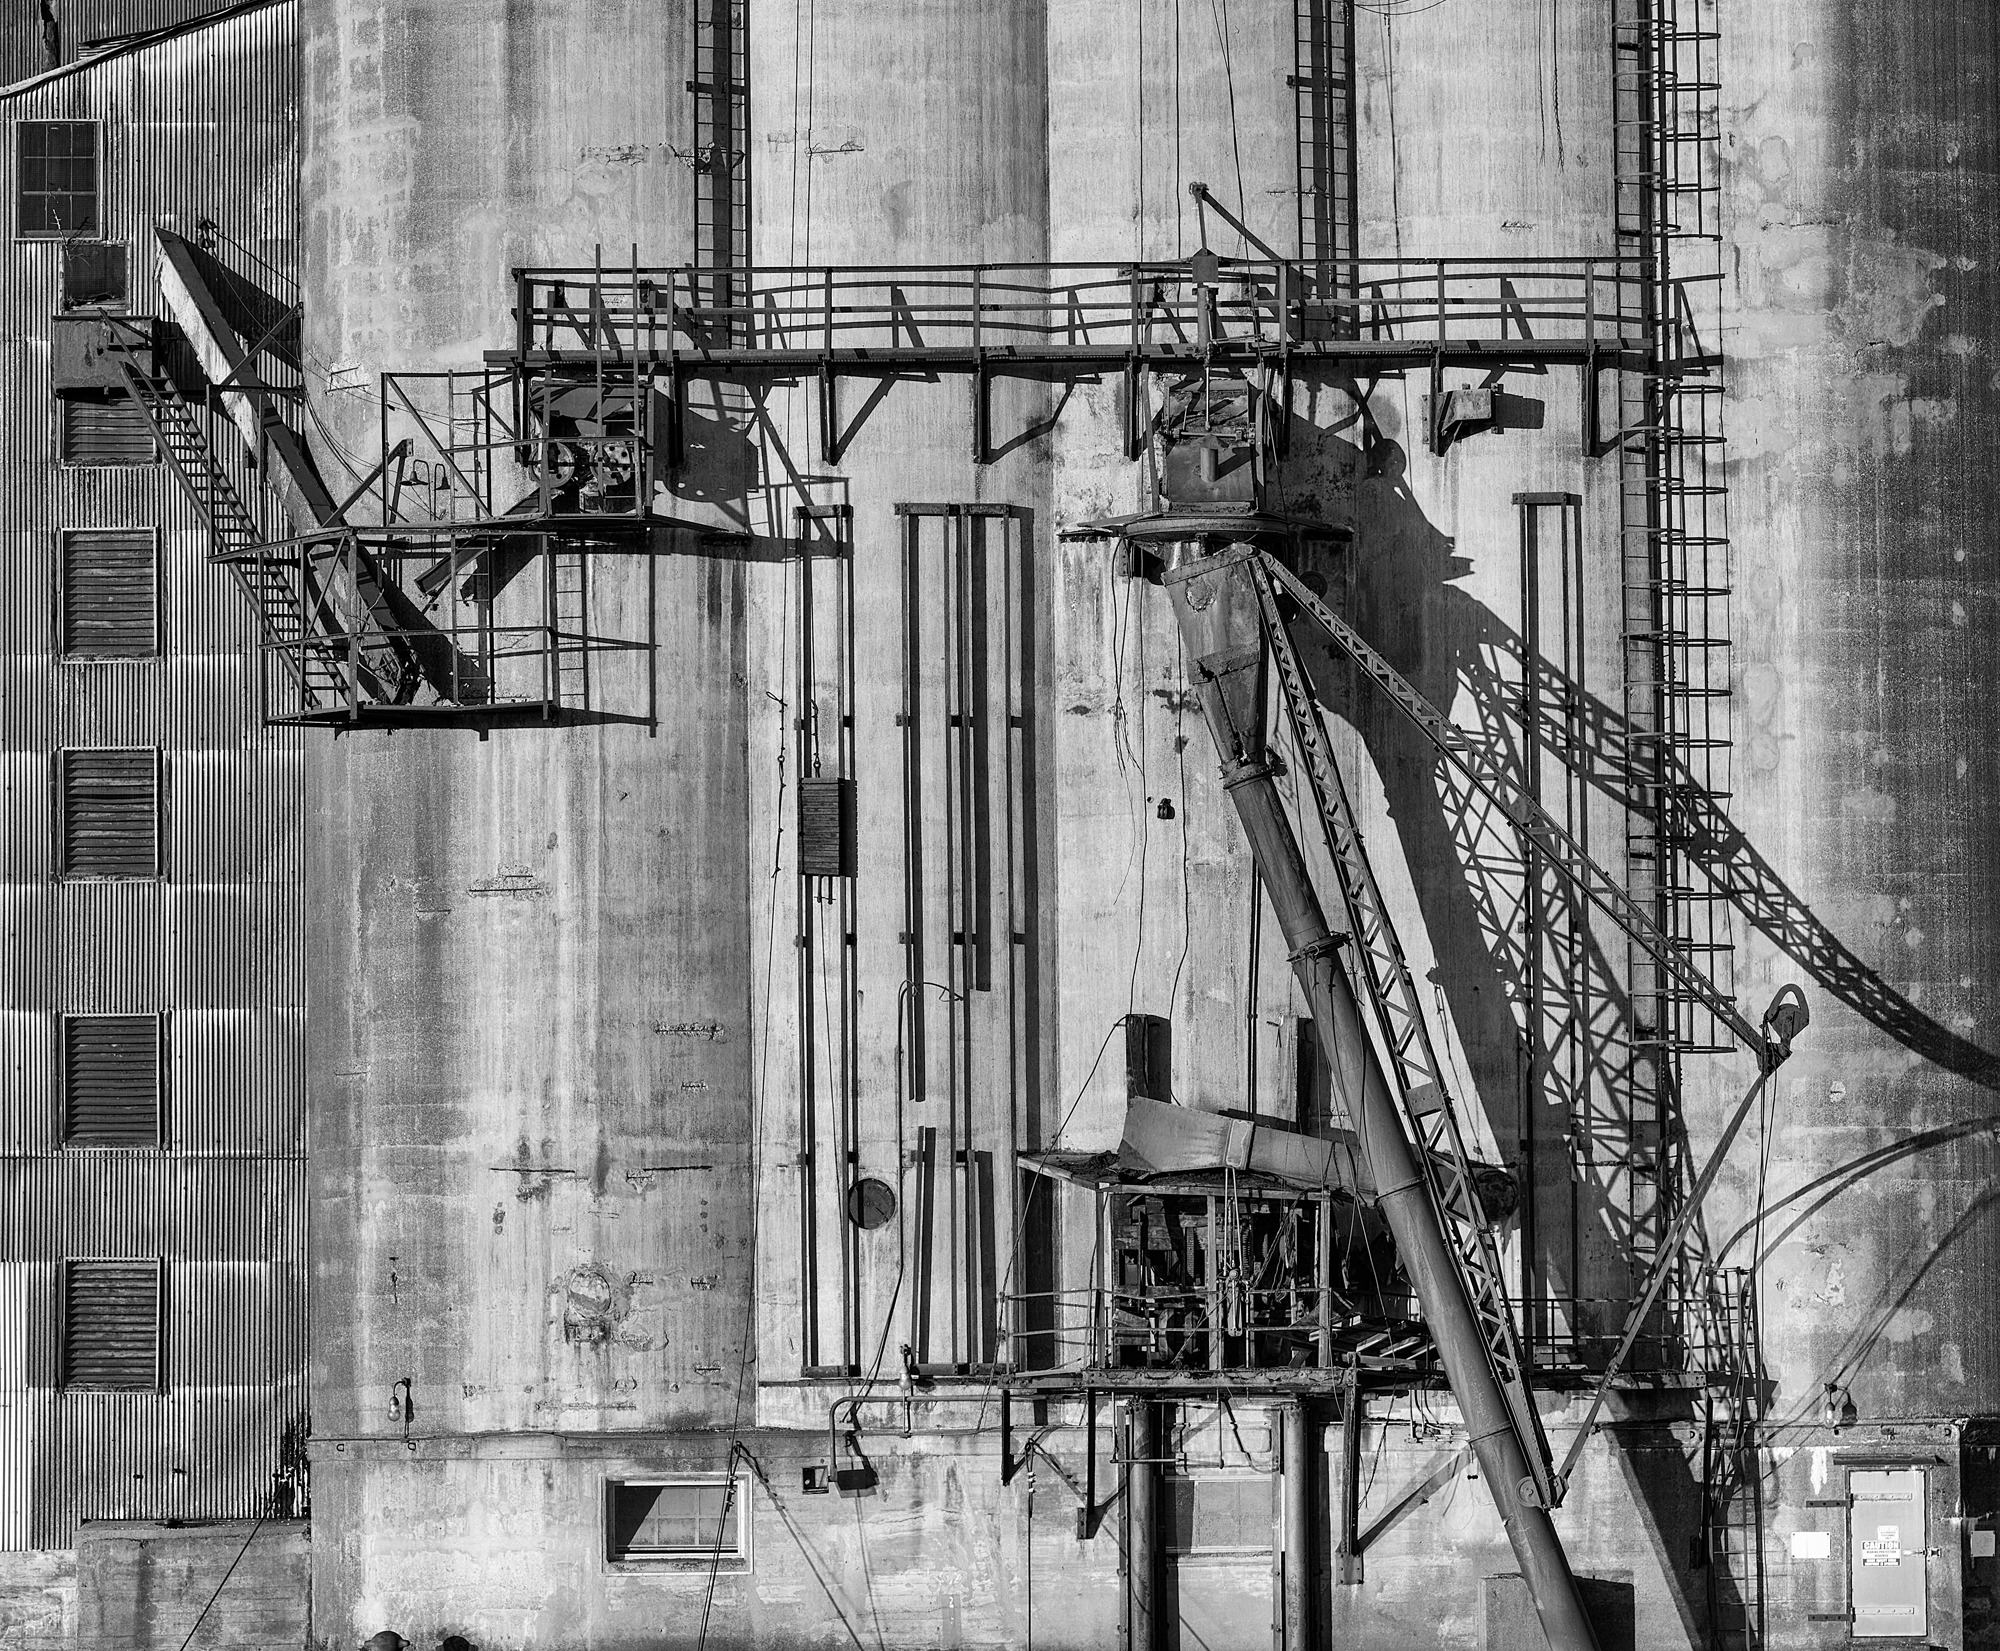
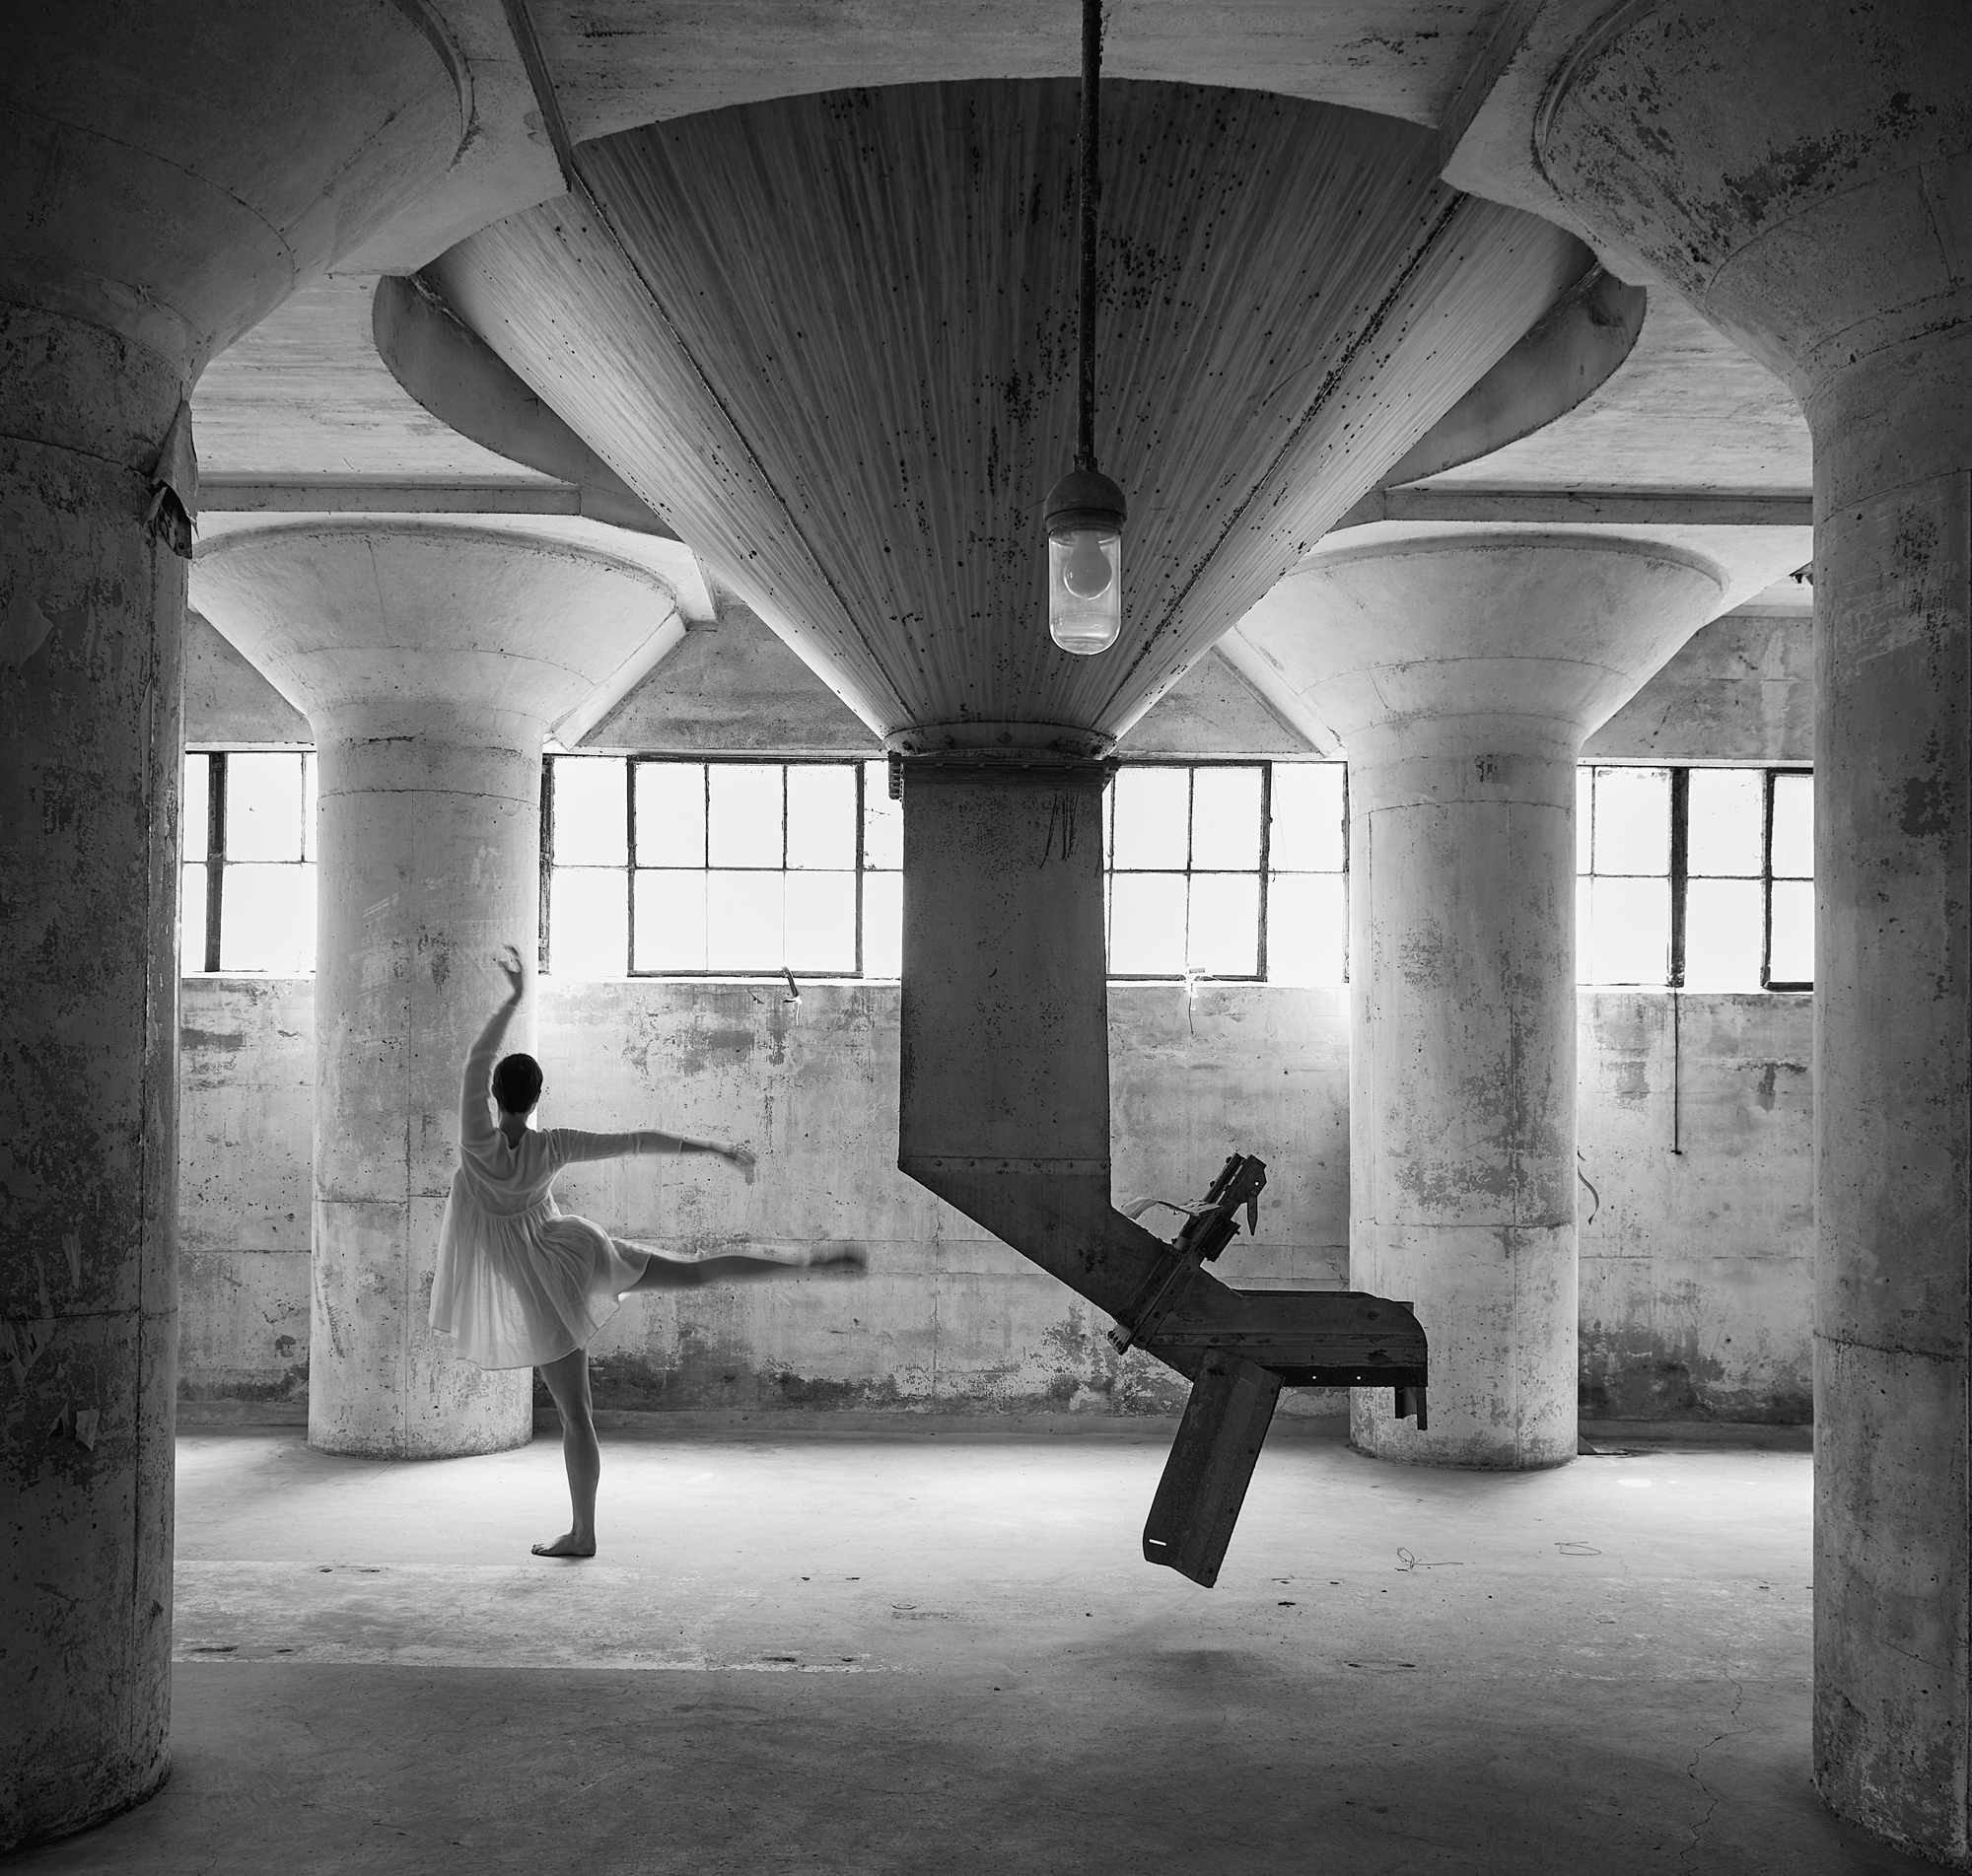
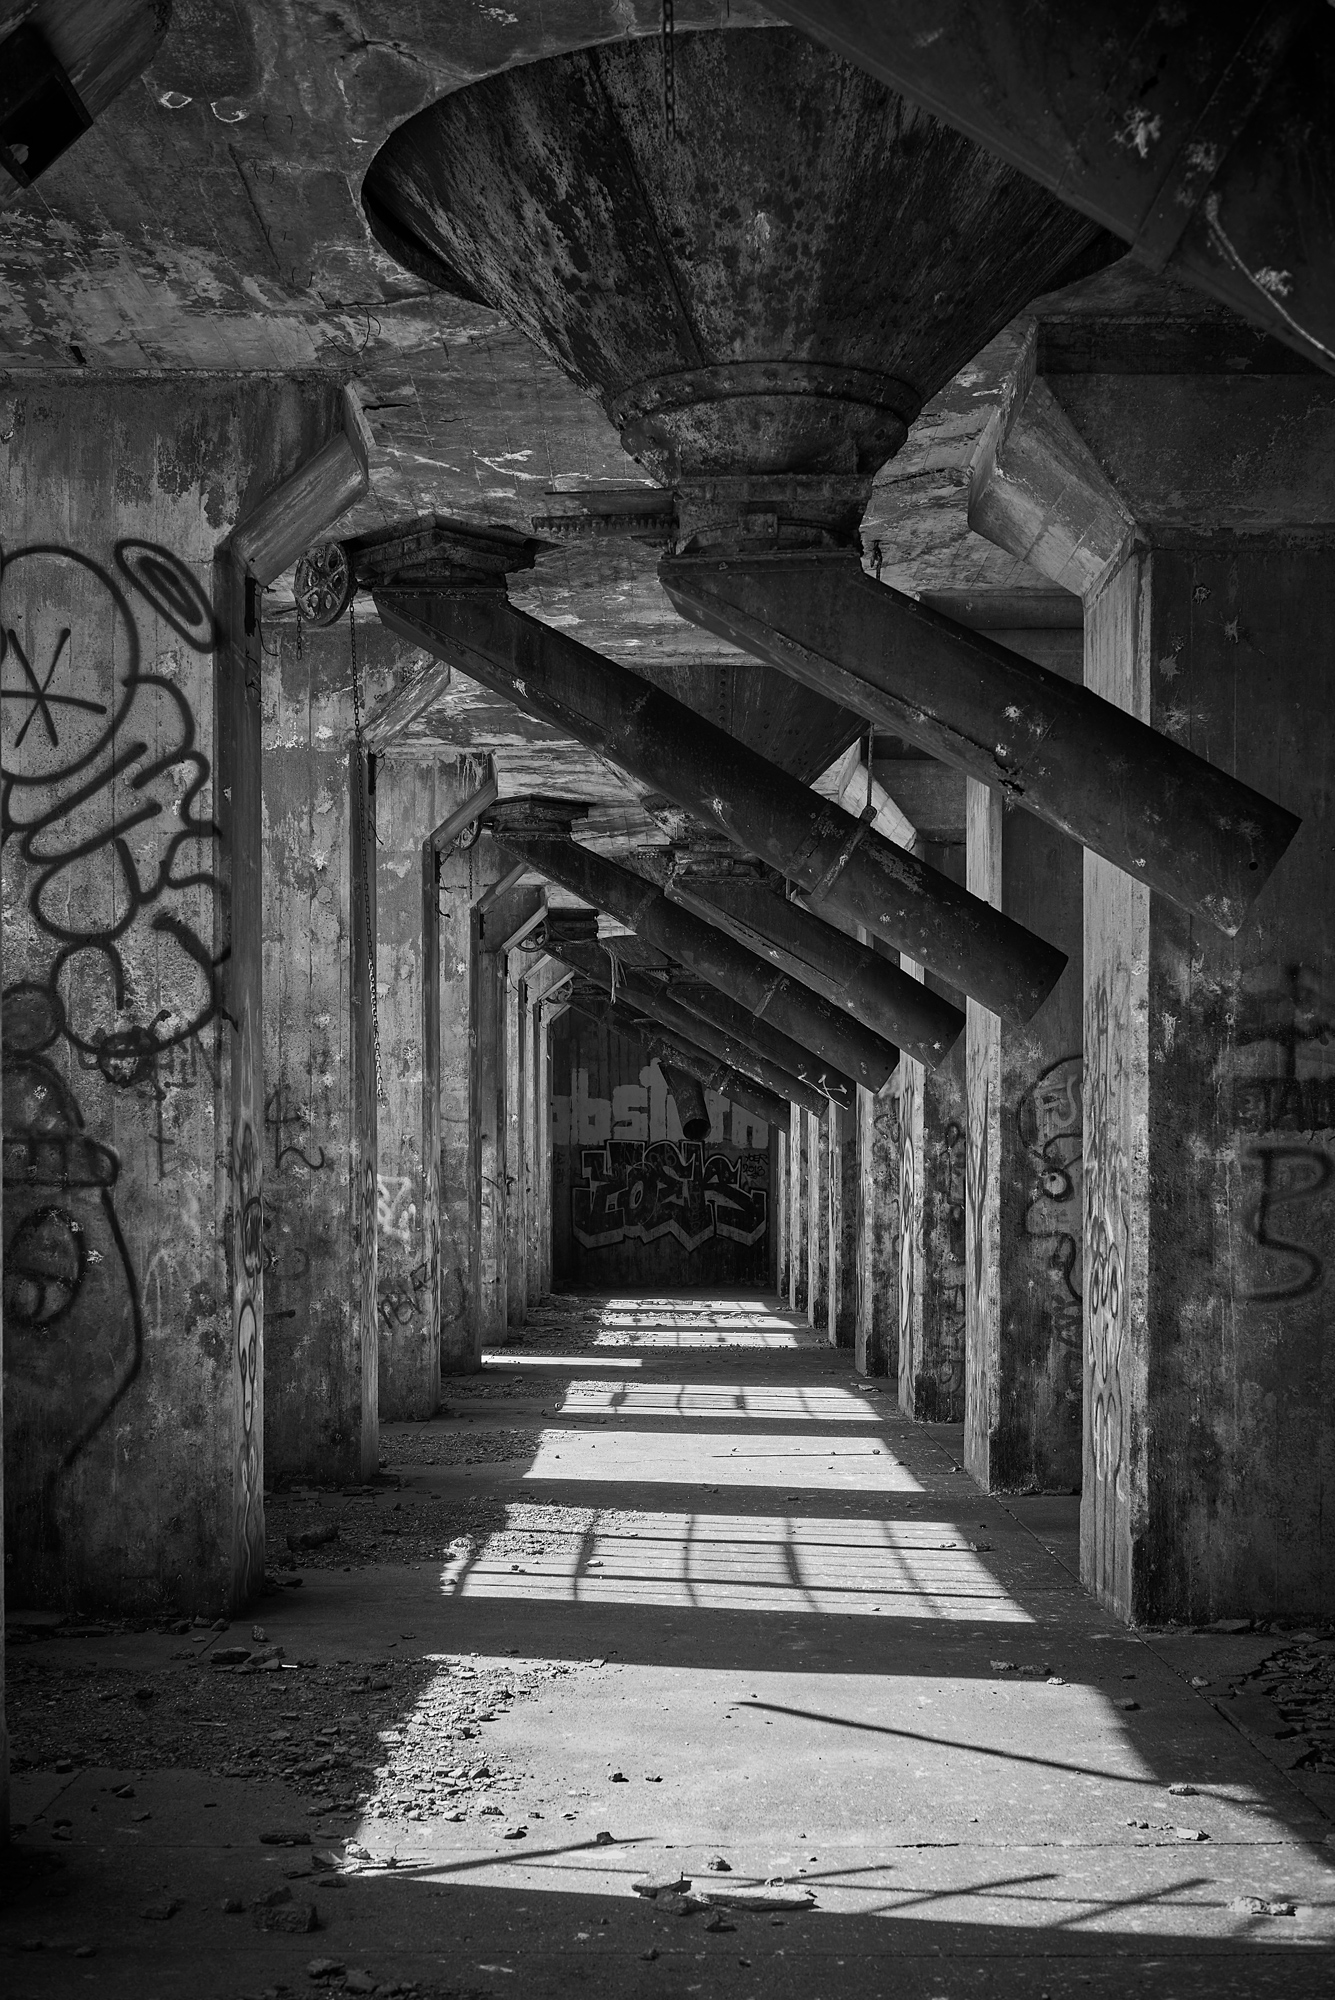
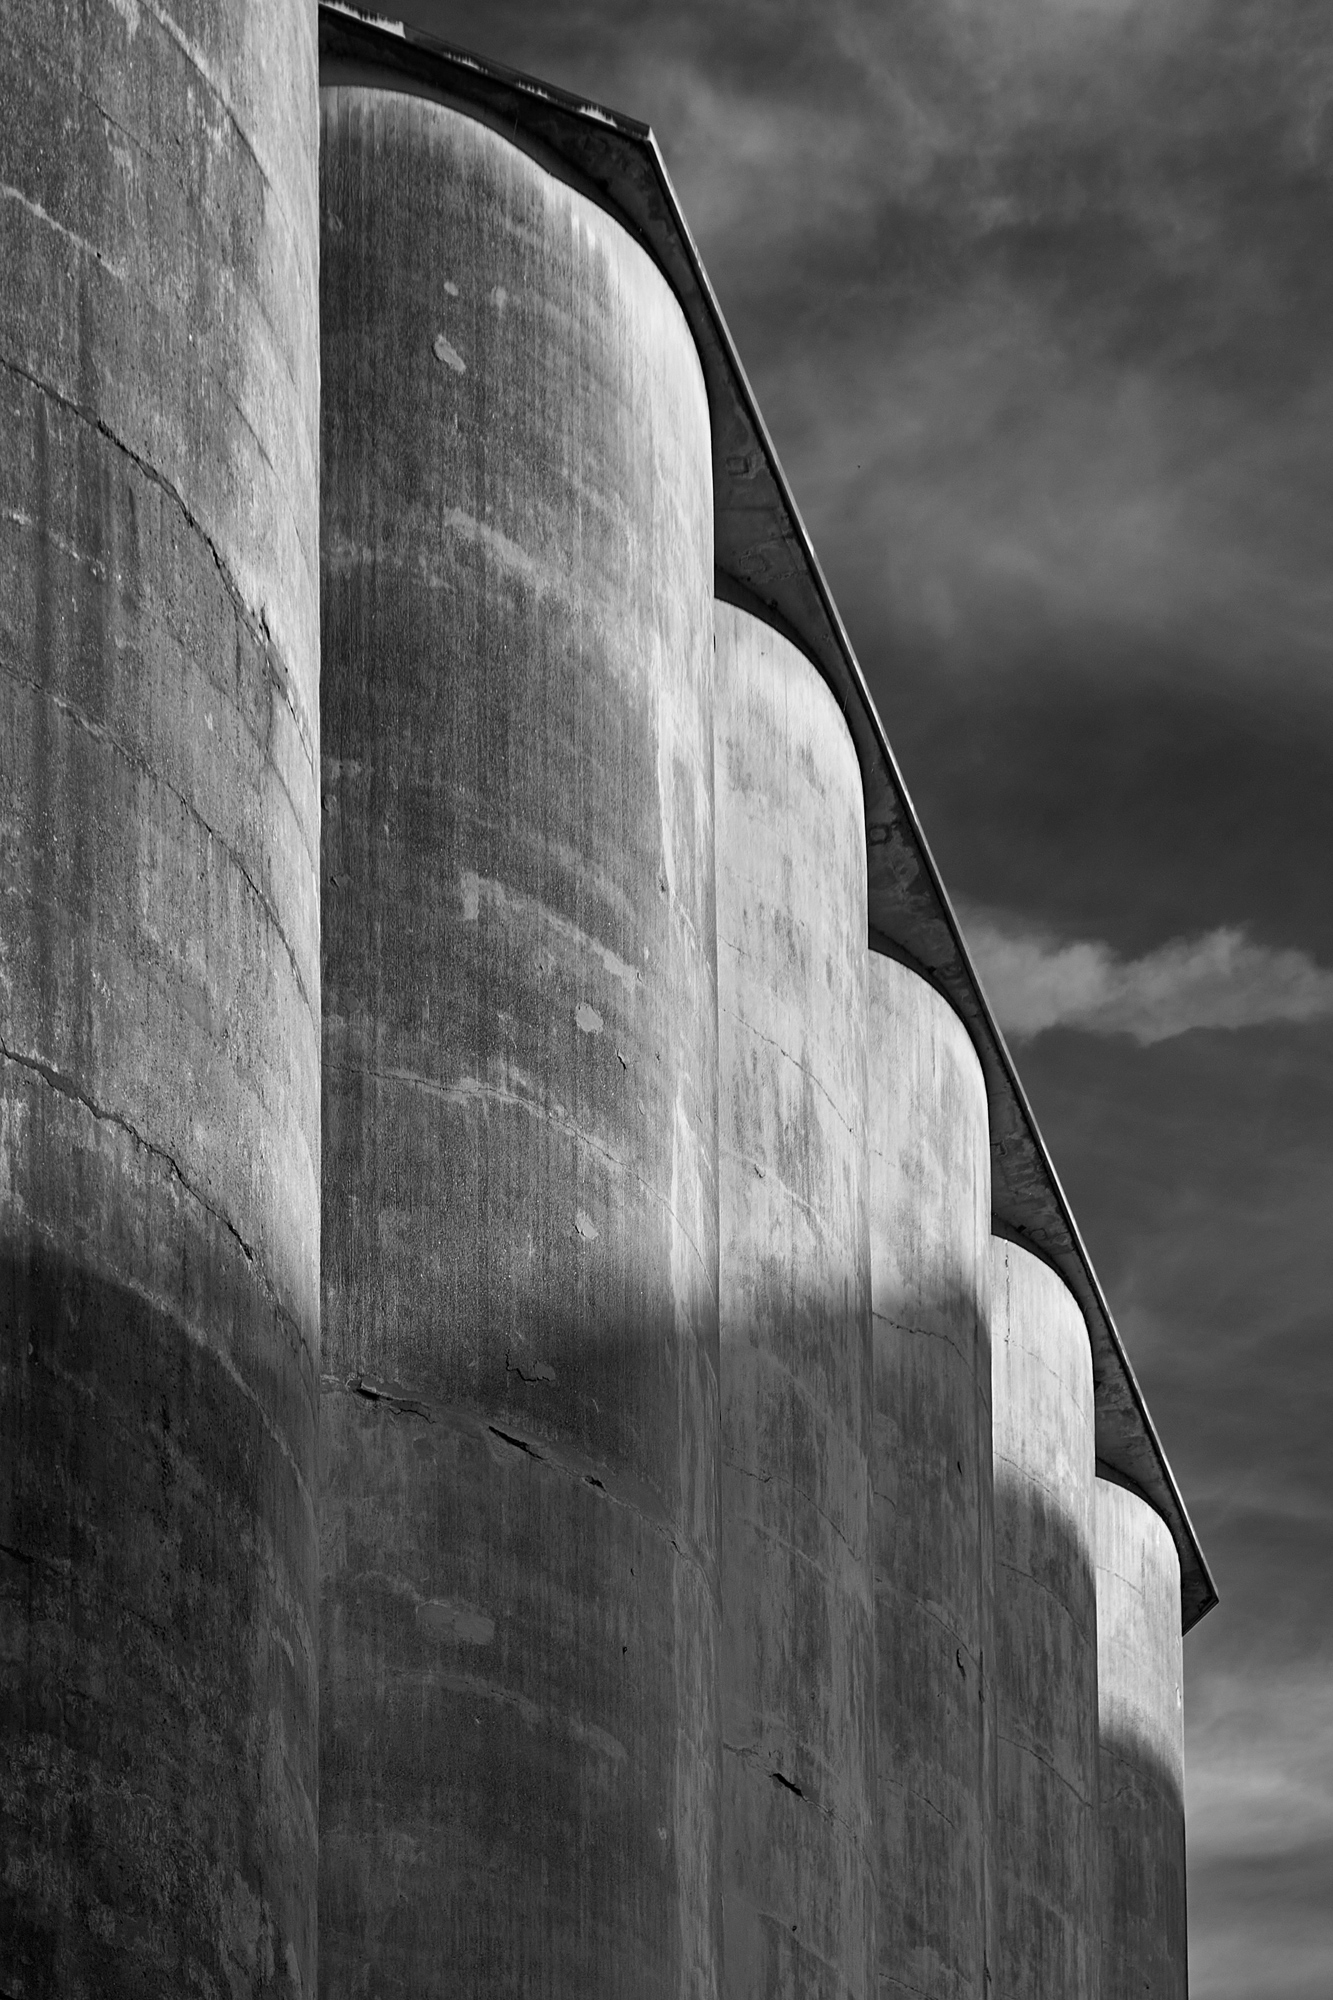
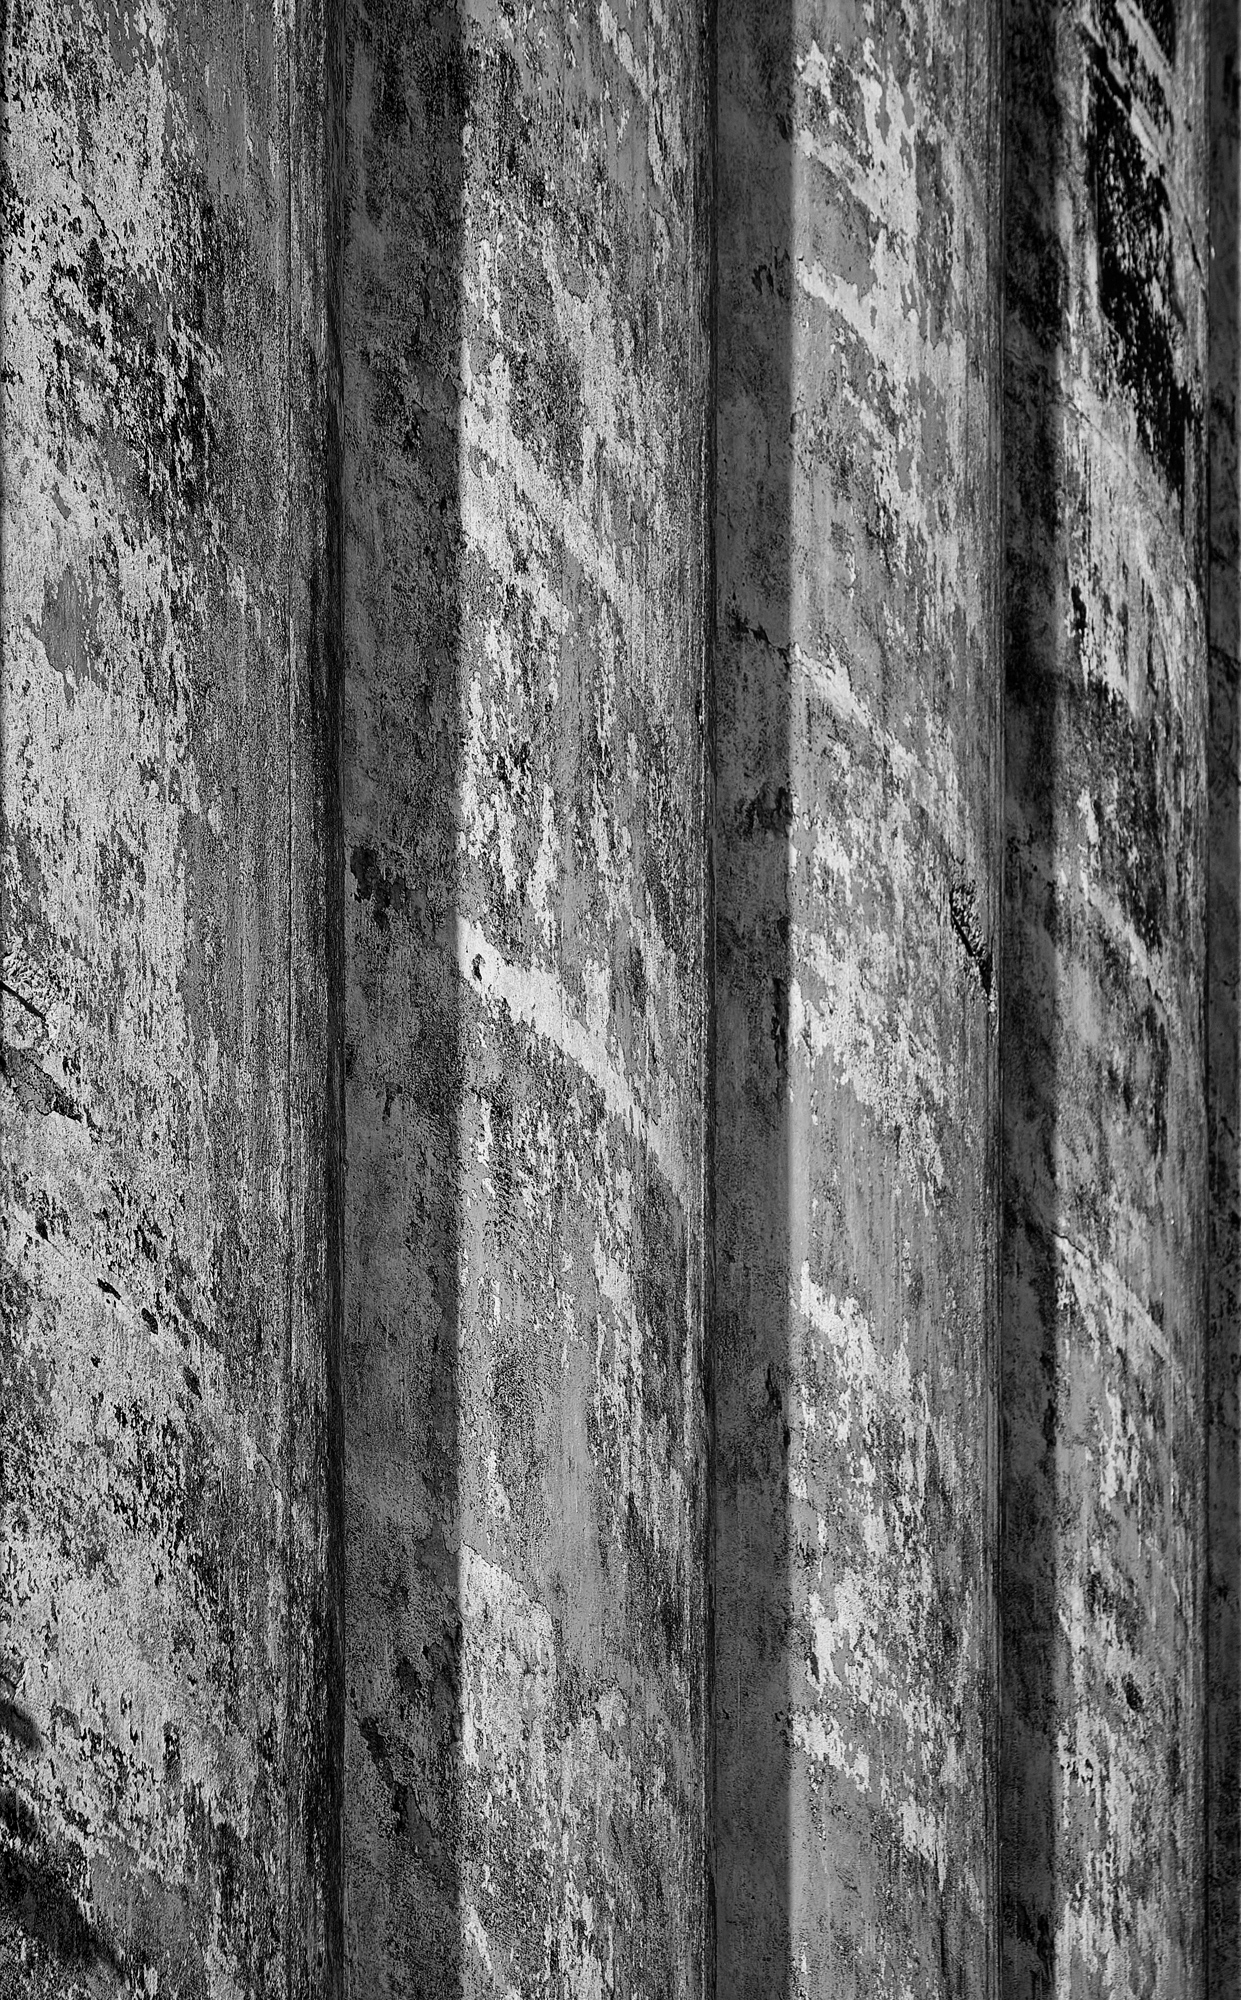
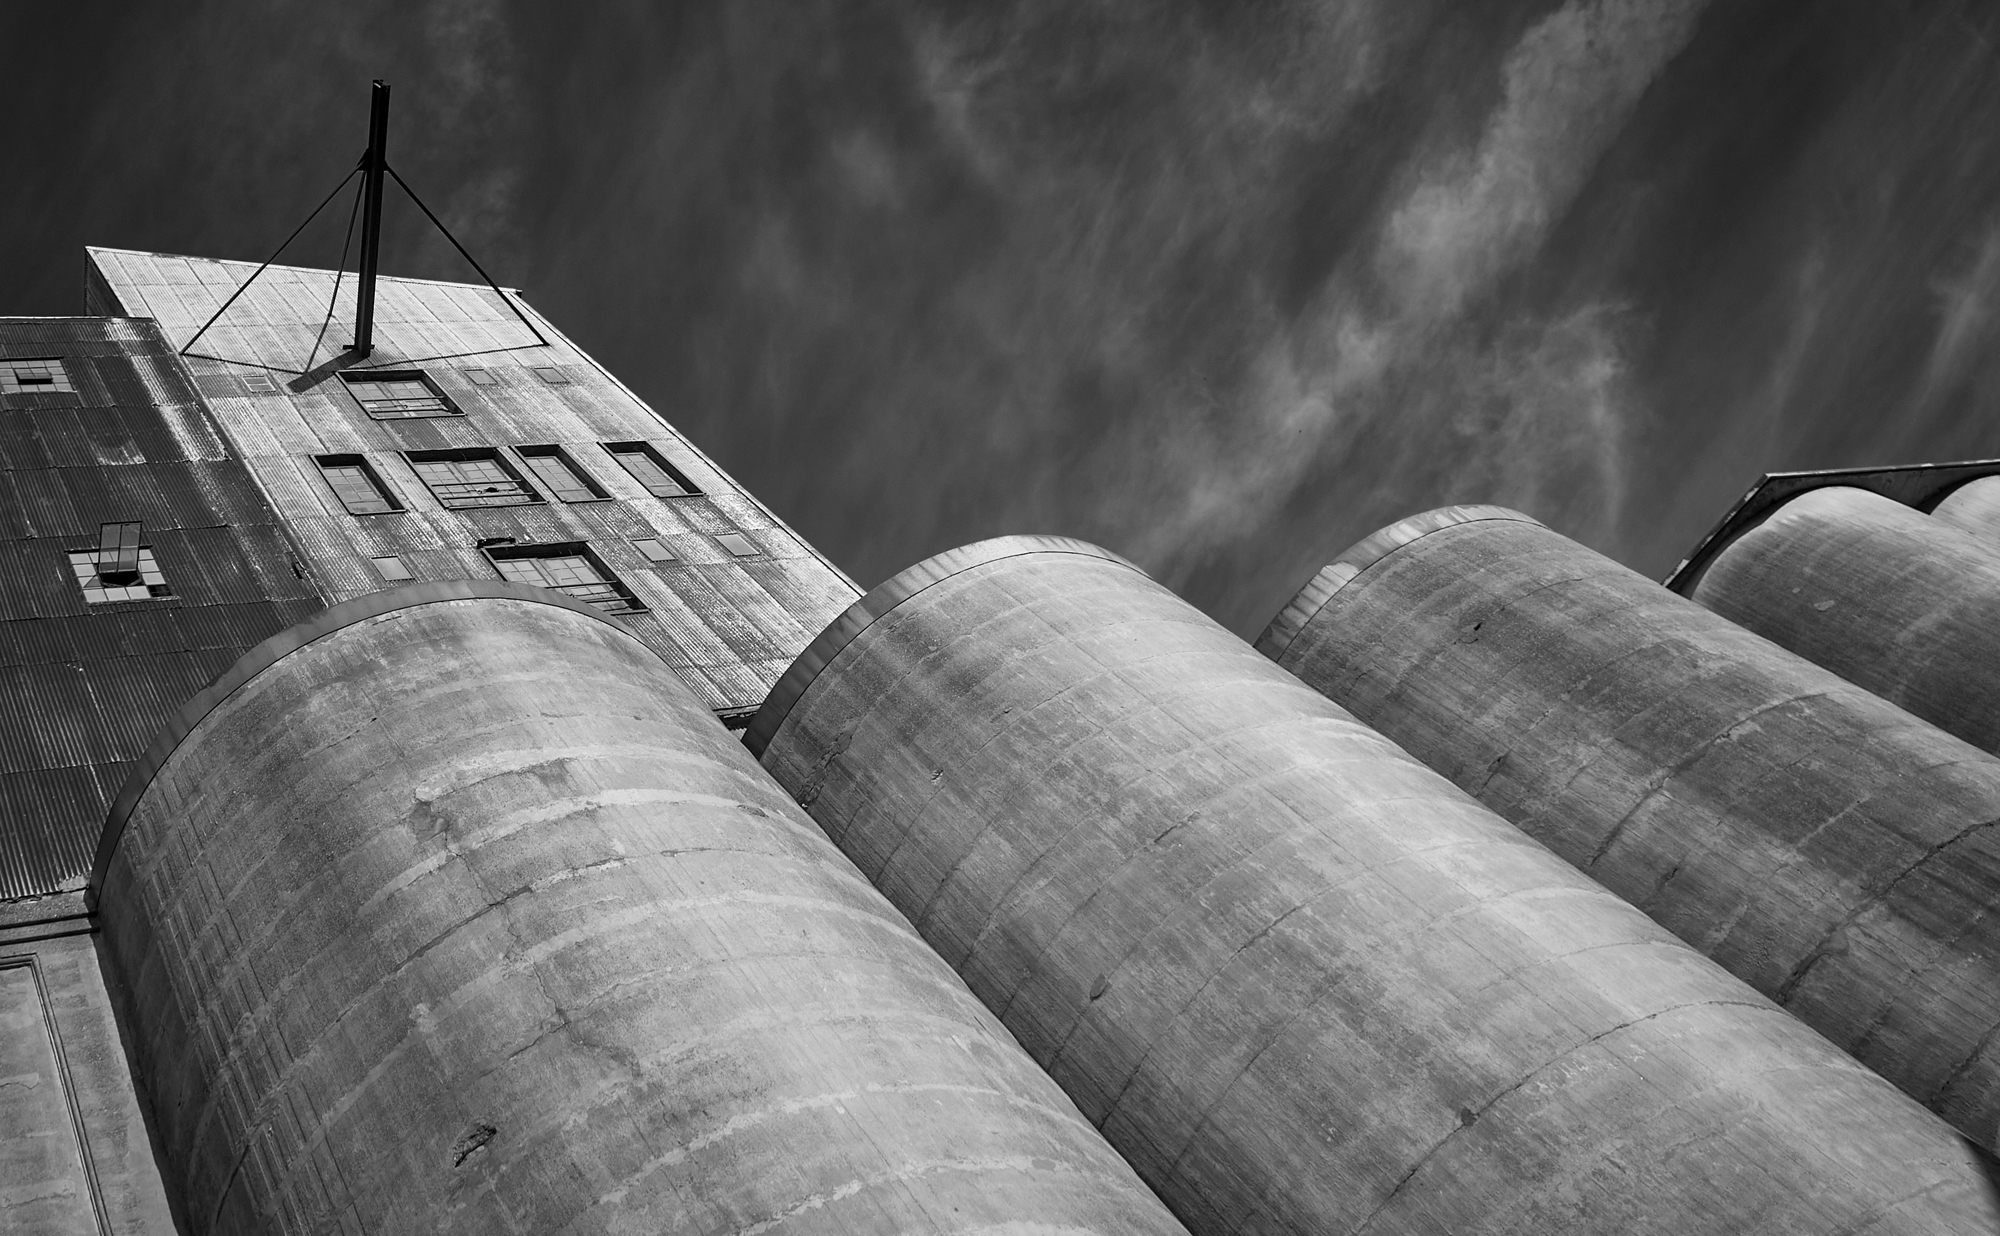
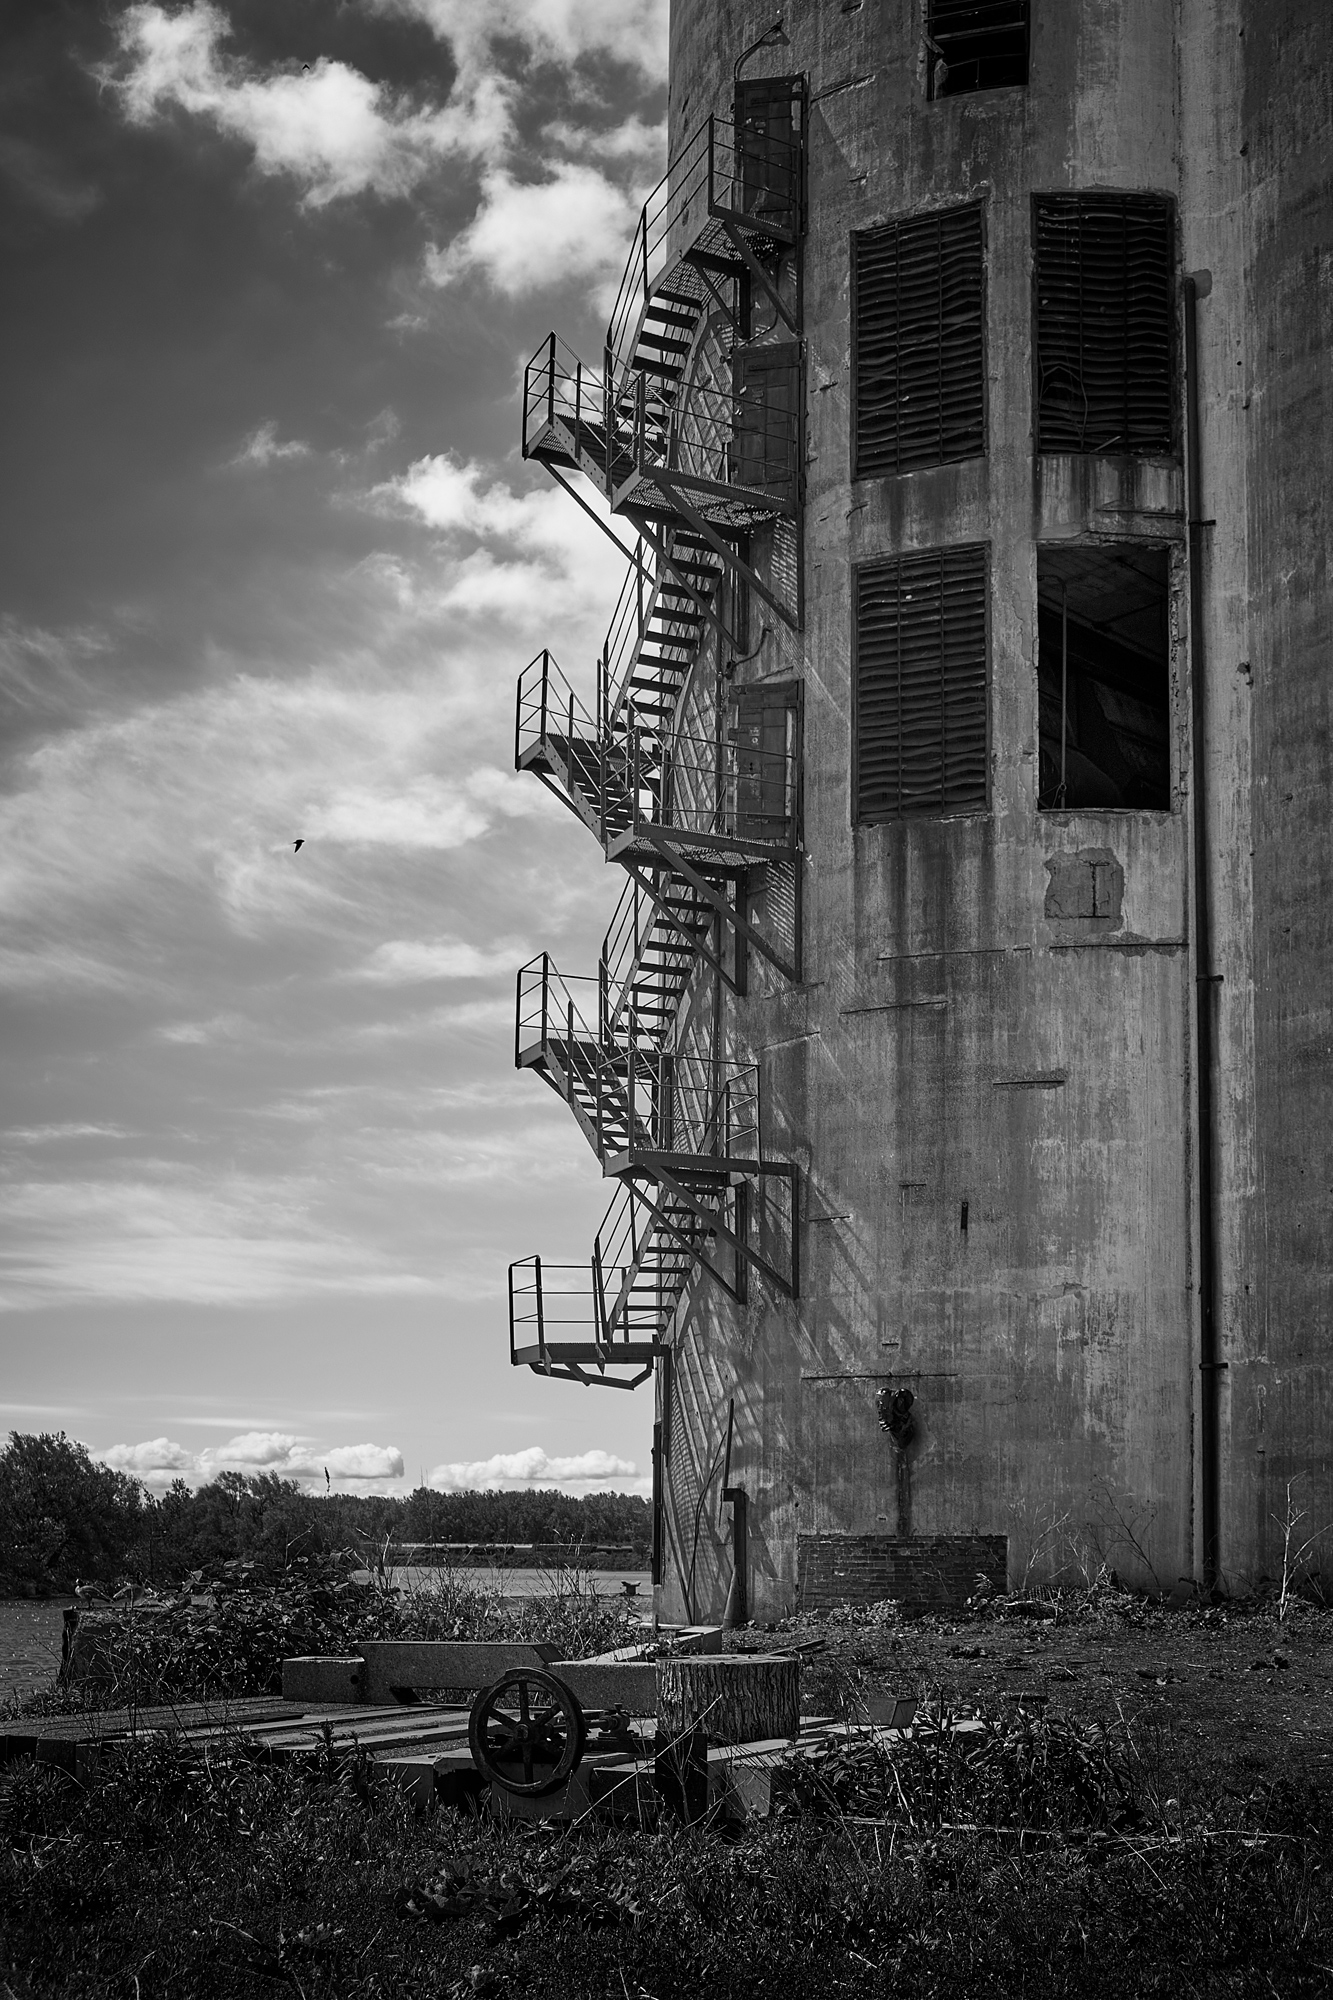
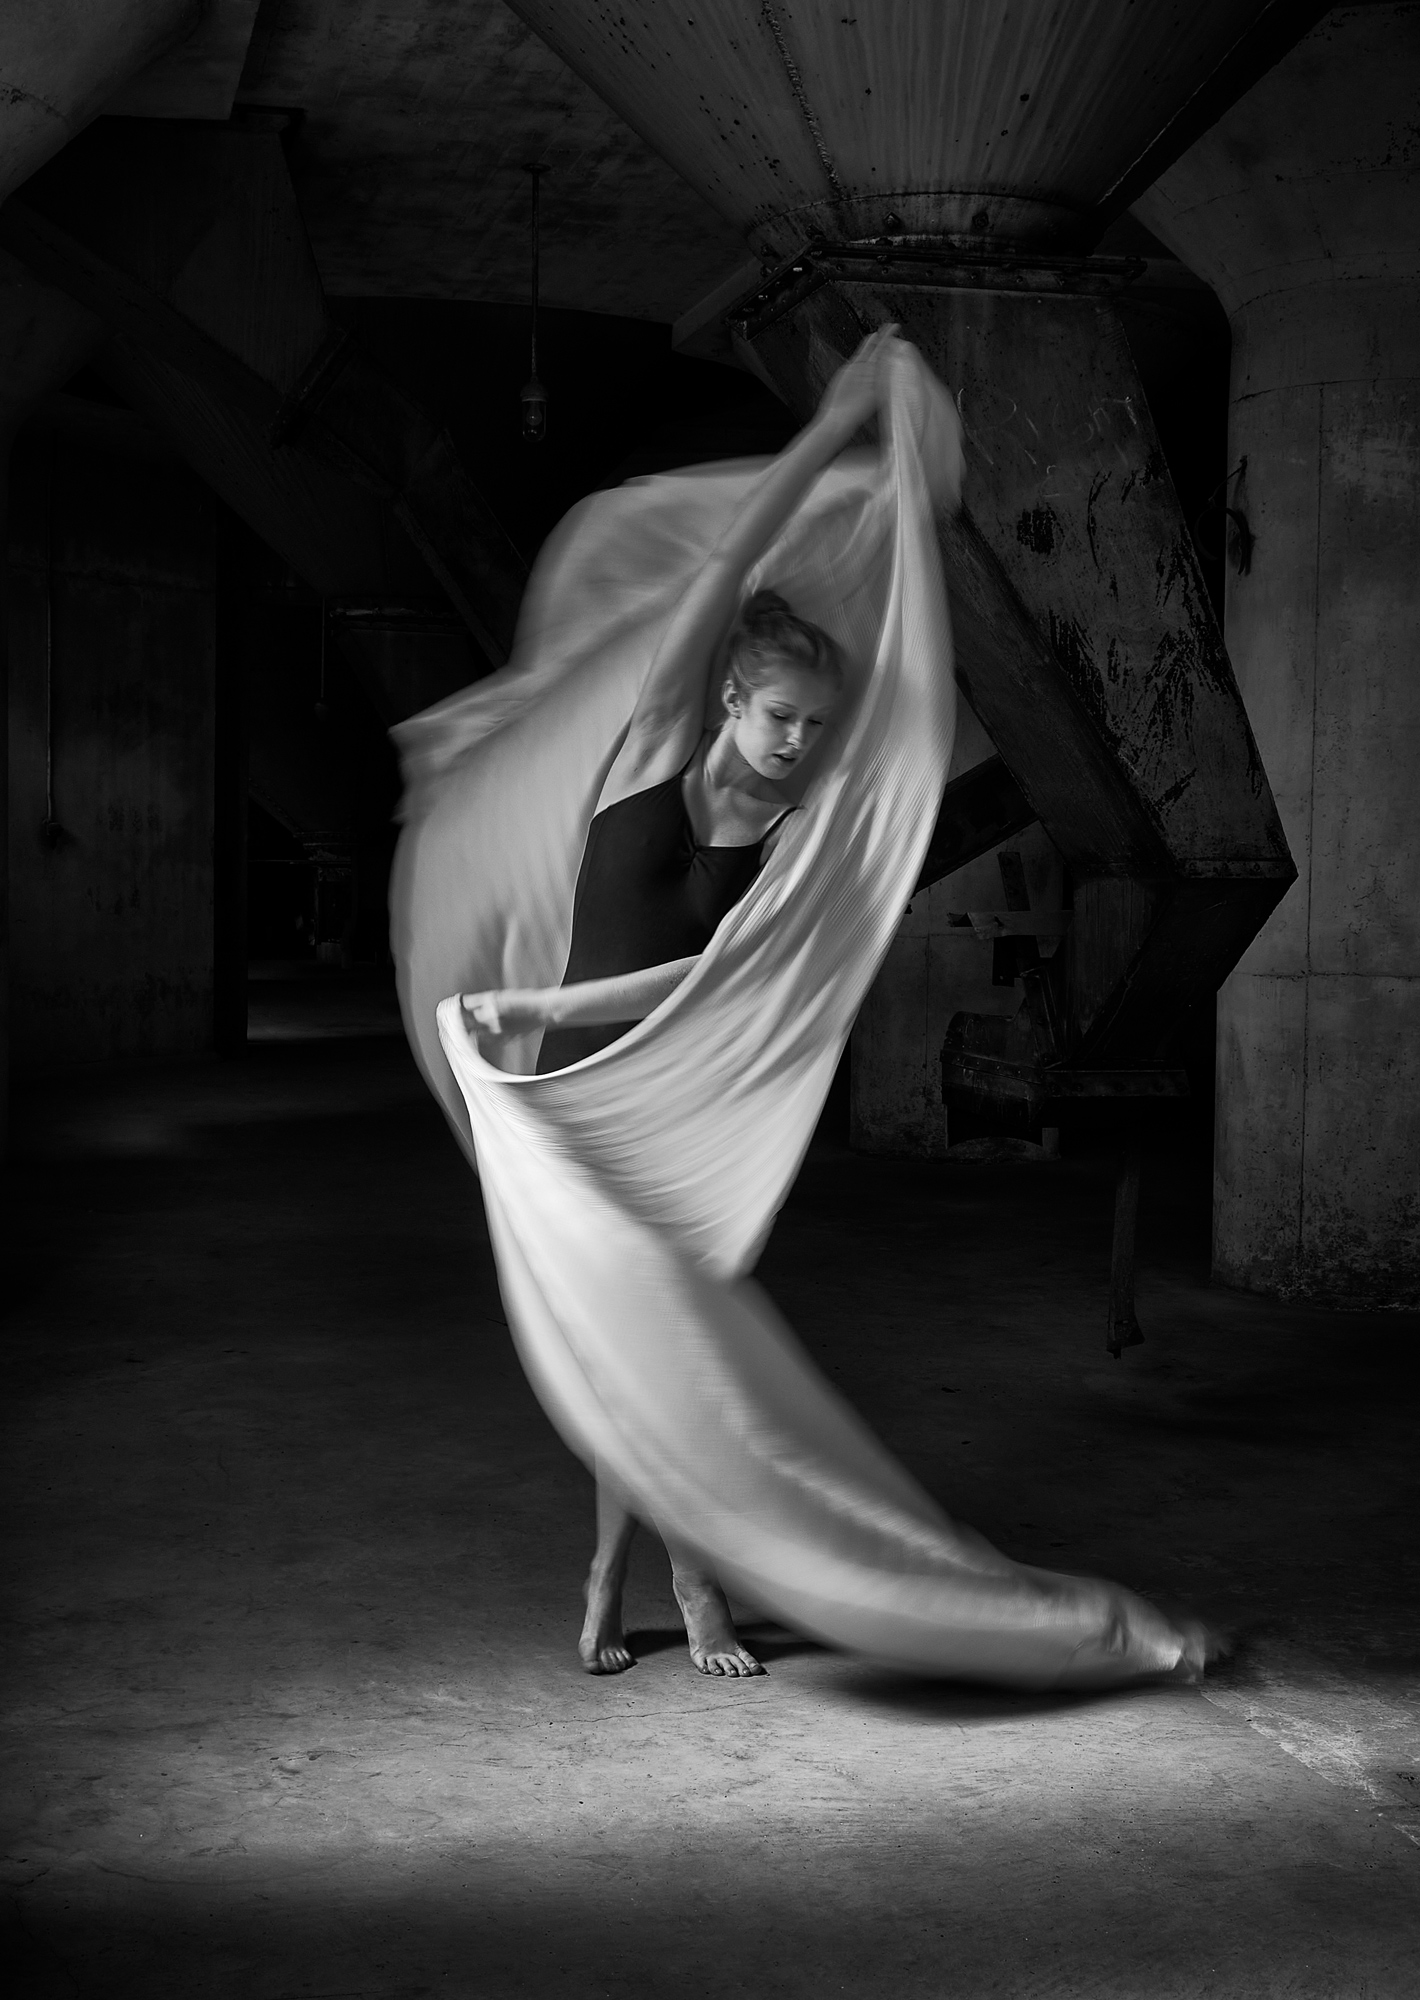
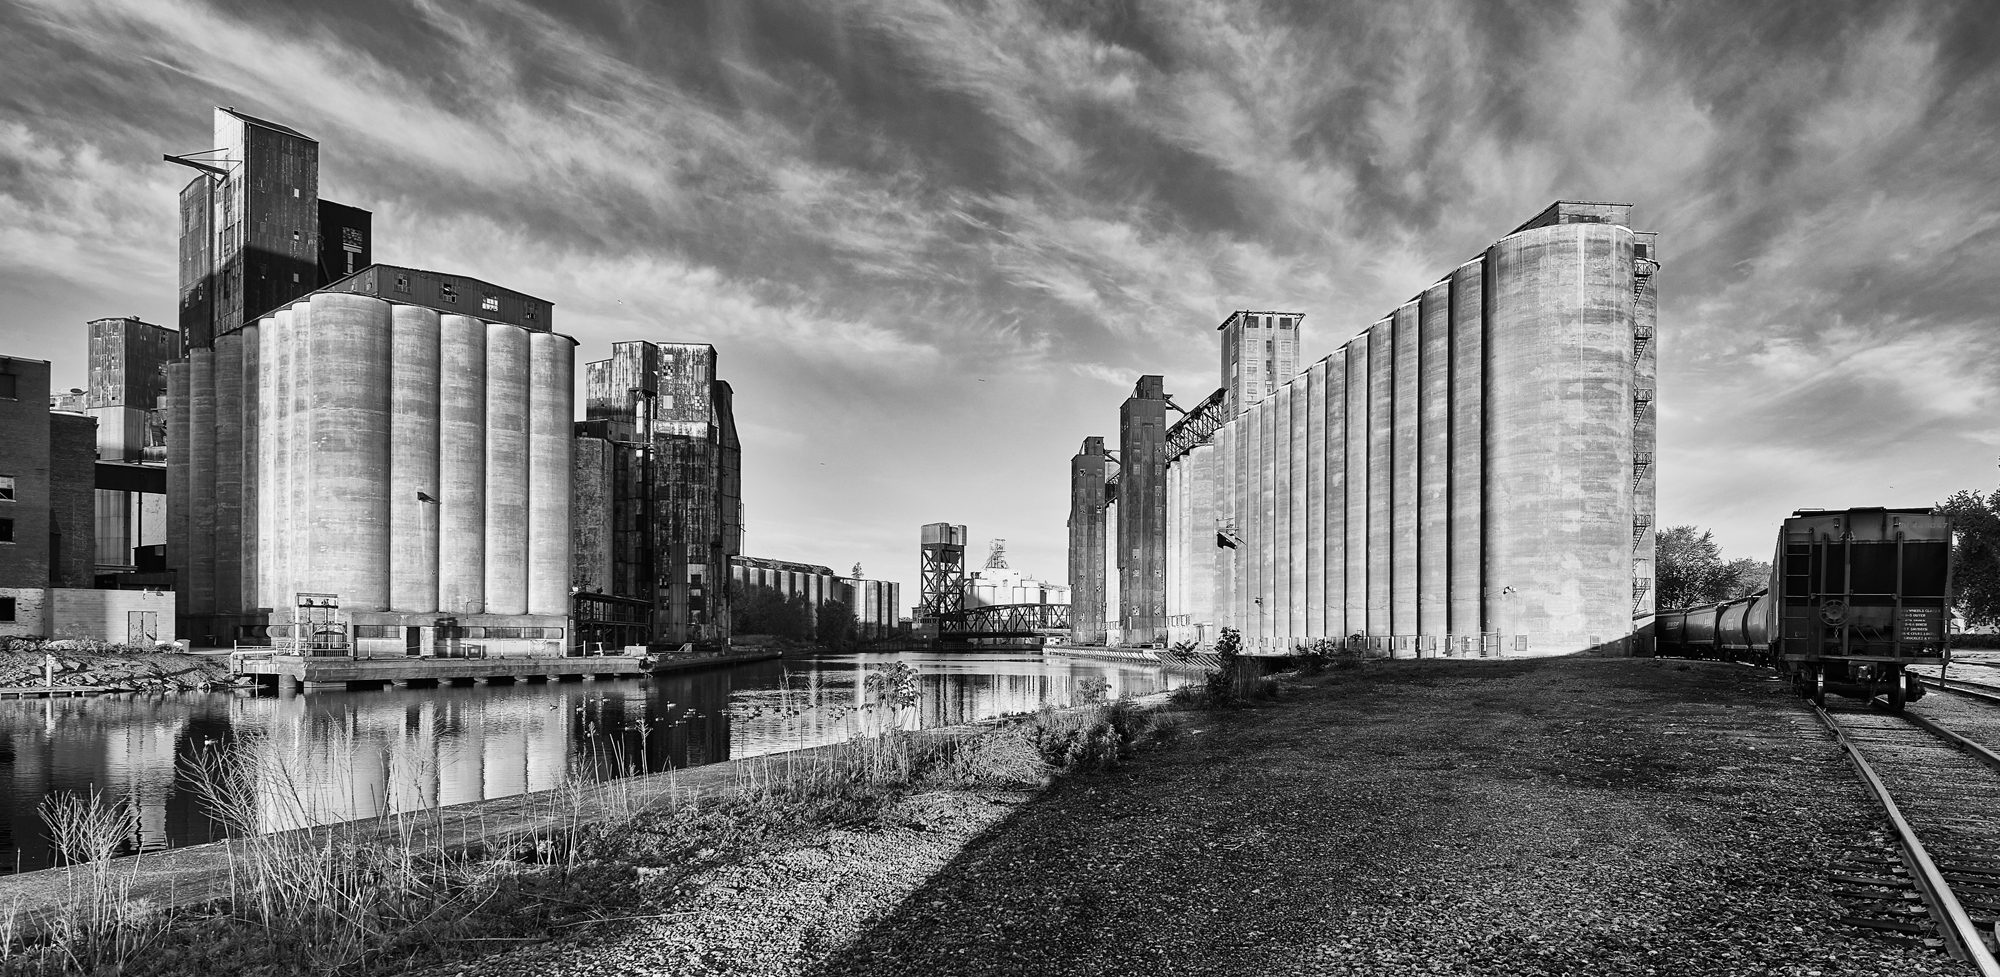
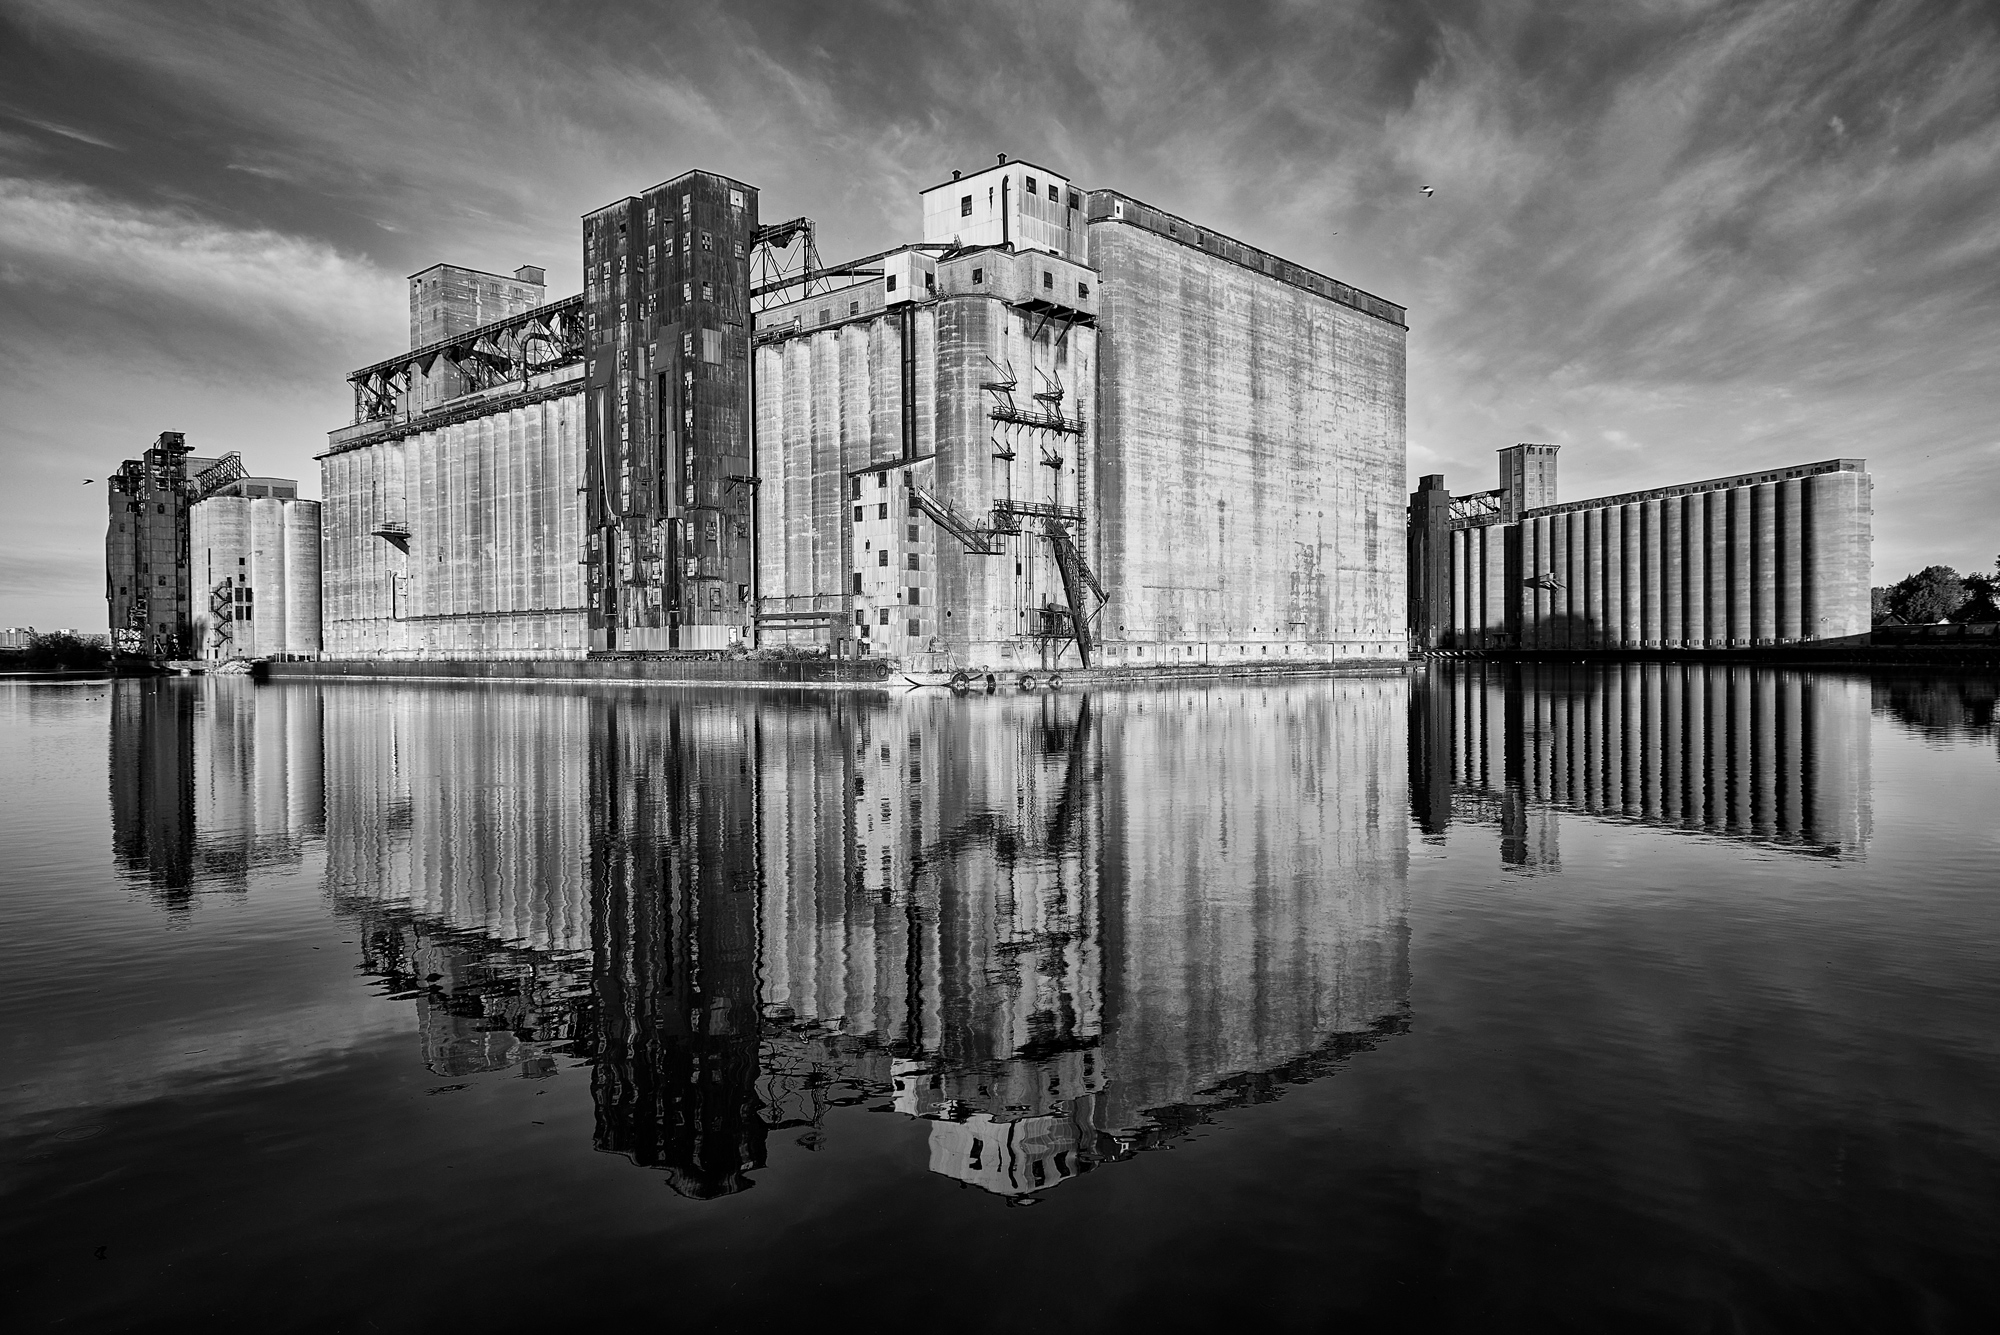
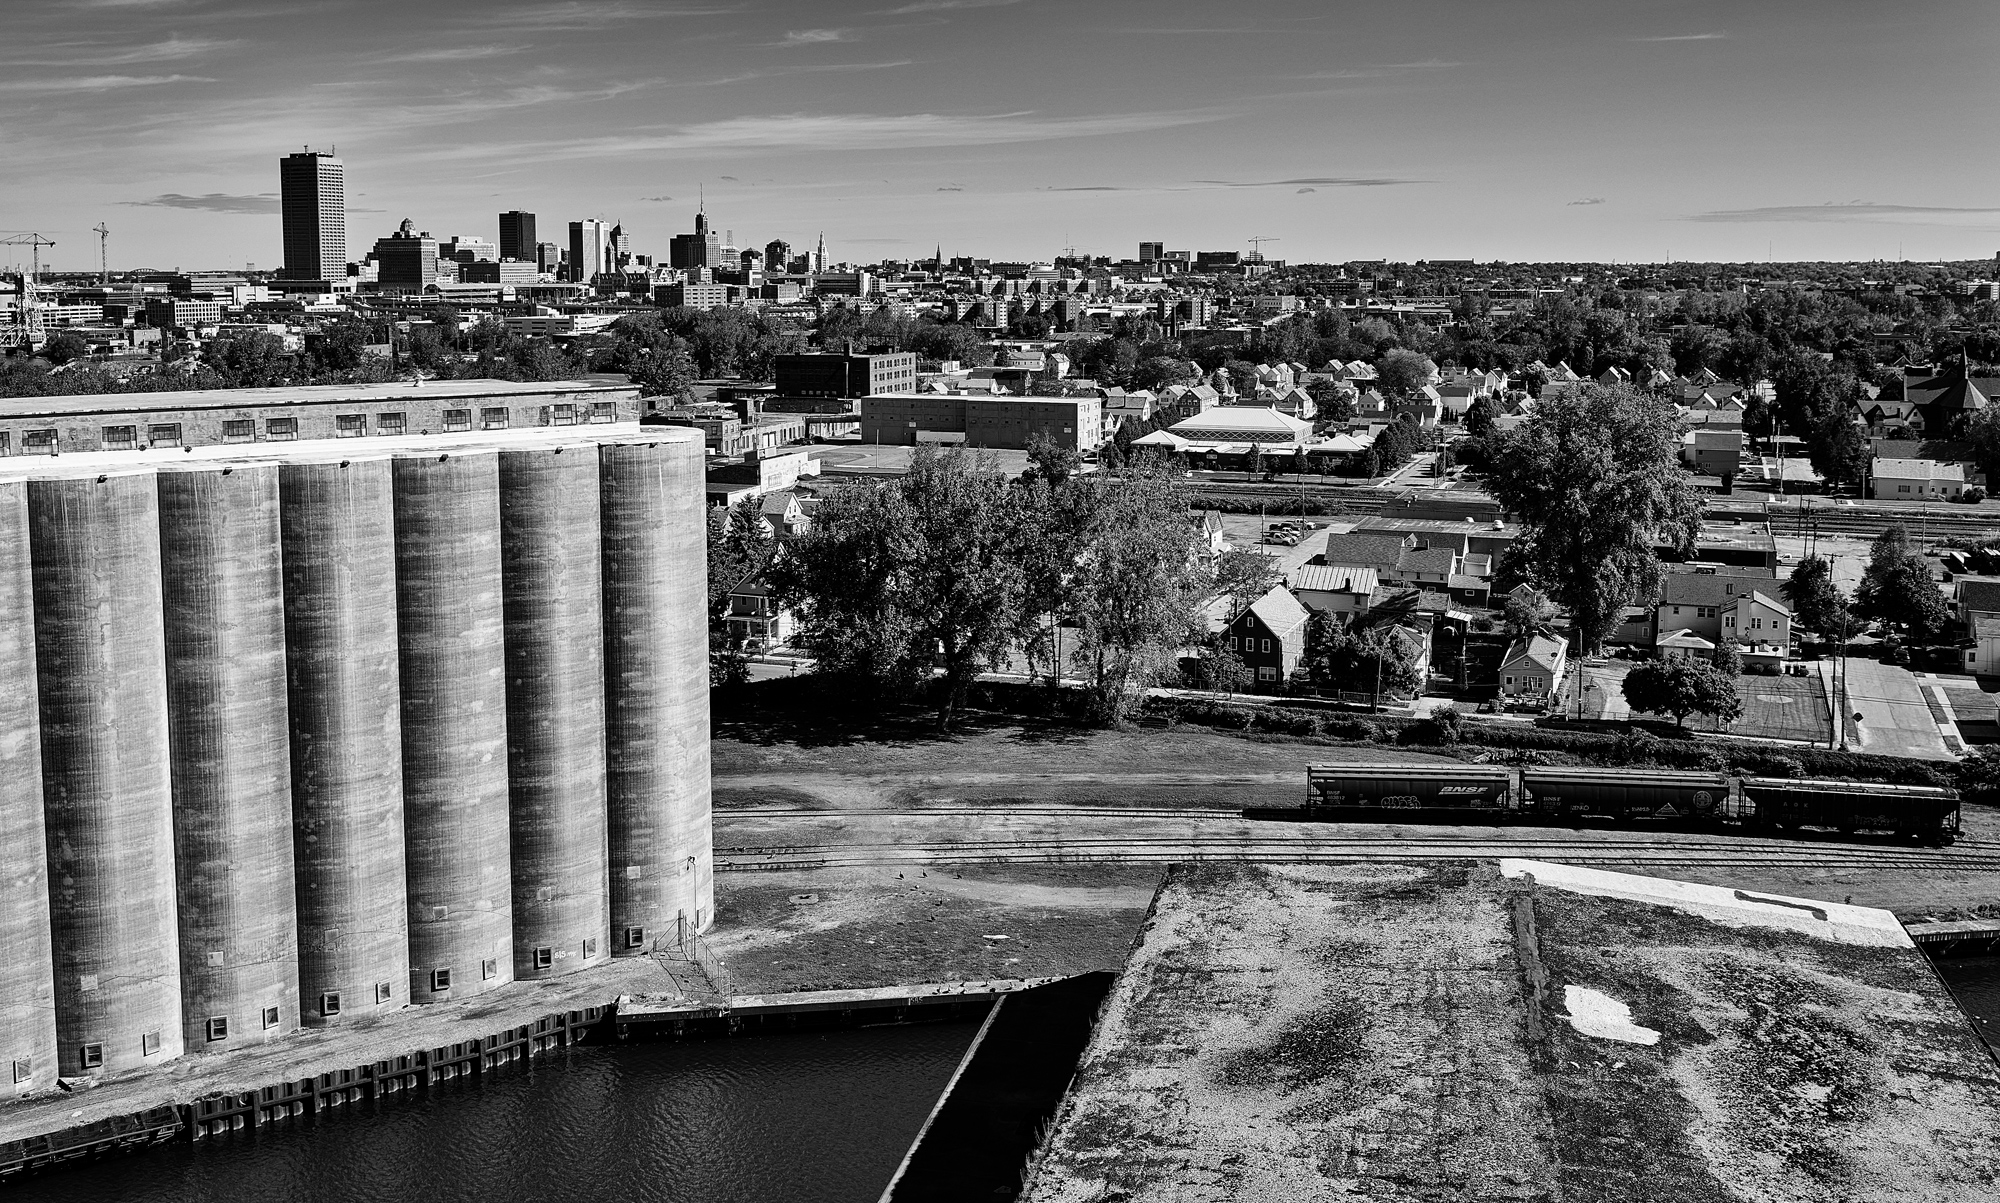
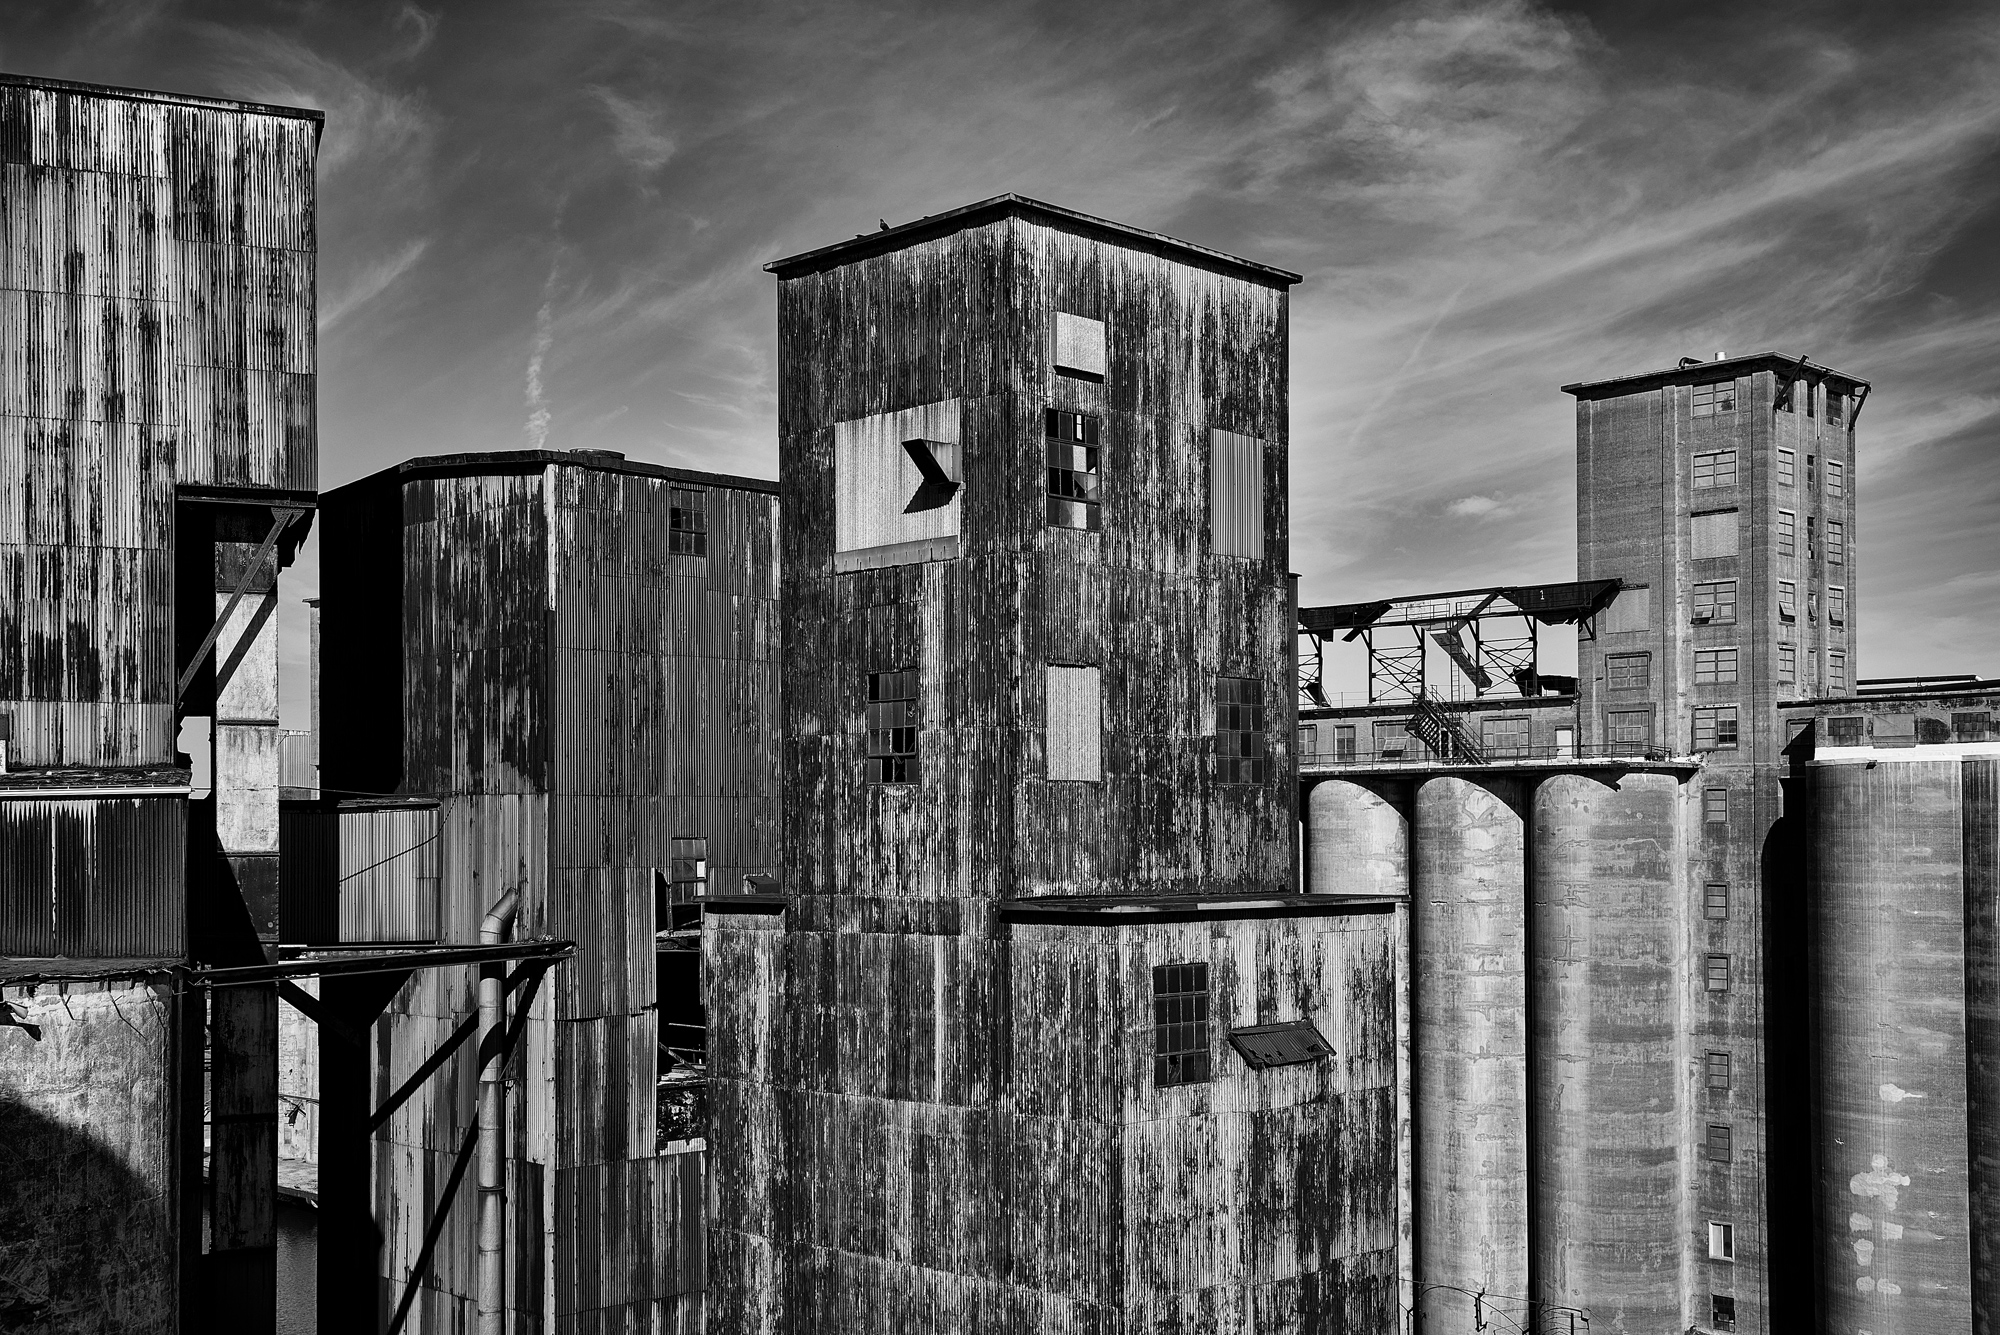
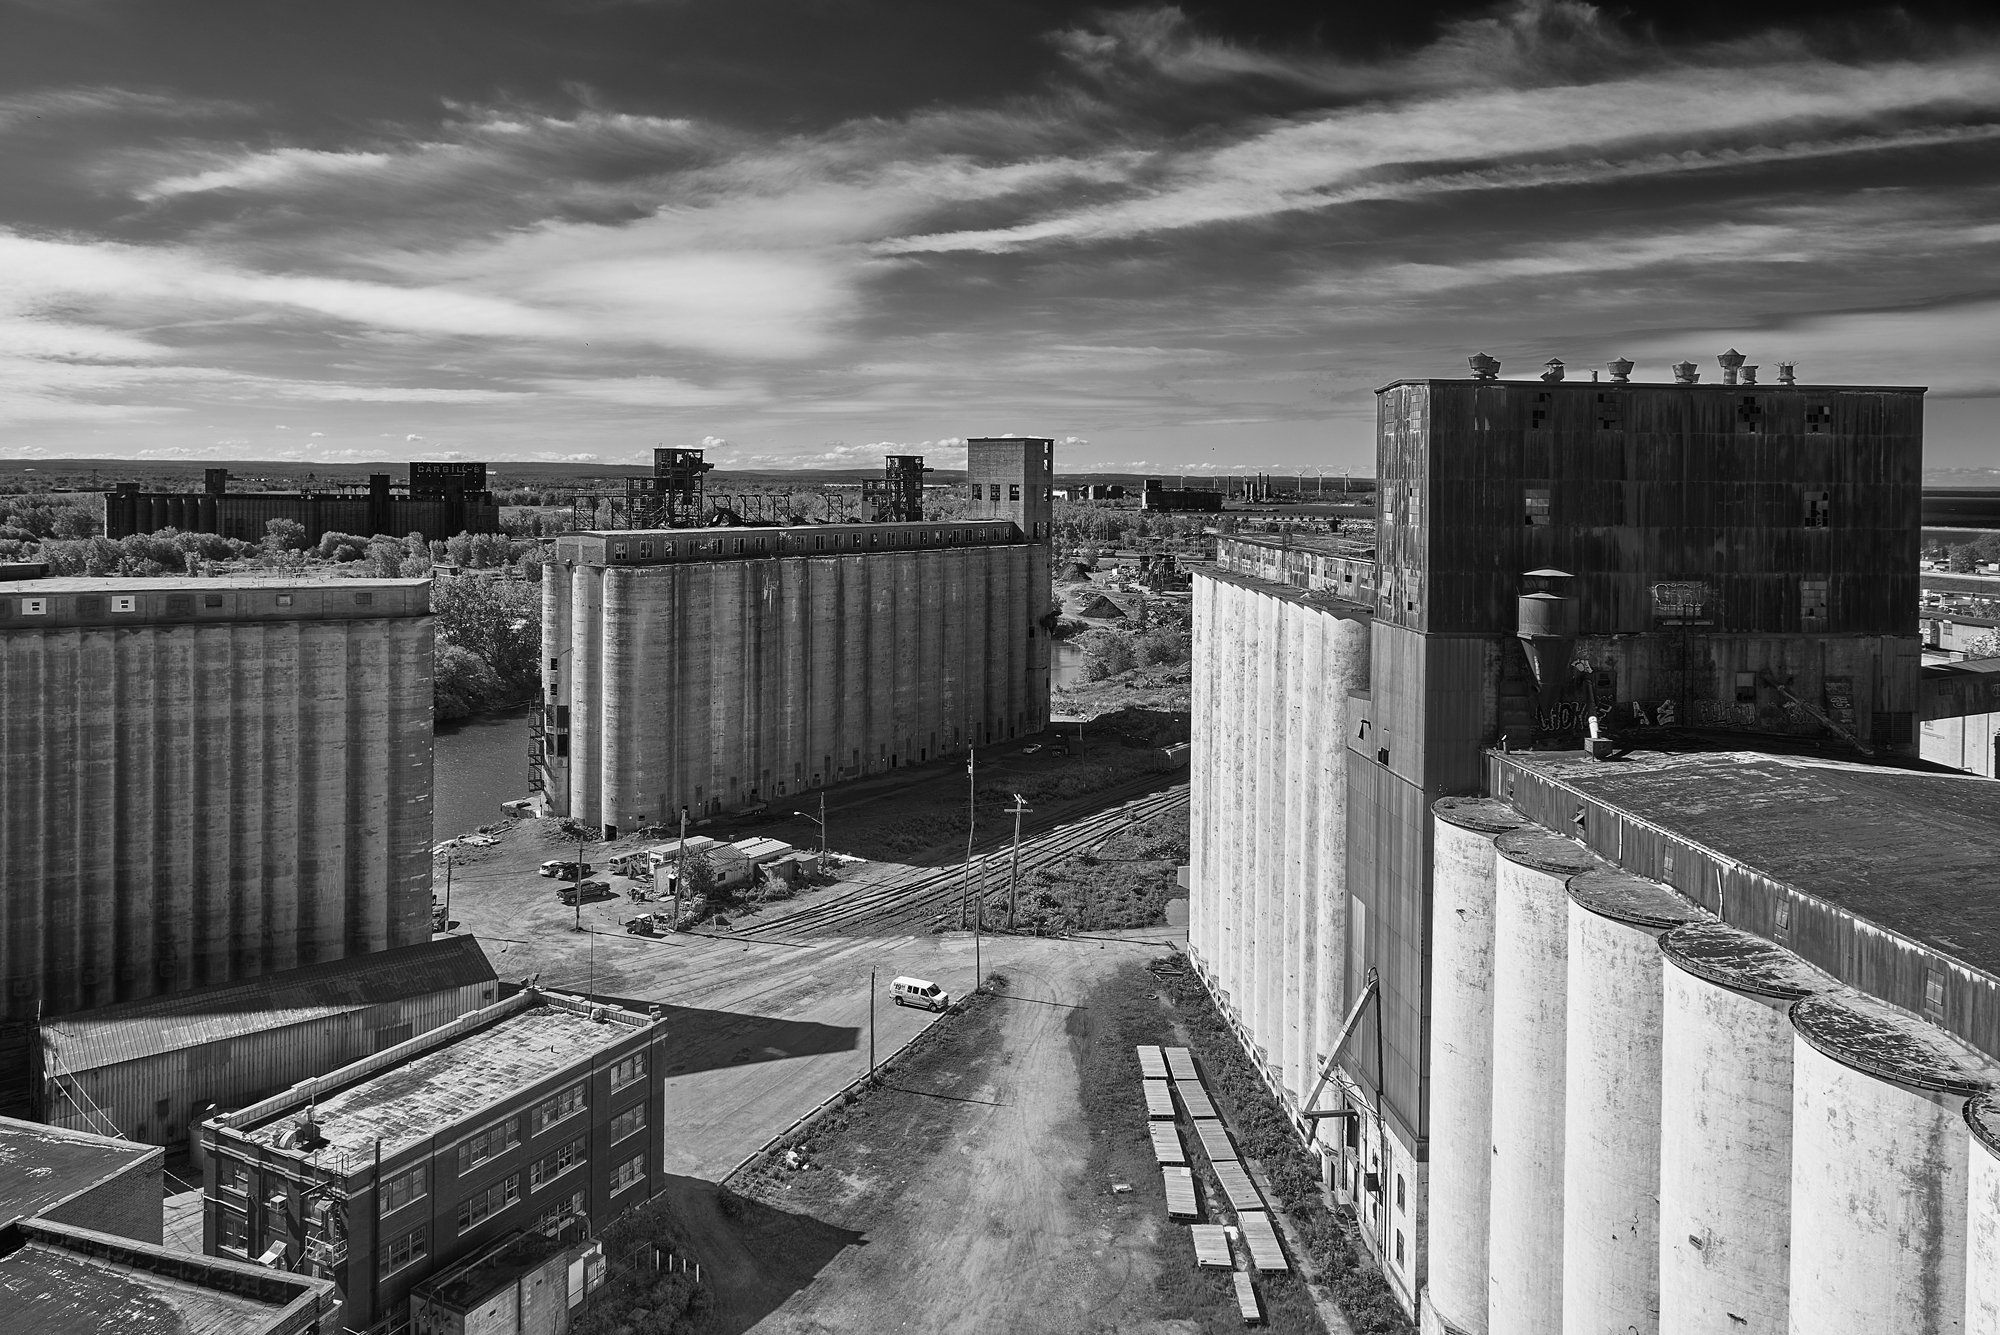
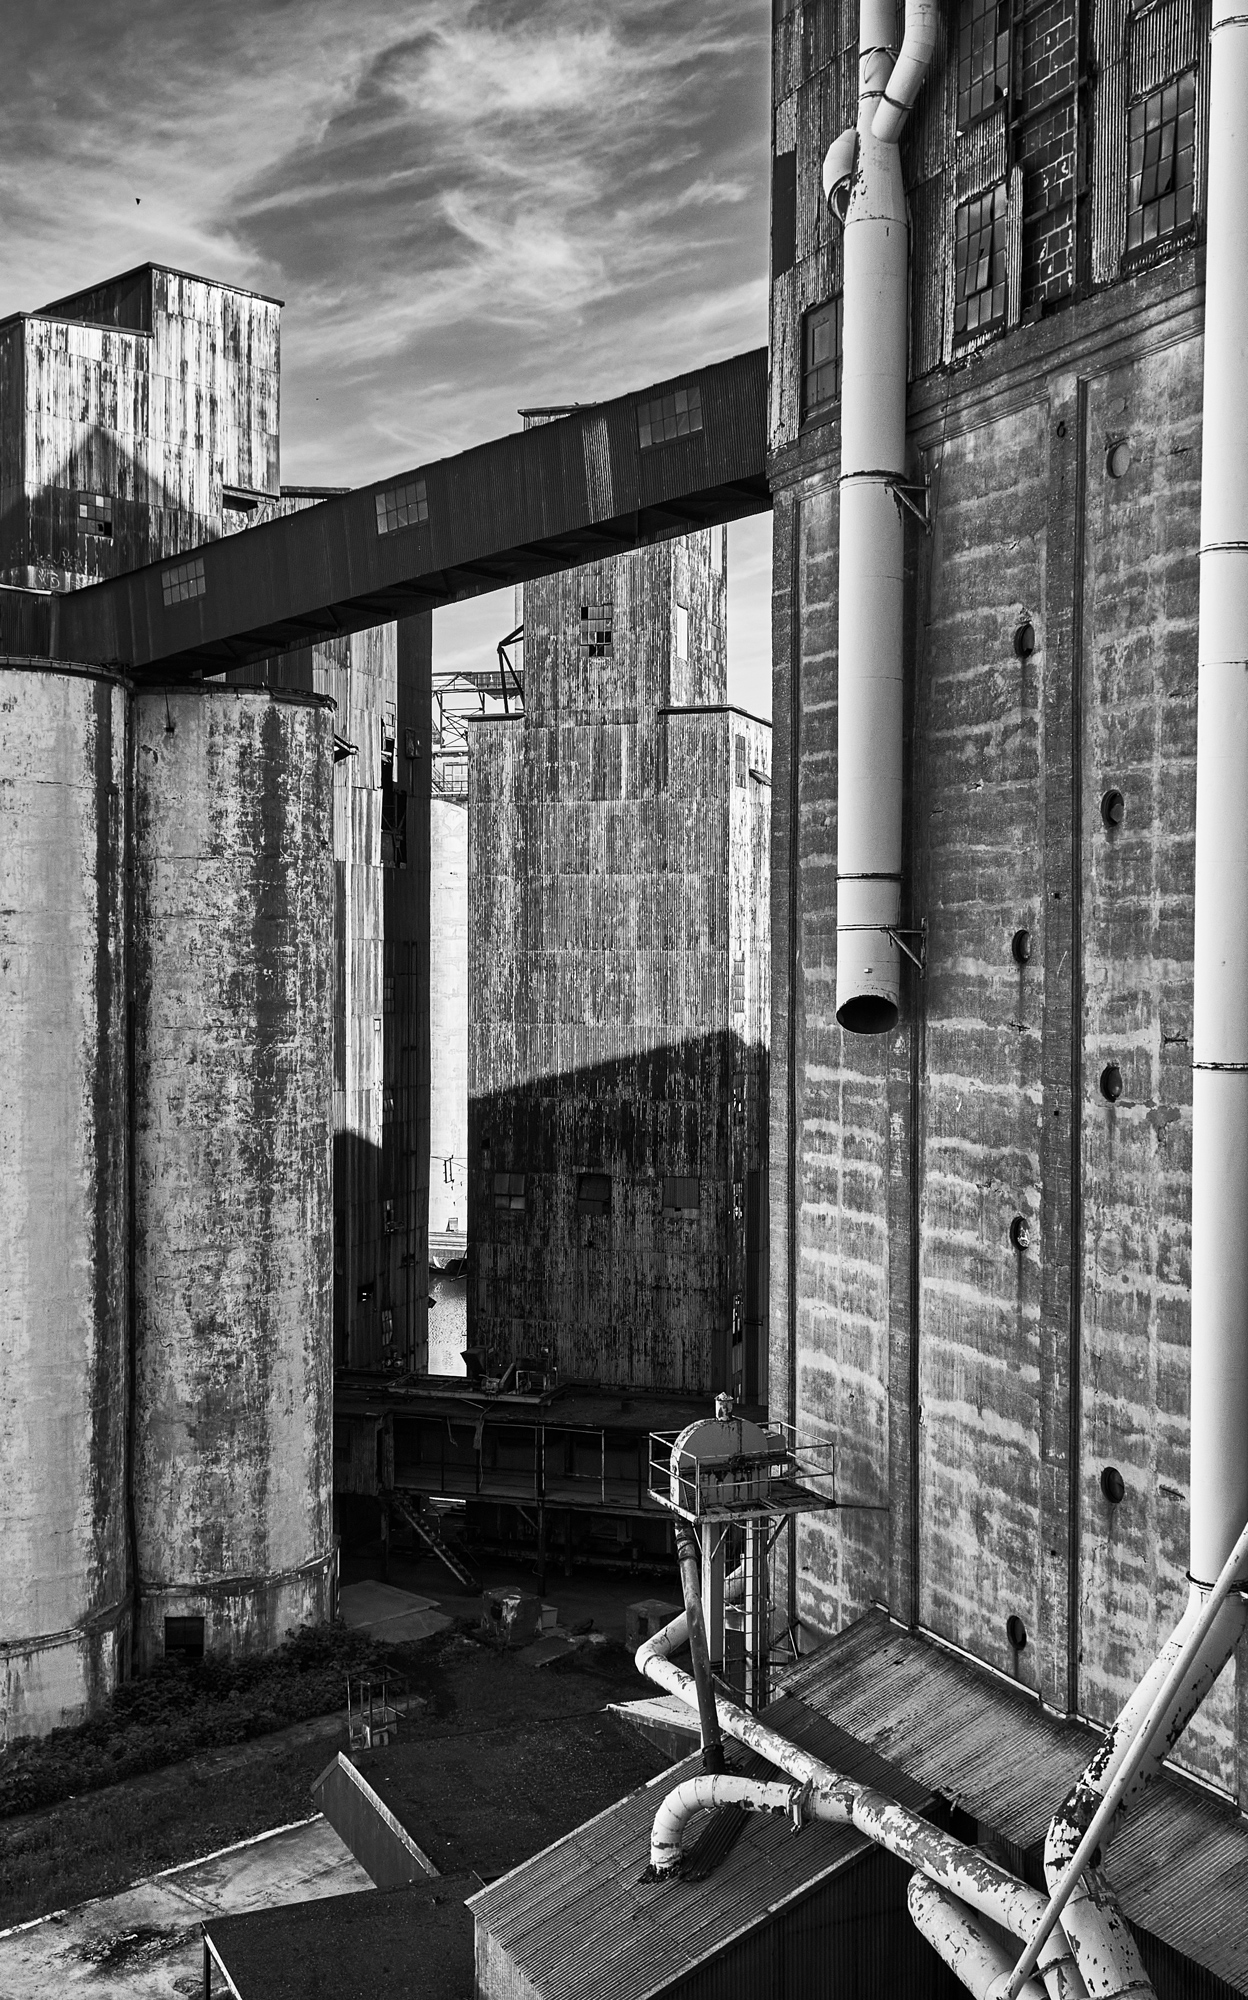
Depending on the project, I will want to make prints of the best images from the group of finals. In this article, we will be working with my Silo City Project. Silo City is a complex of grain elevators on the Buffalo, NY lakefront. At one time in the 20th century, it was a crucial transfer point of wheat and other grains from the Midwest to ships and rail cars that would then distribute it to the east coast factories and mills.
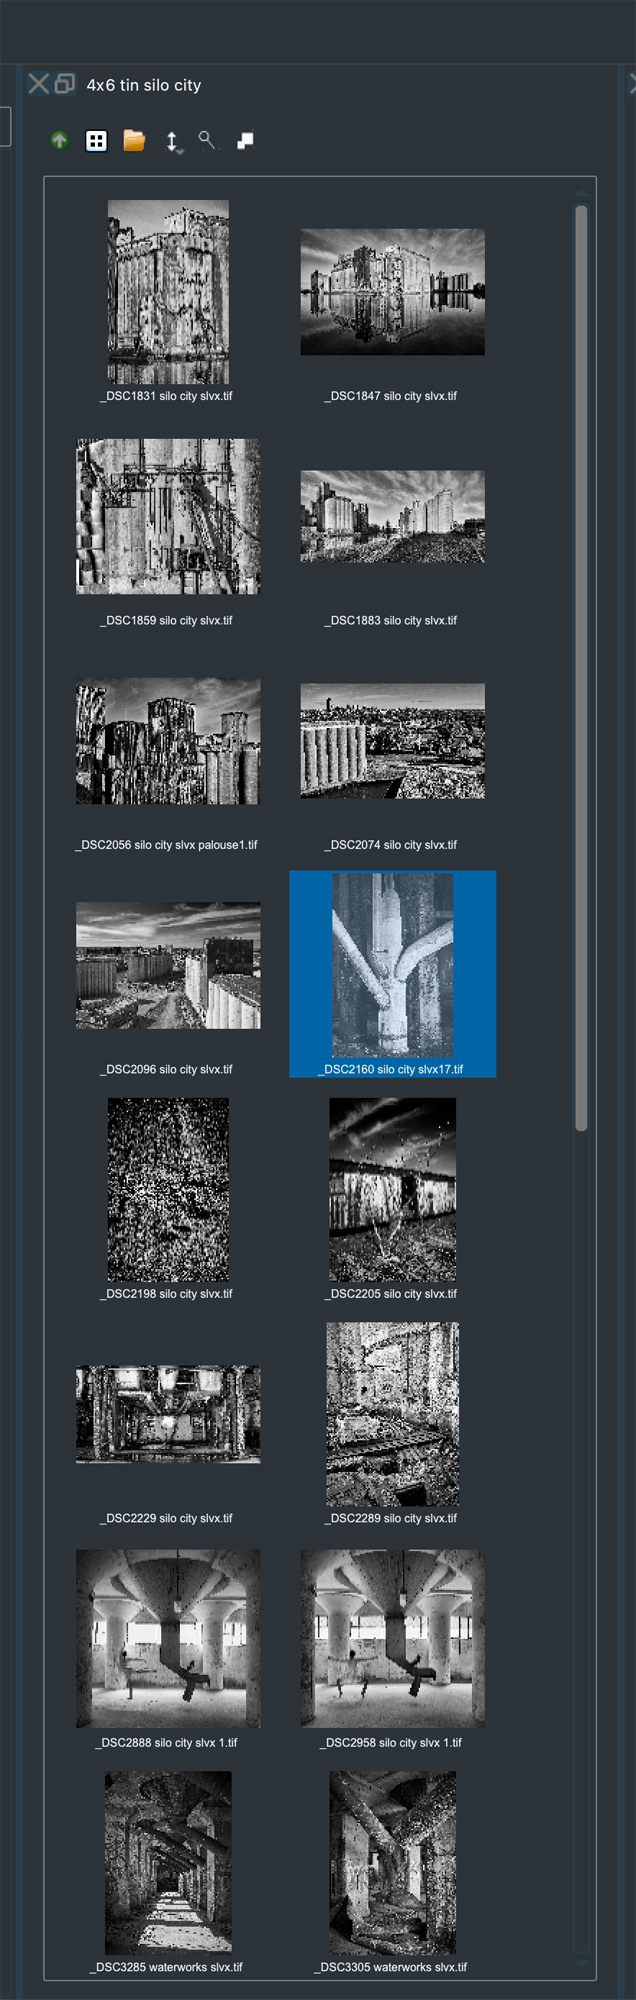
I have had the privilege of photographing this location on numerous occasions, and each time I’d come back with an amazing set of images. I have hundreds of four-star images. However, this project meant I had to narrow down the selection to 30 images that would be part of the portfolio tin.
What Is A Portfolio Tin?
I have had the opportunity over the years to work with a number of inkjet paper manufacturers and all of them are really great and make some super paper surfaces. Hahnemühle Paper — who are well known — always take things a bit further with their products. One of the products that I love is their Hahnemühle Photo Fine Art Photo Cards packaged in a Tin Box.
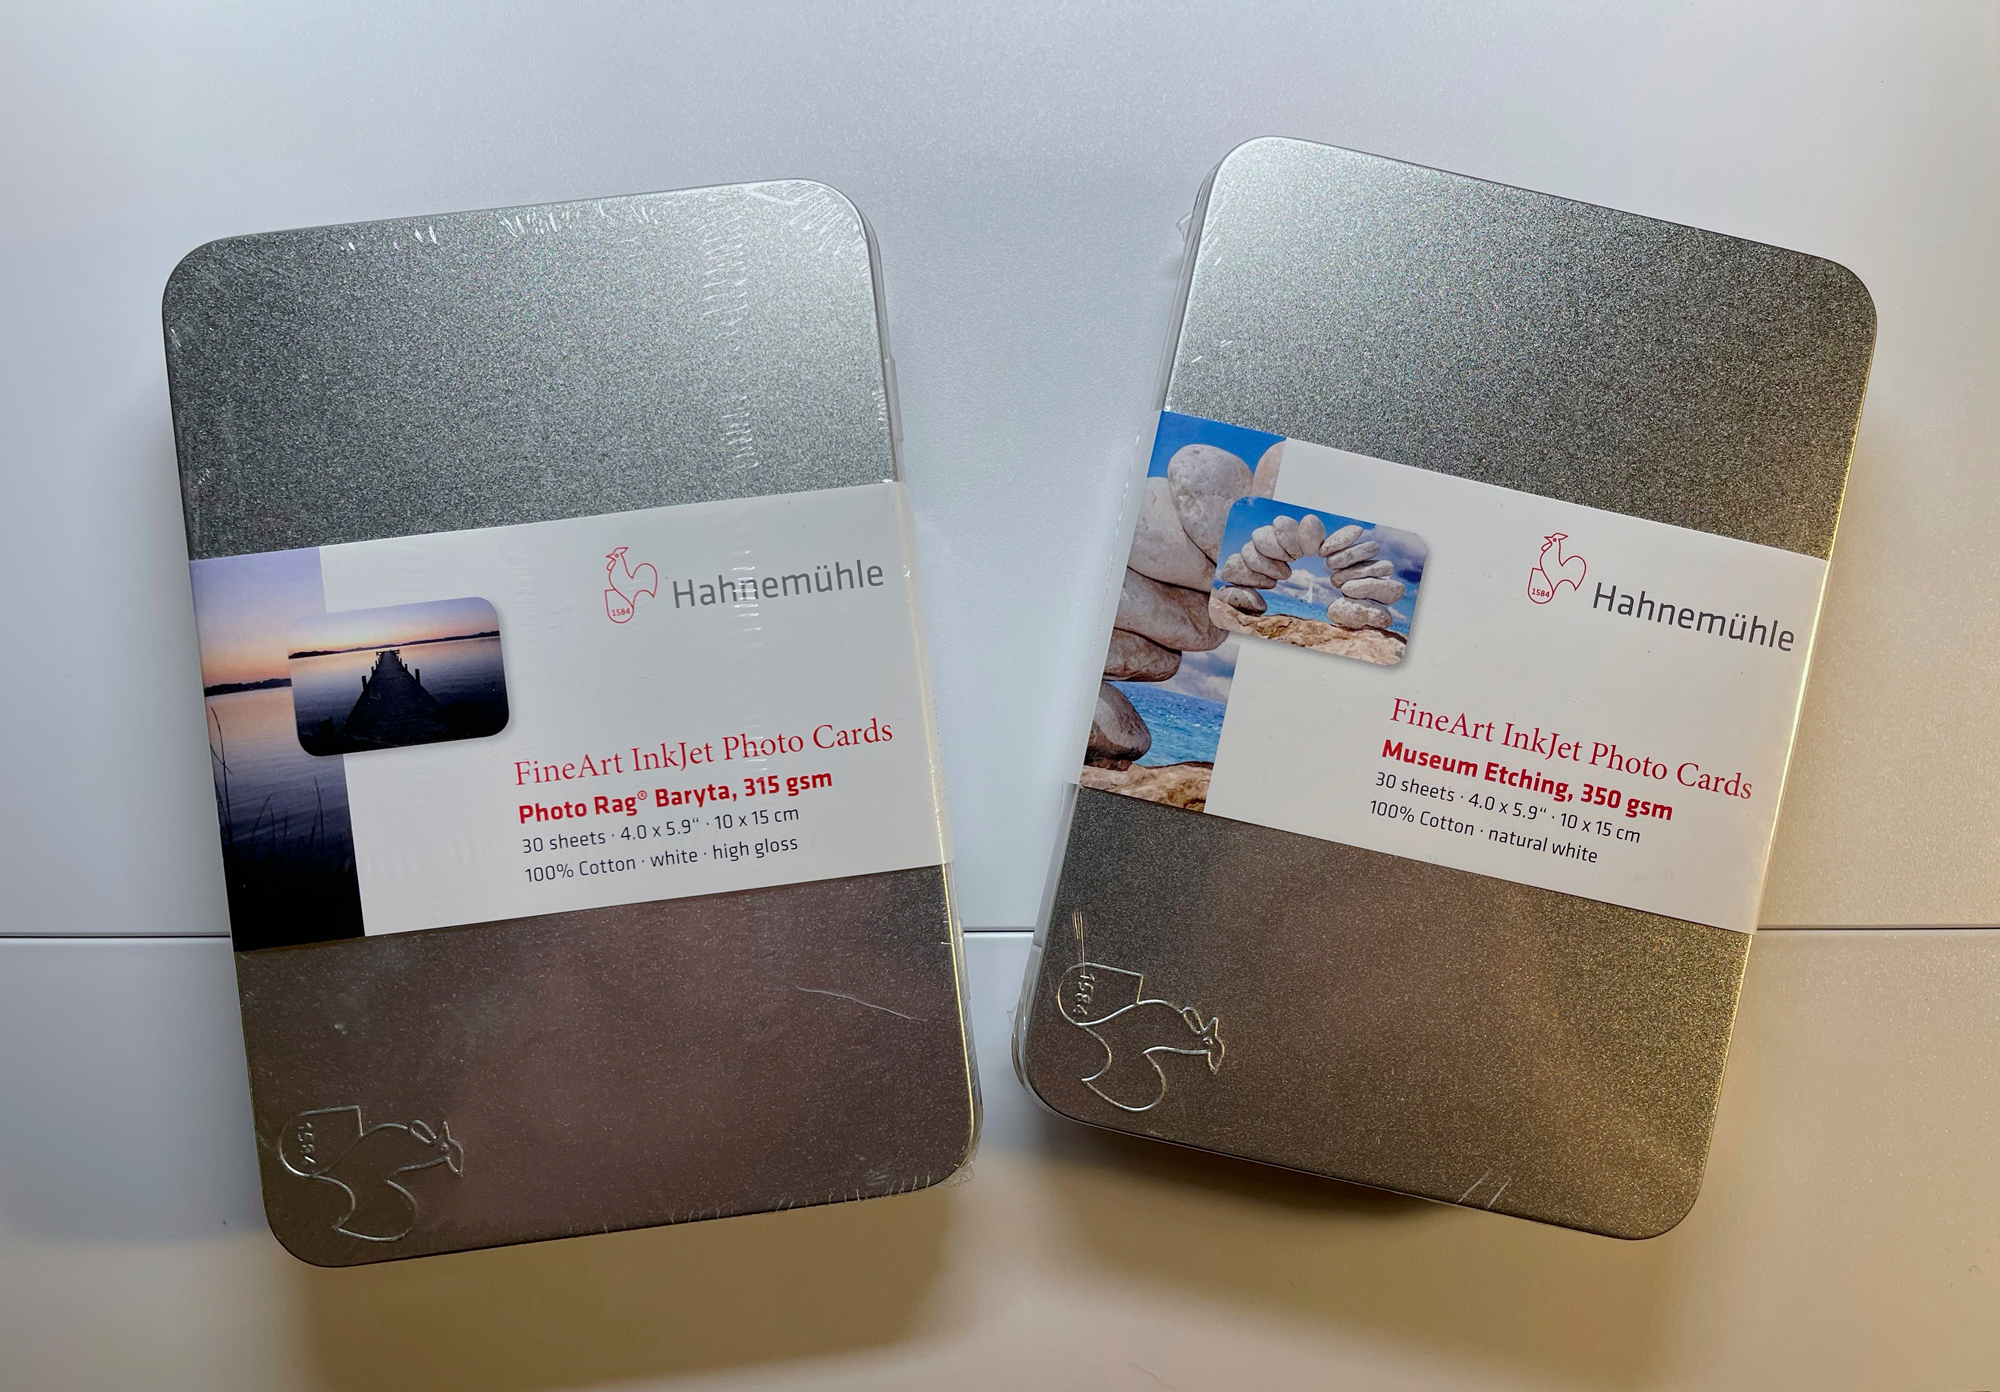
These tins come in either 4″x6″ or 5″x8″ sizes with 30 pre-cut pages of paper with rounded corners. My favorite is the Photo Rag Baryta. There is also a matte rag surface that is quite lovely too. I just think that the Baryta adds a bit of punch to the images and it has a gorgeous texture.
I purchase these tins a half dozen at a time. Normally I have a few projects going at a time. I have been revisiting a lot of my past travels and reworking images with the newest capabilities of Capture One and Photoshop. It’s fun to select my favorites and, using the newest masking and brush tools, improve on the files even further than I previously did.

My typical workflow processes the final images out to a 16-bit RAW at 100% size. After I take this file into Photoshop for any additional work, I then save it and it becomes my master file. With this master file in my workflow, I can print 4″x6″ to 4’x6′.
My Workflow
Using Capture One (but the same thing can be done from Lightroom or any other RAW processor) I save the file in a predesignated area after making any corrections, changes, and adjustments. Usually these days I save it right along with the RAW so it is visible in the RAW processor window. Capture One also provides an output folder if you prefer to store your finals there.

The portfolio tins consist of 30 prints, so if the final TIFFS are over 30 images, I must edit them down to a final 30. This is usually fairly hard for me, as I tend to like them all. Eventually, I middle them down and designate them with a color tag. Let’s say it is red. These red-tagged images are what I will print for the portfolio tin.
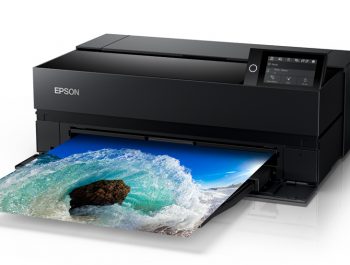
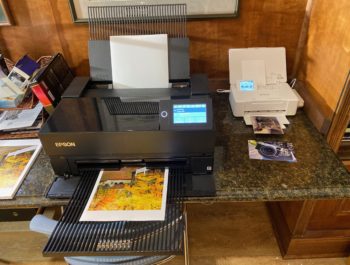
I use two applications these days to make prints. They are Epson Print Layout and ImagePrint by Colorbyte Software. You can also print right from Lightroom if you want, or any other program. I just find the Epson Print Layout (EPL) — which is a FREE program — or Imageprint work best for me. My process can work from any file size and scale up or down as needed, so there is no complicated resizing of the image. EPL works only with the newest Epson printers. The printers I own are the ET-8550, P700, P900 and P9570. I can print wirelessly to all these printers except the 9570, and in that case, it is connected to the computer with a USB cord.
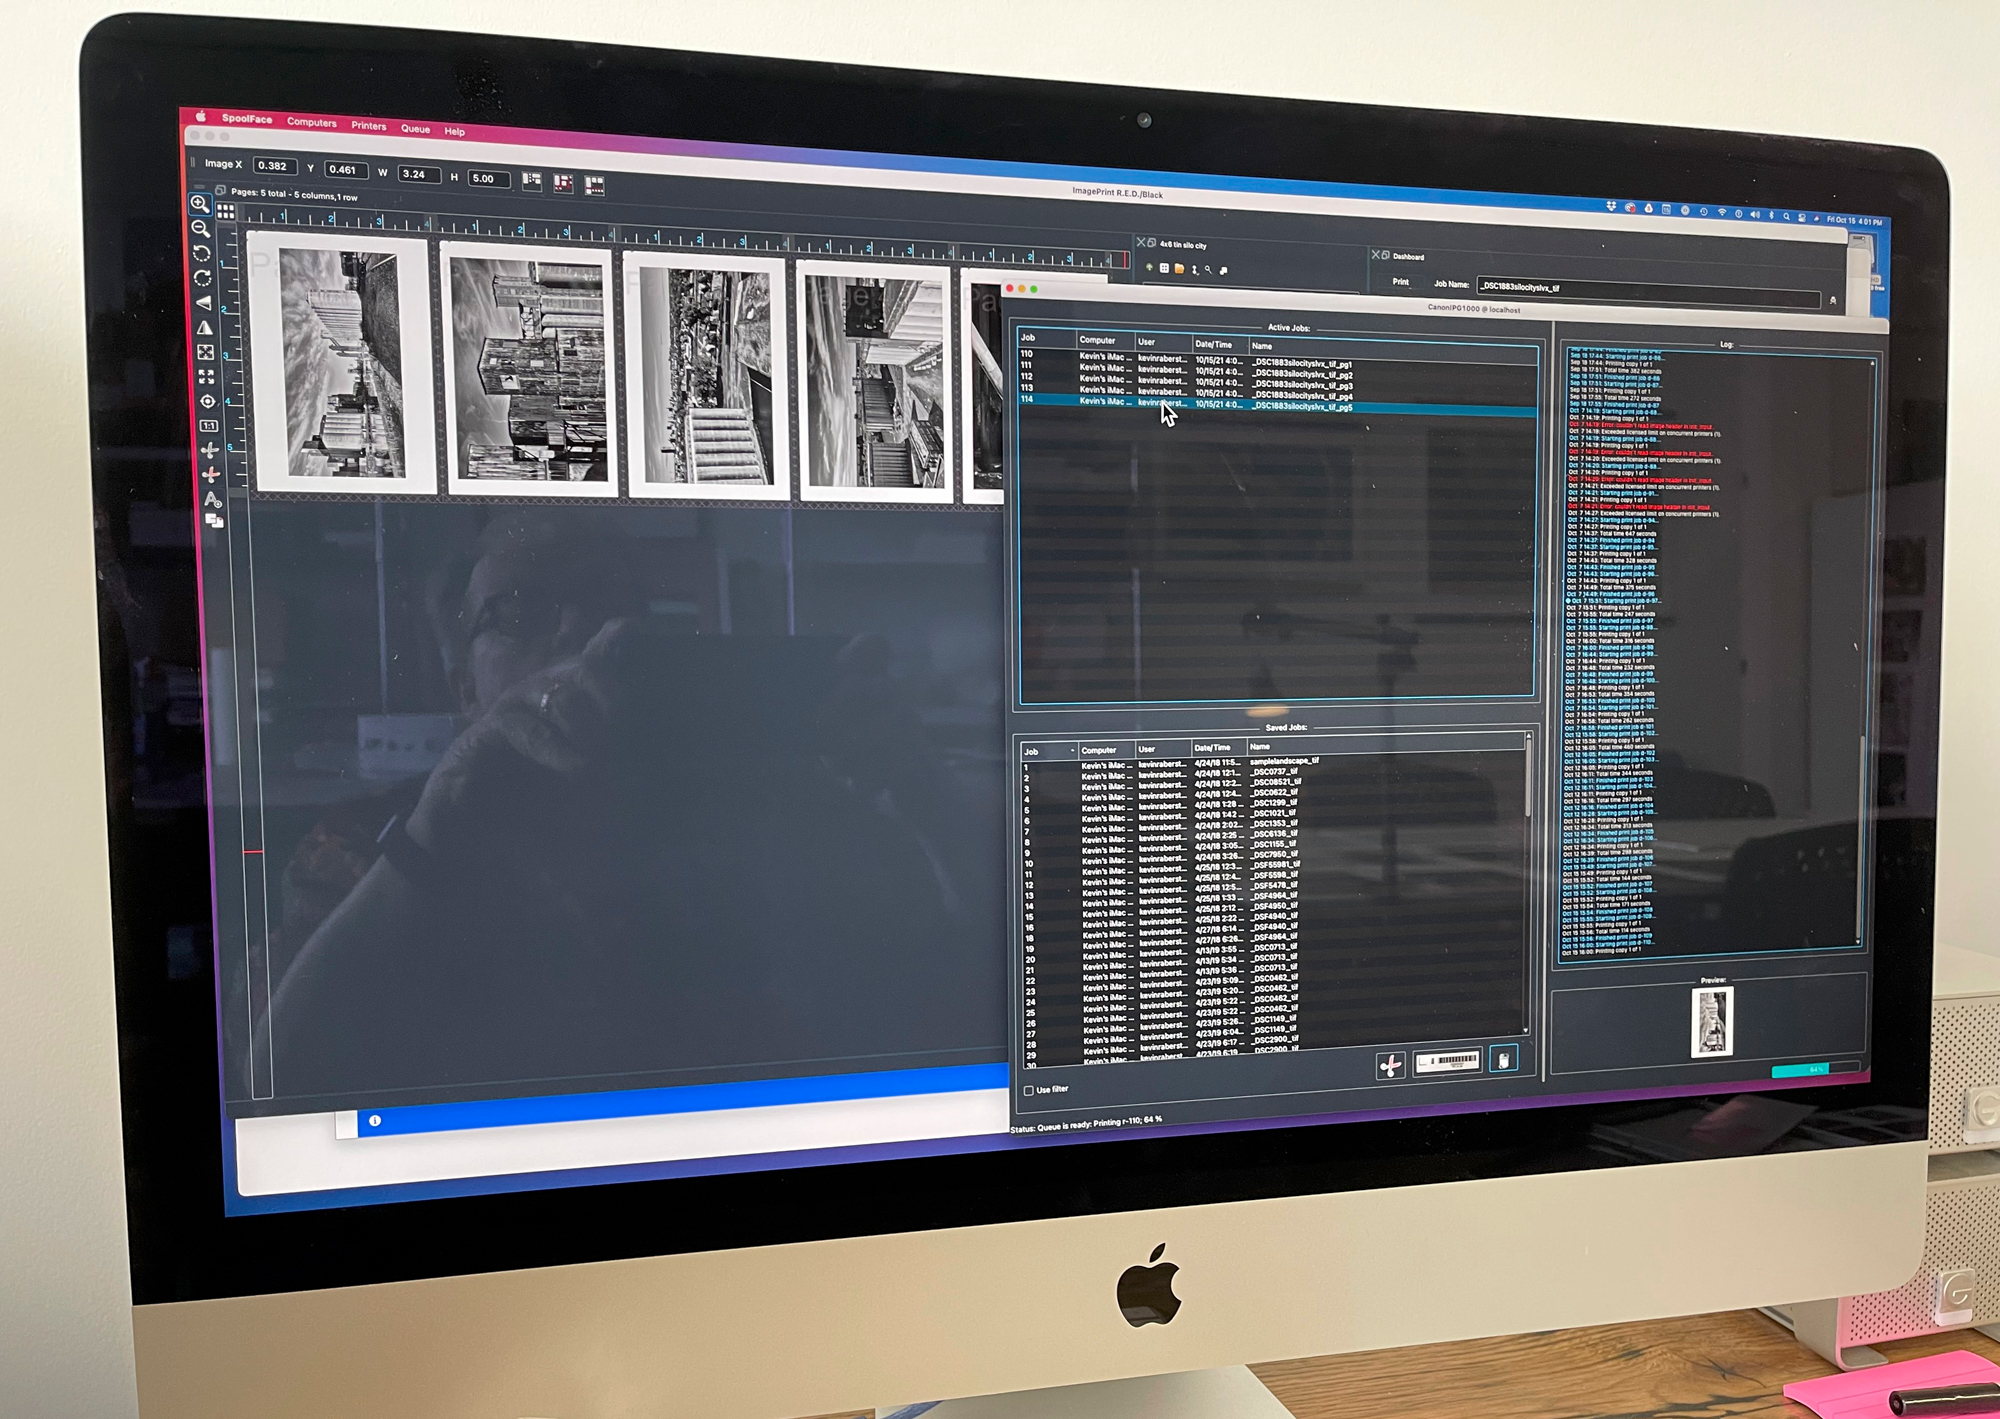
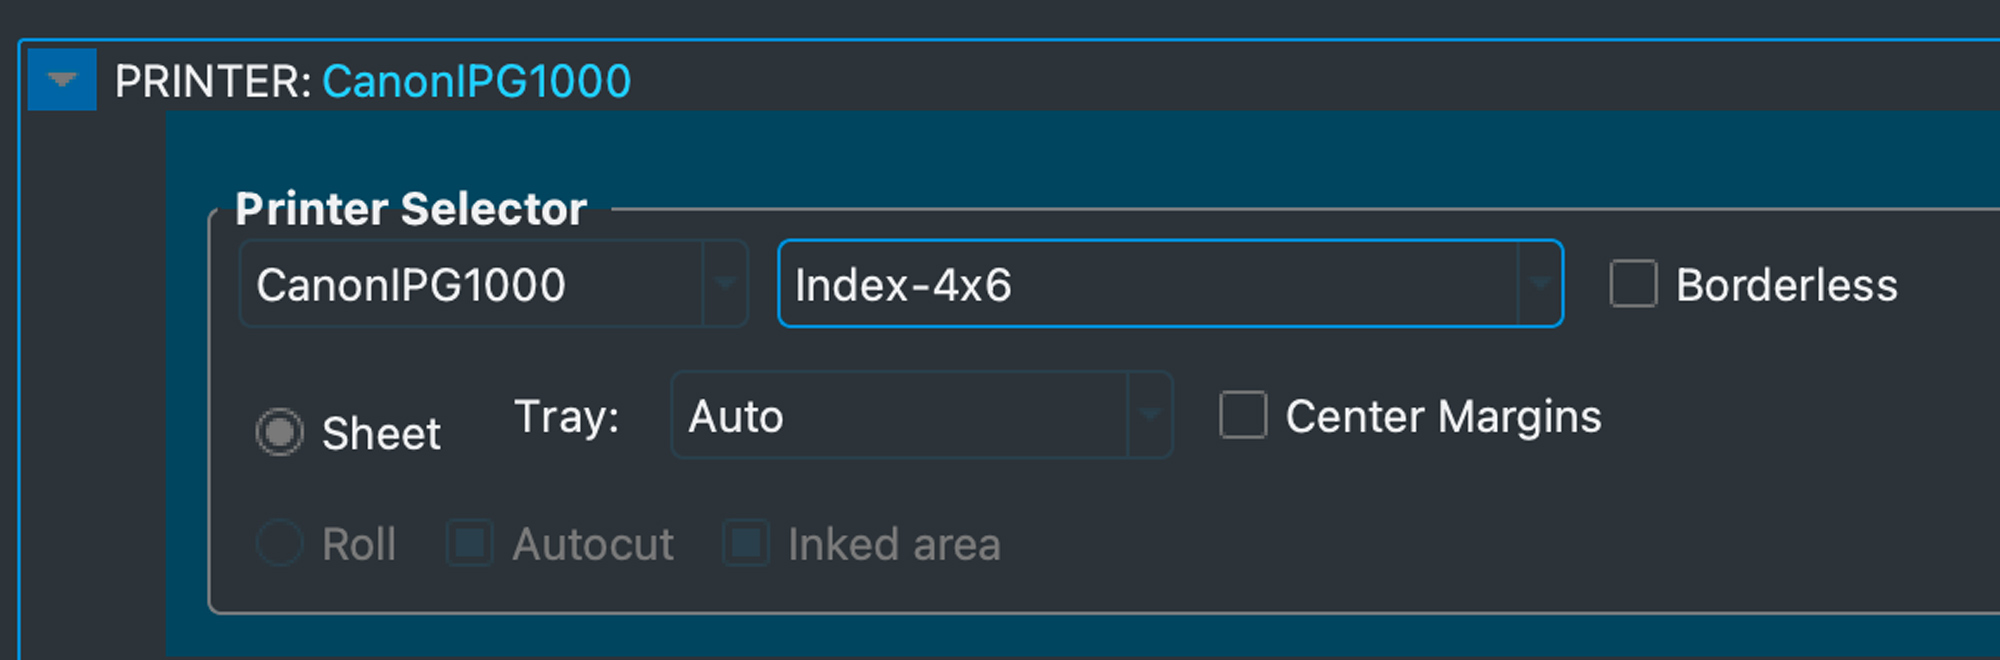
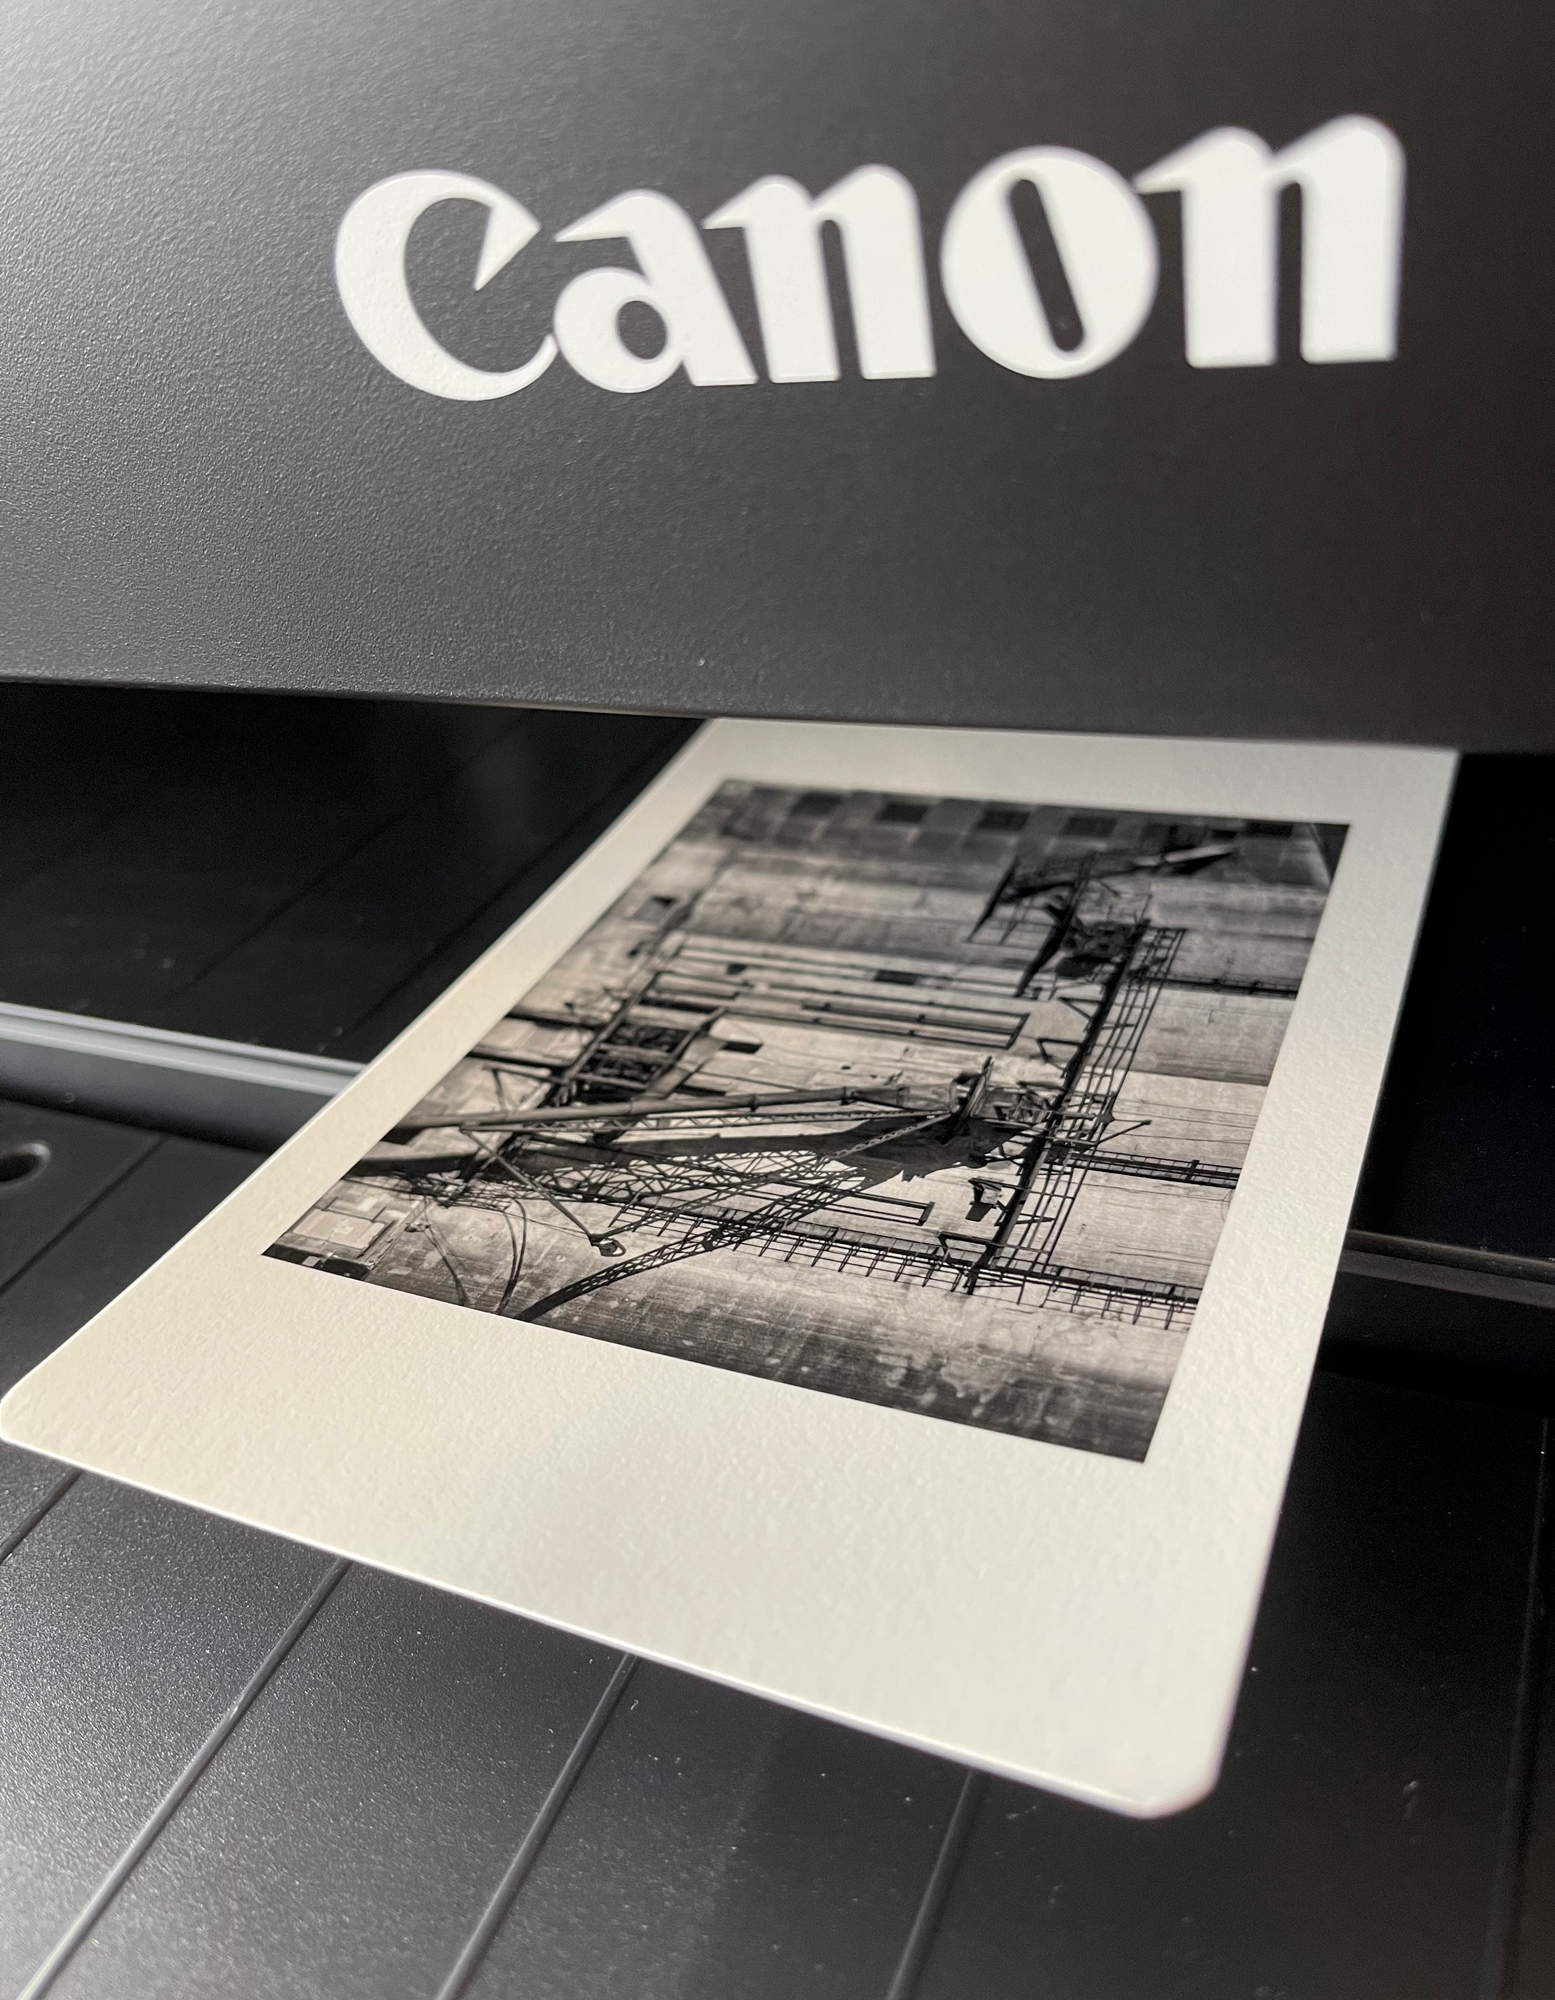
With ImagePrint, I can also print to one of my two Canon printers. The one I used for this set of cards was the Canon P1000. Since I am going to be covering EPL in detail in a future video and article, I’ll work the balance of this article using ImagePrint software.
ImagePrint software is by far one of the best investments I made into my printing workflow. I have been using it since the dawn of time it seems, and it consistently delivers outstanding prints the first time. The color profiles provided with the software are the best I have ever used and are even better than the ones I used to make. There is no hassle.
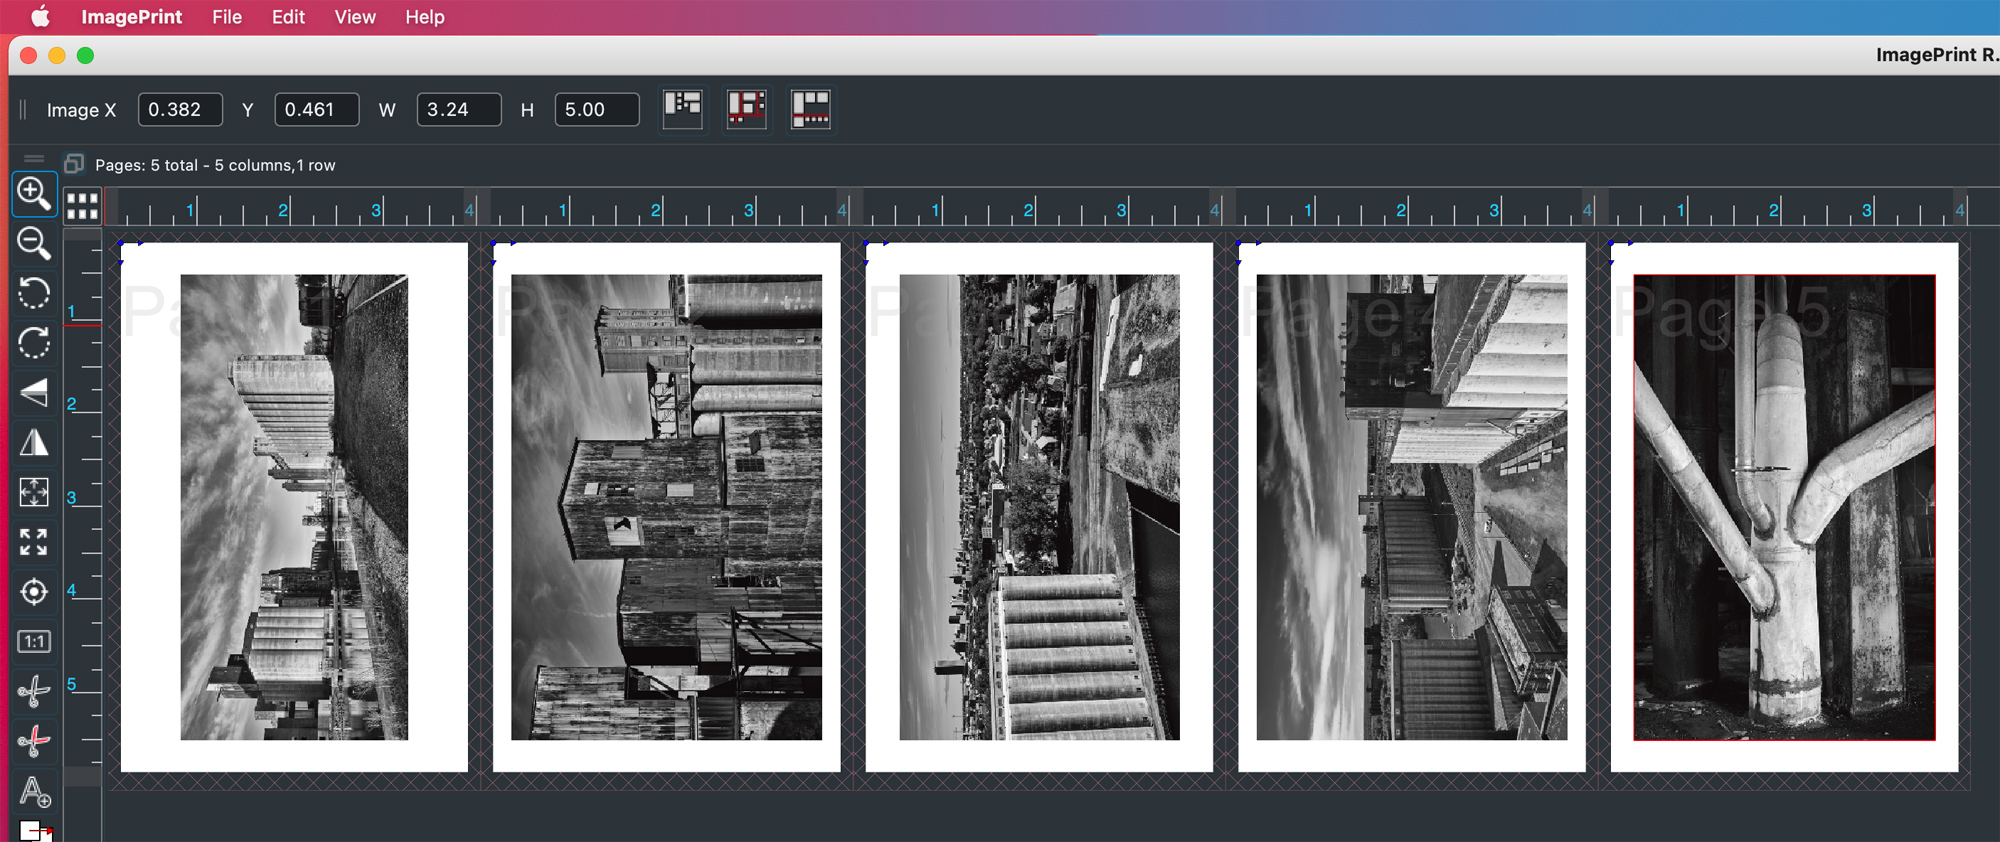
In ImagePrint I open the folder with the images for this project and I am presented a set of thumbnails. I set my paper size and also what paper it is. It presumes with this size paper that I will use the standard rear (auto feed). I load ten sheets of paper into the feeder. I like to print around ten at a time, inspect, and then print the next batch.
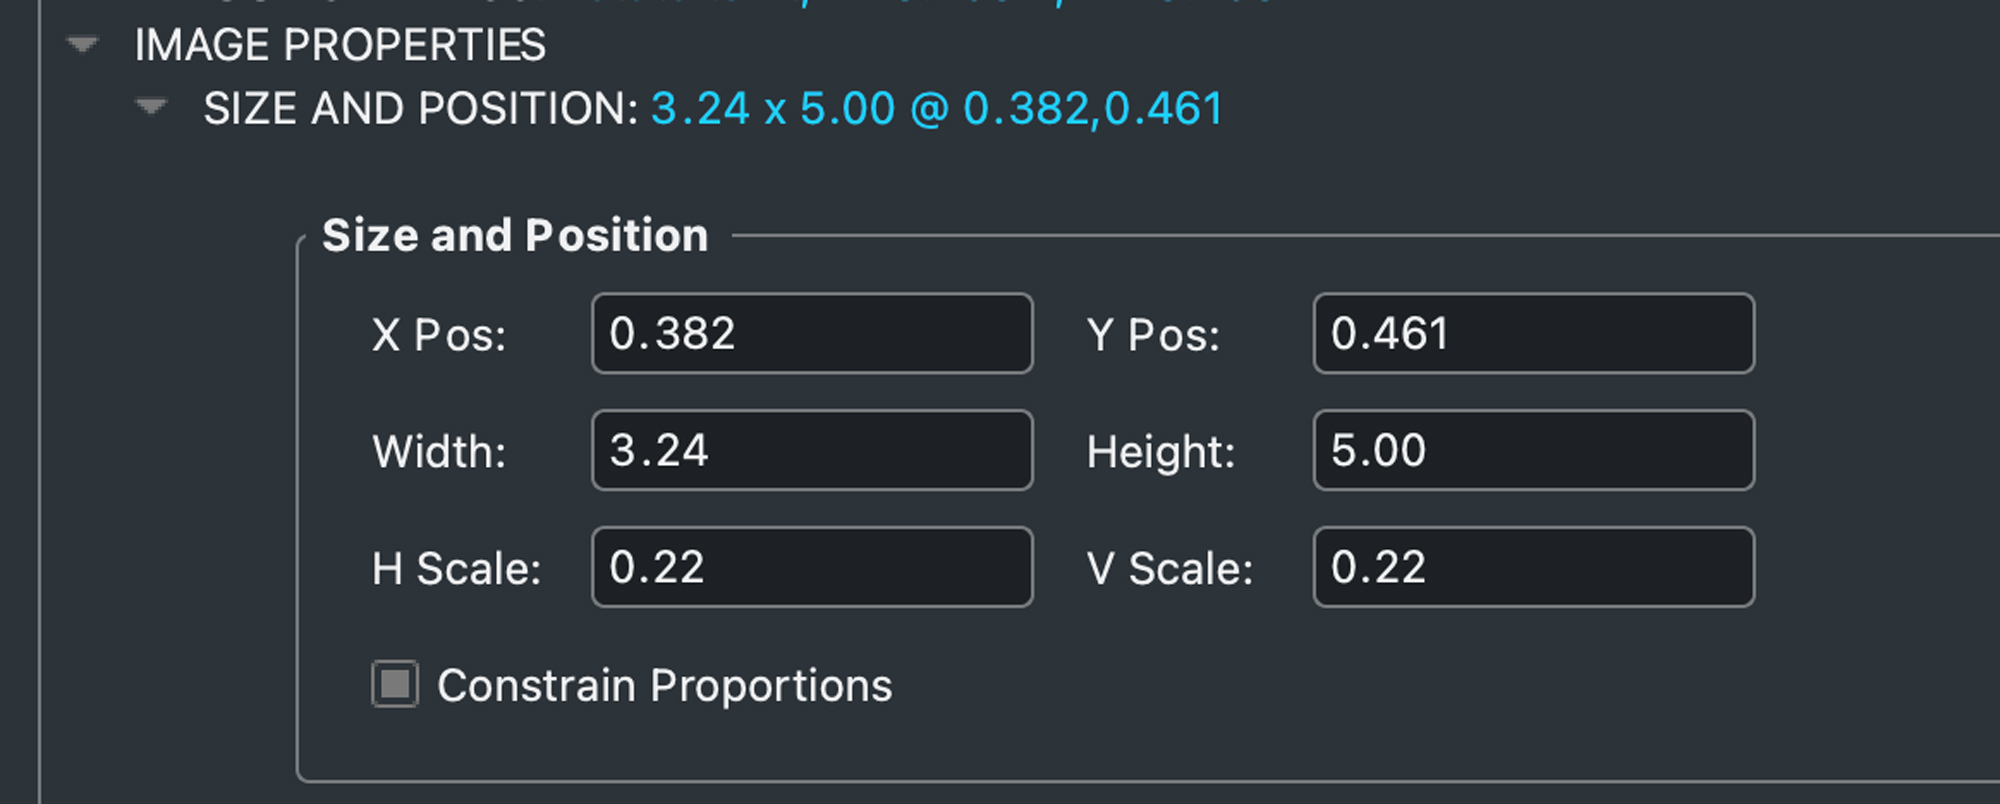
Next, I am presented with a “what you see is what you get” layout for each piece of paper. I drag a thumbnail of the file to the sheet of paper in the software (see above). It will present itself and a very large run o the layout image. Using the size box, I now type in the dimensions of the image on the paper. With a 4″x6″ sheet of paper, I want to center the image with a white border around the image. So I set the long edge dimension to 5 inches and then hit the center button. The image is then reduced in size and centered on the piece of paper. I do the same thing for the other nine images. It’s really so simple, it’s hard to believe.
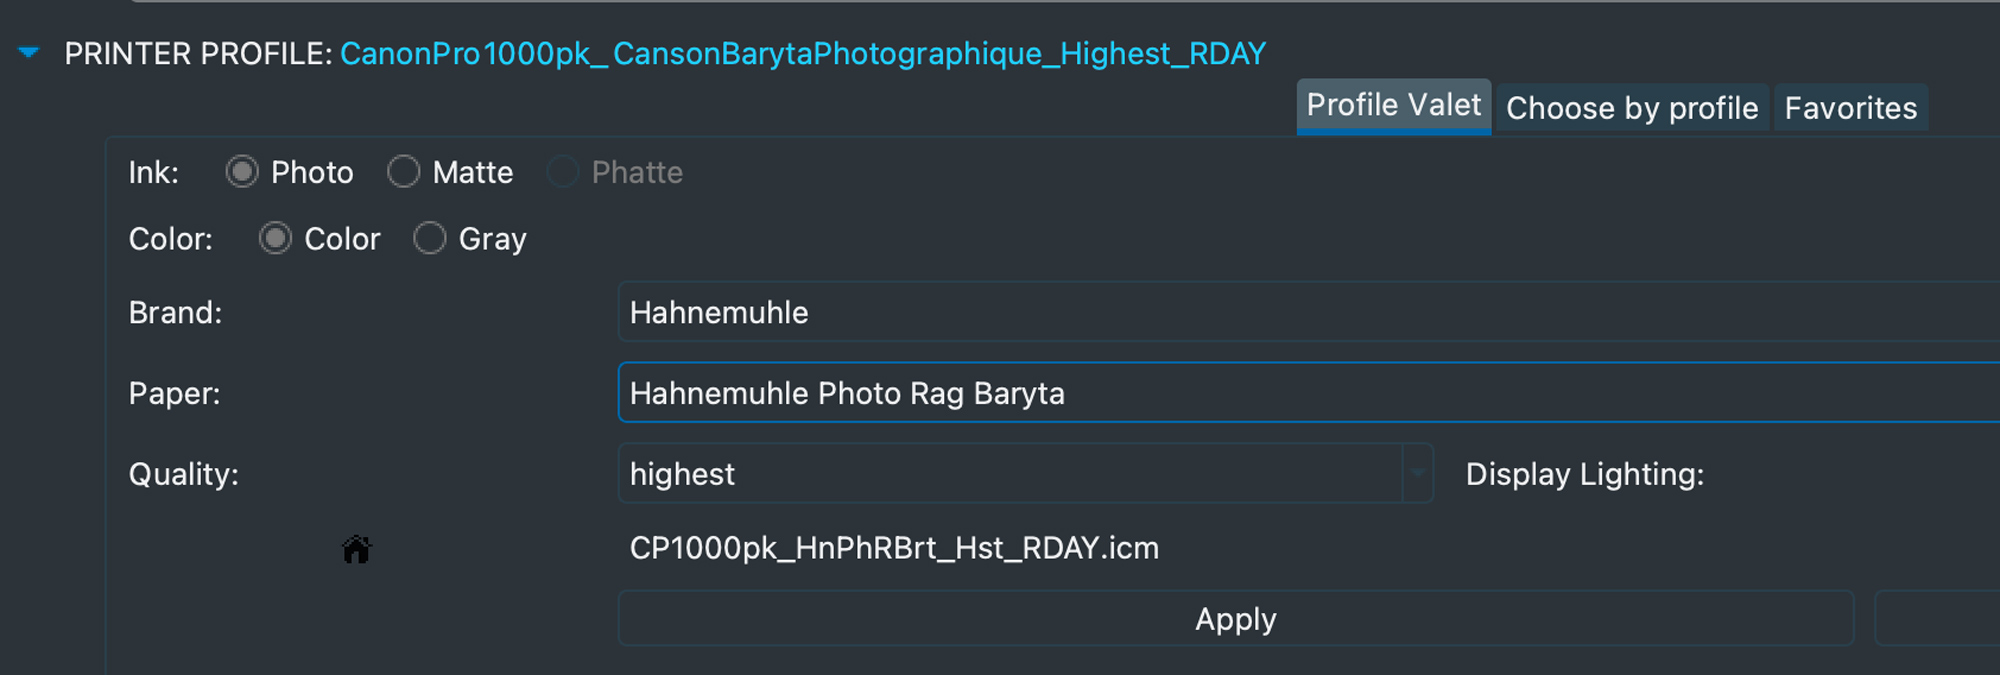
Once all the images are laid out on the pages, I do a final check for paper type and profile for that paper. ImagePrint even lets you select a profile based on the lighting the print will be viewed in, like fluorescent or tungsten. I normally just use daylight unless I know the images will be viewed under different lighting conditions.
Once everything looks good, I hit the print button and can walk away. ImagePrint now transfers these files to the ImagePrint spooler and you can monitor the progress of the print job in the spooler application.
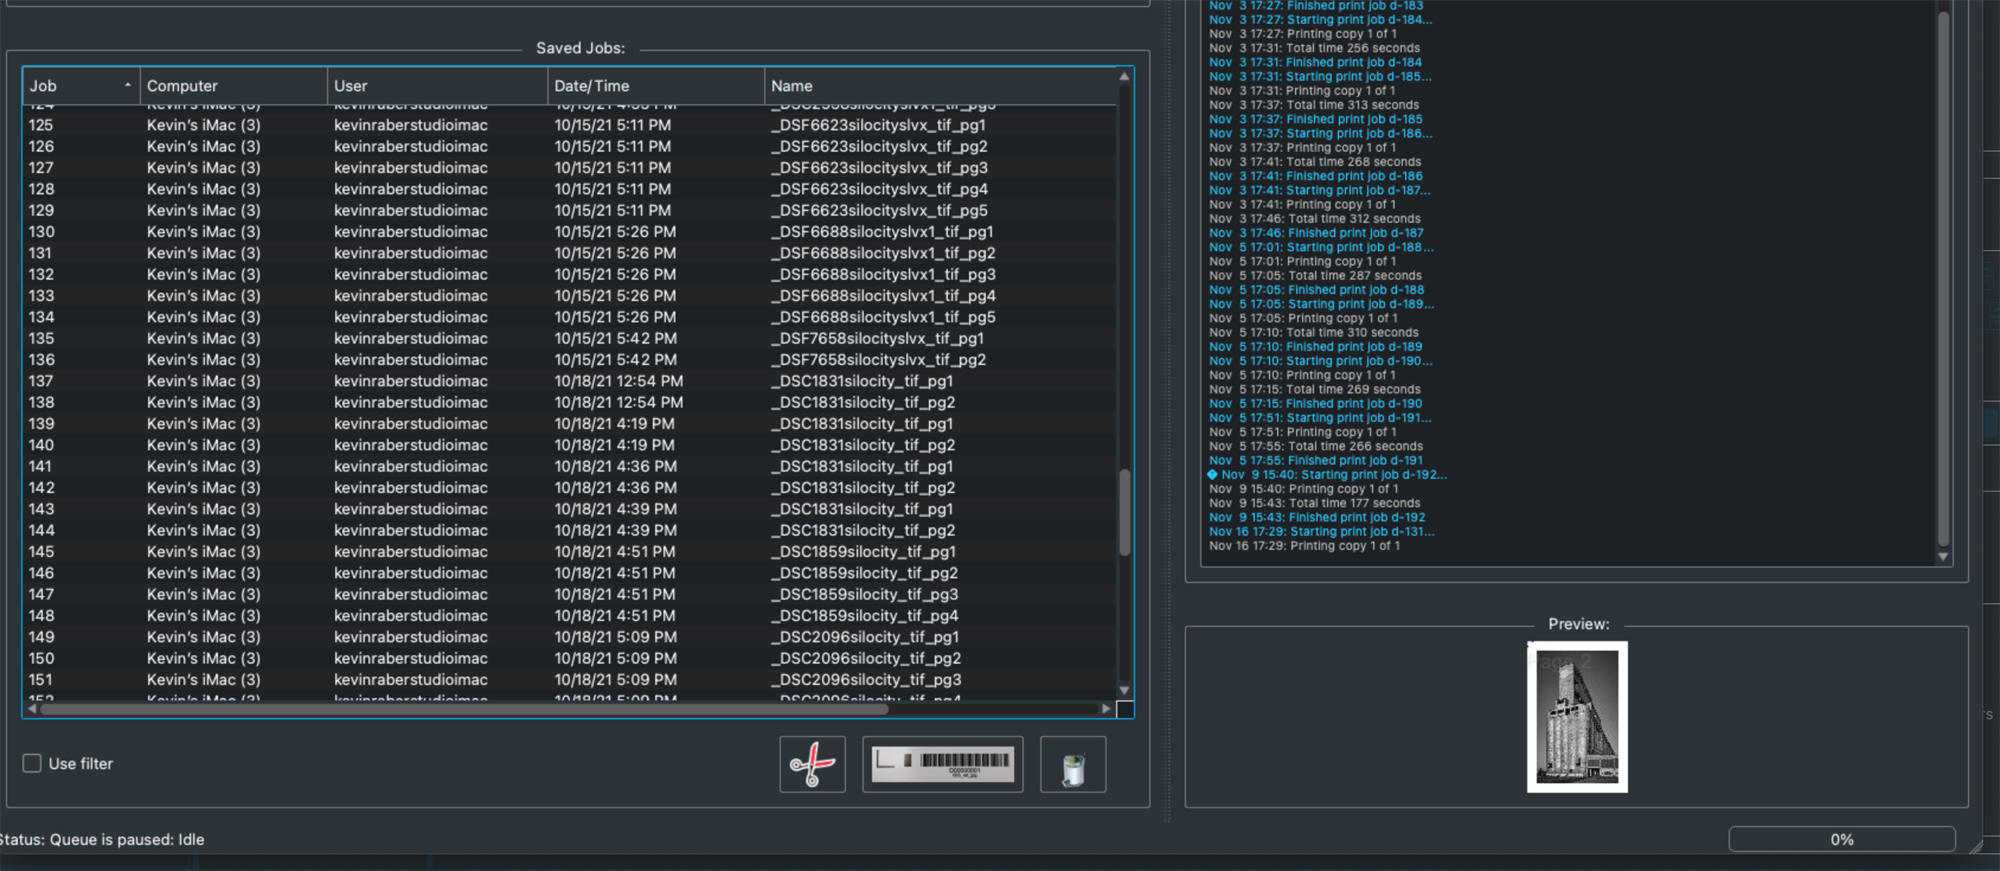
The cool thing about the spooler is it keeps jobs in a database, so if I want to reprint any of these again, they are already scaled and ready to go. I just need to select a file in the spooler and print again.
After I have the 30 images made, all I need to do is sort them in the order I want them to be seen, and put them into the tin. To finish things off, I label the tins. Back in the day I always enjoyed the Dymo Label maker, so I label the tins using Dymo labels.
Wrapping It Up
These tins make great keepsakes for trips and events in your life. They also make exceptional gifts for the holidays or as products that can be sold. Remember, you don’t always need big prints.

For this portfolio case, I used ImagePrint software and a Canon Pro1000 printer. I have also made dozens of these using my Epson P900 and ET-8550. In those cases, just because it is so easy, I use Epson Print Layout. I’ll be covering this in a future article as well as a deep dive into the EPL apps for iPhone, iPad and your desktop computer.
I just love where photography is headed. We have never had such capable cameras or as many kinds of cameras we can choose from. It’s easy to share images using social media, and more than anything else, it is easy to print images.
There are some other folio and image display ideas I’ll be covering in the near future. We will also be doing a video that is set to be shot in December on printing, as well as announcing our in-person fine art printing workshops that will take place in our new studio. It’s exciting times, and I am thrilled to be sharing my passion for photography and printing with you.
The Images Inside The Silo City Tin Box Portfolio
If the images seem slow to enlarge try clicking in the image frame area. The images below were originally processed in Capture One as color images and converted to B&W using NIK Silver Effects for the Photoshop plugin. I’ll cover another project like this, but using Epson Print Layout to print from. Have fun doing your own sets.


Kevin Raber
November 2021
Indianapolis, IN
Photography is my passion and has been for 50 plus years. My career in photography has allowed me to travel the world, meet some of the most interesting people on the planet and see things I could never have dreamed of. My goal is to share the passion of picture taking through photographs and teaching with as many people as I can, hoping it brings them as much joy and happiness as it has me. I do this through photoPXL.com, this site, as well as Rockhopper Workshops, and other projects, as well as teaching as Artist In Residence at the Indianapolis Art Center.