Epson P700 Print At Home – Print Them Out! No Excuses
Print Your Images Own Images At Home

I’m excited. As a regular reader of this site, you will know that I am a big believer in printing and getting my exposures onto a piece of paper. In many ways, I don’t believe you have a photograph until it is in print. A print is lasting, timely, and tactile. You can hold it in your hands or put it on the wall. You can dwell on it, move in closer, and explore details. There is nothing like holding a print of what you have photographed. The next best thing is to be making your own prints on your own printer in your own home.
Until recently this could be quite daunting. While there were capable printers, the process of making a print with confusing dialogue boxes, crazy named profiles, and so many paper choices and crazy decisions to make—like printer manage color or photoshop managed color—and we haven’t even mentioned borders, color space, and so much more.
Printing required going through a checklist of steps that seemed like you were launching the Apollo moon rocket. For years, I have spoken with print manufacturers and asked them to find a way to make a printer and the process of printing as easy as turning on a TV.
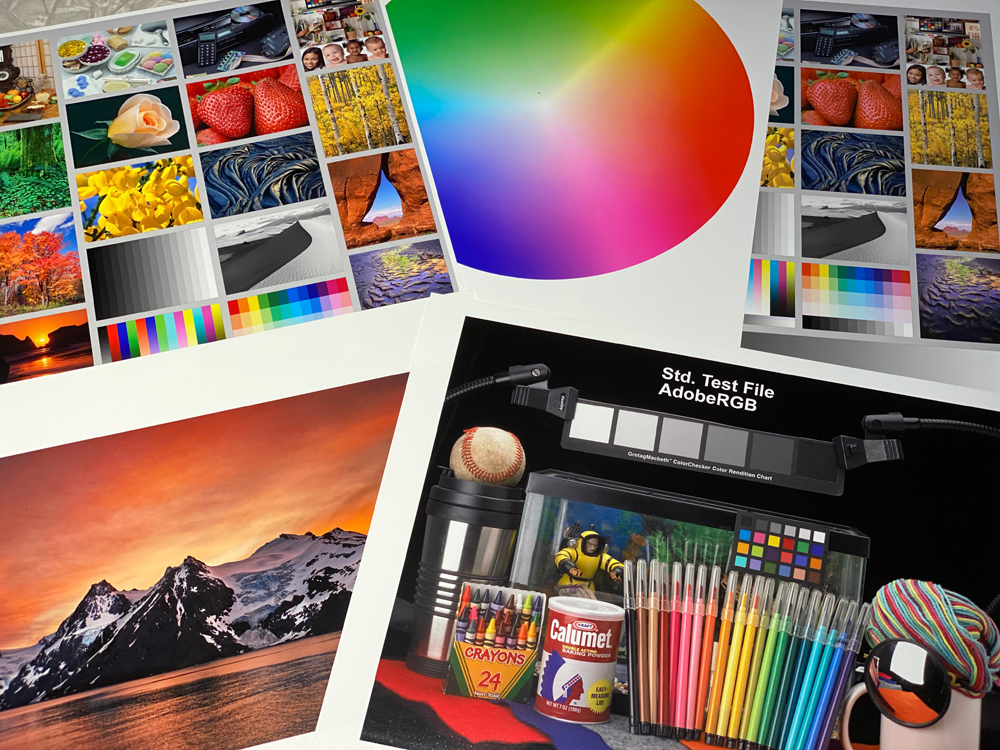
Publishers note: I am covering this article without a lot of technical jargon and specs. Mark Segal will be doing a follow on article using its bigger brother the P900 in the coming weeks once we receive the printer from Epson. Suffice to say this printer is quite amazing, works as advertised, and deliverd hundreds of quality prints on various paper sizes driven through a variety of devices.
I have a slew of printers. I own a Canon Pro 1000 (Amazon, Roberts Camera and B&H), Pro 2000 (Amazon, Roberts Camera and B&H), Epson P800 and 9900 (Roberts Camera and B&H) printers all driven by Colorbyte’s Imageprint software. These printers work great and there are days when I am running all four printers at the gallery making prints. Damn, I love those days. At the end of the day, you have a pile of prints and you find a newfound pride in the image, and it feels so good holding it in your hand.
I spend just so many hours at the gallery per day. The rest of the time, and most all the time in the last few months, I am at home. The gallery was shut down for many months and that meant if I wanted to print I had to print at home. I didn’t do many prints at home and while spending so much time at home, I wondered why. Part of it was because I didn’t have ImagePrint at home which, for me, made printing so easy and reliable. If I made a print I had to go through Photoshop or Lightroom. Also, I couldn’t easily make prints from my mobile devices, which is what I wanted to do countless times.
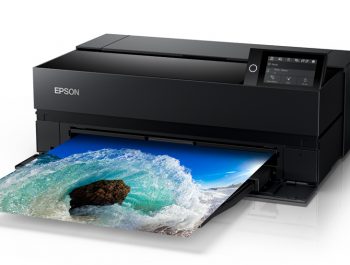
For the record, my home printers consisted of an Epson 3880 which I sold about a year and a half ago, and then an Epson P600, which I sold just recently when I received the NEW Epson P700 (Roberts Camera, Amazon and B&H Photo). When I first heard about the P700 it looked like it would be the printer I have dreamed about for years. I did an intro story about this printer as well as its bigger brother in April 2020. You can check out the article “New Epson SC-P700 and SC-P900 Printers Announced” and see the details on the announcement and see why I was excited.
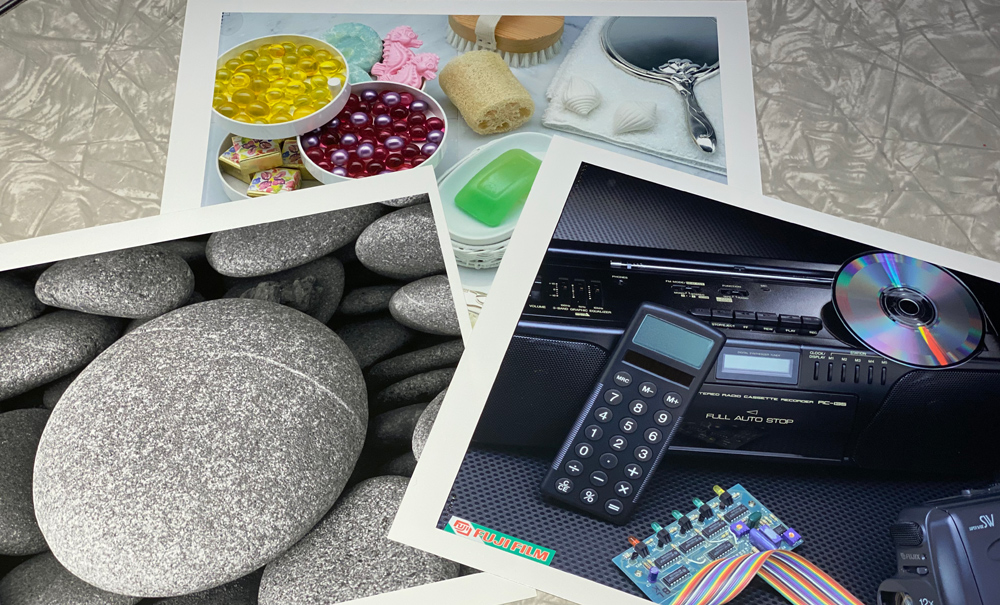
In mid-July, a rather big box showed up and my door, and low and behold it was the Epson P700. In this article, I’ll share my experience from unpacking, setup, and ultimately printing with the P700. Below is also a video where I talk more about these experiences and why this printer is used every day in my home. Simply put in conjunction with the Epson Print Layout software, printing has never been so easy. It’s fun times. Also, I have decided to talk about mainly the printer in this article and do a separate article on the software (Epson Print Layout).
The highlights of the software are that it makes printing simple from any device without all the confusing buttons and dialogue boxes. The combination of this software and printer has now made it possible for anyone to make beautiful prints time after time and begin to enjoy a part of photography that they may have been missing.
The Video (13:12)
In this short video, I share my experiences and what I like about this new printer. Frankly, I haven’t had so much hassle-free fun making prints as I have with the P700.
Setting Up the Printer
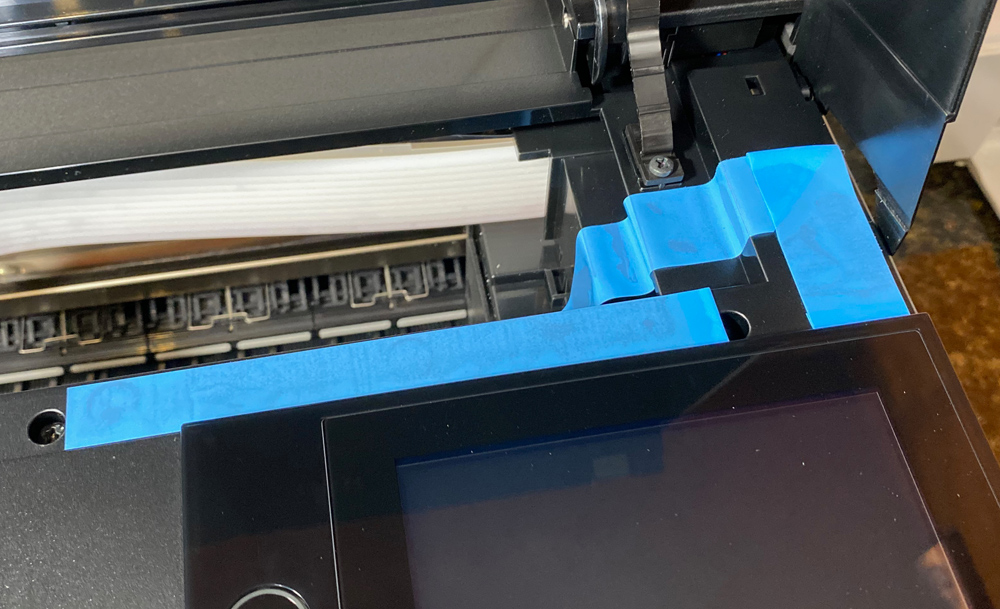
I love setting up Epson printers. It’s all about the blue tape. Anyone who has ever set up an Epson printer knows what I mean.
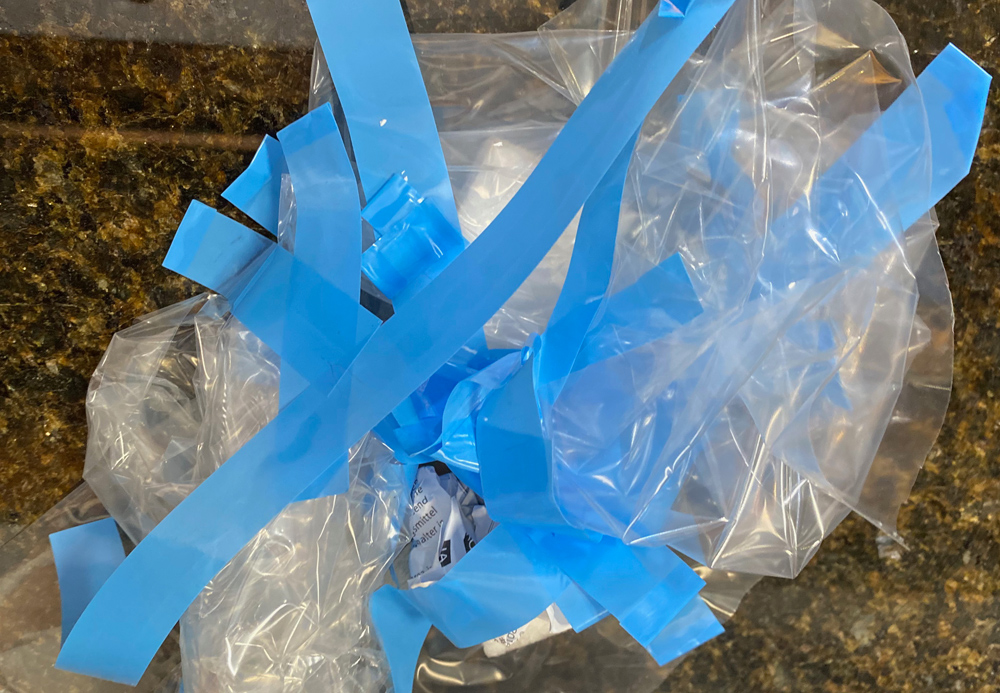
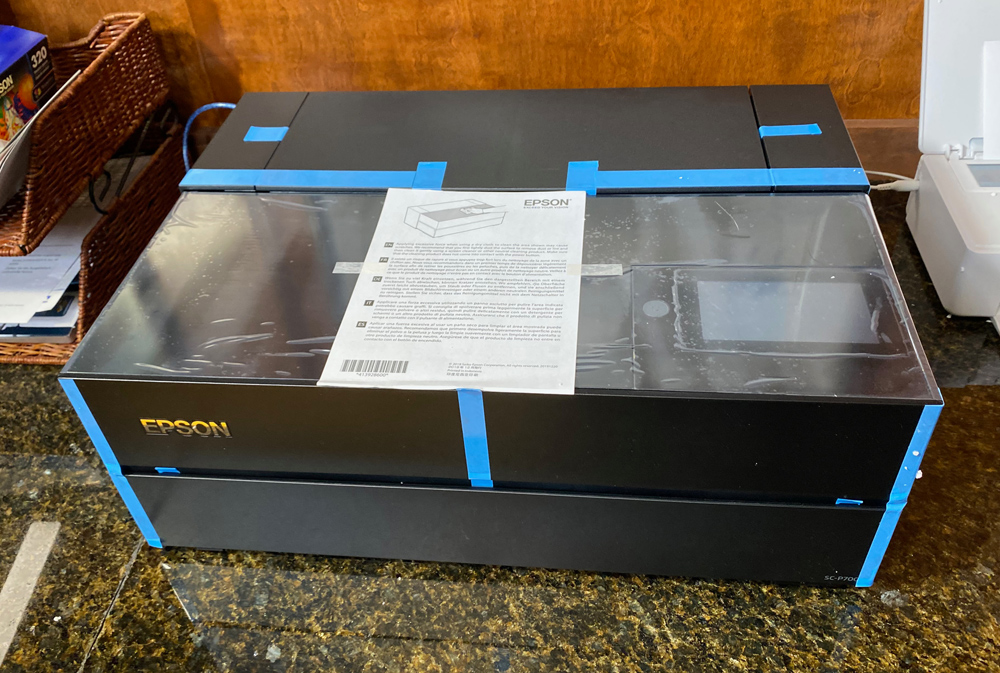
This printer comes in a fairly large, well-packed box and can be handled by one person. You can’t say that for some of the other Epson printers, which are not only bulky but heavy. The contents are cushioned by large styrofoam end pieces. (see below)
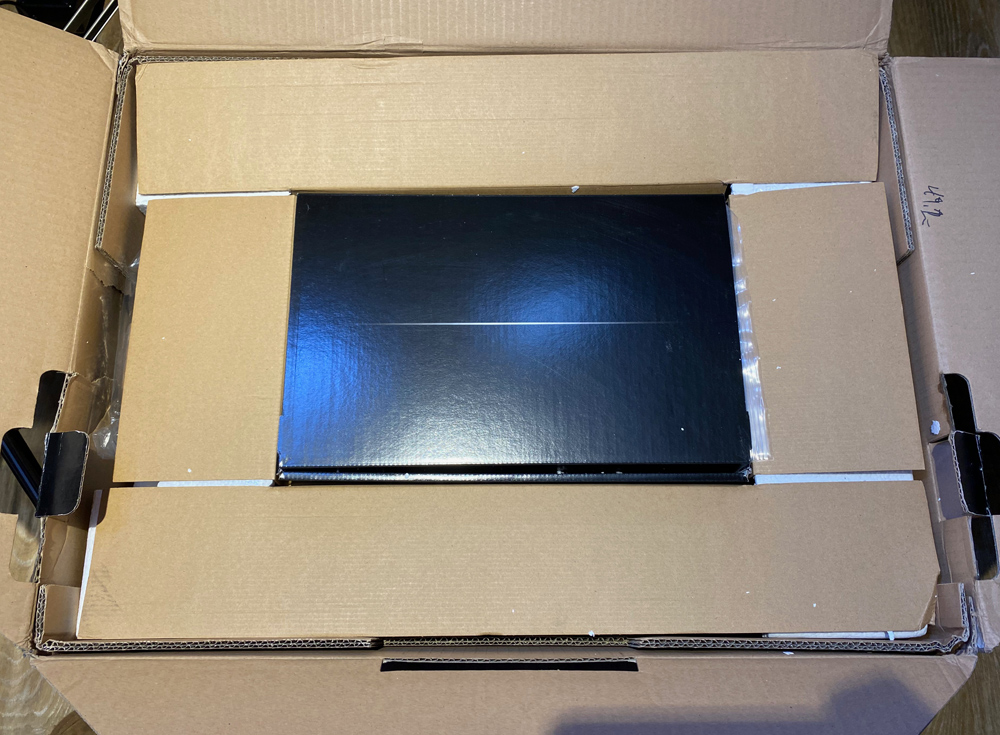
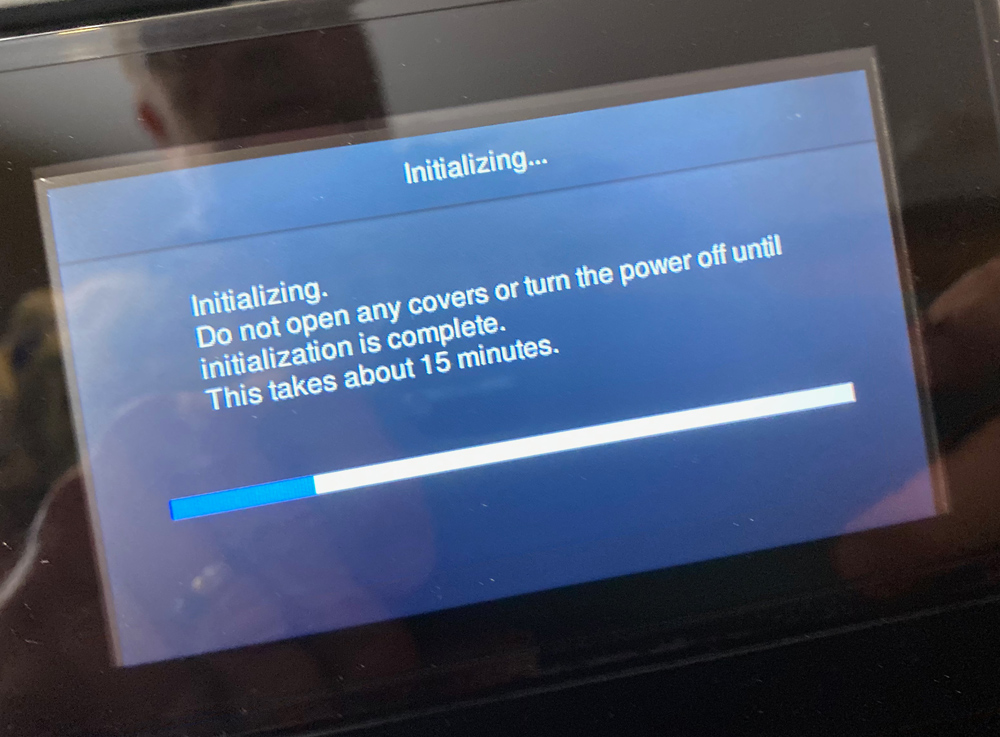
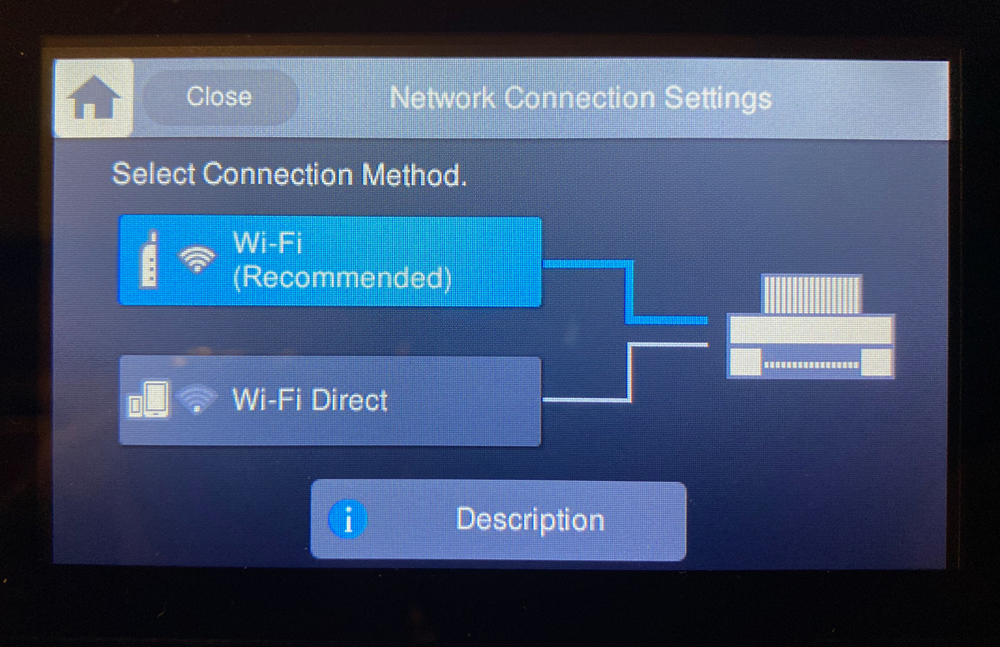
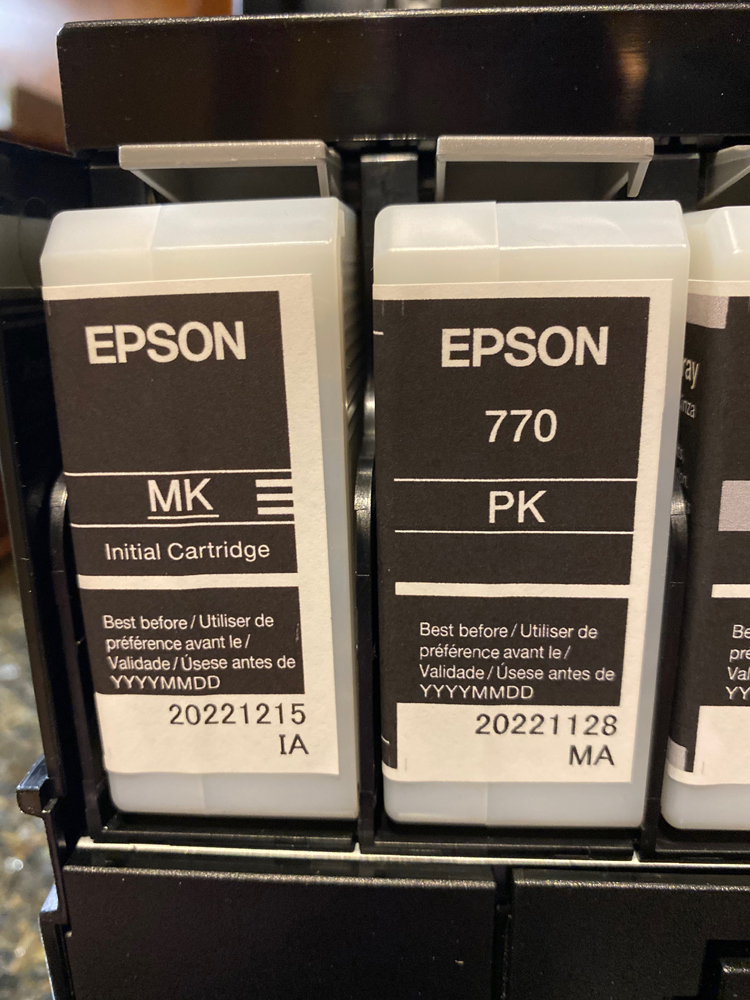
You can view the images below to see the unboxing. On the top, you’ll find a large fold-out Getting Started sheet. The setup is pretty easy. Essentially plug the printer in. Turn it on. Do initial settings like date and time and set up your WiFi. This was a breeze. Once it is hooked up to the WiFi network you insert the ink cartridges and start to charge up the printer.
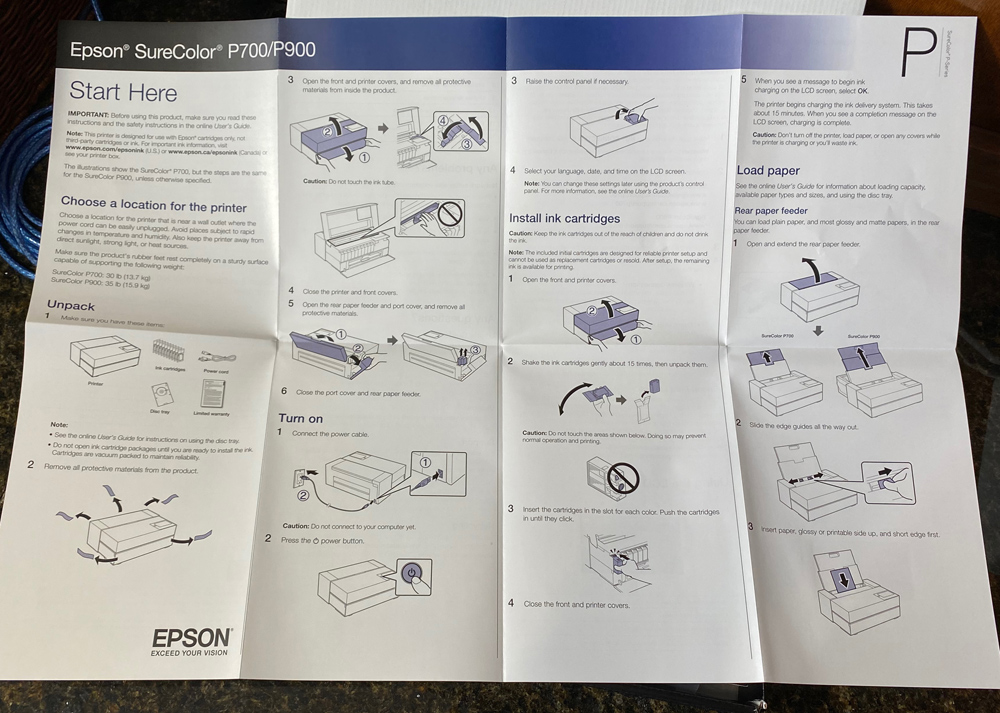
During this time the printer will make all sorts of crazy noises as it pumps ink to the print head and preps itself. This is a one time deal so go grab a cup of coffee. There is a countdown timer on the control panel that lets you know when to expect the process to be complete. Trust me, it seems to take a lot longer if you sit there and watch the process and count time backward.
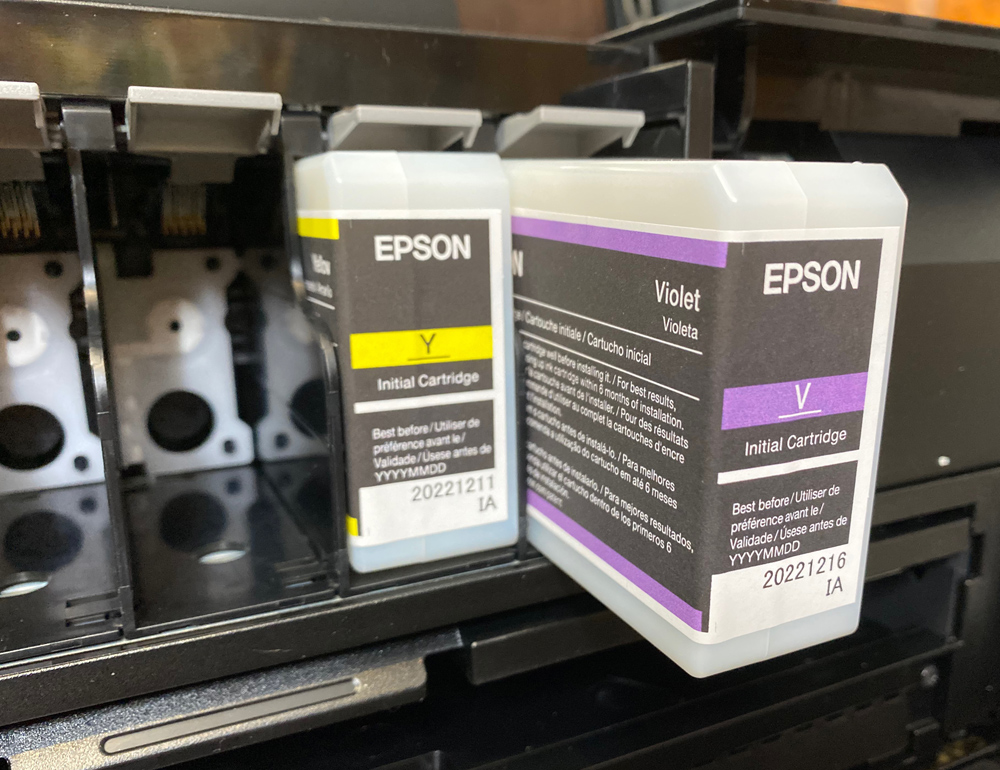
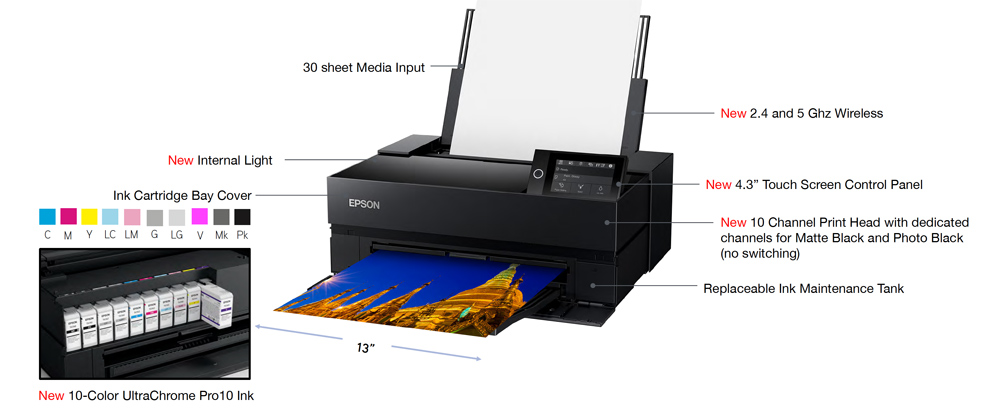
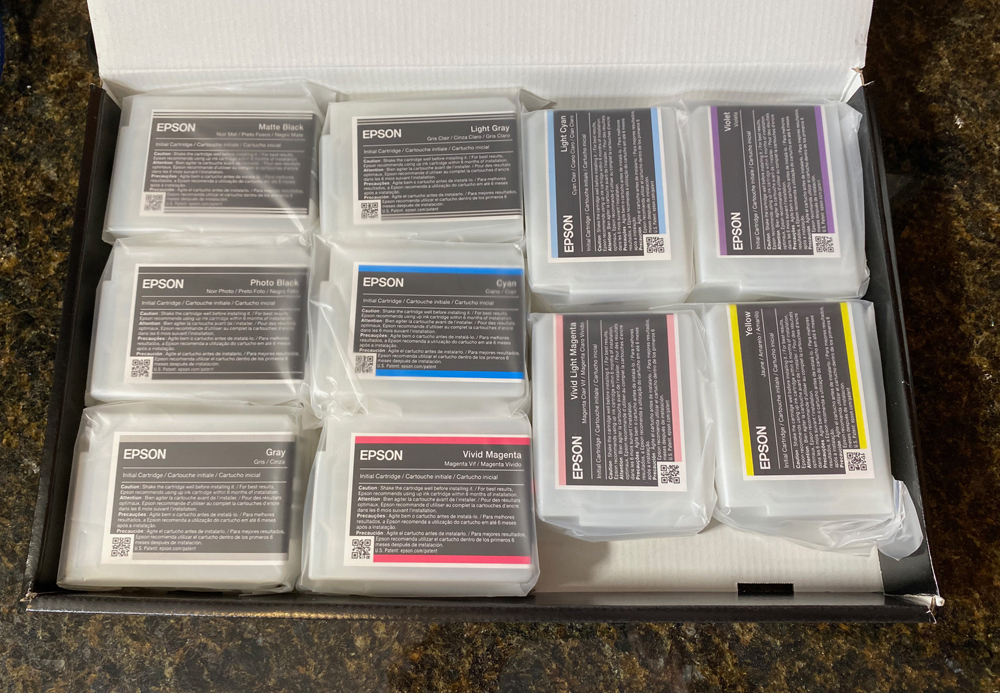
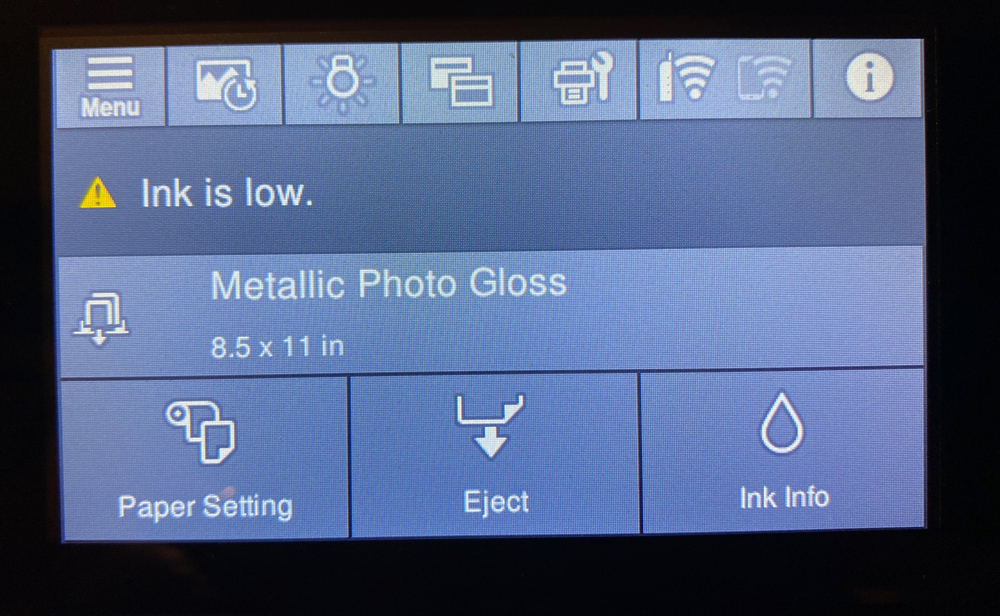
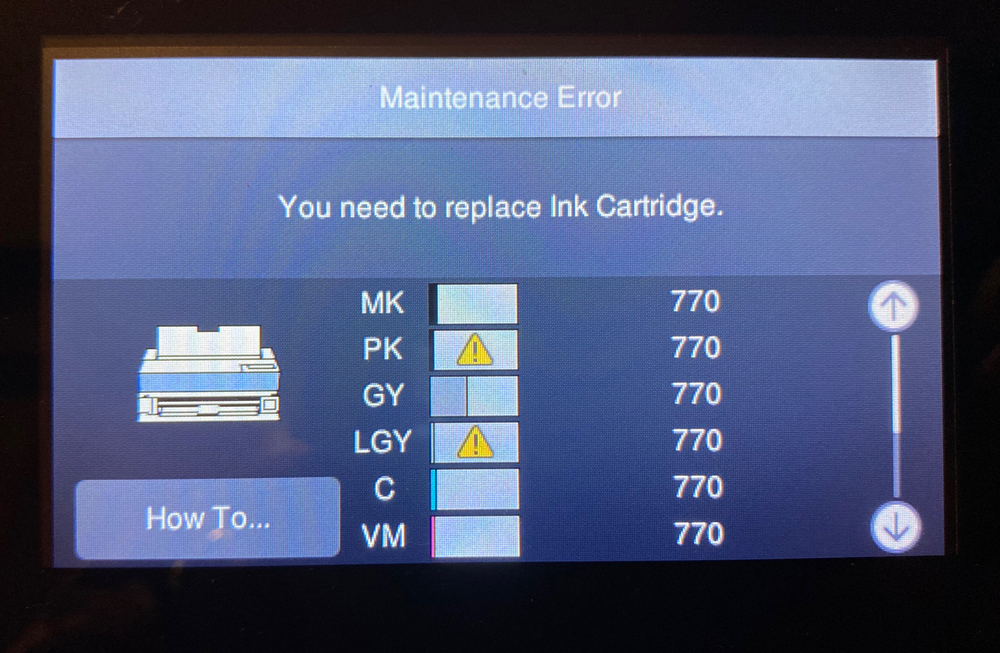
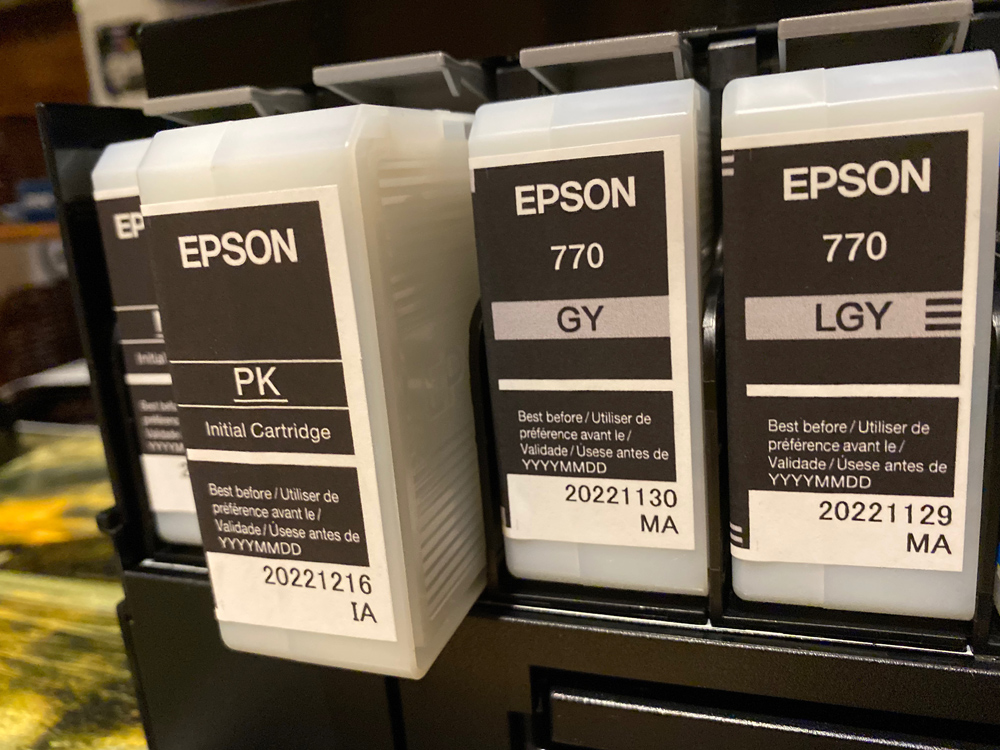
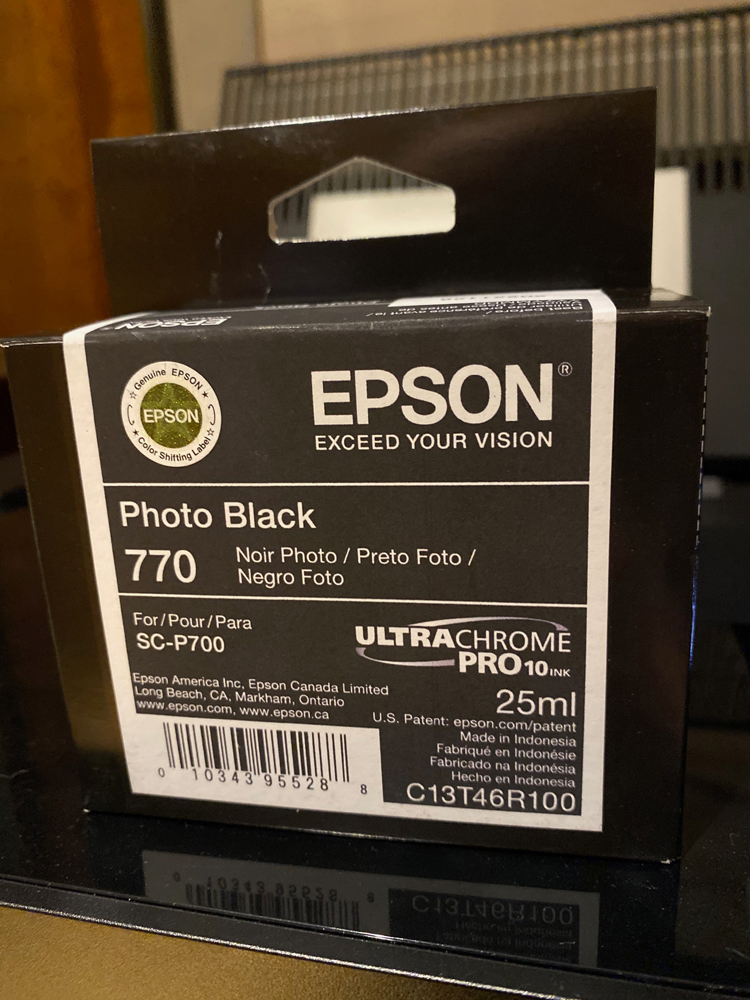
I was a bit surprised and it wasn’t mentioned anywhere that the starter cartridges for the printer are not the full-size 25ml cartridges that you purchase. You can see by the image below that the levels of ink are not that high once the charging of the printer was completed. I highly recommend when purchasing this printer that you order an extra set of inks. I made around 15 prints before I got a low ink warning. That was kind of a shock to me. I would also recommend you purchase a maintenance tank as a spare. There is nothing worse than having all the ink you need but find out you can’t print anymore because you don’t have a spare maintenance tank. Always have one of those on hand.
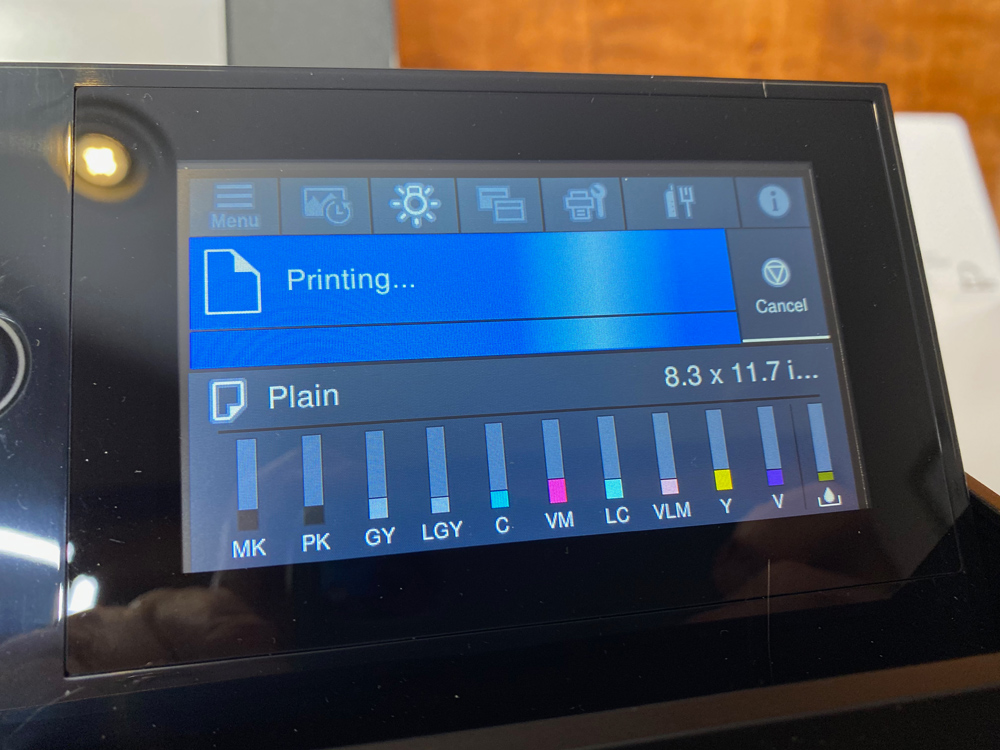
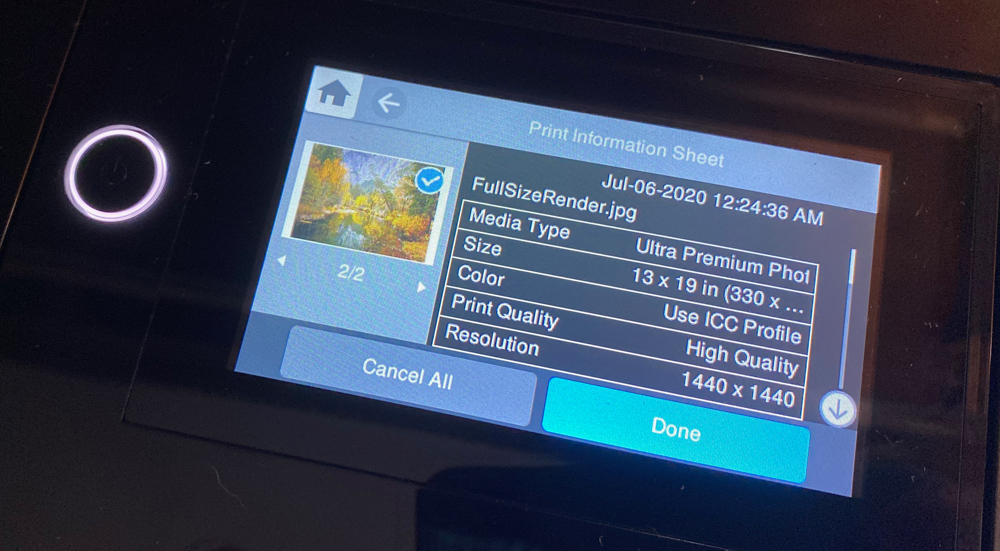
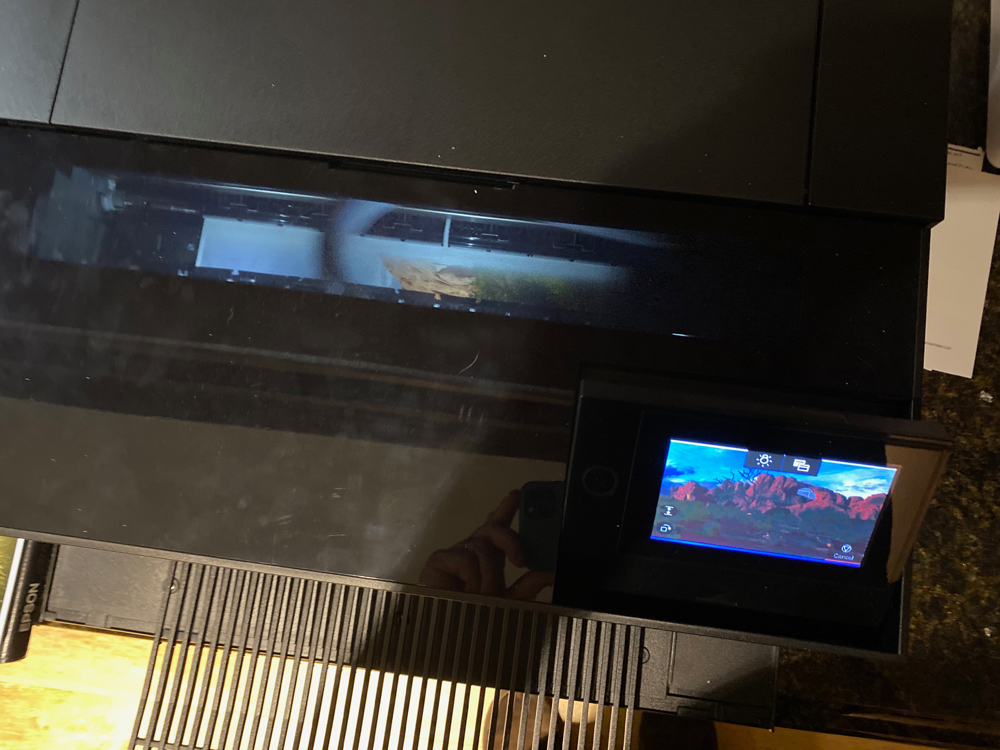
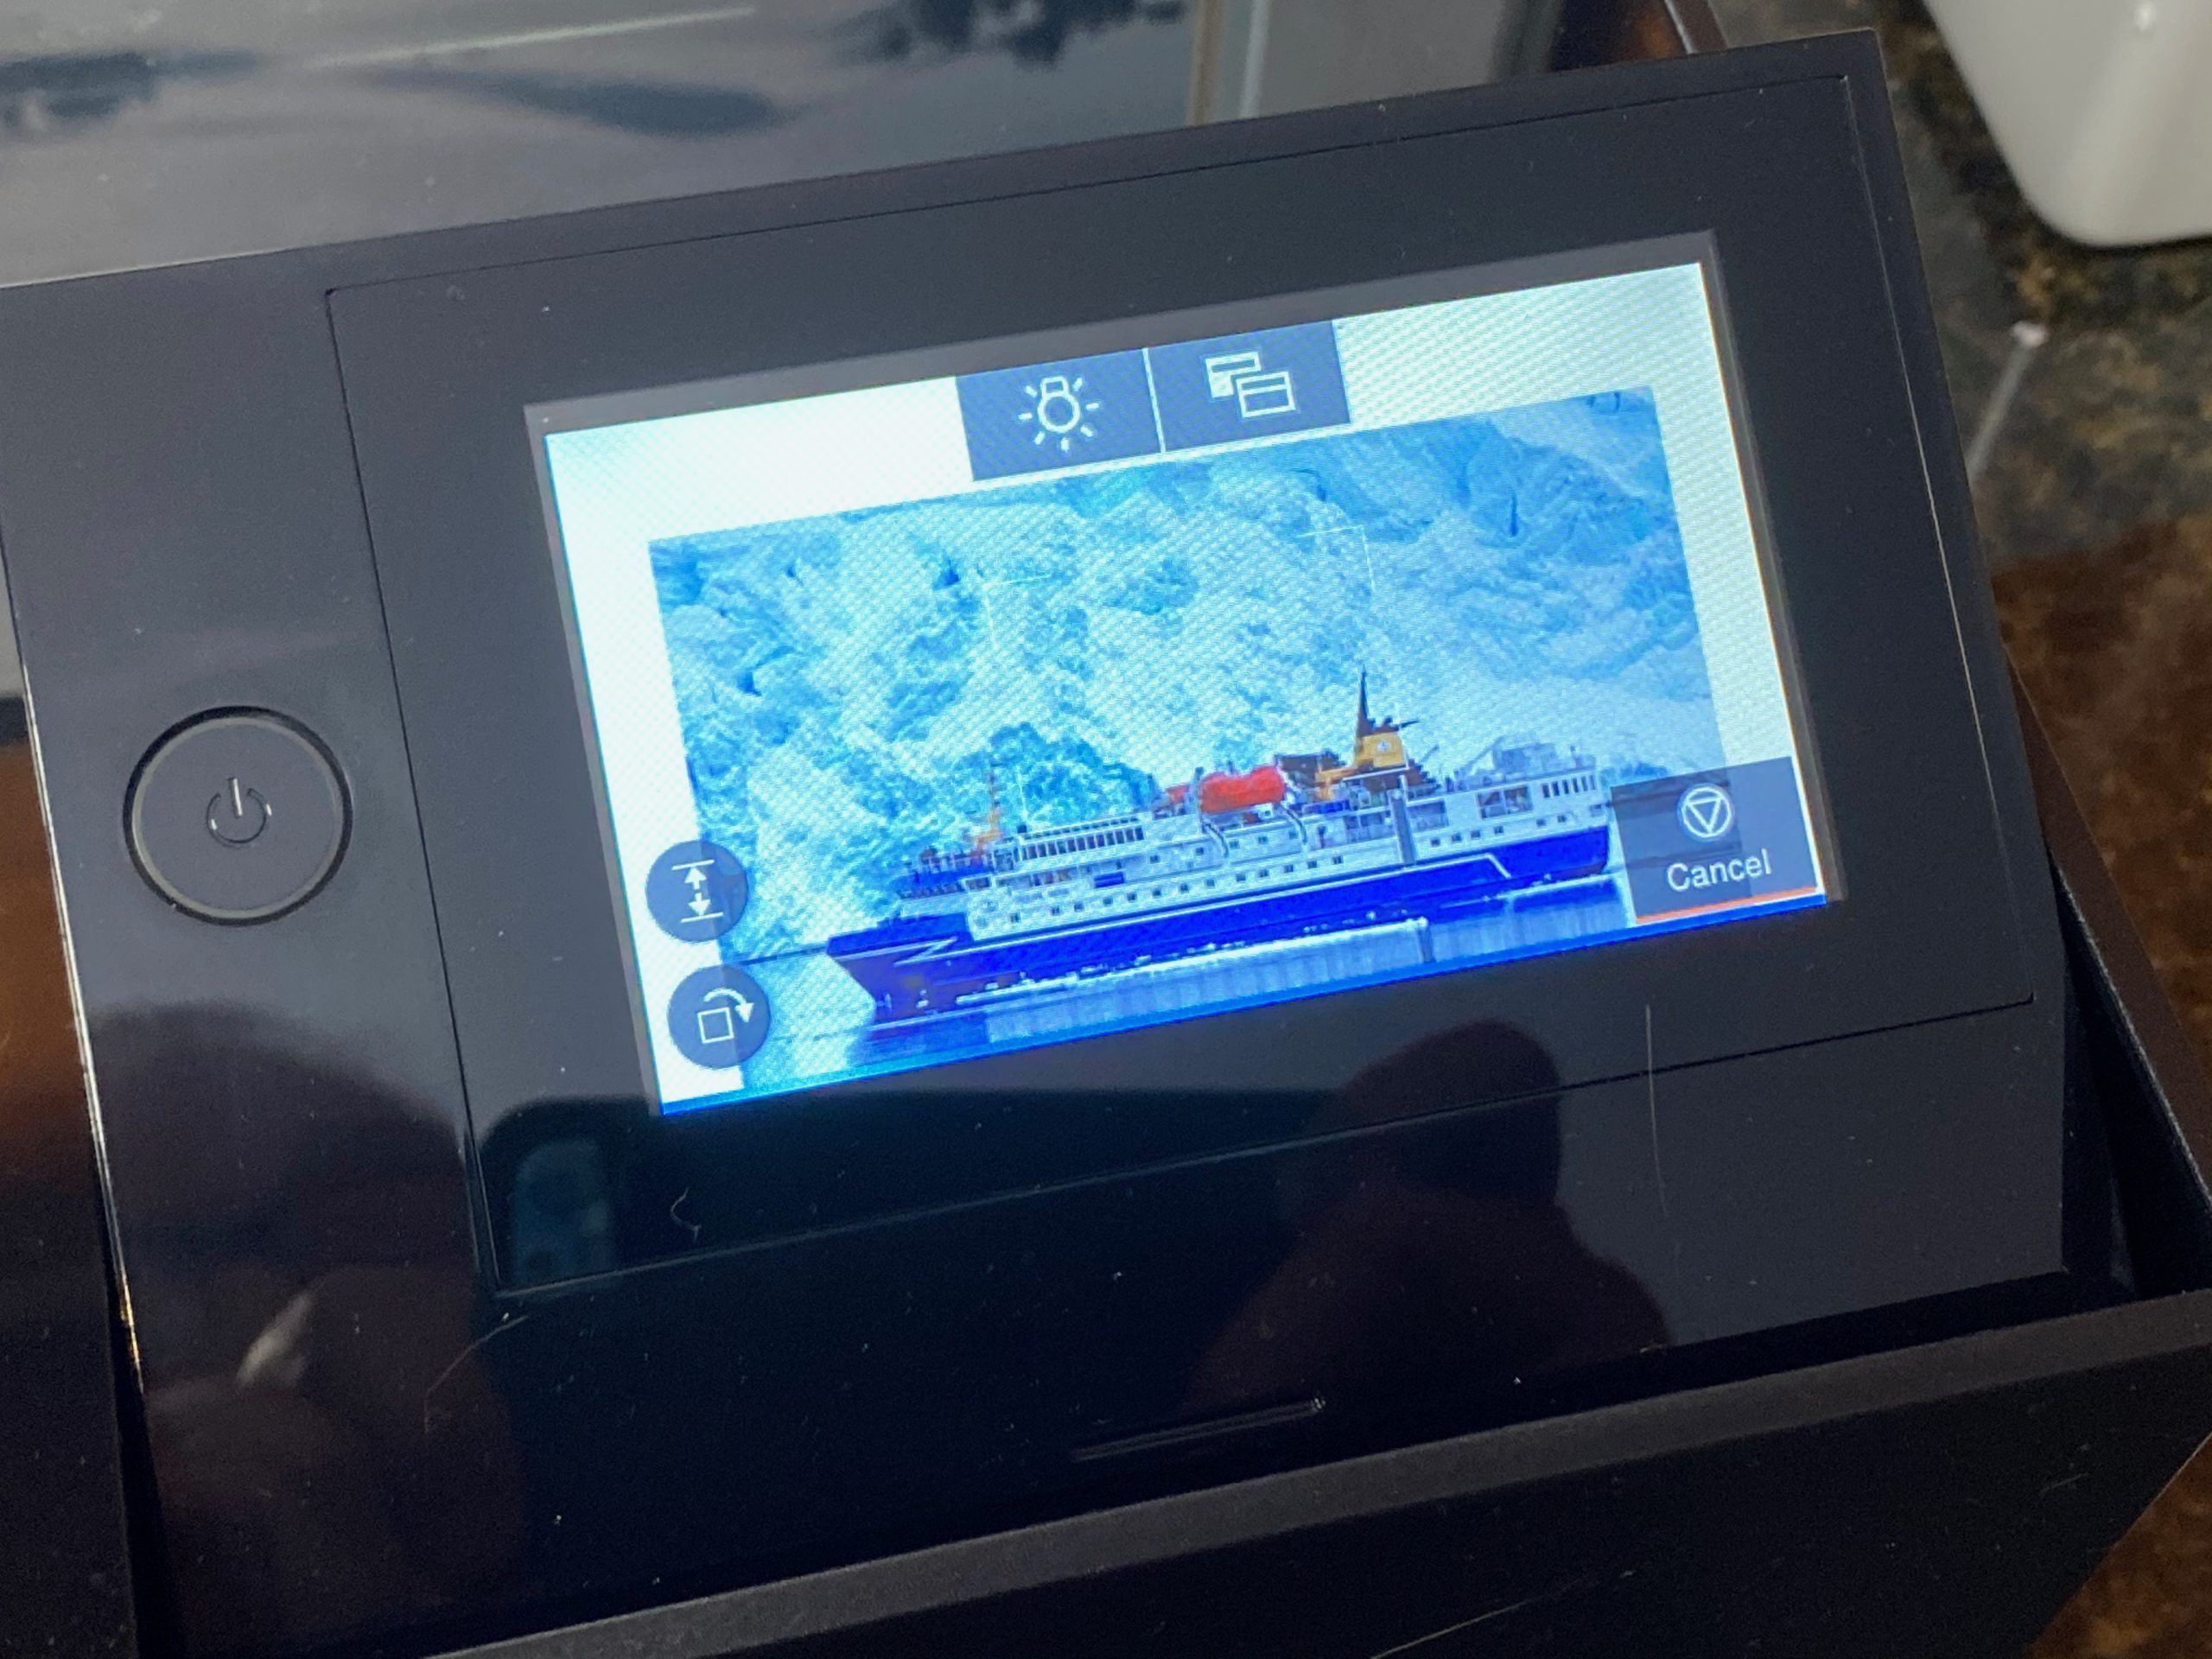
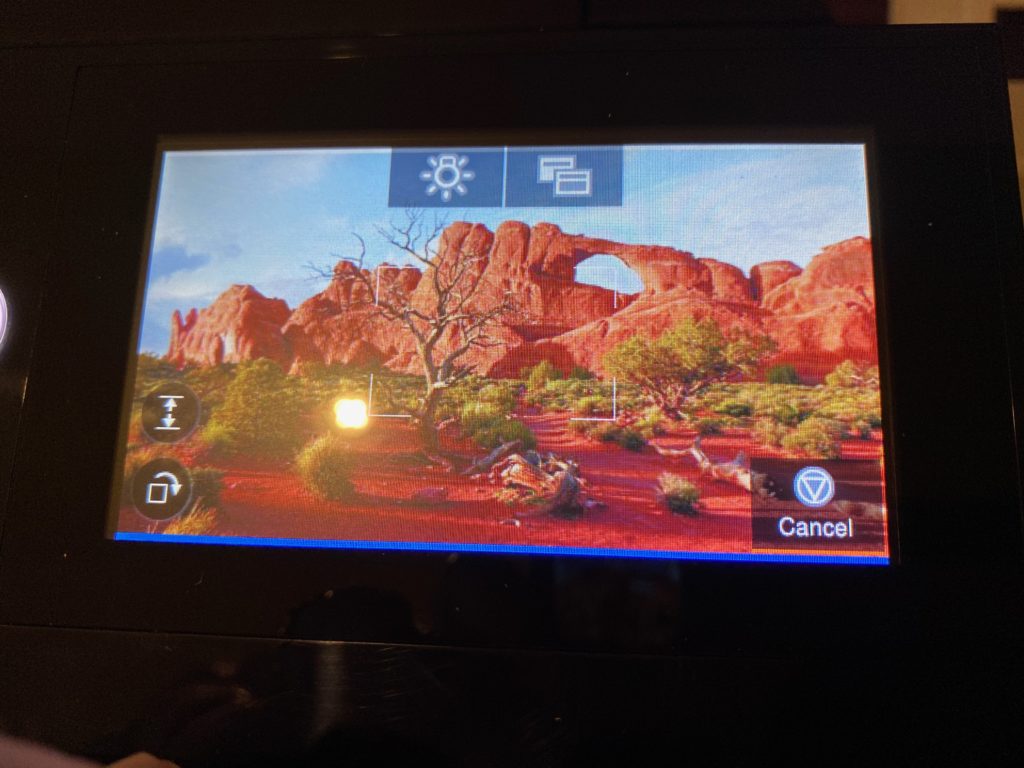
One of the new features on the P700 printer is the simple, informative touch-screen control screen. A great effort was made to make this a simple-to-use interface that allows access to all controls for the printer. In addition, a cool feature of this screen is that when printing it displays the image of the file being printed.
There is also a light under the cover of the printer that lights up to allow you to see the actual printing process.
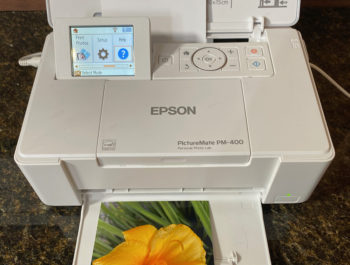
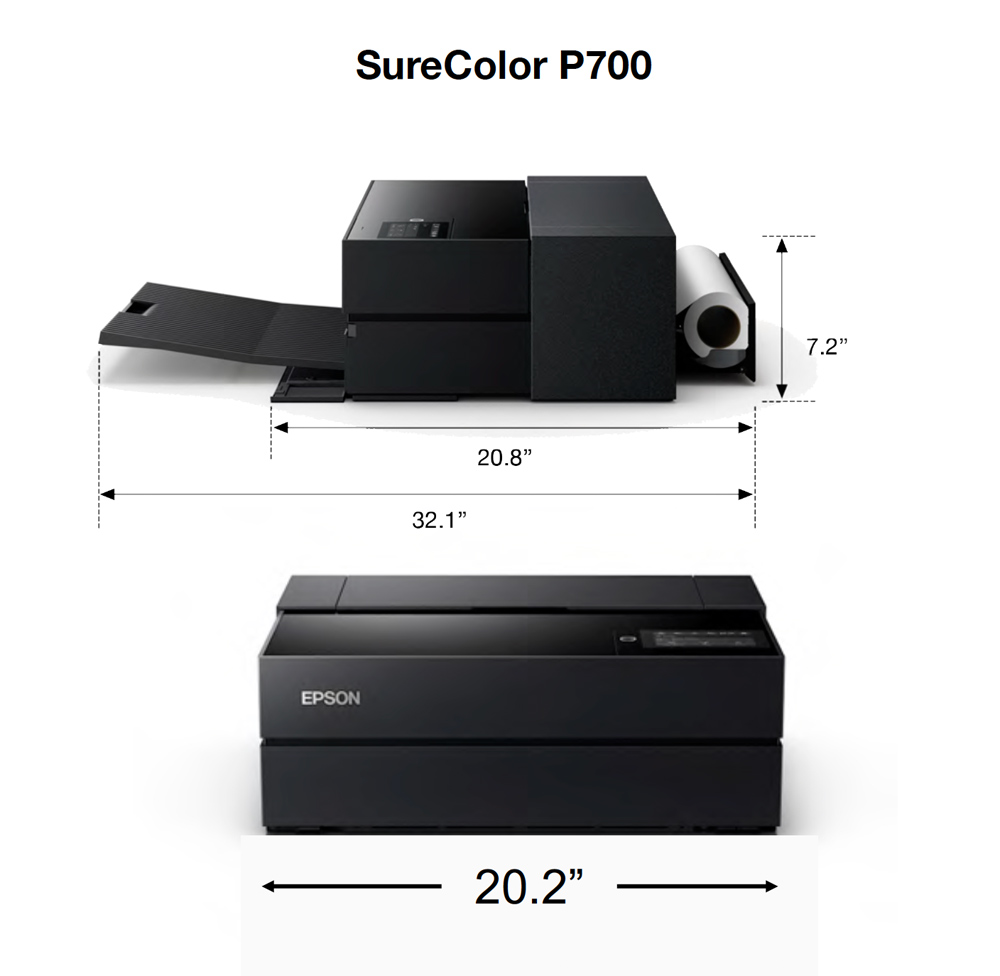
The printer, as you can see from the photos, sits next to my Epson PictureMate 400 and the P700 takes up a footprint of 20 inches wide and around 21 inches deep with the paper catch tray closed. The height is just a little over 7 inches.

Before I go into the amazingly simple operation, we’ll look at the specs a bit further for those that want to know.
Techie Stuff
Each model of the Epson printers get better and better (Not that any of the previous models are now no longer capable) I have friends that still operate their Epson 3880 printers every day with nozzle clogs. The 3880 was one of Epson’s best printers. The P700, though, has some new technology which makes for more reliable prints.
Before we get into the tech specs, I have to say for me the price of admission would be the fact that now matte and photo black cartridges don’t need to be swapped out, and there is nothing that has to be done to the machine before switching out paper surfaces. I was able to make a print run with luster paper, then insert matte paper and the only thing that I needed to do was indicate the paper types on the control panel.
This is because of a new MicroPiezo 10-channel print head. This head offers 3 droplet sizes per nozzle in a single pass. Ink repelling coating reduces the chance of a nozzle clog. It should be noted that for the couple of months that I have had the printer I have not had any nozzle clogs or need to do a cleaning. The print head also has dedicated channels for matte and photo black, with no switching.
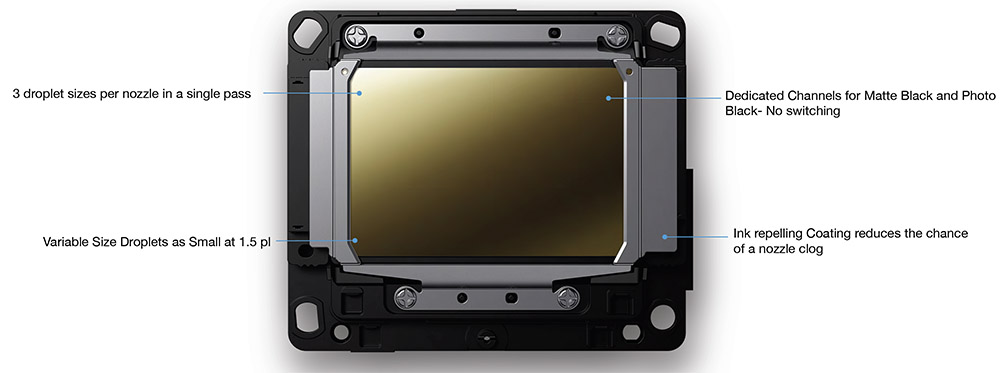
Epson claims there is a 6% wider color gamut than previous printers. This doesn’t sound like much but I do feel the images I have printed have a bit more color in the fringe areas. It’s hard to describe and measure but the images certainly look good on all print surfaces. There is now a violet ink channel that helps improve blues, violets, and purple. The way these inks work is a mystery and magic to me. For example, Canon printers use a different ink set but if I print the same file on each printer it would be nearly impossible to tell them apart.

One of the things I am very big on is print permanence. This is how long the color remains accurate without fading. This is based on research by Henry Wilhelm of Wilhelm Image Research, which claims 200 years for color and 400 years for black and white. Combine this with a good paper and your prints should last more than a lifetime.
Then there is a new Carbon Black Mode. This is really cool to see, especially when done on metallic or glossy paper. When using this special driver mode the images take on a different look. The best way I can describe it is like a Cibachrome print for any of those that have ever seen a Cibachrome. There is a deeper black and increased contrast look.
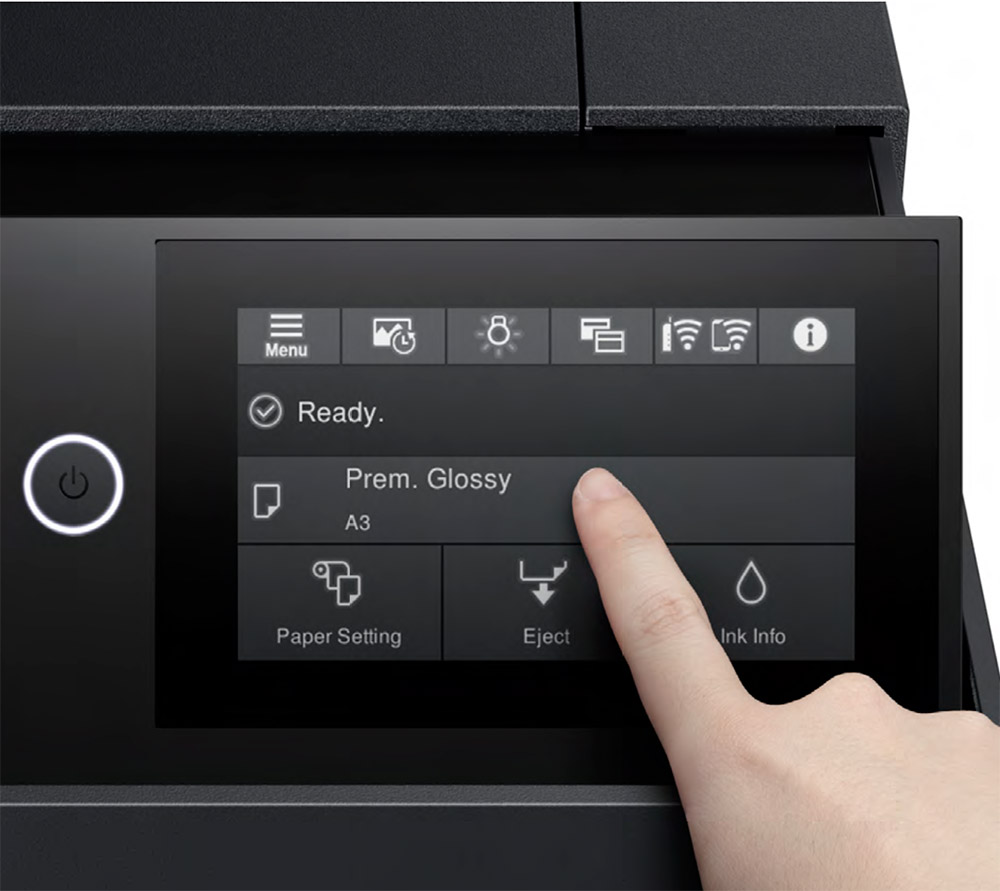
The new control panel that is 4 inches in size makes the whole process of working with this printer a breeze. Easy to understand icons allow you to touch and enter a screen where different settings can be made. It’s a high-res color screen that even displays a preview of the image when it is printing.
The screen will indicate how many prints are in the queue, time remaining for the print job, the paper being used, paper size, and more. You can opt on how to set this screen up, too. For example, you can turn off the print preview and turn on the progress bar showing the amount of time remaining to complete the print job.

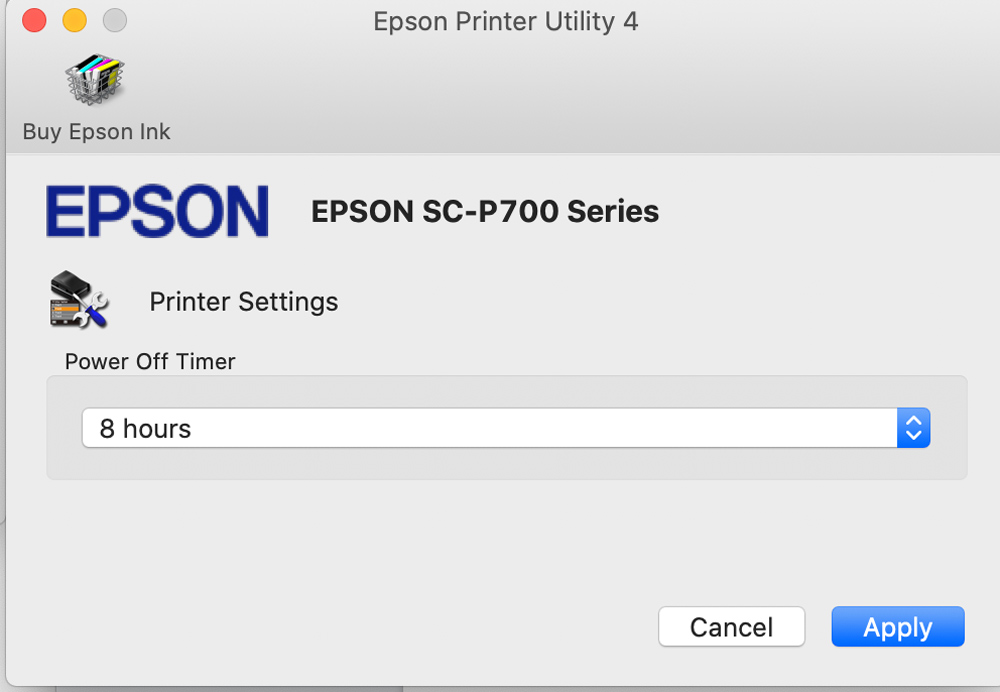
You also use this screen to check the status of the ink supply, the time for auto shutdown, whether the internal print light is on or off, as well as the paper type and size that the printer will print on. It’s all pretty intuitive and easy to master.
Media
Since I have larger printers at the gallery I wanted to have a printer at home that would let me make prints that could serve as proofs or for personal images, especially from my mobile devices.
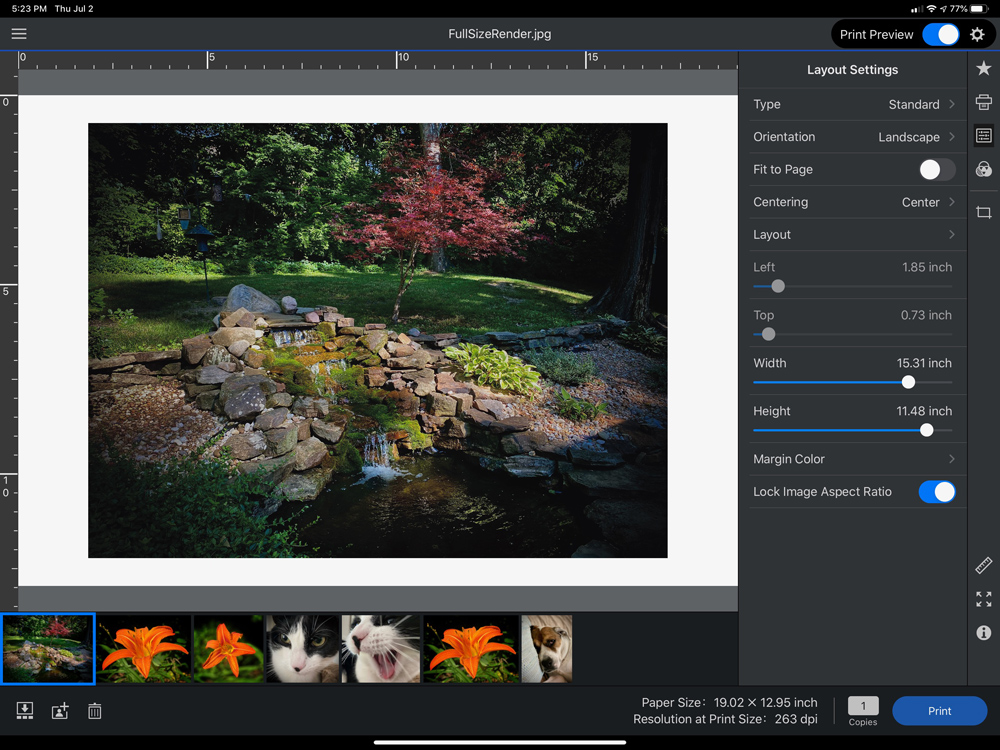
 I wanted a printer I could use various paper sizes and surfaces and the P700 is terrific for this. The printer allows for three ways to feed paper into the printer. The first and most used by me is the rear tray paper feed. You can put 10-30 sheets into this feed. It even holds heavier sheets. I have found that 10-15 sheets work best unless you are using thinner paper. Most of the time I print on Epson Premium Lustre paper in 8.5×11 (Letter) sized paper.
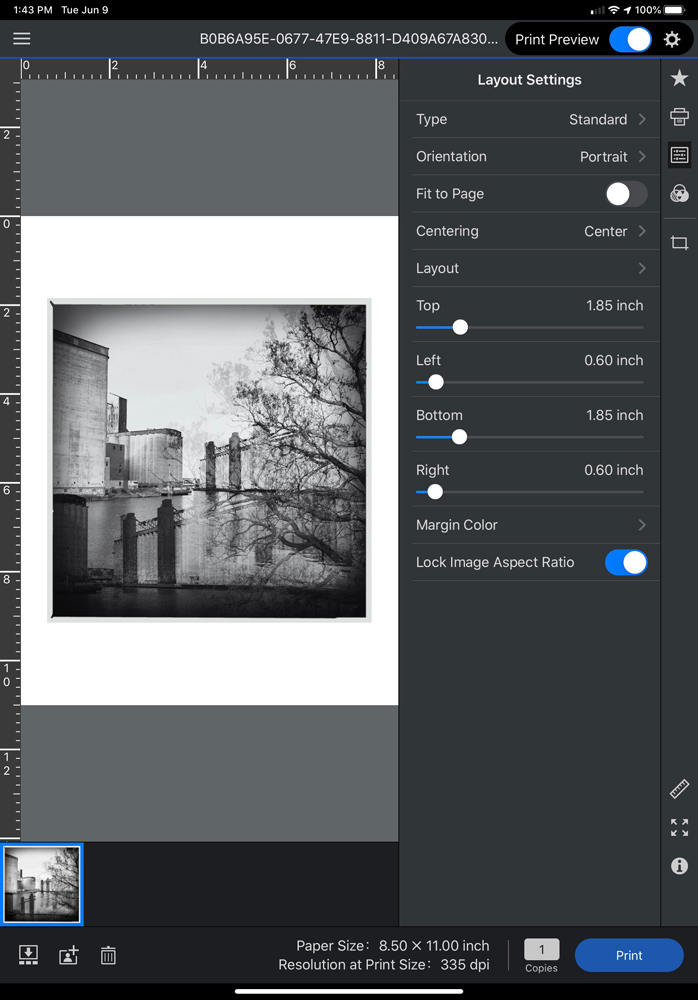
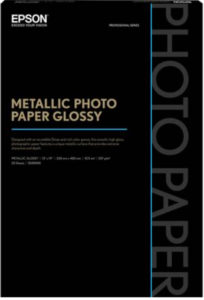 This is my main go-to paper as it has a good weight and shows just about any age really well. I make proof prints and check for color a lot of times also. I also have 11×17 and 13×19 sizes of this paper ready to go. I have a beautiful wood box that sits on our coffee table that I am always adding prints to. So, sometimes I’ll make 5×7 or 5×8.5 inch prints that I can put in that box, mostly of family memories and such. I’ll do an article about this box in the future because it is pretty cool. I have fallen love with Epson Metallic Photo Paper (glossy and Lustre) especially with the carbon black option being used.
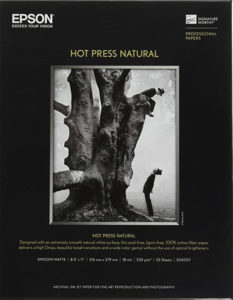
For testing and when I need a matte paper, I use the Epson Hot Press Natural. This is a real flat matte paper with a slightly warm tone to it.
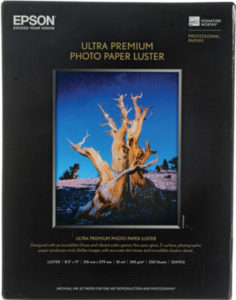
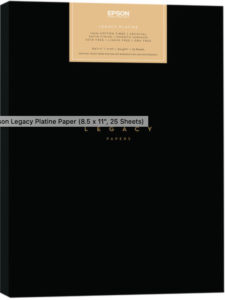
 If you are like me you will mostly settle on a few papers as your main go-to papers. My papers at least for the P700 are the Epson Ultra Premium Photo Luster in letter and 13×19 size as well Epson Legacy Platine Paper. The Platine has a luster-like finish with a gorgeous slight texture. My other paper is the new version of Canson Infinity Baryta Photographique II. This is the paper I use the most at the studio.
 Unlike the Epson P800, which I found difficulty with feeding papers from the rear feed, the P700 has handled all the papers I have shown above. So, I haven’t had to use the manual front feed since having this printer.
I did test it though, and it works like other previous Epson printers. You pop out a feed tray, insert the paper, line it up with the front guide, and then push the feed button on the control panel. The paper feeds in and then you push in the feed tray and print a single sheet the normal way.
Different Media
The printer has a number of media profiles built-in as well as the Epson Print Layout software and apps. If you use any of the Epson papers then you don’t need to do anything but select the paper you are using. However, if you use a different paper type and surface you are going to have to add it to the software.
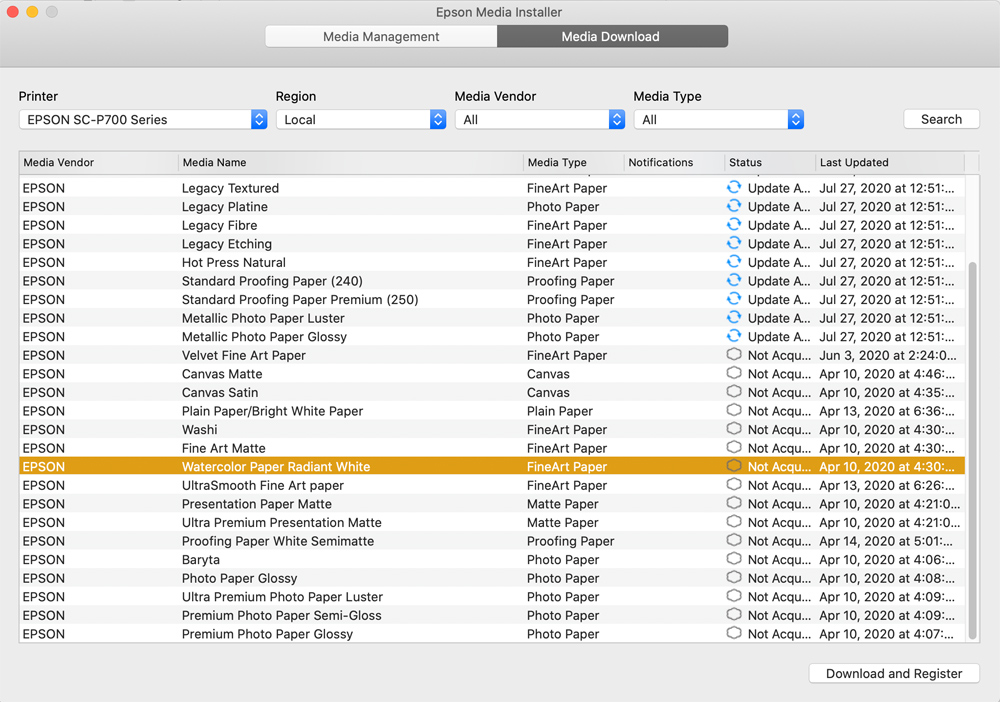
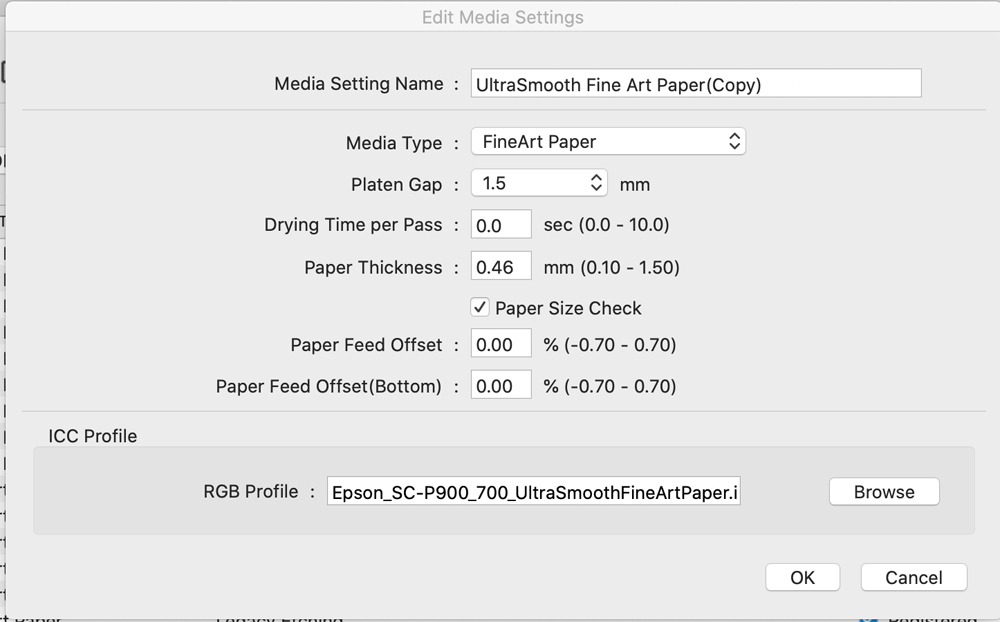
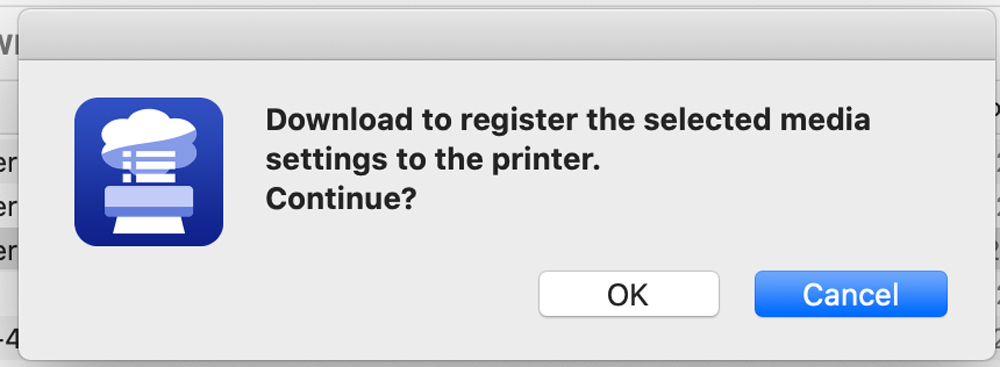
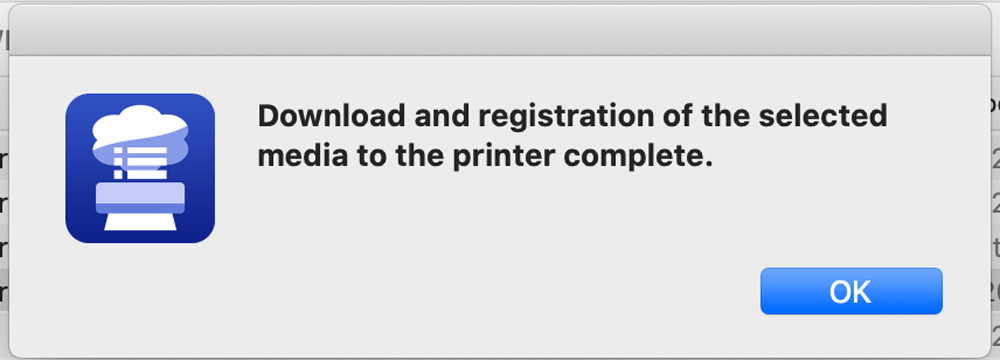
This is accomplished by using the Epson Media Installer app. It’s not the most intuitive app but in essence, it takes profiles you have downloaded from a paper manufacturer’s site and allows you to add them to the Epson Print Layout app. The screenshots show a brief explanation of the process.
You can get a better idea of how the Media Installer operates HERE.
Operation
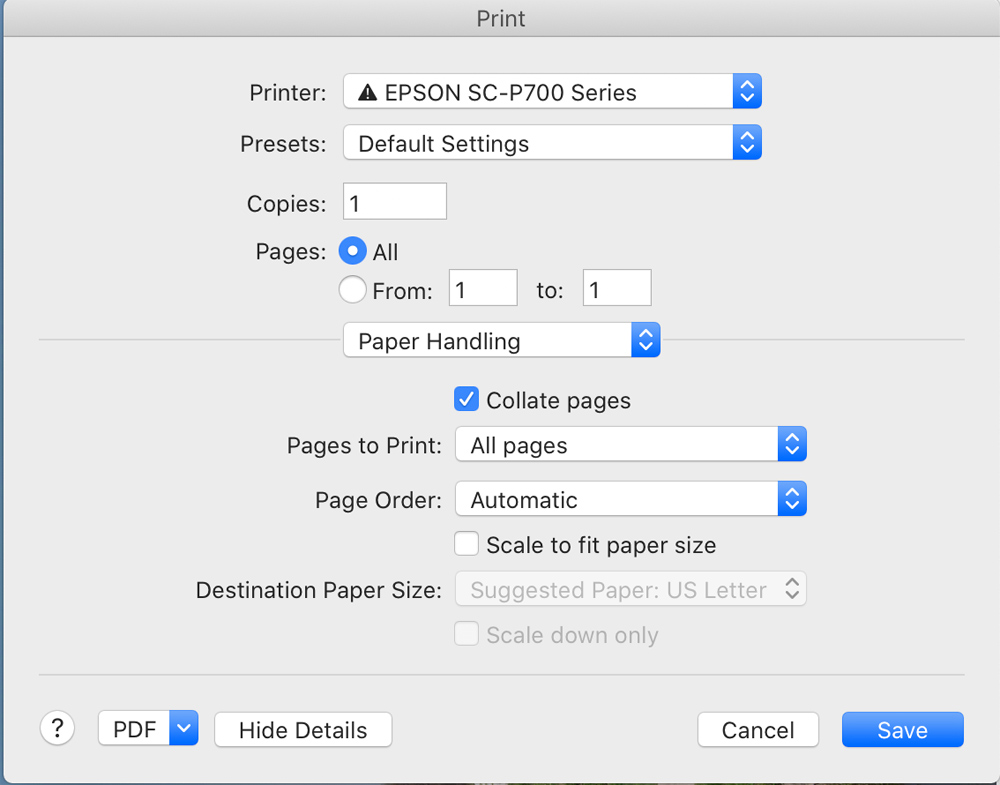
After the printer is set up the next part you need to do is install the printer drivers on your computer. The instructions are clear enough with the materials and quick-start guide that comes with the printer. From the MAC site (because that is the system I use and I couldn’t tell you the first thing about Windows machines) you go to the preferences menu and select printers and scanners.

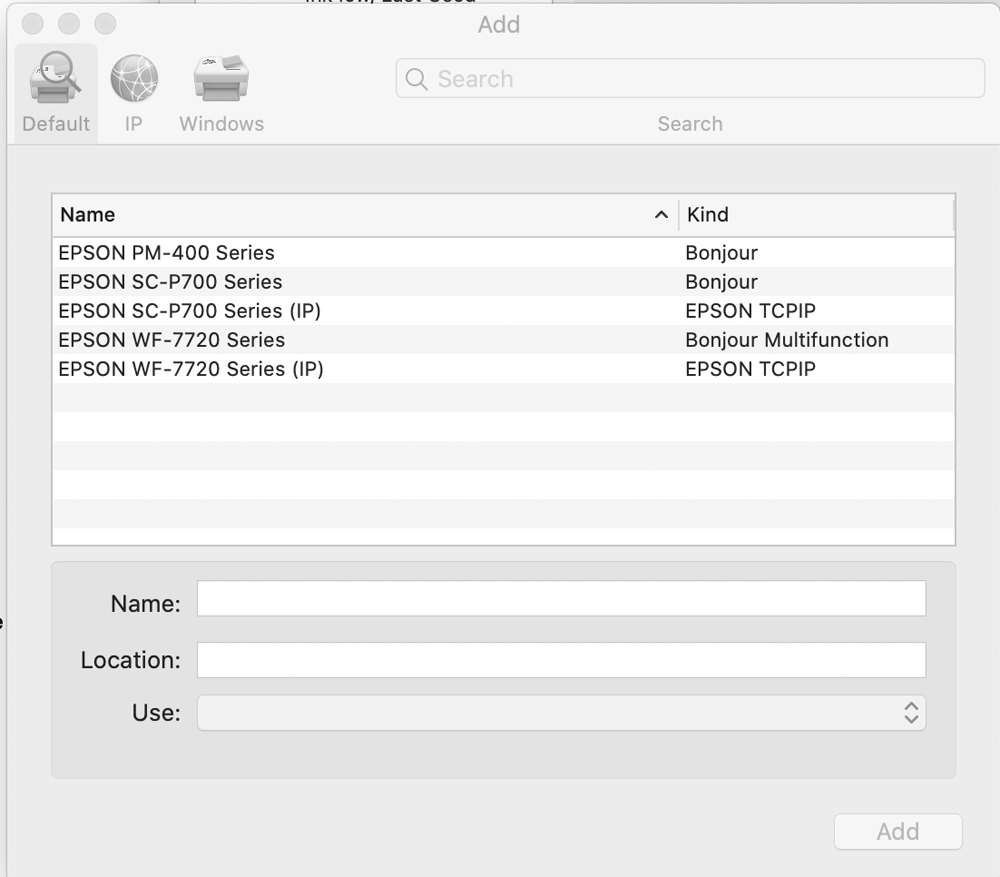
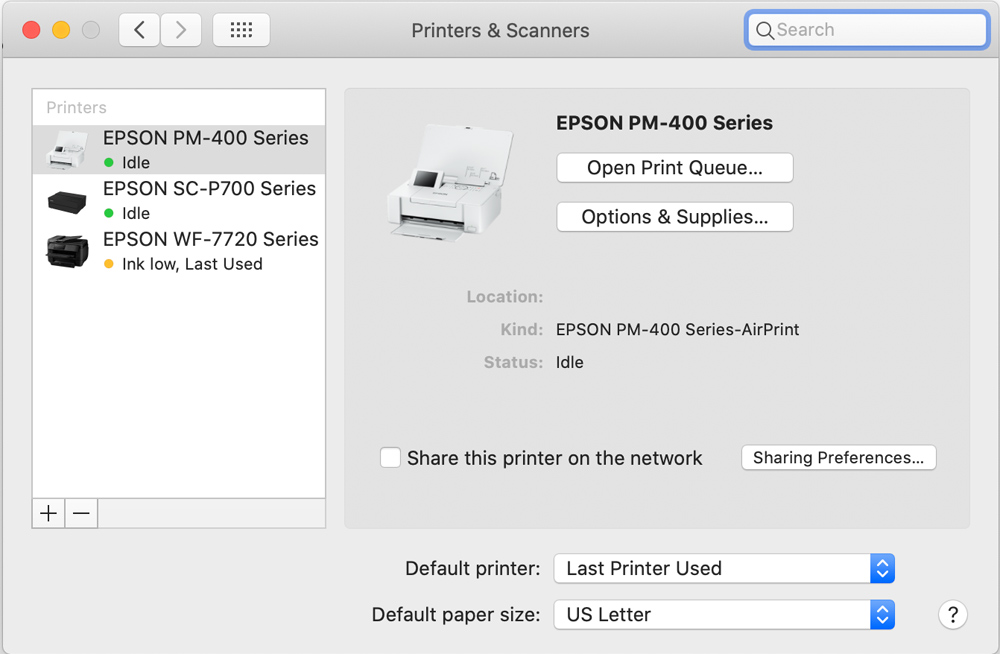
You’ll get a window that opens showing any printers previously installed. You click the plus button on the list of printers and you’ll get another window, simply titled “add.” You should then see a list of available printers that are connected to your network. Select the Epson P700 Bonjour and click add.
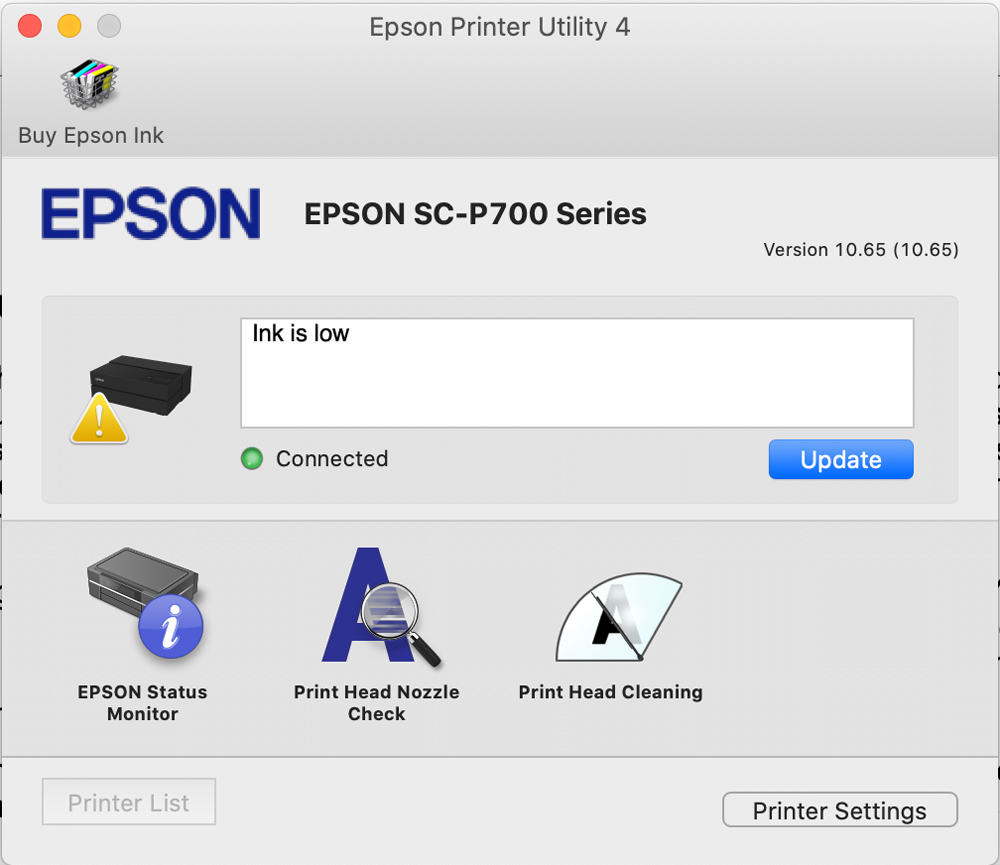
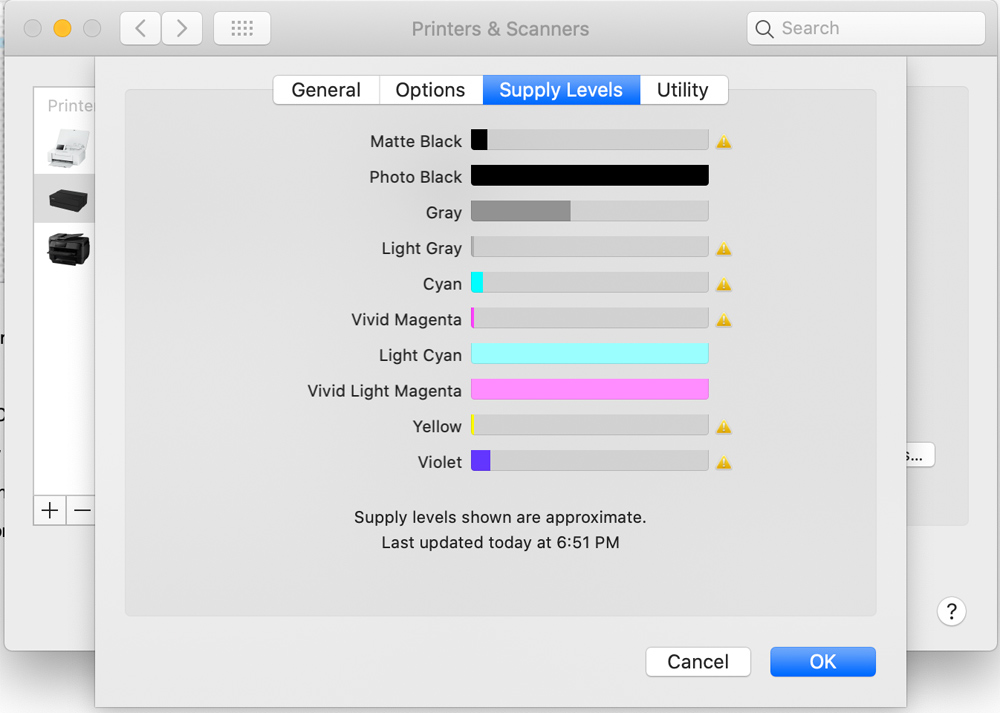
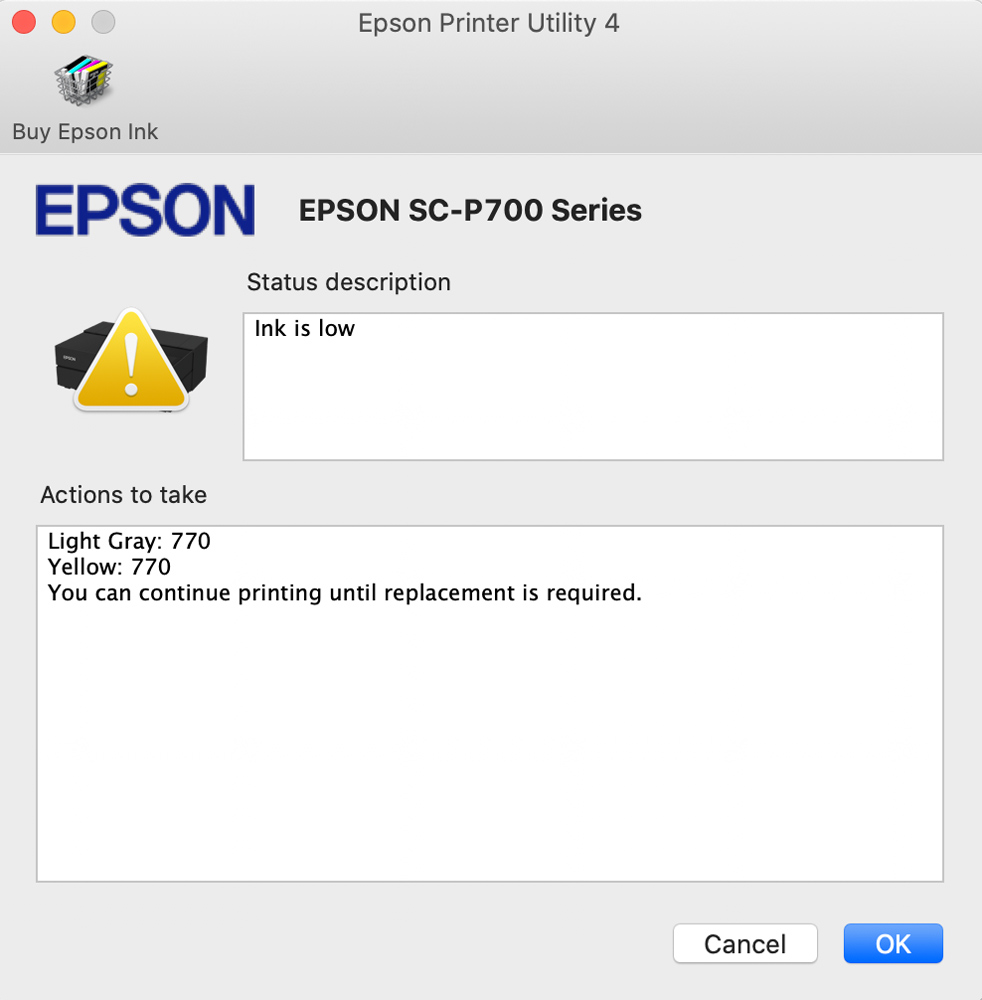
It will now be available as an installed printer. If properly installed and connected, you can customize a few things to your taste if needed. I just left it at its default as shown. You can check the ink levels right on your computer. The utility selection shown belows allows for opening the print utility, print a test page, or clean print heads.
That’s the hard part. At this point, your computers (you need to do the above on all computers) are connected to the P700 printer and you are ready to make prints.
Printing
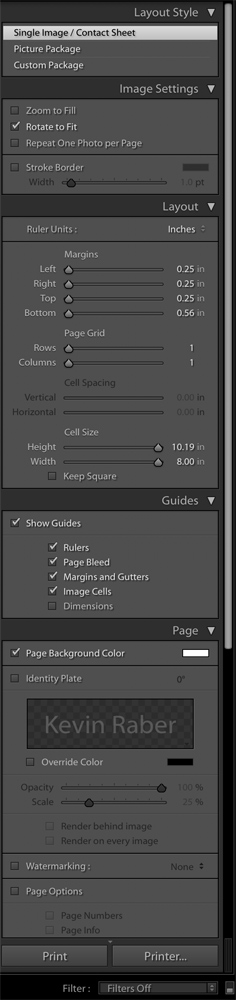
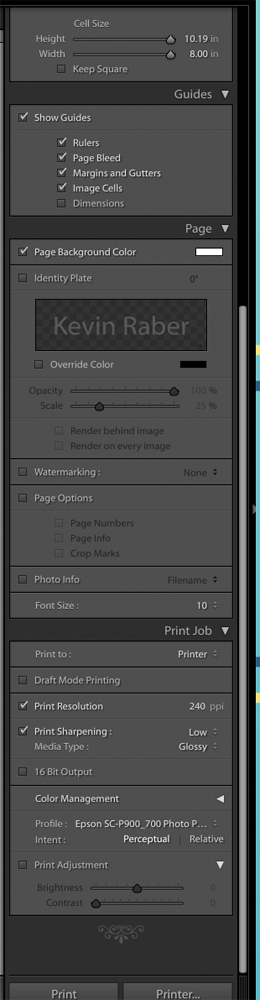
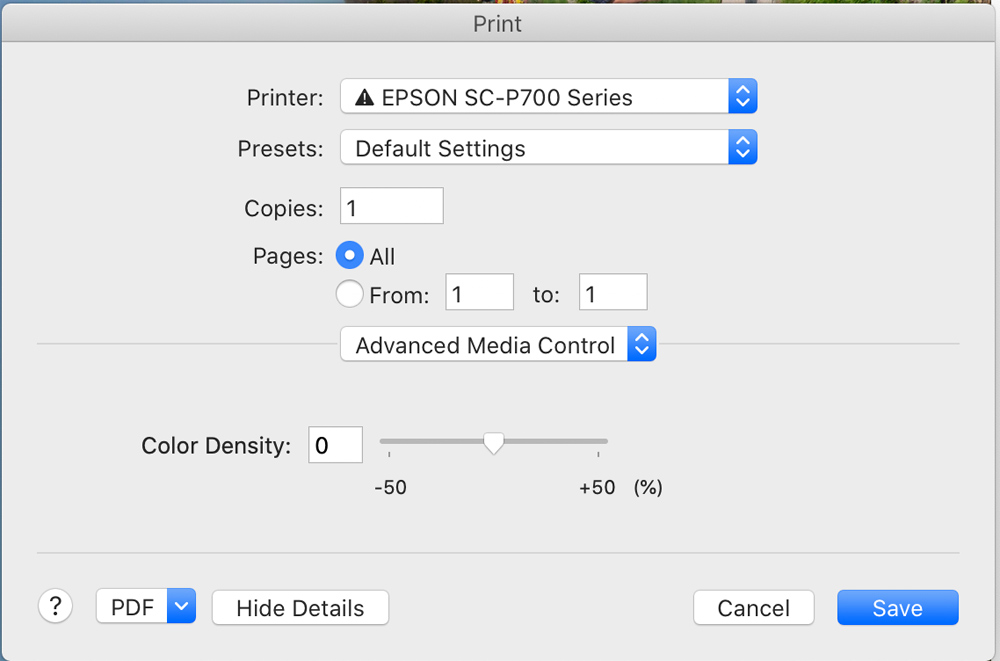
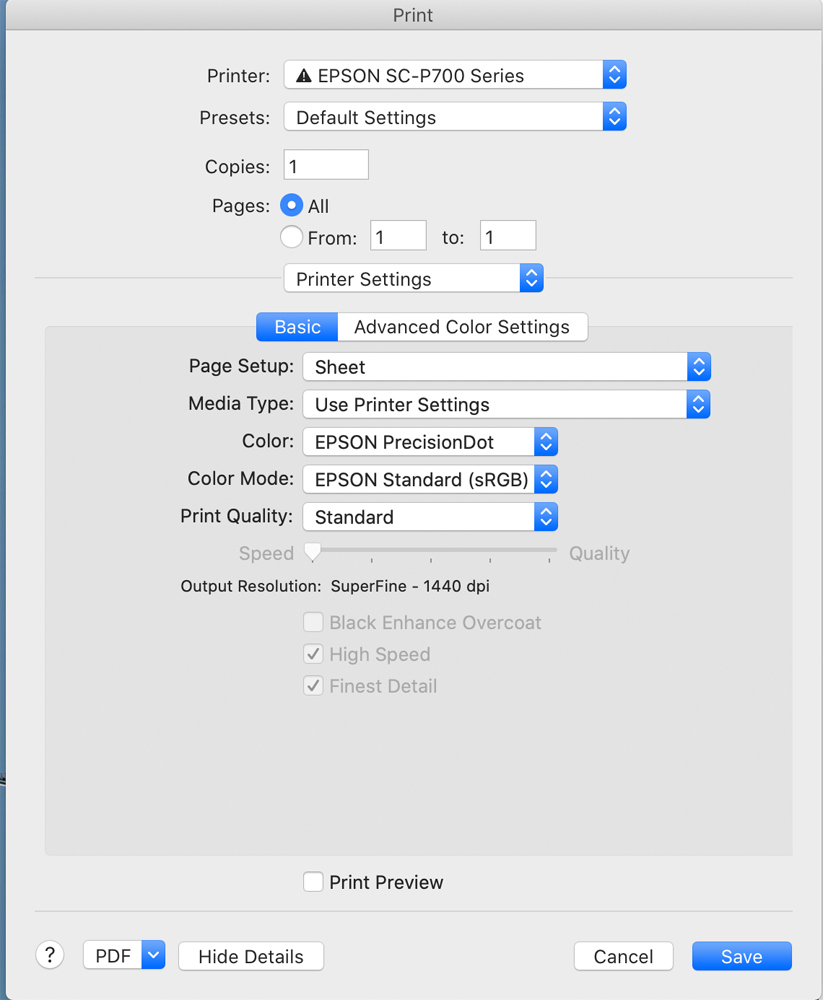
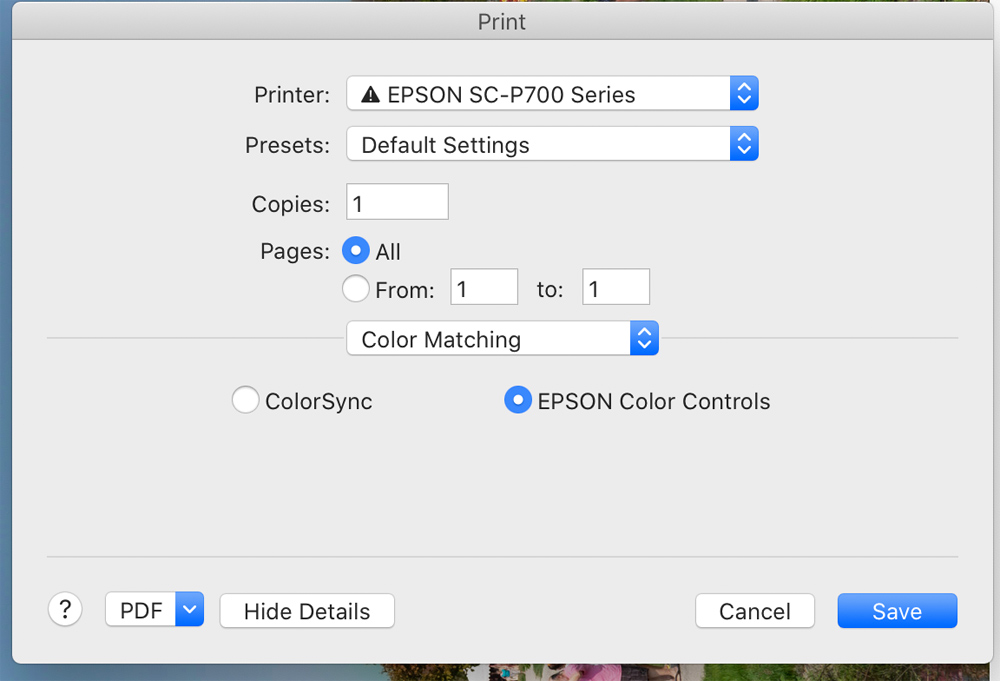
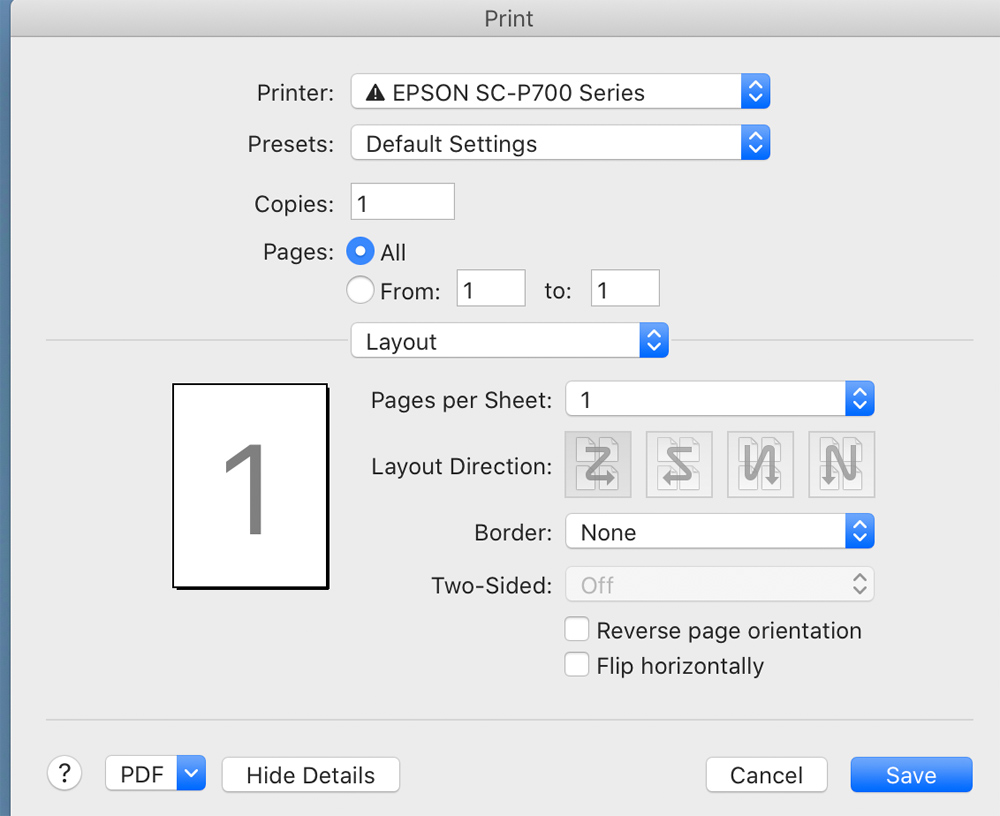
You now have a choice or two to make. Do you go the hard way or the New Epson Way? The hard way is not that hard but it will seem that way compared to the Epson way. Most people will want to print from Lightroom or Photoshop because that is what they have been doing for years. There are a number of windows that need to be addressed and settings that need to be made to print from Lightroom or Photoshop. You can see some of these below. Or, you can make your life easy, which is what this printer is all about, and print from Epson Print Layout.
Let’s see if Epson Print Layout makes life easier.
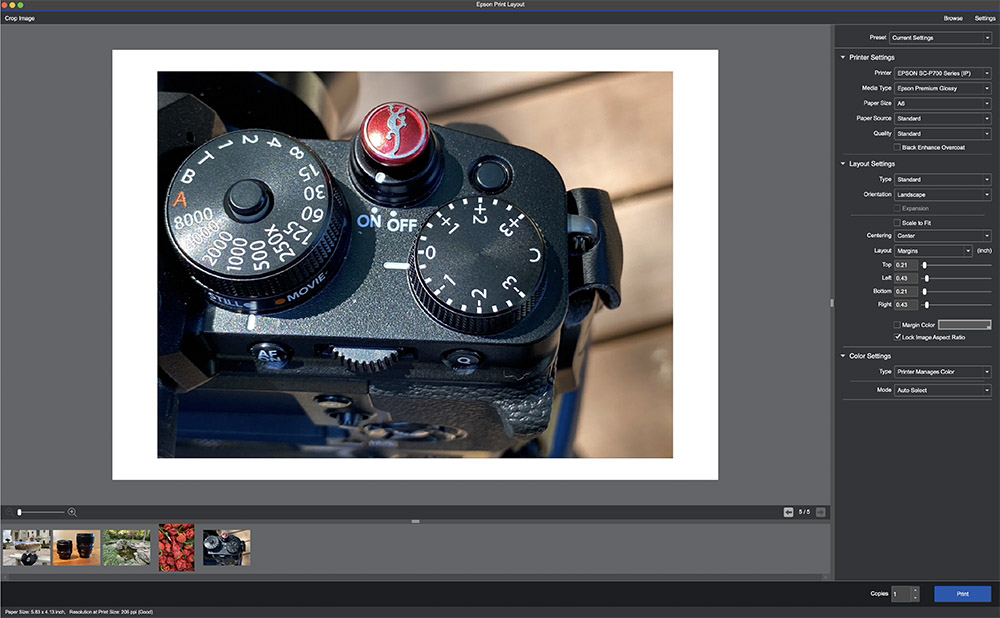
Epson Print Layout
Isn’t it about time that making prints is easy? Now there is no reason not to be making your own prints. It’s now as easy as selecting the size of the paper and paper type and then selecting the image to be printed.
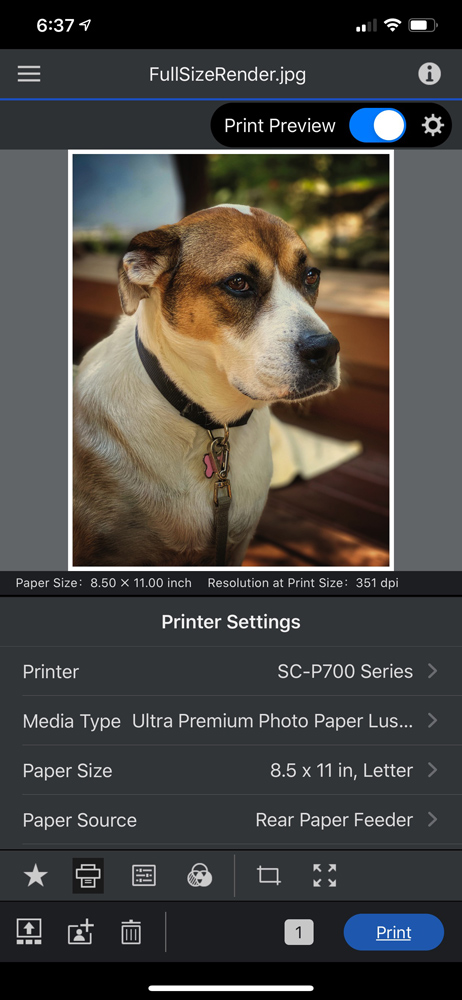
You can do this without being wired to the printer using WiFi and best of all from any popular device. Epson Print Layout is so easy to use that I make prints while eating dinner. I can make some prints after guests visit for an evening and they can walk home with a set of them. I now can make prints of my pets, vacations, family events, and just about anything you can think of.
The other day I was out working in the yard and shot some close-ups of flowers with my iPhone. I sat on the steps to the front door for a minute or two making some adjustments in Snapseed and then opened up Epson Print Layout on my iPhone and made a few prints.
When I came in, the prints were sitting in the output tray of the printer. They were beautiful. Printing has now become that easy.
I love printing from my iPad. As you might have heard and seen in previous articles, I have around 94,000 images in my photo library. I can select any image, decide on what size print I want, and make prints in an instant.
You don’t need expensive cameras or an expensive camera. Heck, most people will just love making images from their mobile devices. You can design layouts or use the prepackaged ones to make wallet-size prints, 4 up and 2 up packages. You push the ring button and the software automatically sizes the image for the print size and prints away.
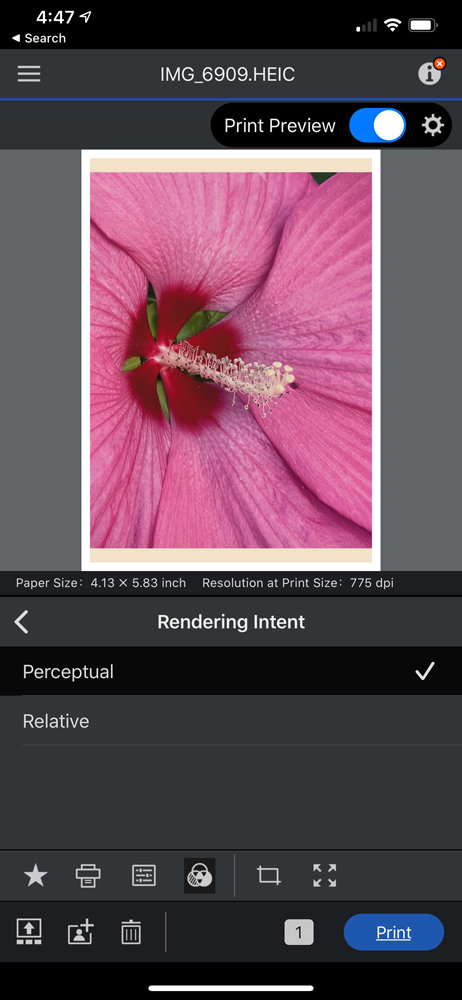
Don’t worry about color settings or anything else. I think you can see from the screenshots below just how nice the apps look on different devices. I must tell you, though, that this app is specifically designed to work with the P700 and P900 printers. It’s not backward compatible. I believe that is because a lot of what takes place successfully is due to the firmware or the printer working with the software.
Remember that to print you need to set the printer for size and paper type when you load the paper as well as size. This then matches up with the settings in the Epson Print Layout.
The nice thing is there is no fussing with making confusing decisions. If you do a setup, for example using luster letter size paper with a one-inch border, you can easily save that setting and recall it for one-step printing using the same settings in the future.
Sometime in the very near future, I’ll do a tutorial on using Epson Print Layout on my MAC, iPad, and iPhone. I bet that you’ll figure it out pretty quickly on your own.
Under certain circumstances, you may see a warning displayed about the file size is too small or something else. This makes sure you know when the print may not be optimal. Most likely you’d see this making 13×19 inch prints from small file size.
With this setup, there is no reason you should be holding out not making prints. Once you see how simple it is you should put an order in for lots of paper and ink, as you will find yourself making prints all the time at all times of the day. It’s time to preserve those family memories that are stored on your phones and print them out.
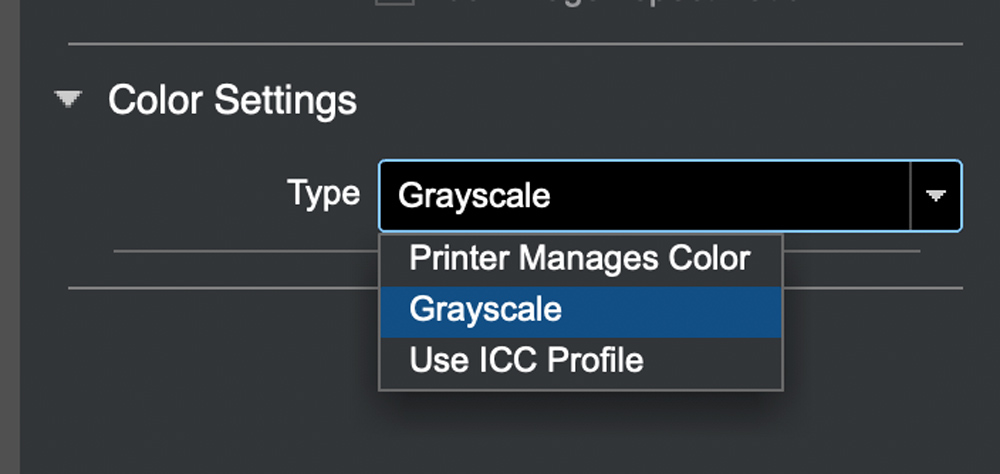
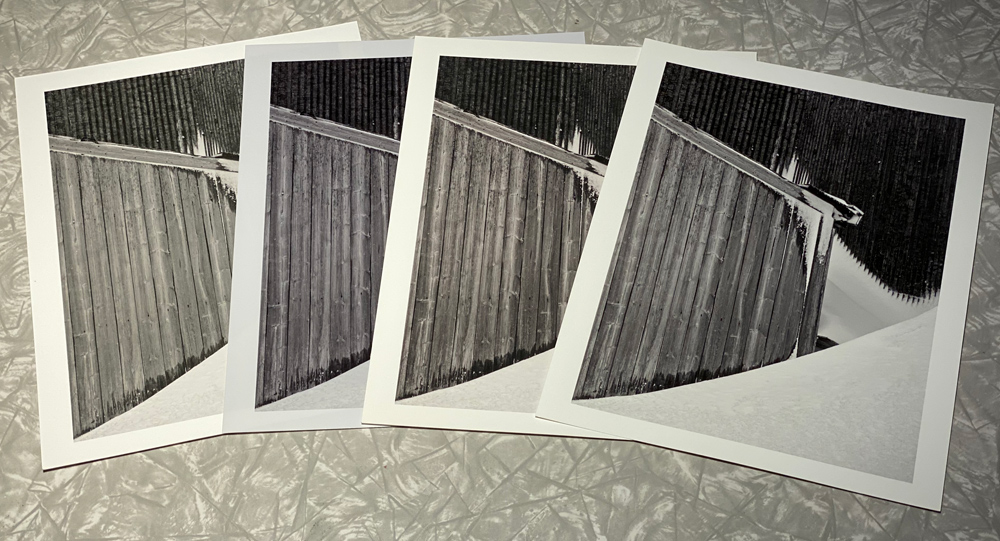
If you print black and white images you can select the Gray Scale mode and make fantastic black and white prints. I’ll have more to say about that on my specific Epson Print Layout article coming soon.
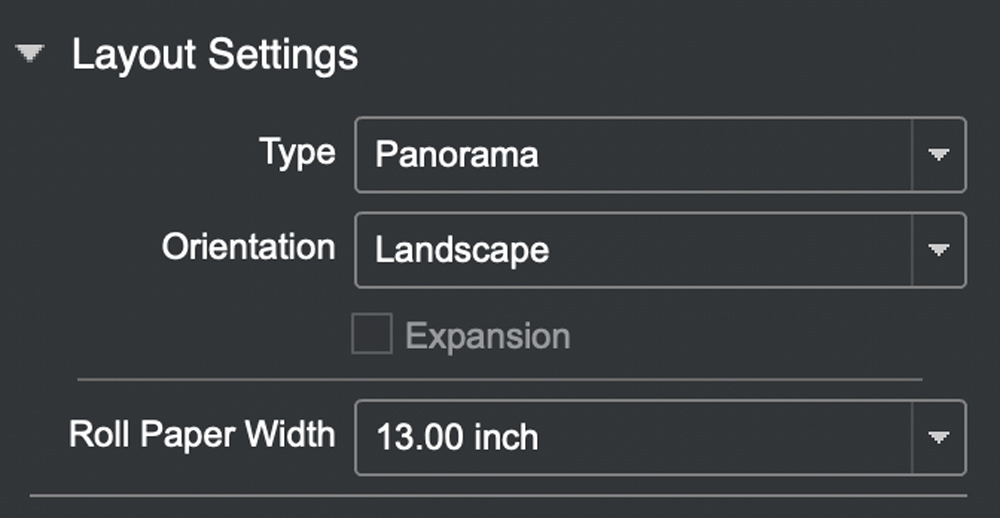
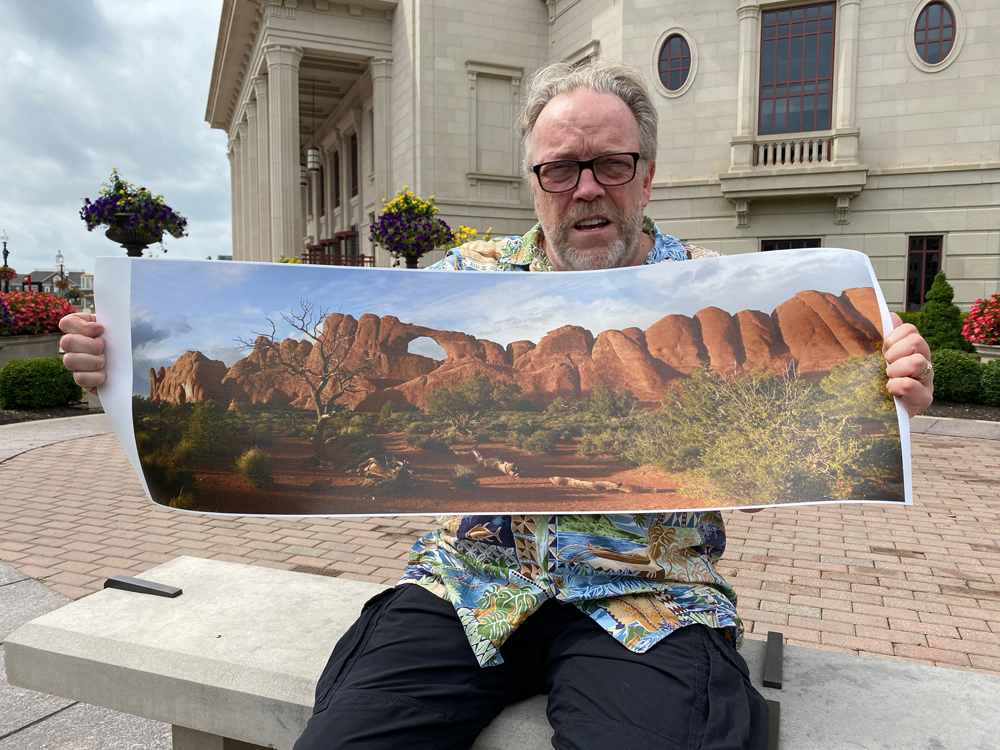
Panorama Prints
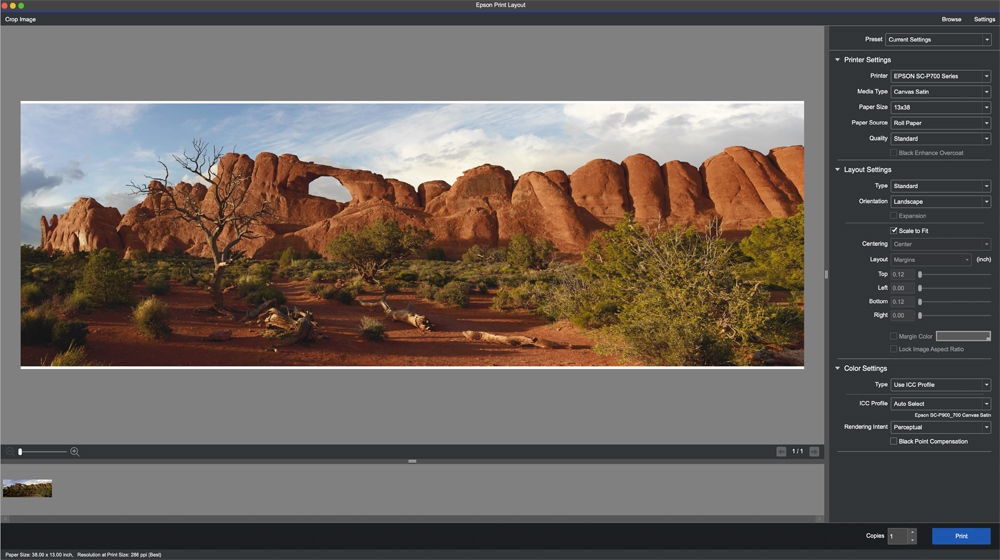
The P700 printer accepts 13-inch wide rolls and thus allows you to make a panorama print. You flip down a door on the back of the printer that then serves as a cradle for the roll paper. You select the roll feed option on the front printer panel and then also select the paper type. The rest is done in Epson Print Layout.
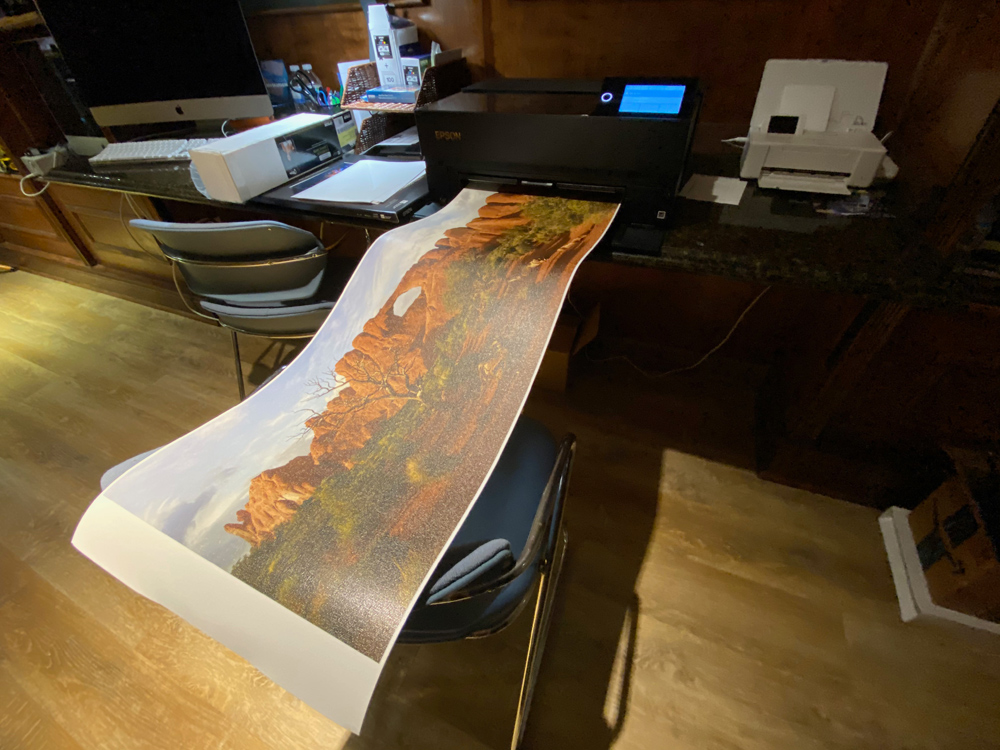
Instructions appear on the front display and you simply follow them. The paper feeds in and you are ready to print. The results are really nice. I use Epson Canvas Satin as it is more durable and less prone to nick and wrinkles as a result of being so long.
Closing
Never before has printing your own prints been so easy. You won’t need to make your own profiles. You don’t need to check off a lot of dialog boxes. Simply select your images, drag them onto the filmstrip bar in Epson Print Layout, and then select them and select a template and hit print.
The fact that you can now make great prints up to 13×19 inches from your mobile devices is quite nice, not to mention addicting. I have had more fun making prints and I use the printer every day. The Epson P700 printer is now shipping and you can purchase it from Roberts Camera, Amazon and B&H Photo. Remember to purchase an extra set of inkjet cartridges for the printer as you will need them. A set of 10 cartridges will run you around $380.00 USD.

While the printer comes preloaded with a lot of paper profiles, most of them are Epson papers. There are a lot more Epson papers that can be added and you can also add additional paper profiles for third party papers by using the Epson Media Installer (as explained above)
What’s different from earlier Epson printers is that the printer itself stores these profiles. Then the Media installer installs these profiles on the printer. That is why you need to select the paper when loading new papers. This way, when you send an image to the printer it knows how to print it. The papers will need to match up in the Epson Print Layout software.
You can also print using the Epson Print Layout software from Lightroom, Photoshop, and Capture One. You will need to set these programs up to use external edit with settings. More on that on my Epson Print Layout article.
I could go on and on but we have reached a new point in the printing evolution with these new printers. The Epson P900 printer looks like a bigger brother of this printer. We are expecting the P900 for testing in late September. Mark Segal will be covering that printer and I’m sure you’ll get a thorough review.
The latest version of Epson Print Layout is 1.4.x and I have been working with the 1.5 beta version; the 1.5 version should be out very soon, if not at the time of this article.
I had very few issues with this printer and the ones I did have can pretty much be attributed to user error (me). I did have a batch of paper that wouldn’t feed properly from the rear paper tray, but that was an issue with the paper and I returned the box and the new box of paper fed just fine.
These are exciting times. Even though we are suffering some major setbacks in our normal activity due to COVID-19, there are many opportunities to stay active in photography. One of those for me and a lot of my friends was going back through our files and reworking them with new features in RAW processing software. I have also dedicated this time to a few book projects, although admittedly they aren’t moving forward as fast as I would like.
The best thing I have found during this time is catching up with printing. I am not necessarily printing my best portfolio images, but I am printing a lot of images that are of family, friends, and special events. The Epson P700 printer has made this easy, fun, and addicting. I have now settled on a 5×8 paper size for most of these images. These prints go into a special custom made wood box that sits in our living room.
I highly recommend this printer and it’s an investment you won’t regret. Let me know if you become as addicted to printmaking as I have.
Kevin Raber
September 2020
Indianapolis, IN
Photography is my passion and has been for 50 plus years. My career in photography has allowed me to travel the world, meet some of the most interesting people on the planet and see things I could never have dreamed of. My goal is to share the passion of picture taking through photographs and teaching with as many people as I can, hoping it brings them as much joy and happiness as it has me. I do this through photoPXL.com, this site, as well as Rockhopper Workshops, and other projects, as well as teaching as Artist In Residence at the Indianapolis Art Center.