Epson ET-8550 Review – Hands On
Printing Doesn’t Get Any Easier
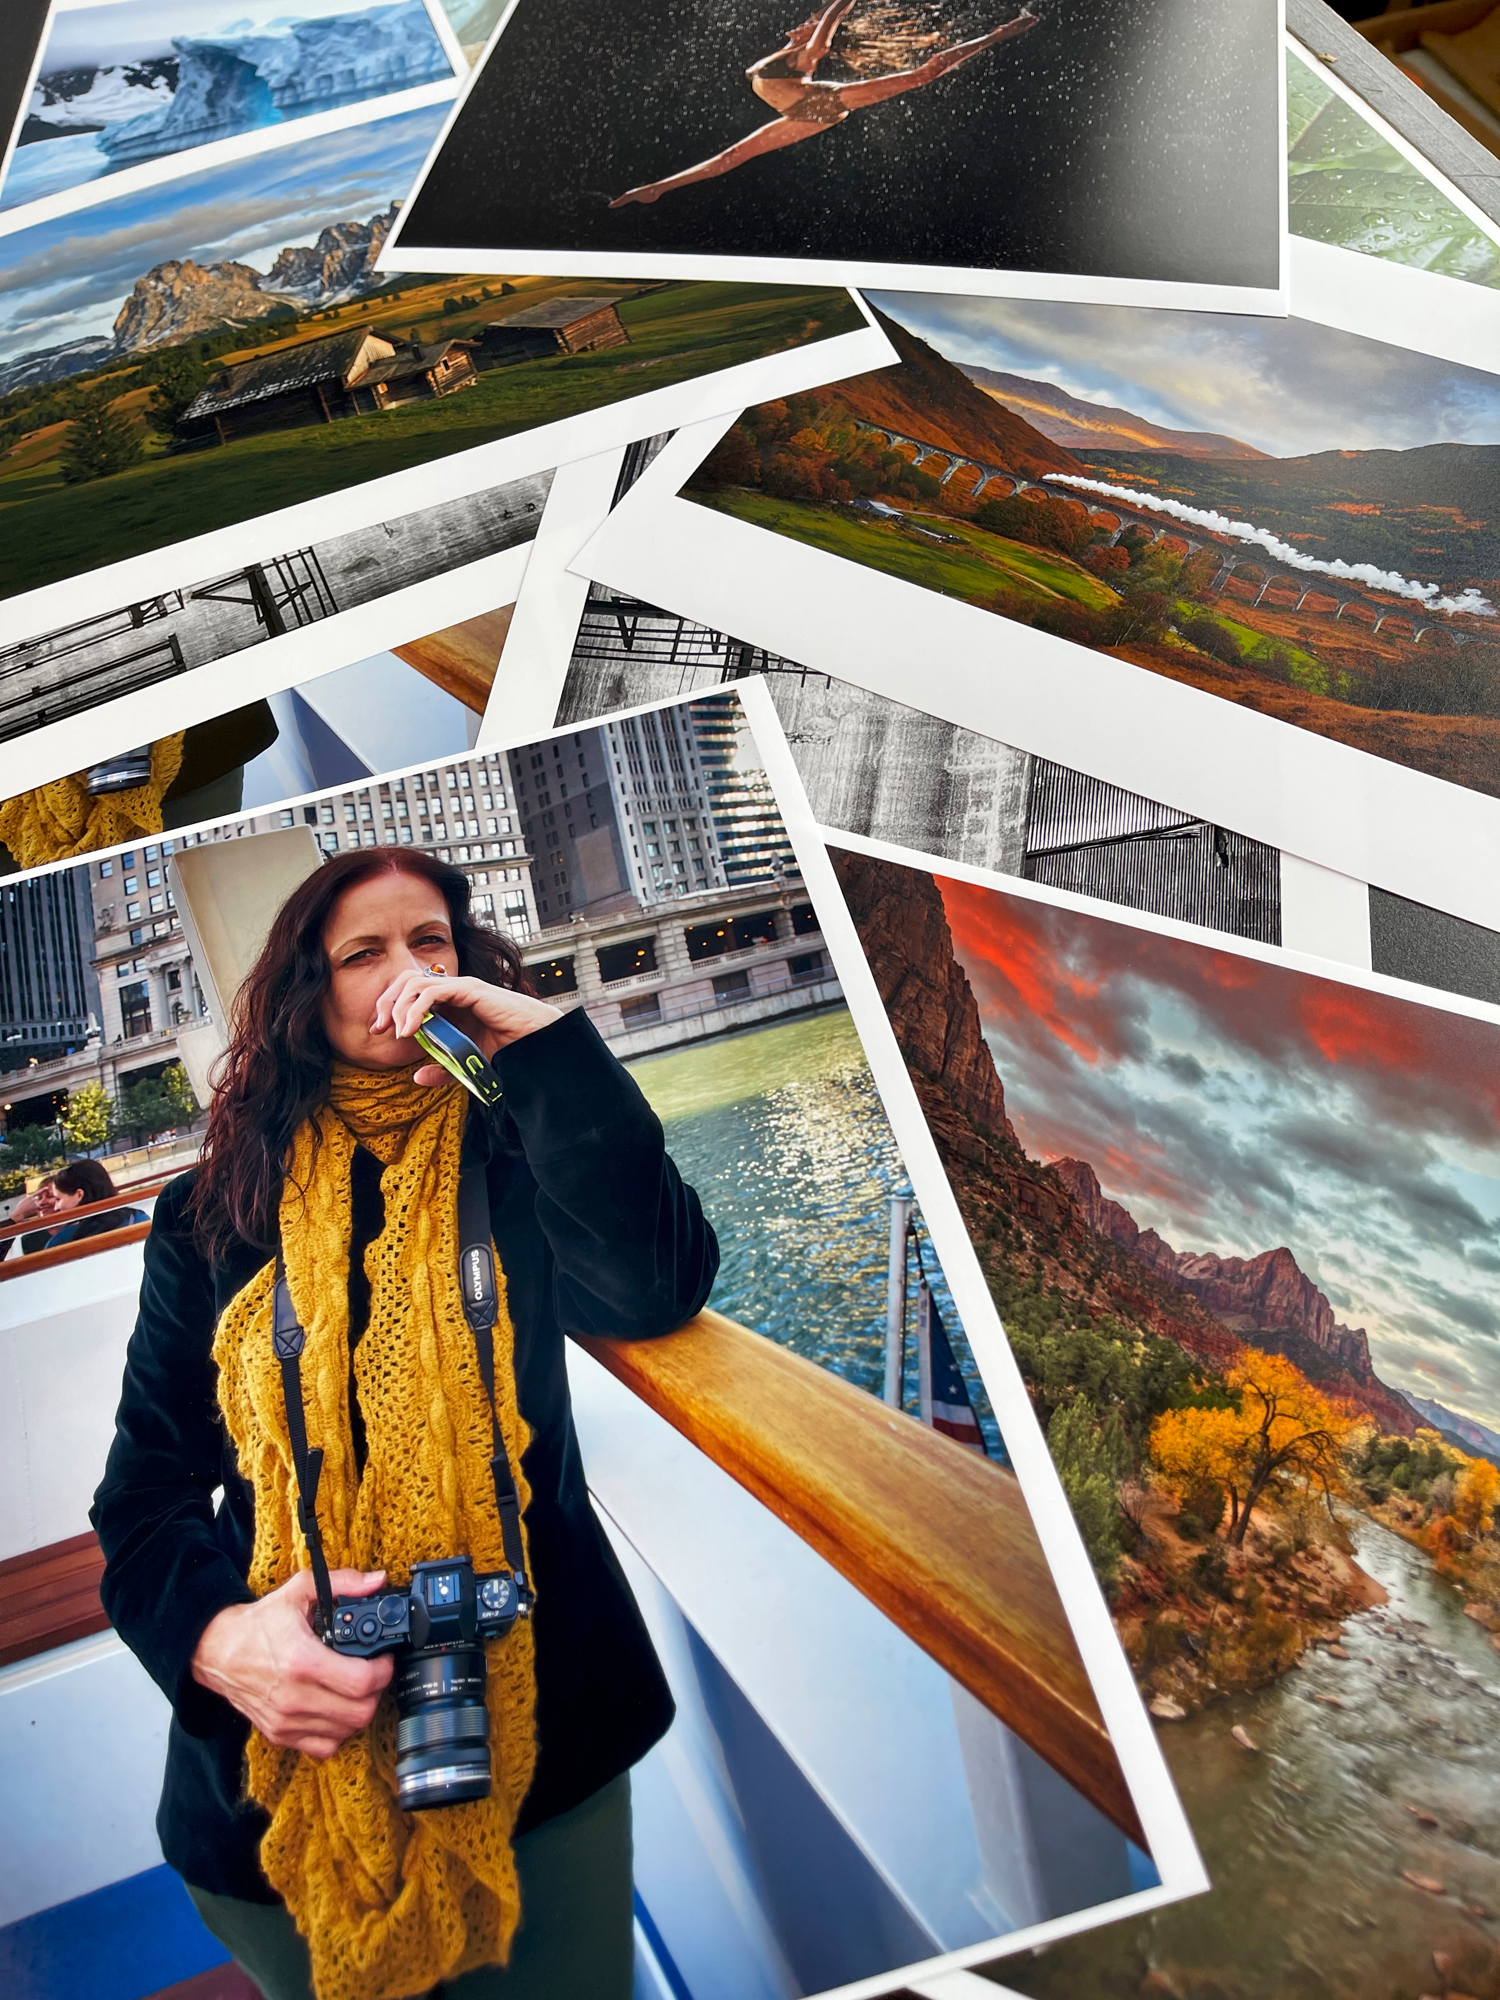
I’m all about the print. Call me old-school if you like, but I don’t believe you have a photograph until it is a print and you are holding it in your hand. While looking at images on our phones and tablets can give us instant satisfaction as well as access to thousands of images, it doesn’t put it in our hands.
The images are up in the cloud or buried in the memory of your phone or tablet. I believe you need to think long-term. Where will these images be 1 year, 5 years, 20 years or longer from now? The only true photograph is one that is tangible and can give you that tactile feel — a print that truly brings out all the beauty of a memory captured by your camera.
Printing Is Hard and Frustrating? NOPE!
I am a printing pioneer. I have been making prints for 50-plus years. I had a large darkroom back in the day and would spend hours making the finest prints I could from a negative. You can see one of my old darkrooms, as well as learn more about my passion for printing, from a previous article “Saving Your Memories — Make Prints”
I also was lucky enough to be on the cutting edge of digital printing. Back in the 90s, I worked at a very well-known color lab, Burrell Colour. Don Burrell, the founder of the lab, saw the future and asked Mike Williams and me to find a way to take Burrell Colour into the digital age. It was an opportunity and experience of a lifetime.
We pioneered CRT, LED, and laser and inkjet printing. Let me tell you, I know complicated and frustrating printing.
Until recently, you practically needed a Ph.D. to be able to make great prints. This is what scared so many photographers away from making prints. It was downright intimidating to use a print dialog box from applications like Lightroom, Photoshop and others. No wonder many people didn’t make prints.
I equate this to the early days of color television. Some of you will know what I am talking about. You’d go to an appliance store and see rows upon rows of color TVs all showing color pictures, and not one of them looked the same. How were you supposed to buy a color TV if the color didn’t look right? My mom had a way. She picked the one that had a wood cabinet that looked best in our house.
I remember we would manhandle the TV into the house, hook up an antenna and turn it on. It would take maybe a minute for it to power up. We would then select one of three TV channels and then have to adjust the color. There were brightness, contrast, color, tint, and hue settings. My father would always take charge of the color, but he was really bad at it. When he left the room I would adjust it, and he would always come back in claiming the picture looked good because of him.
The point is getting good color was hard and subjective, and the resolution back then just plain sucked. But it was a big deal to have a color TV.
Now, look at how simple things are. You go to Costco buy a 60-inch flat-screen TV, bring it home, plug it into the wall and hook up the cable, turn it on, and BAM! Perfect color right out of the box. My oh my, how times have changed.
Finally, the same can be said of making color prints. Take home a printer, plug it in, hook it up to Wi-Fi, select the paper you are using, and push Print. There is nothing to be afraid of or intimidated by anymore. Making prints from your mobile device is as easy as hitting the Print button.
Printing Takes A Giant Leap Forward — The ET-8550
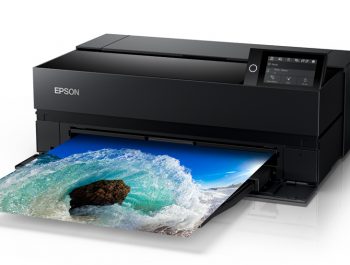
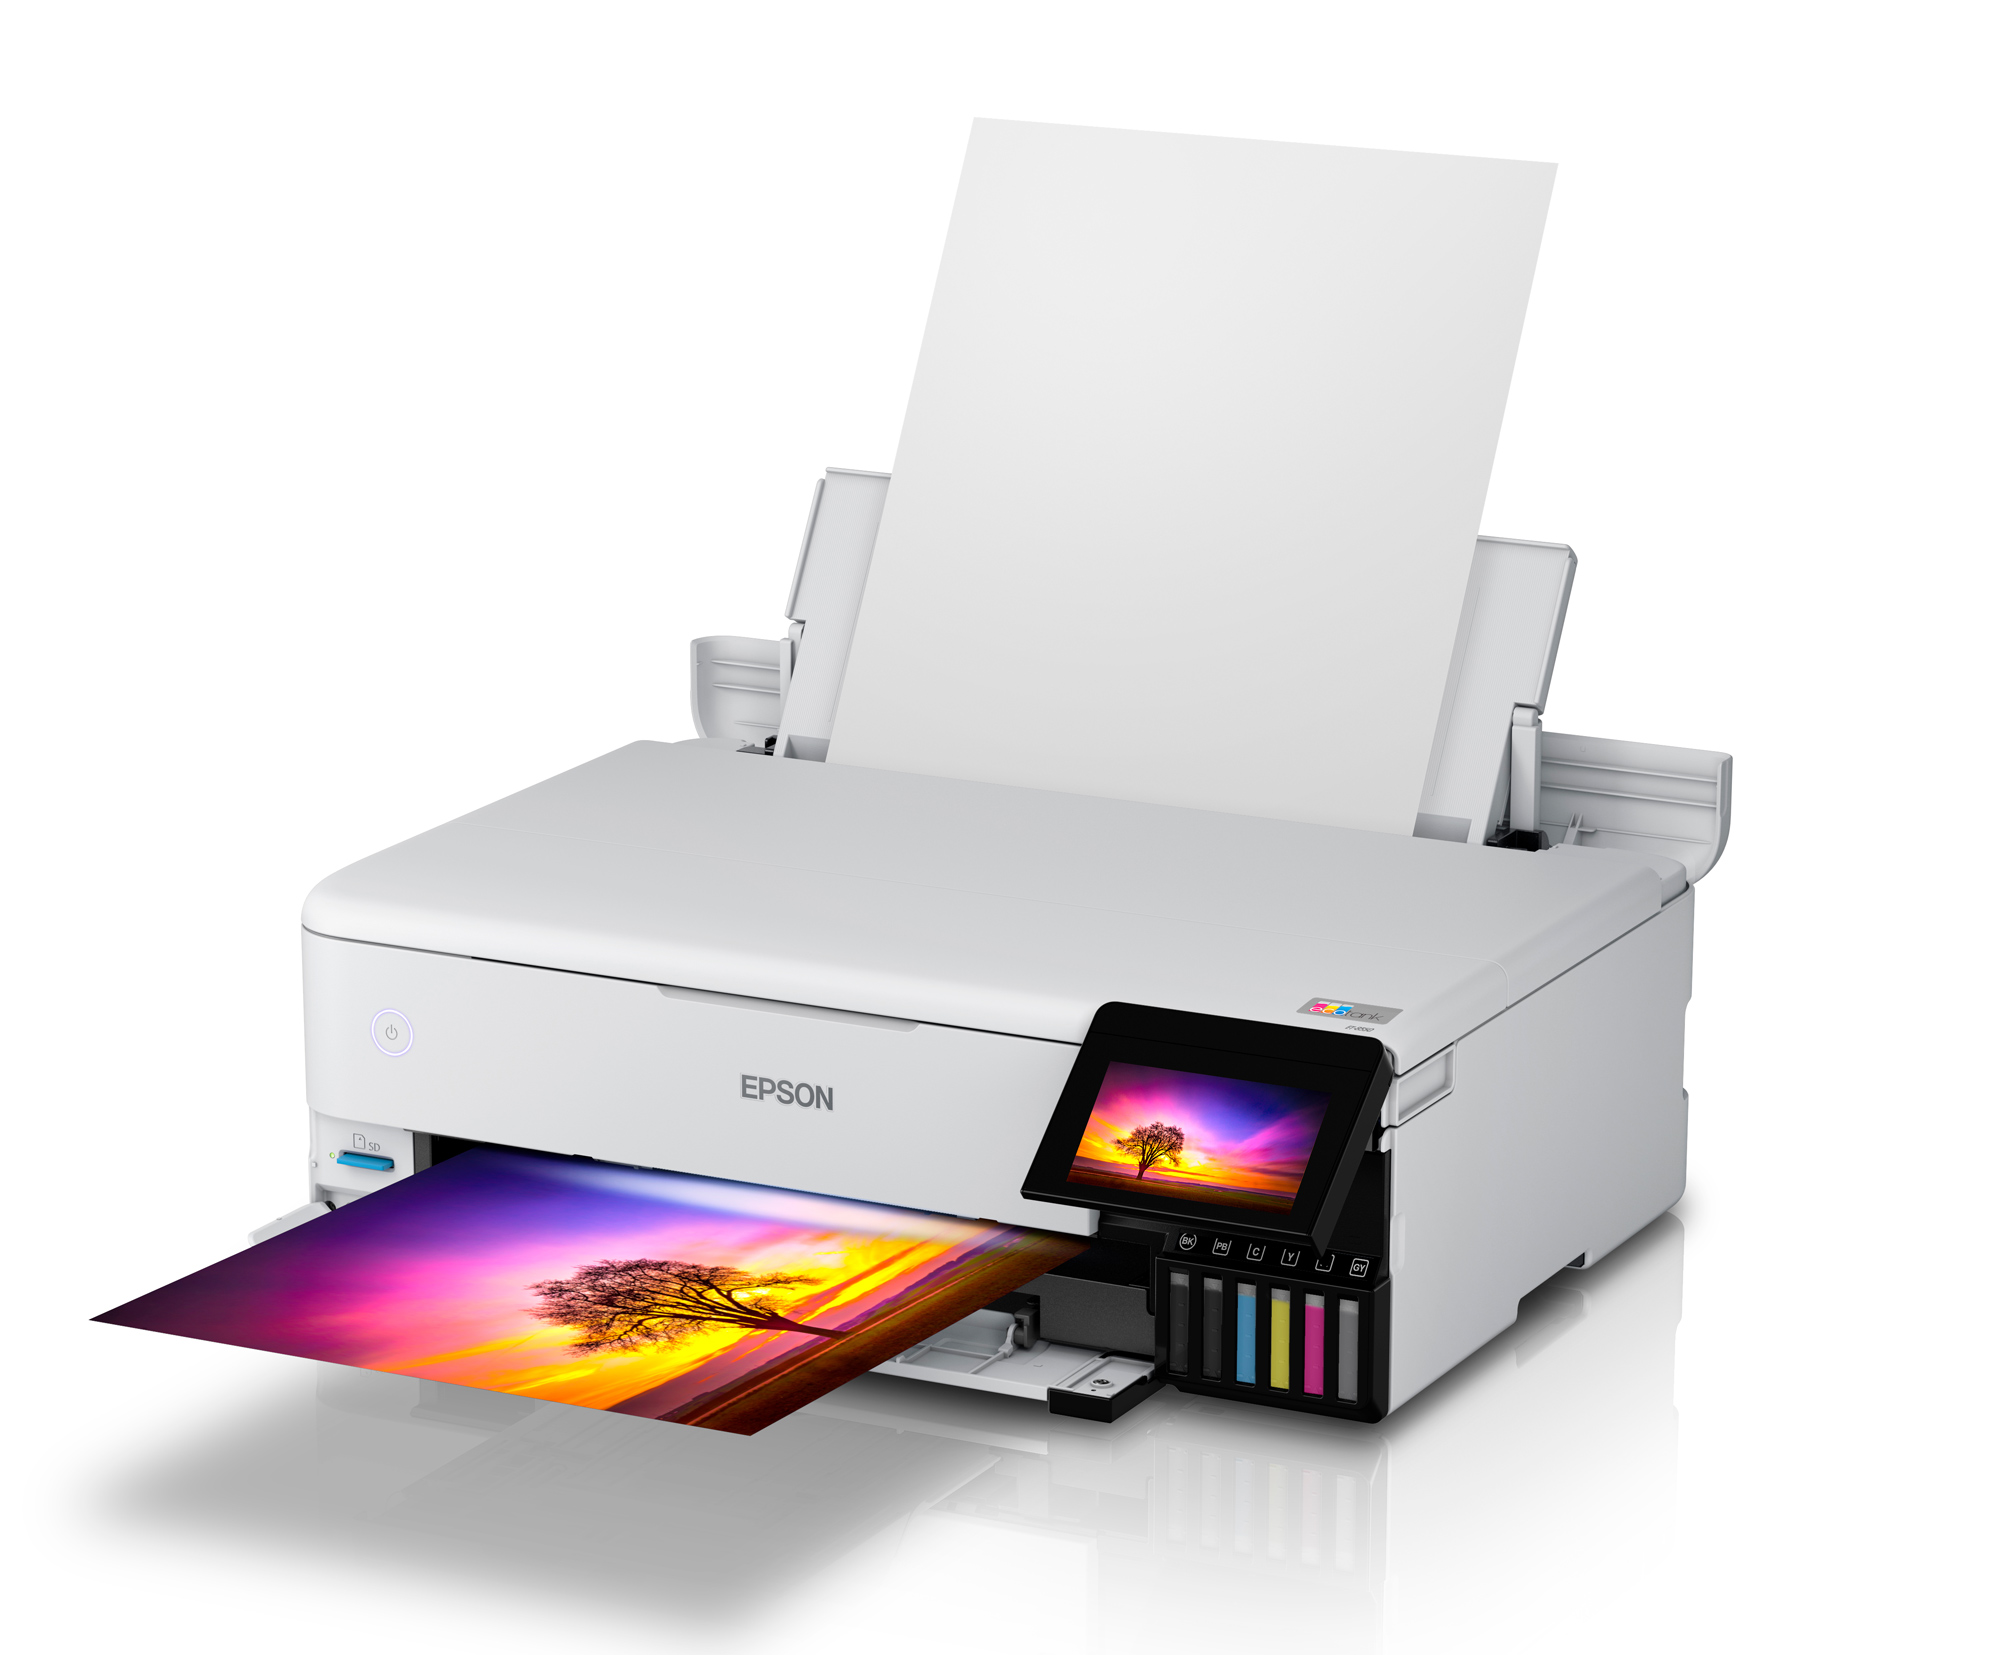
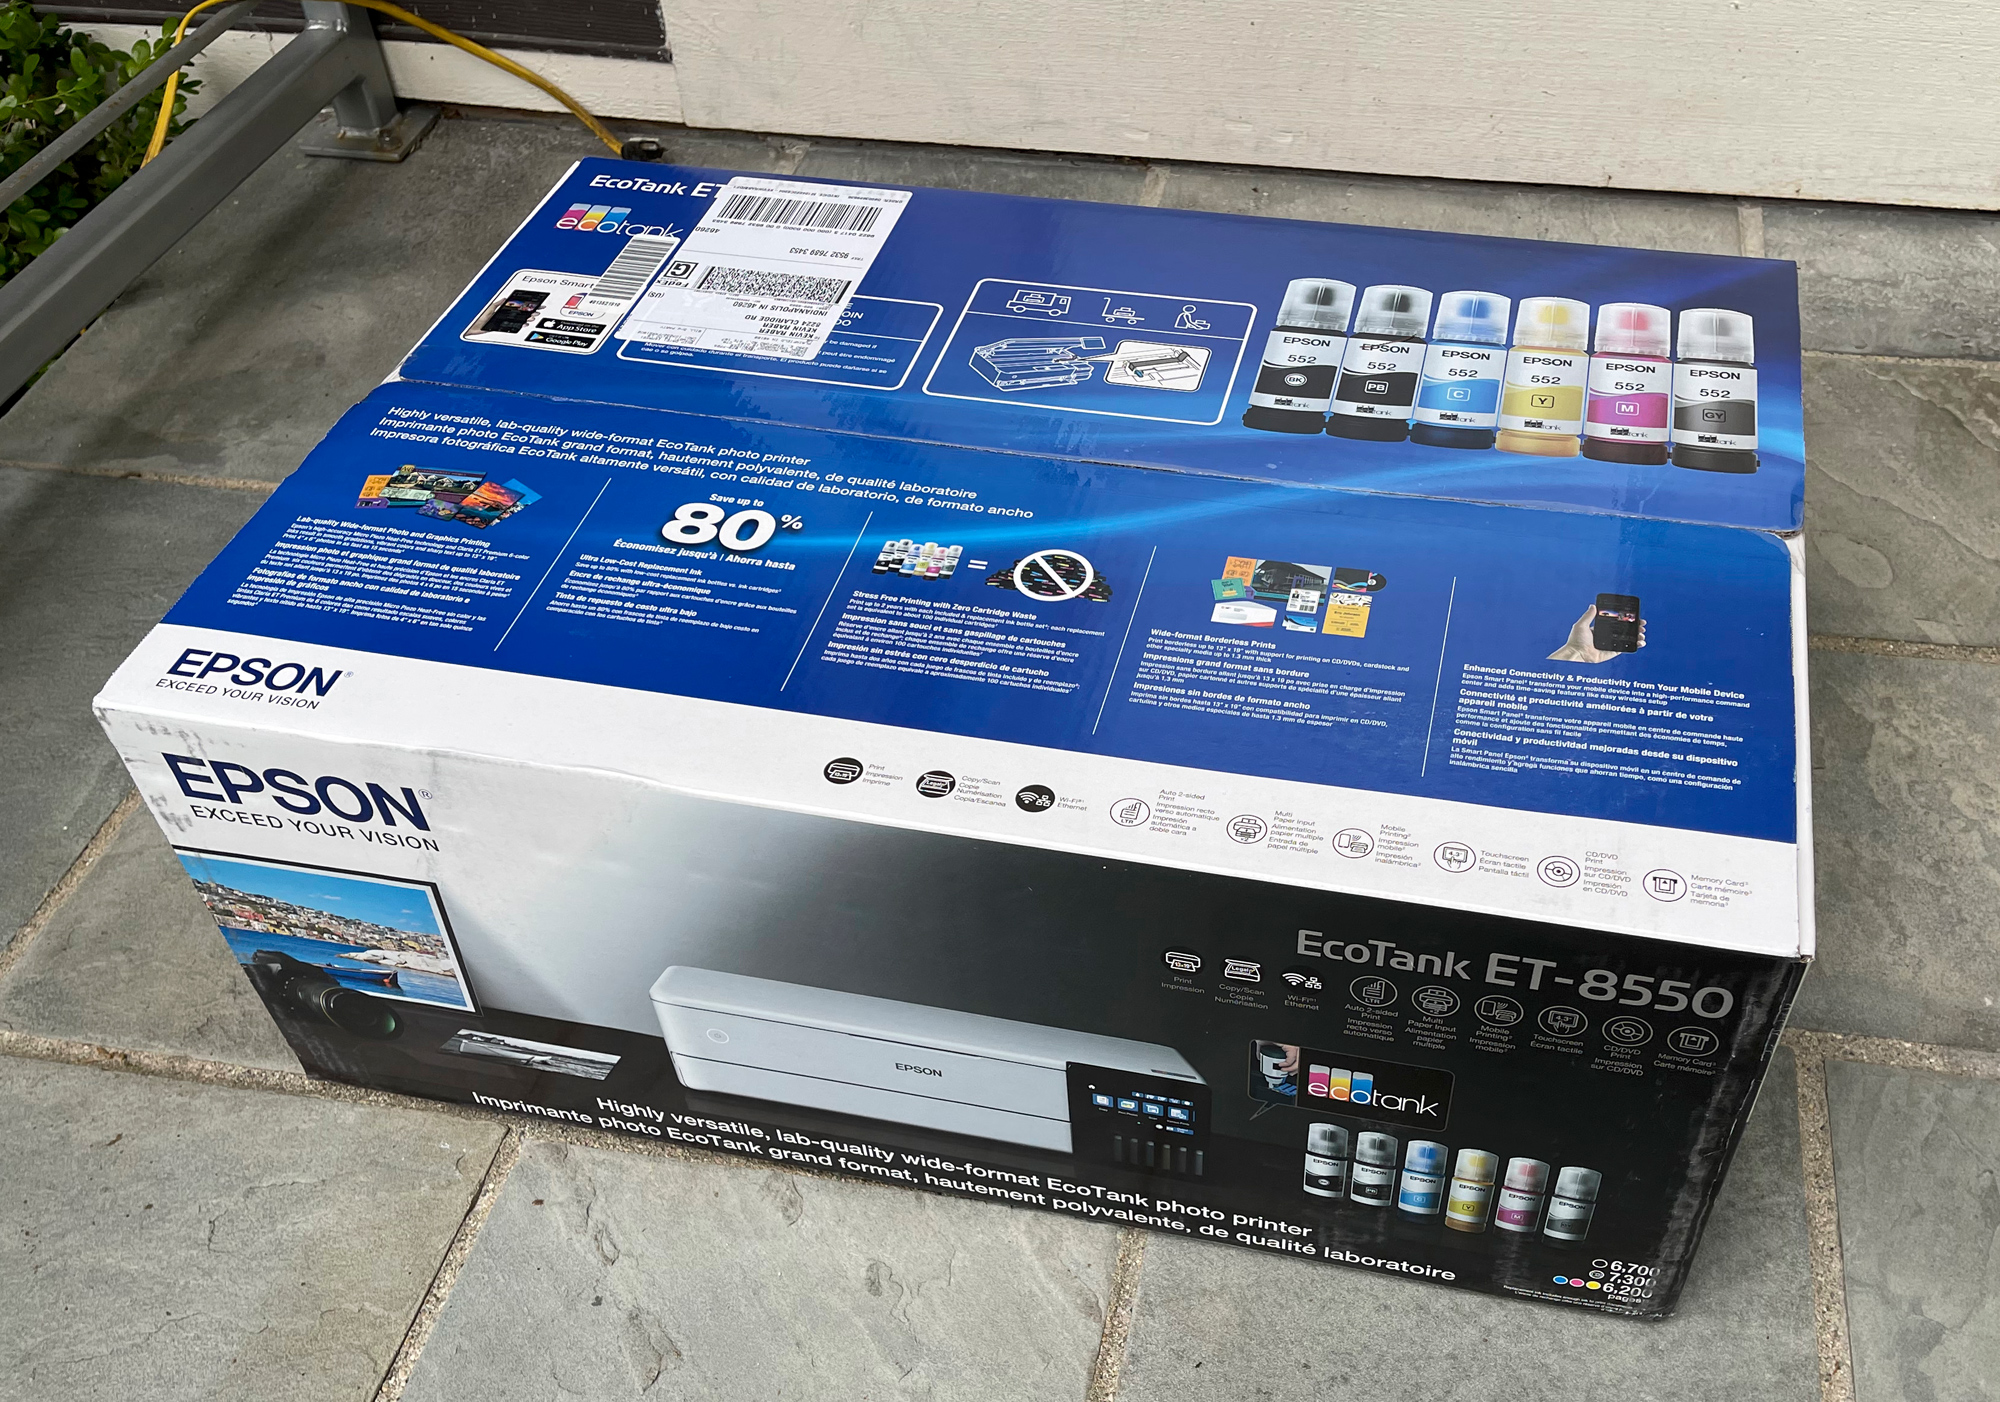
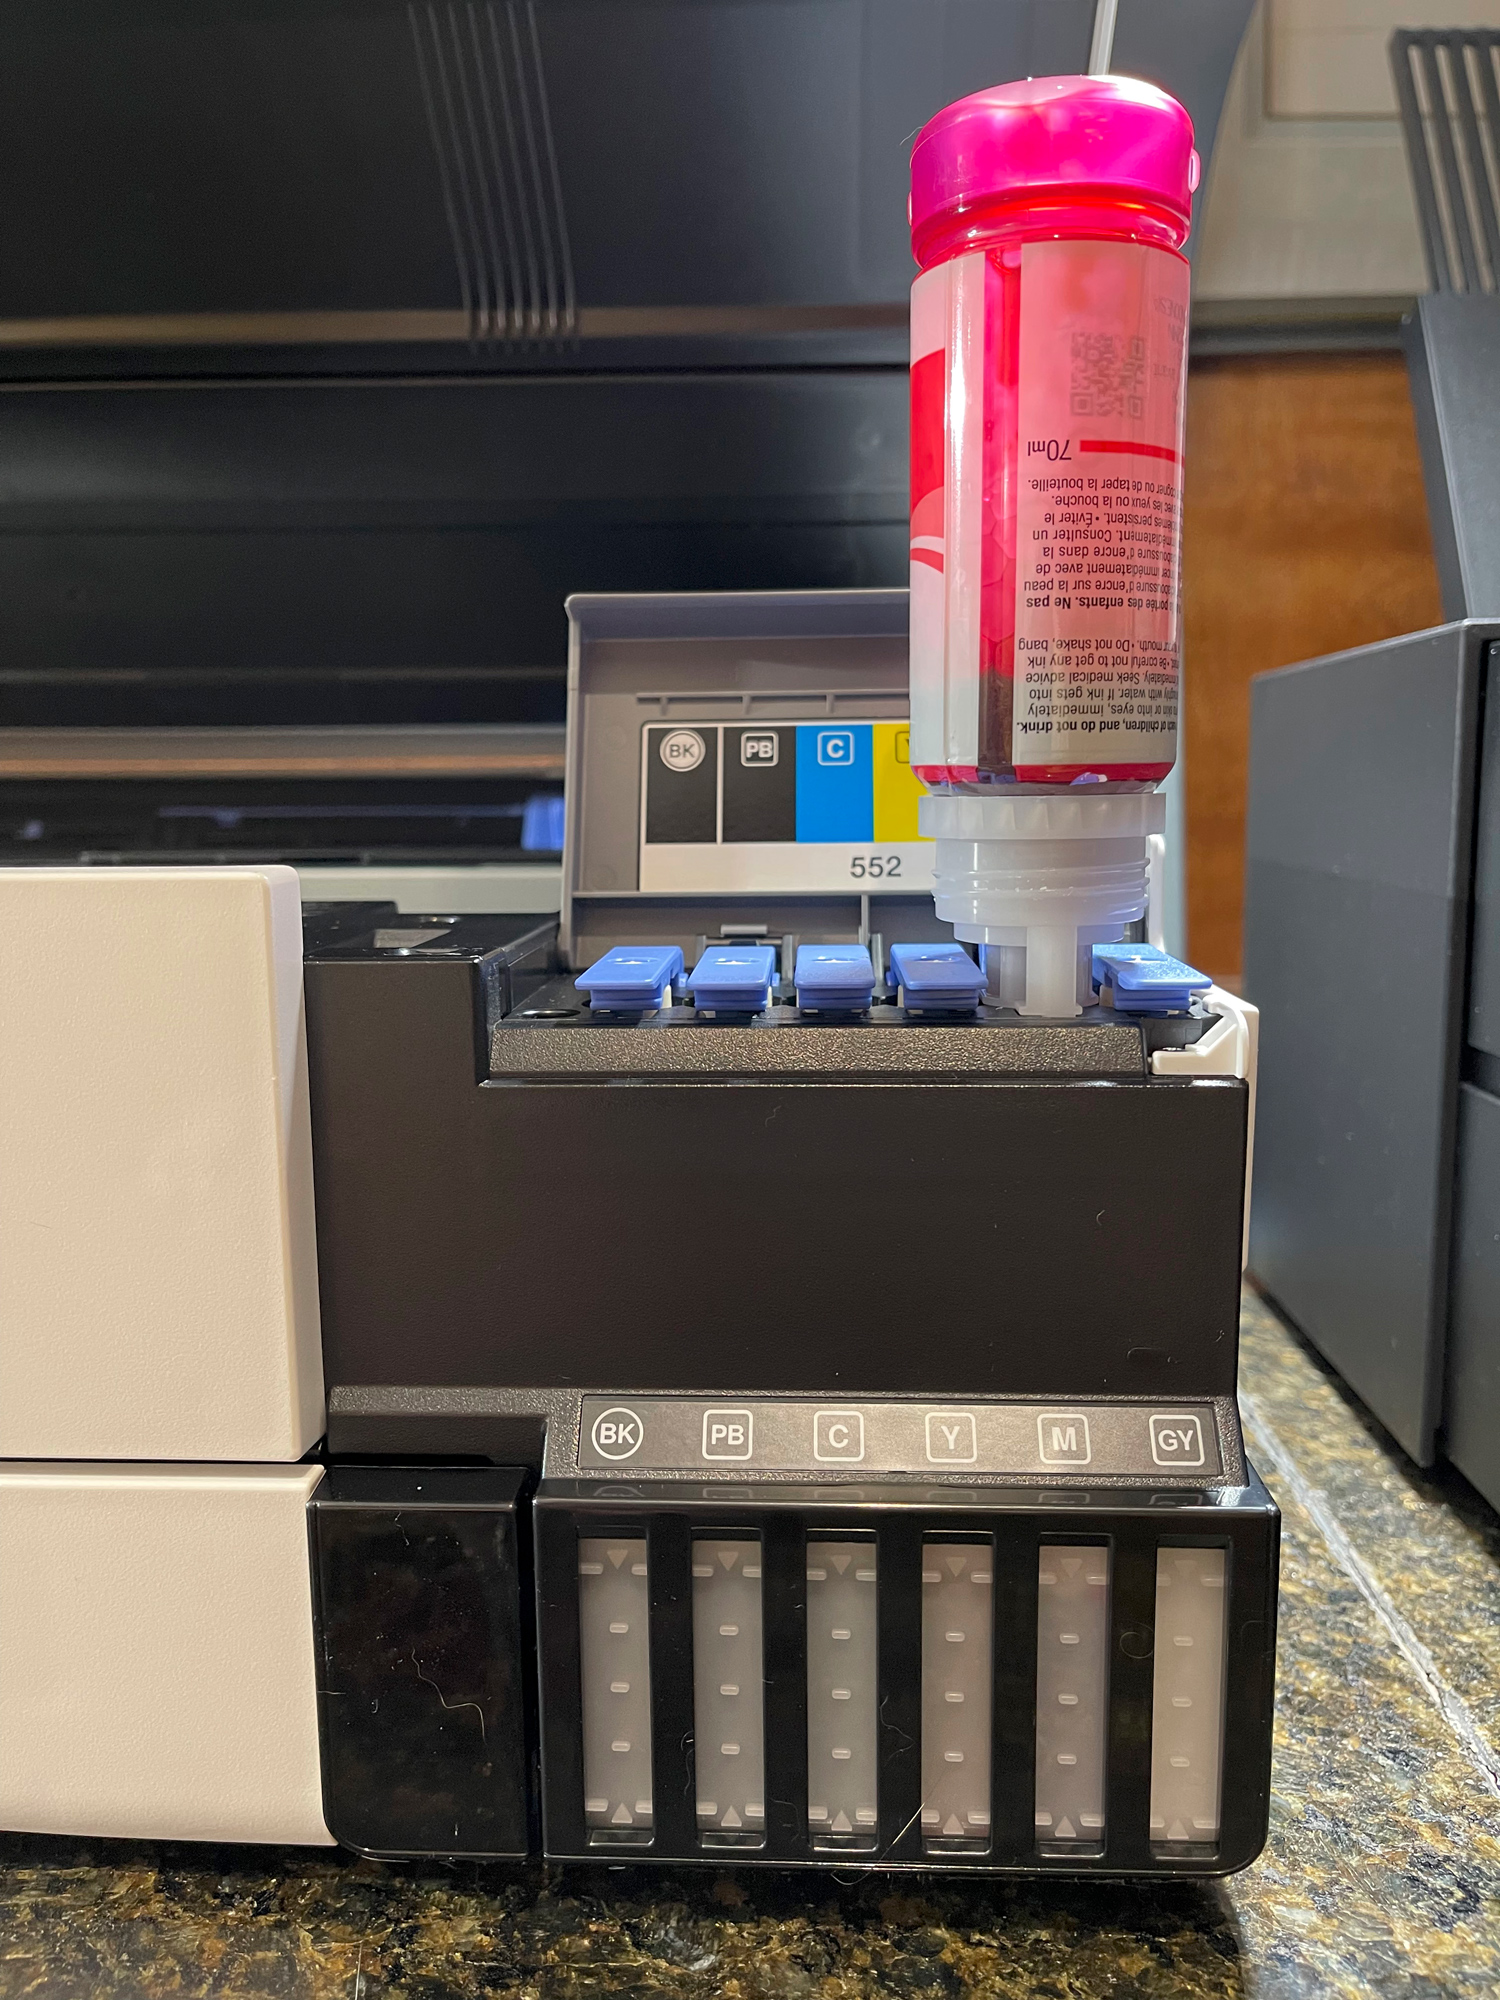
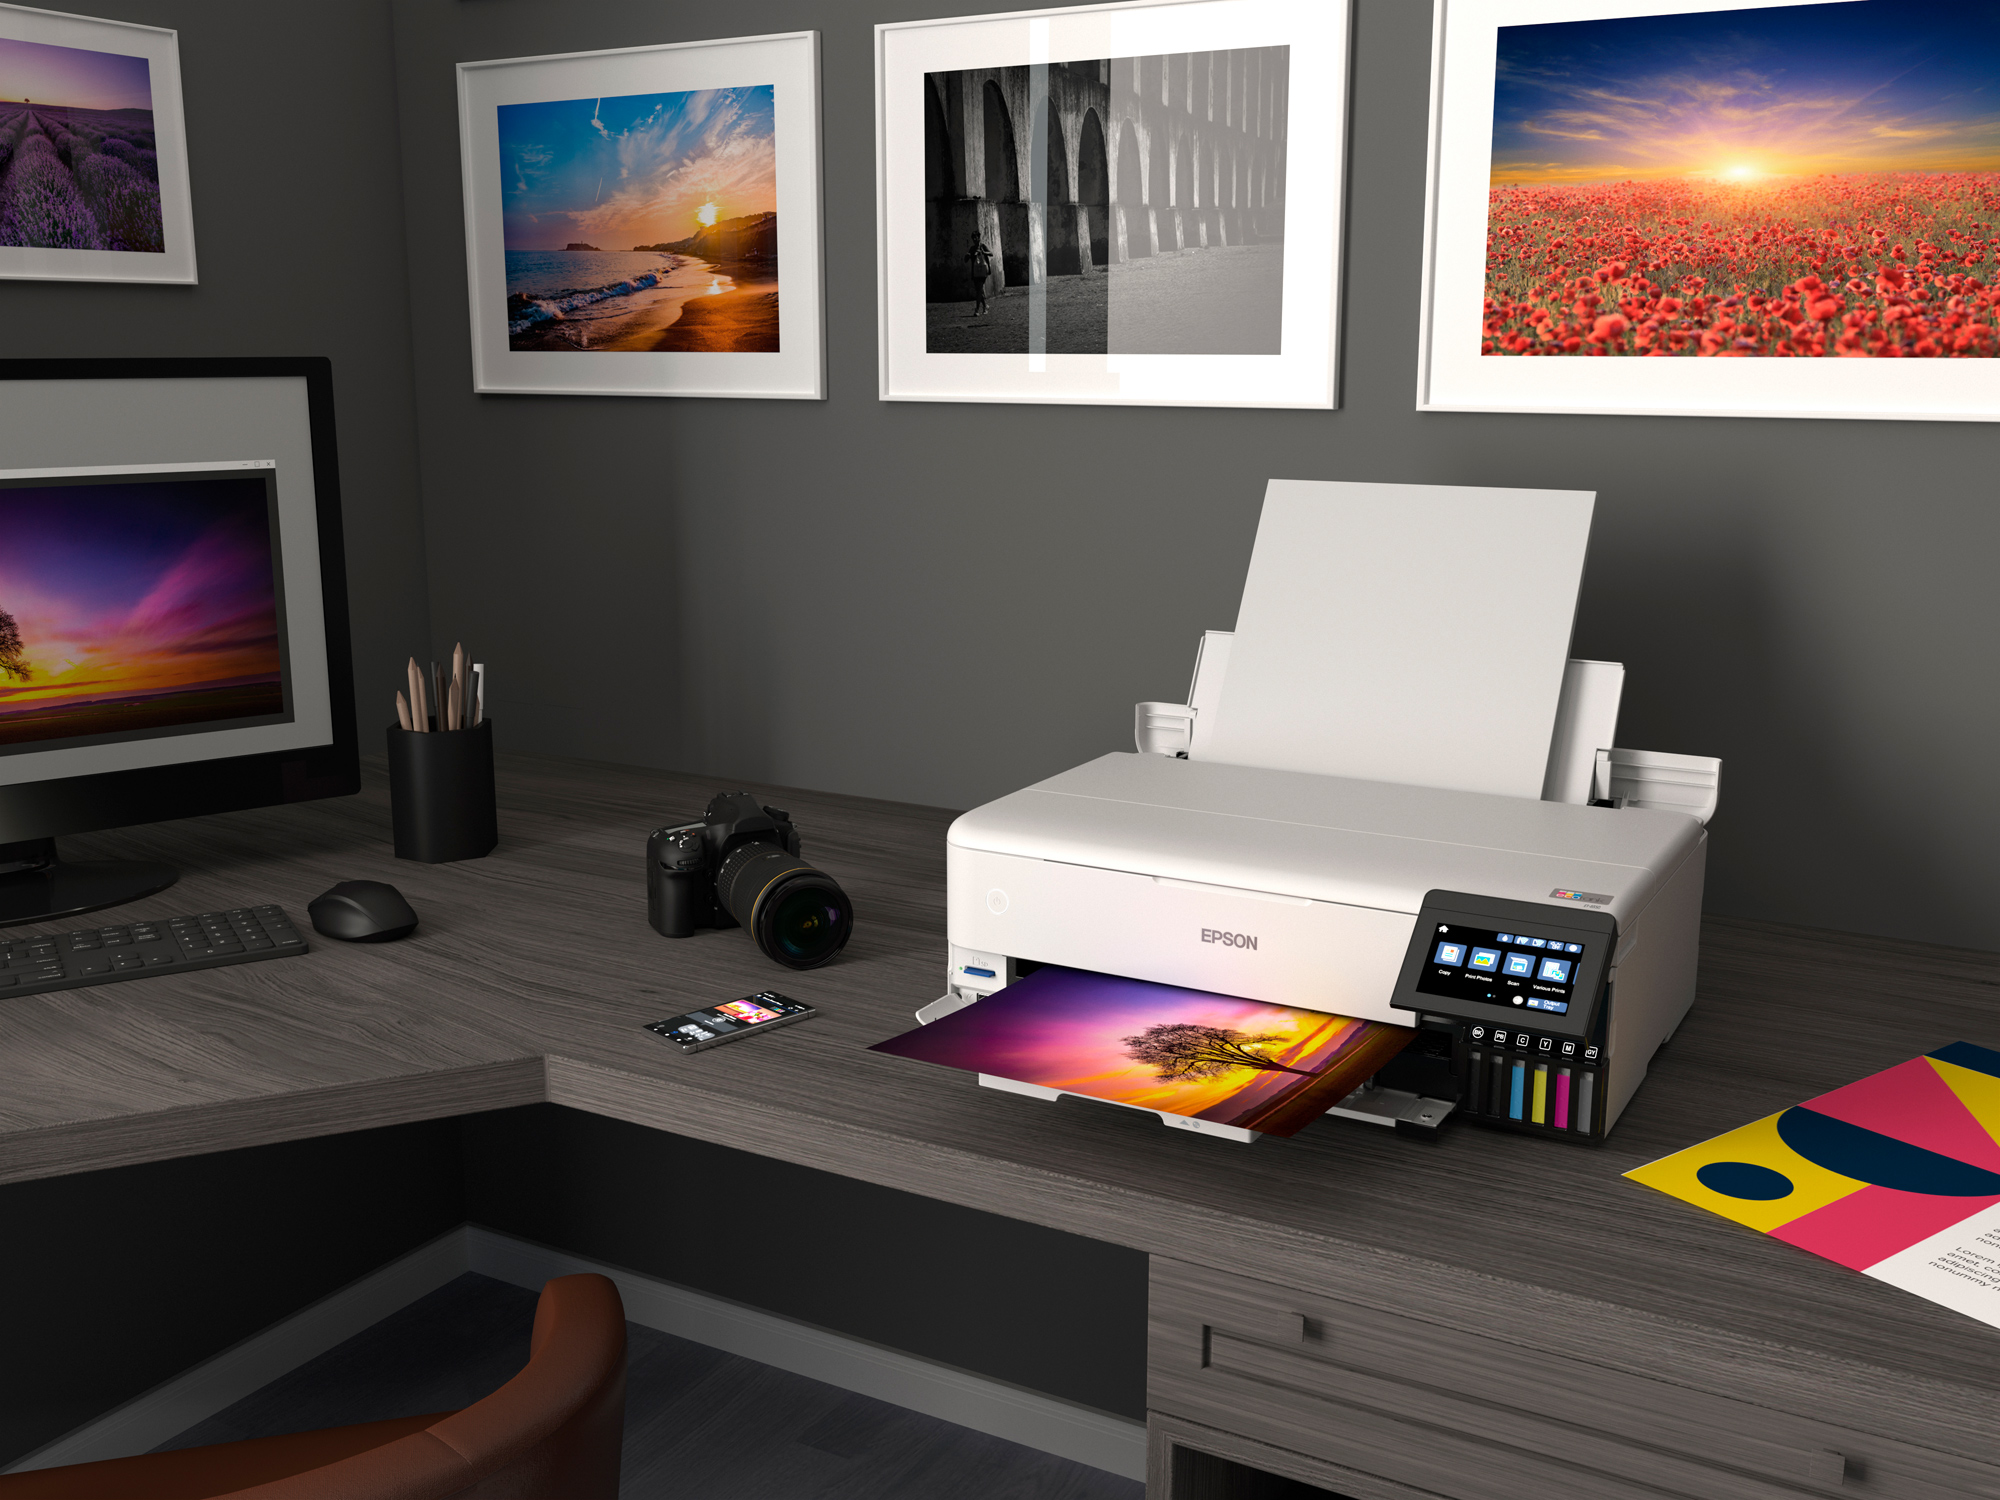
Epson called me a few months ago, and after signing my life away with NDAs, they shared with me two new printers they were releasing, the ET (Eco-Tank) 8550 printer and its smaller cousin, the ET-8500. These are revolutionary printers, as there are no ink cartridges. Instead, the ink is delivered in bottles, and you fill the tanks on the printer from these bottles. The cost savings and reduction of throwing away tons of ink cartridges is just the beginning of what this printer is all about.
This is an all-in-one printer that is wireless, in a format up to 13 inches wide, with a built-in copier and scanner. The printer rivals in quality the more expensive pro models. Of course, as far as printing goes, I was a bit skeptical, but as you will read further on and see in the accompanying video, this printer is truly an engineering marvel.
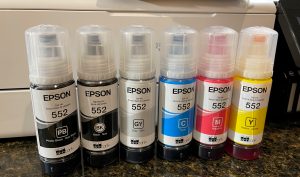
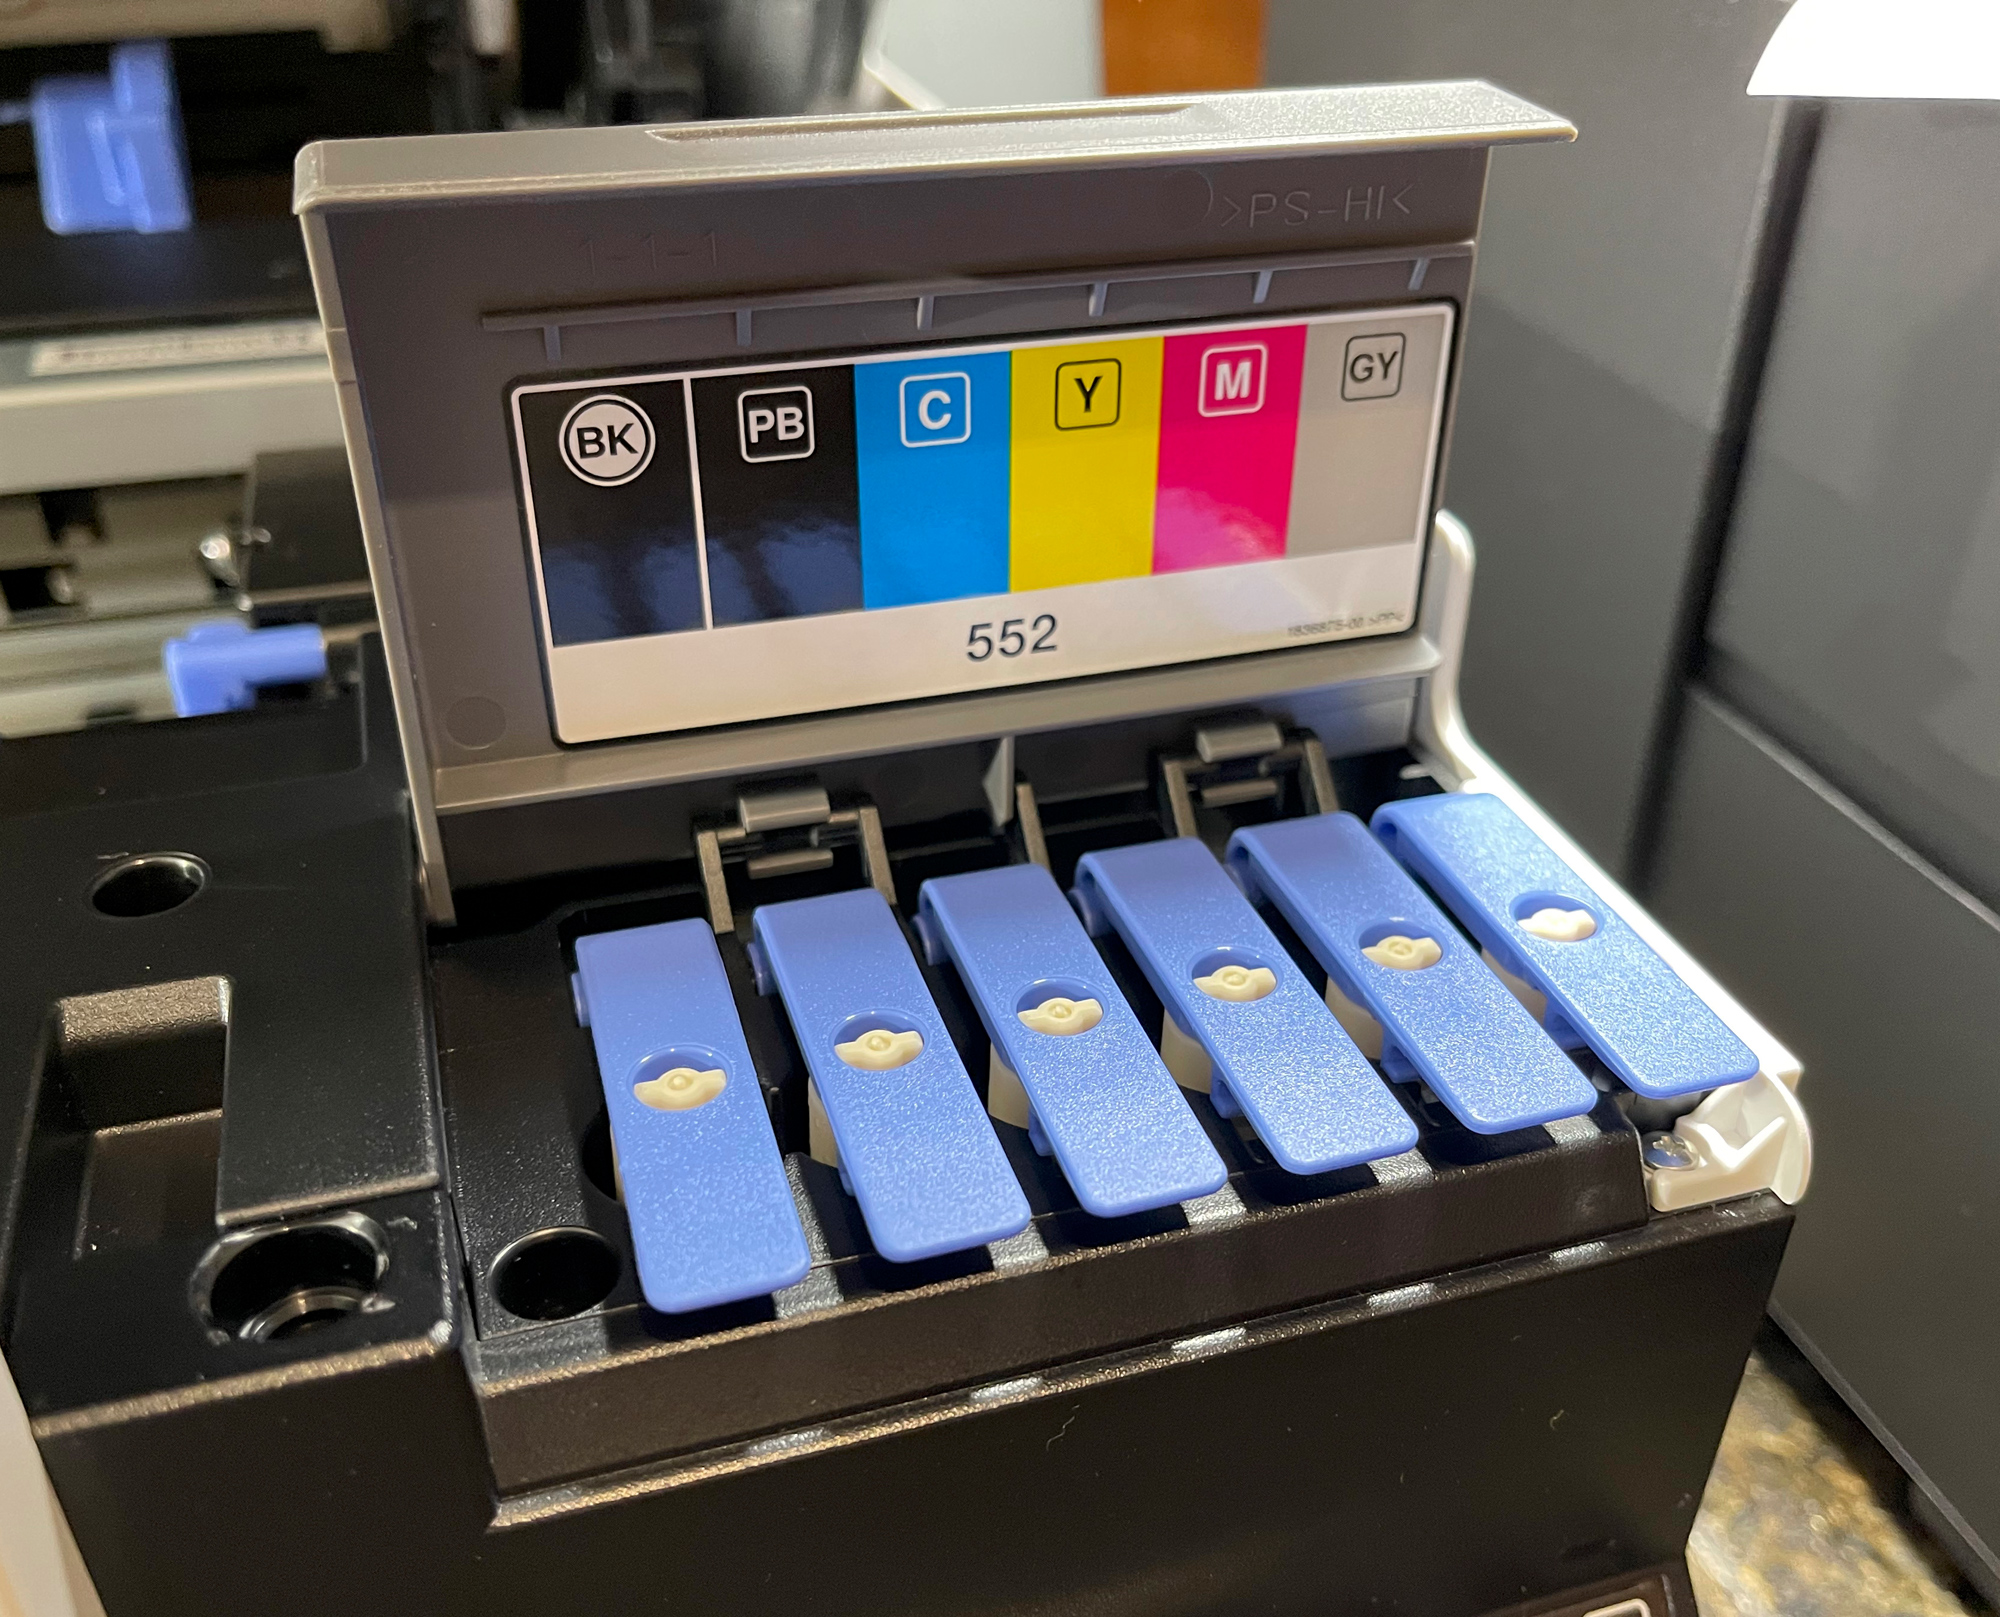
For years I have hated filling landfills with empty ink cartridges; so little ink in these cartridges and so much plastic. Kudos to Epson for showing us the future. The ink in the printer is dye-based, as opposed to pigment inks that are used in the pro printers. I’ll go over this a bit further in the article. The ink is known as Claria ET Premium, and the printer uses just six color inks; the pro printer line uses 10 inks. The claim is that amazing color prints can be made with just these six inks. Call me a doubting Thomas for sure.
You can print up to 13×19 inches wide on a variety of papers and other materials like DVDs. Printing is super-fast, and you can make a 4×6 inch print in about 15 seconds for a cost of 4 cents. No, that’s not a typo. And let me tell you, this printer is fast and it is good.
Epson claims that each bottle of ink is equivalent to 100 individual ink cartridges and that the average person making prints can print for two years or around 6,200 prints from one set of bottled ink. Keep in mind I can’t verify this, but after extensive use, I believe the claim to be fair. That is about an 80% savings over cartridges or about $2,000 in ink cost savings.
Read on to learn about the setup and printing experience.
The Epson ET-8550 Video
Kevin Raber explains the ins and outs of the ET-8550 Printer and shows it in action.
Setting The Printer Up
I love setting up new Epson printers. I love the hunt for all the blue tape that is used in packing these printers. The tape is put on so neatly, and it is everywhere.
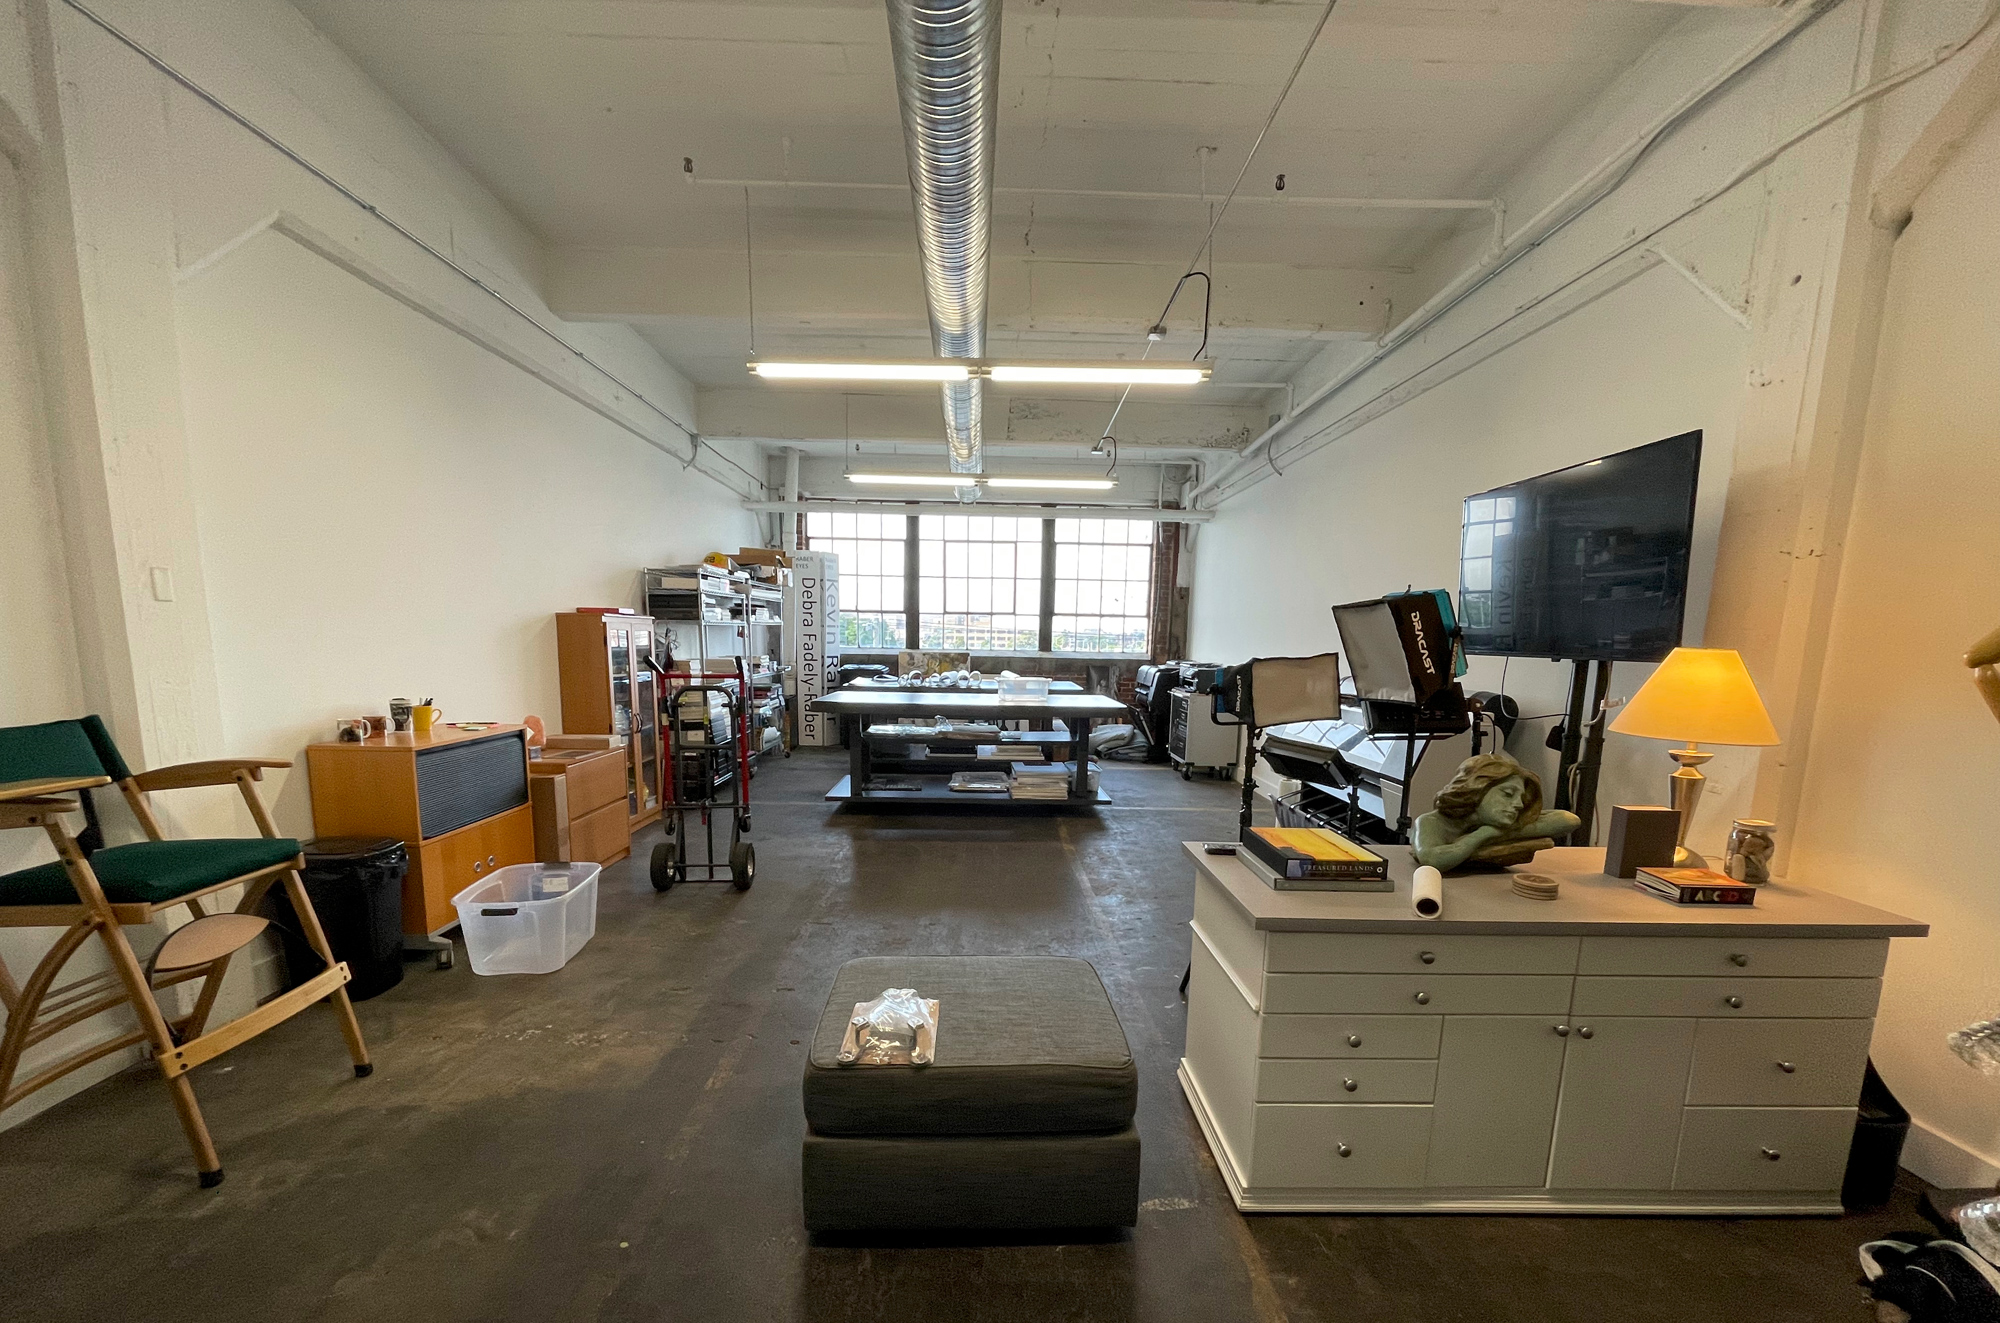
UPS left the ET-8550 printer on my doorstep. It was light enough, but a bit bulky for me to carry it and deliver it to my man cave in the basement, where I do all my printing.
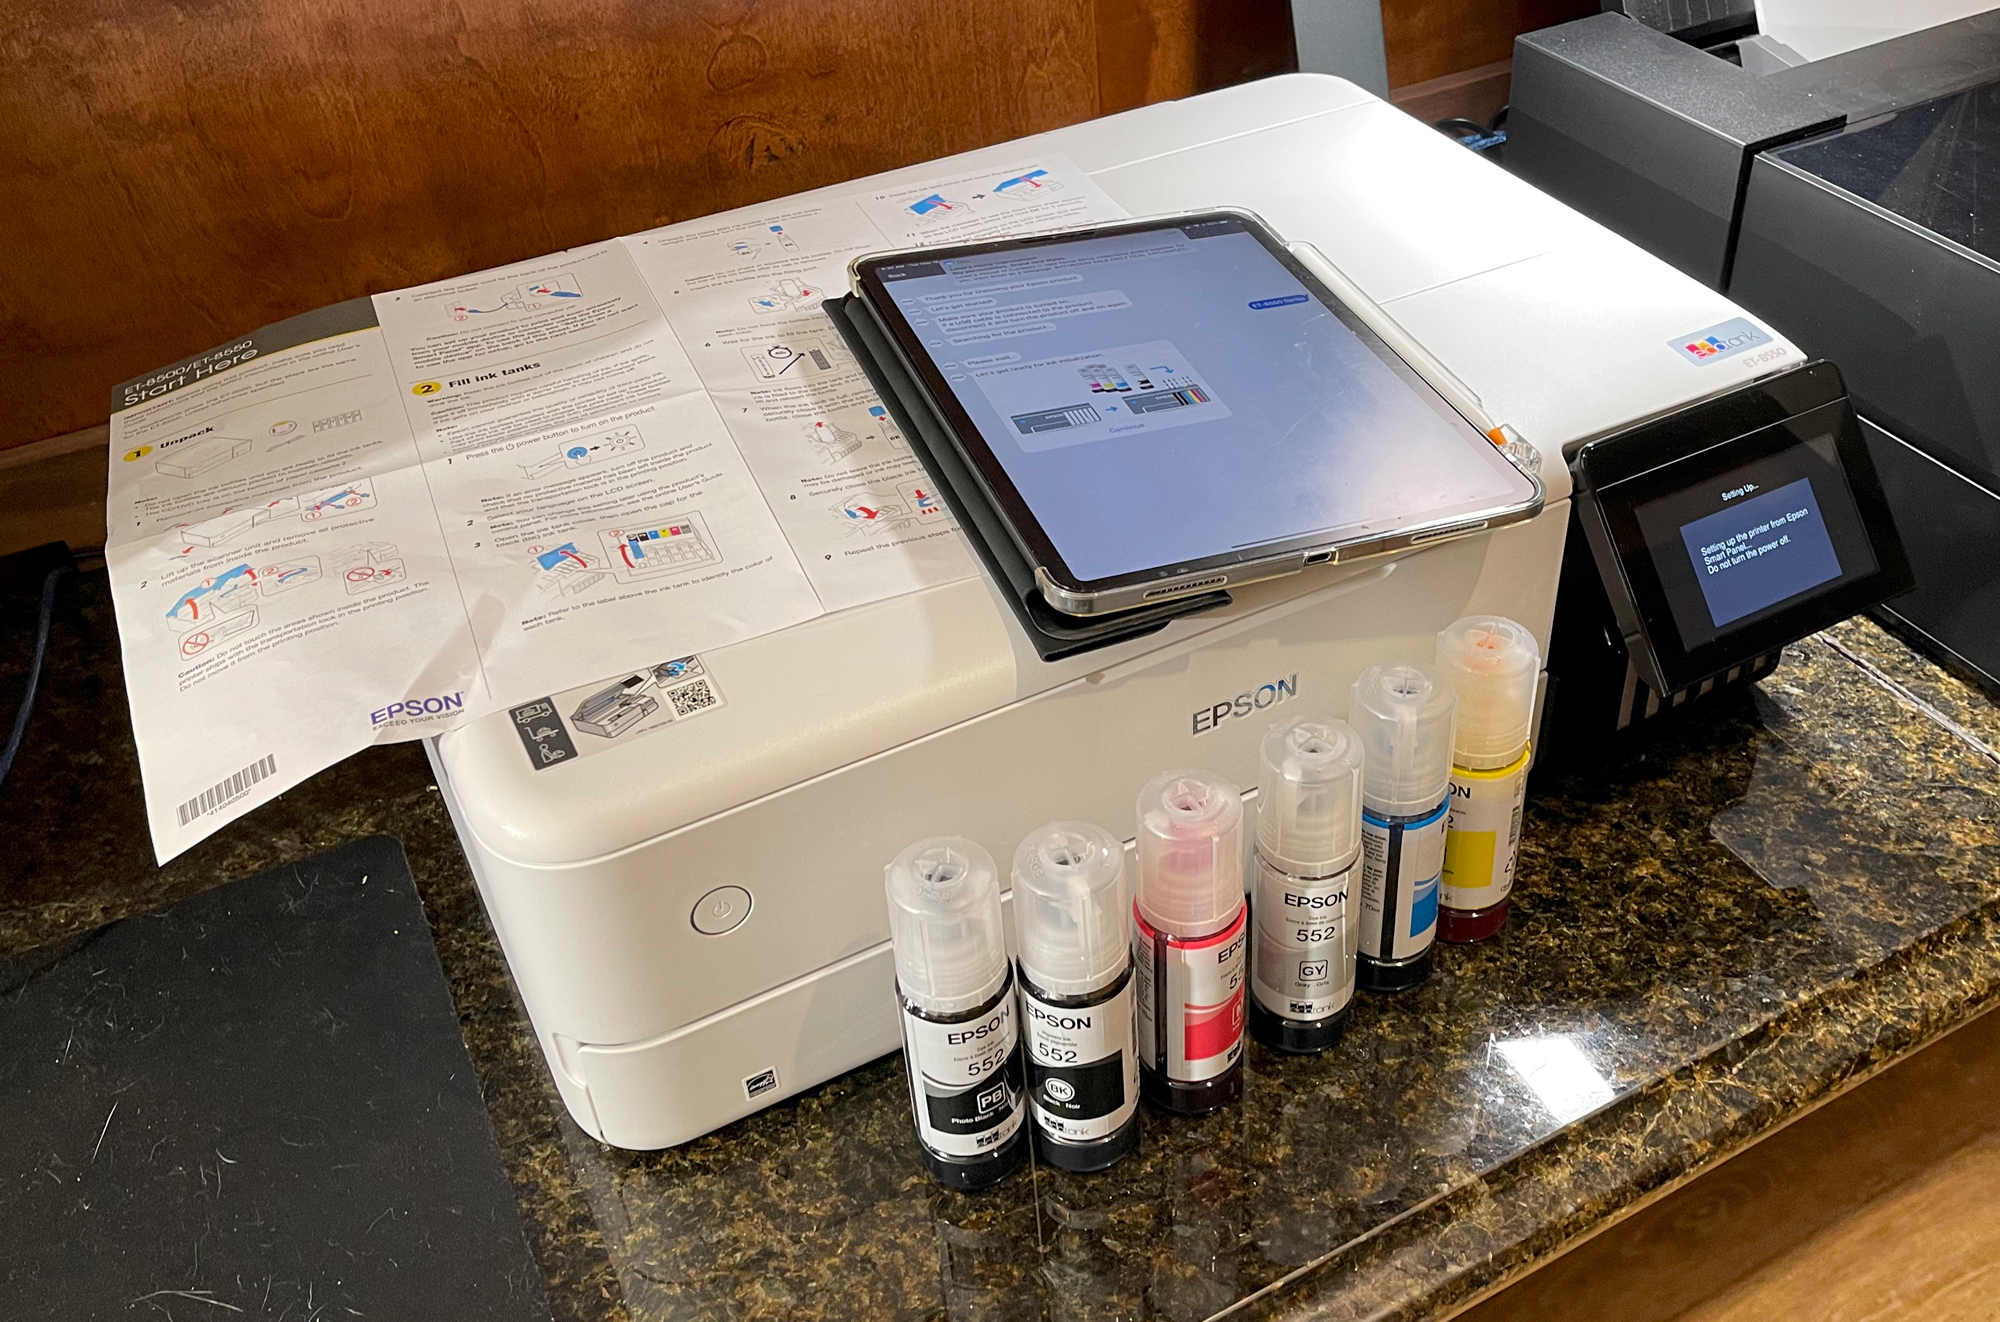
I judge many products like cameras and electronics by what I call the OTBE (out-of-the-box experience). Essentially, this means my first impressions when I open a box, and how logical is it to get the product up and running. The ET-8550 was an excellent experience.

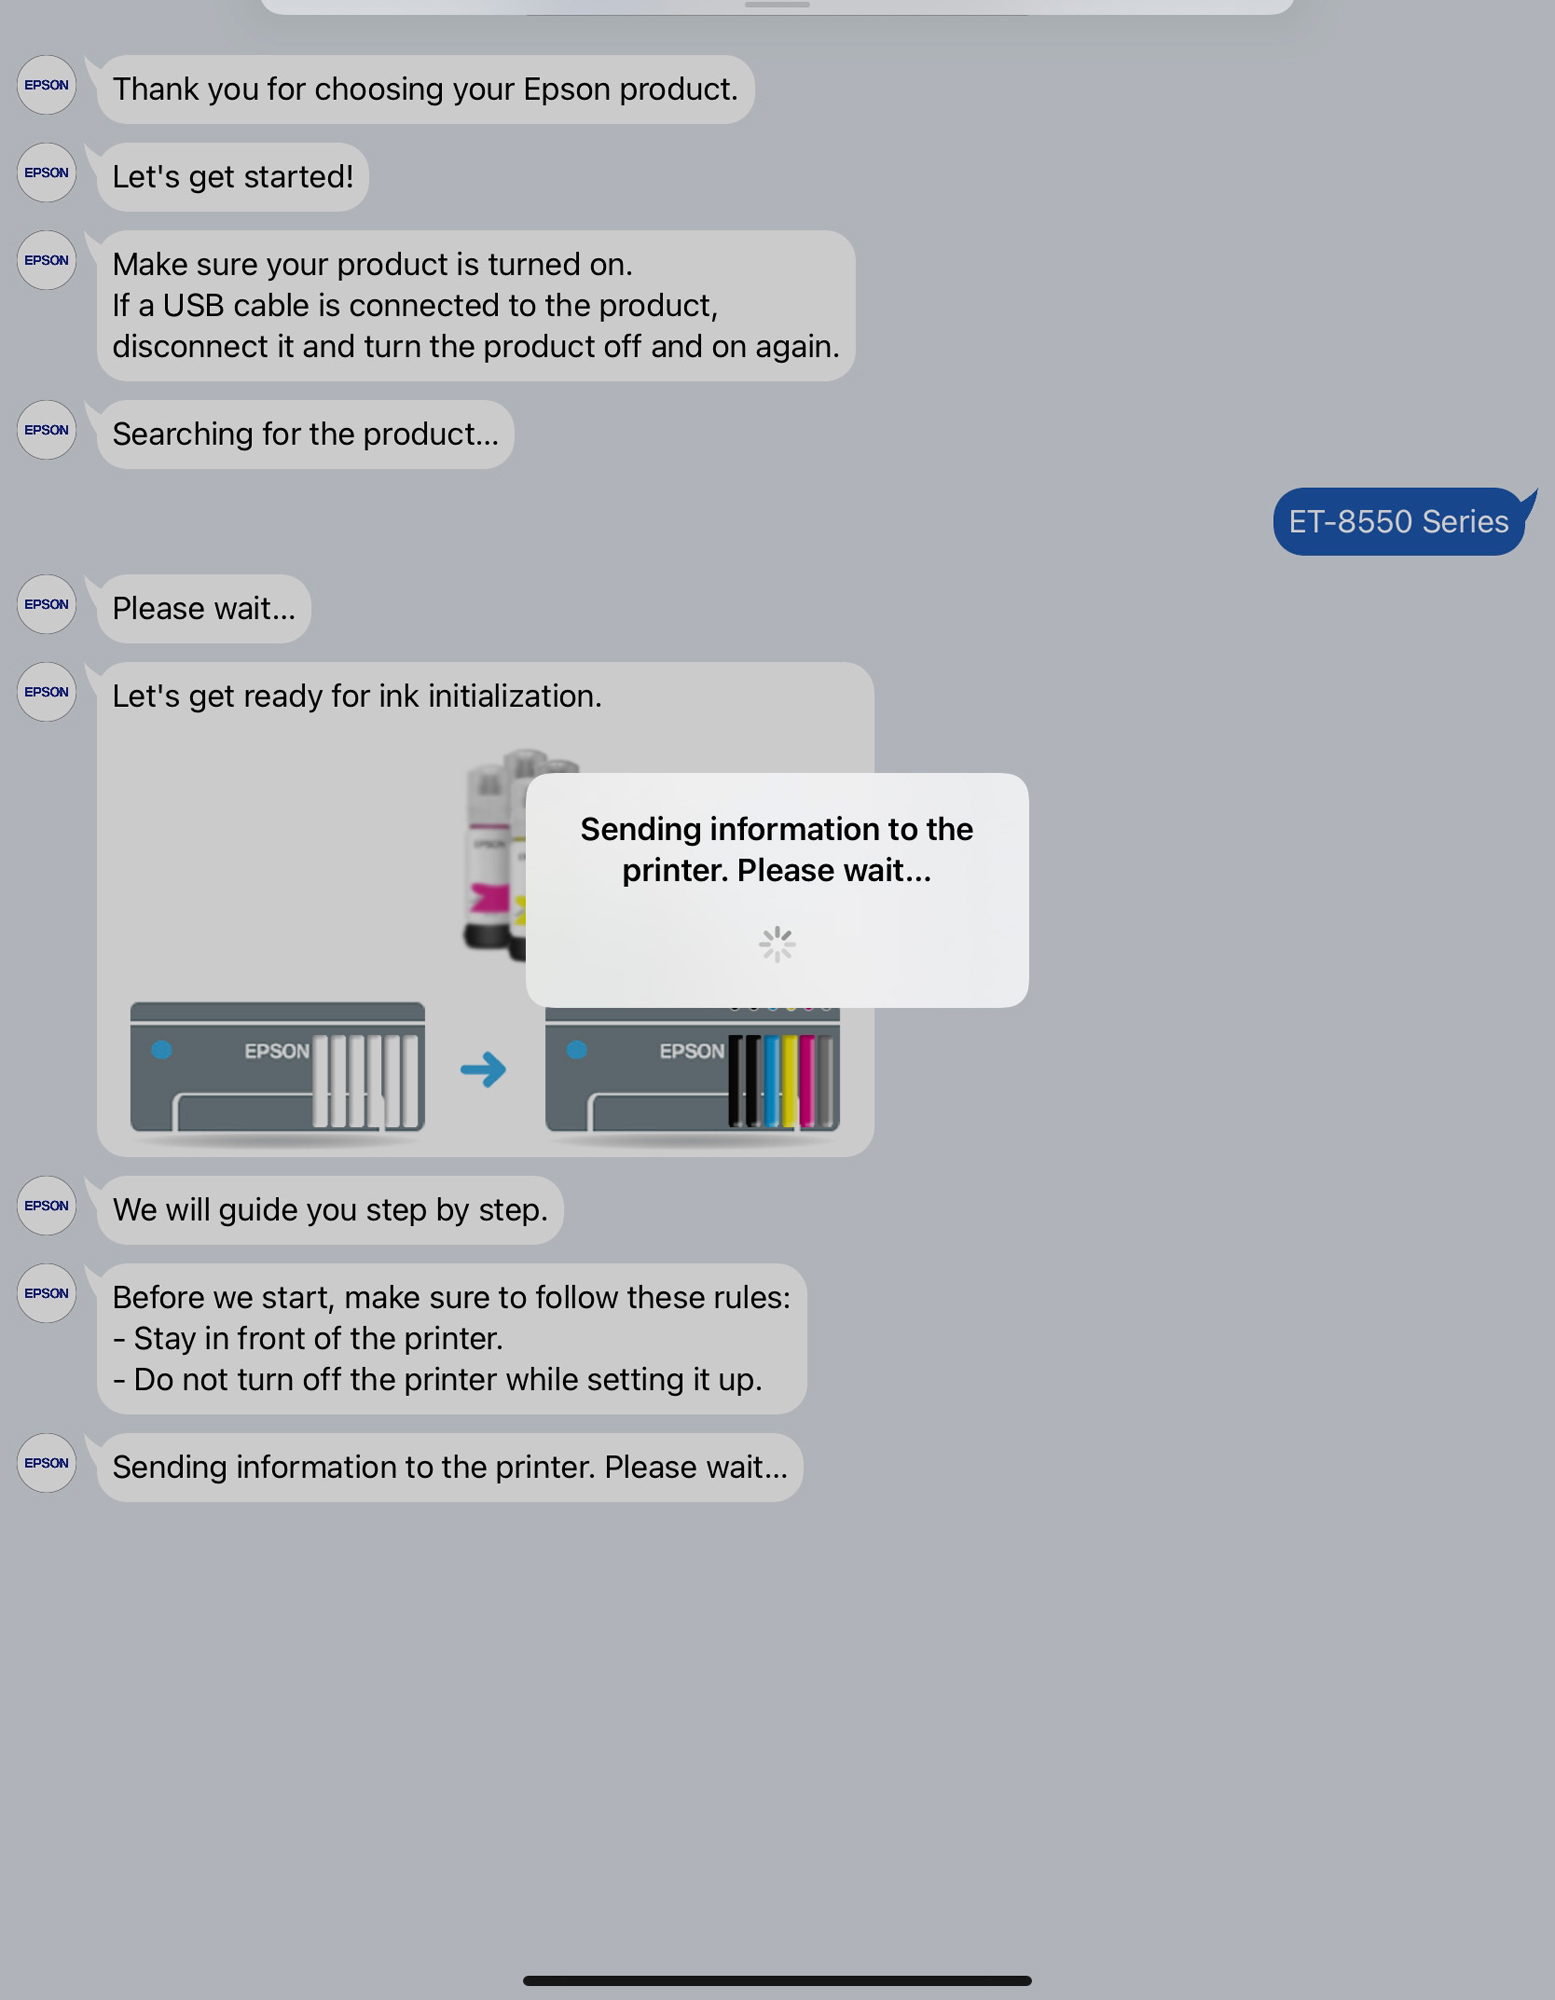
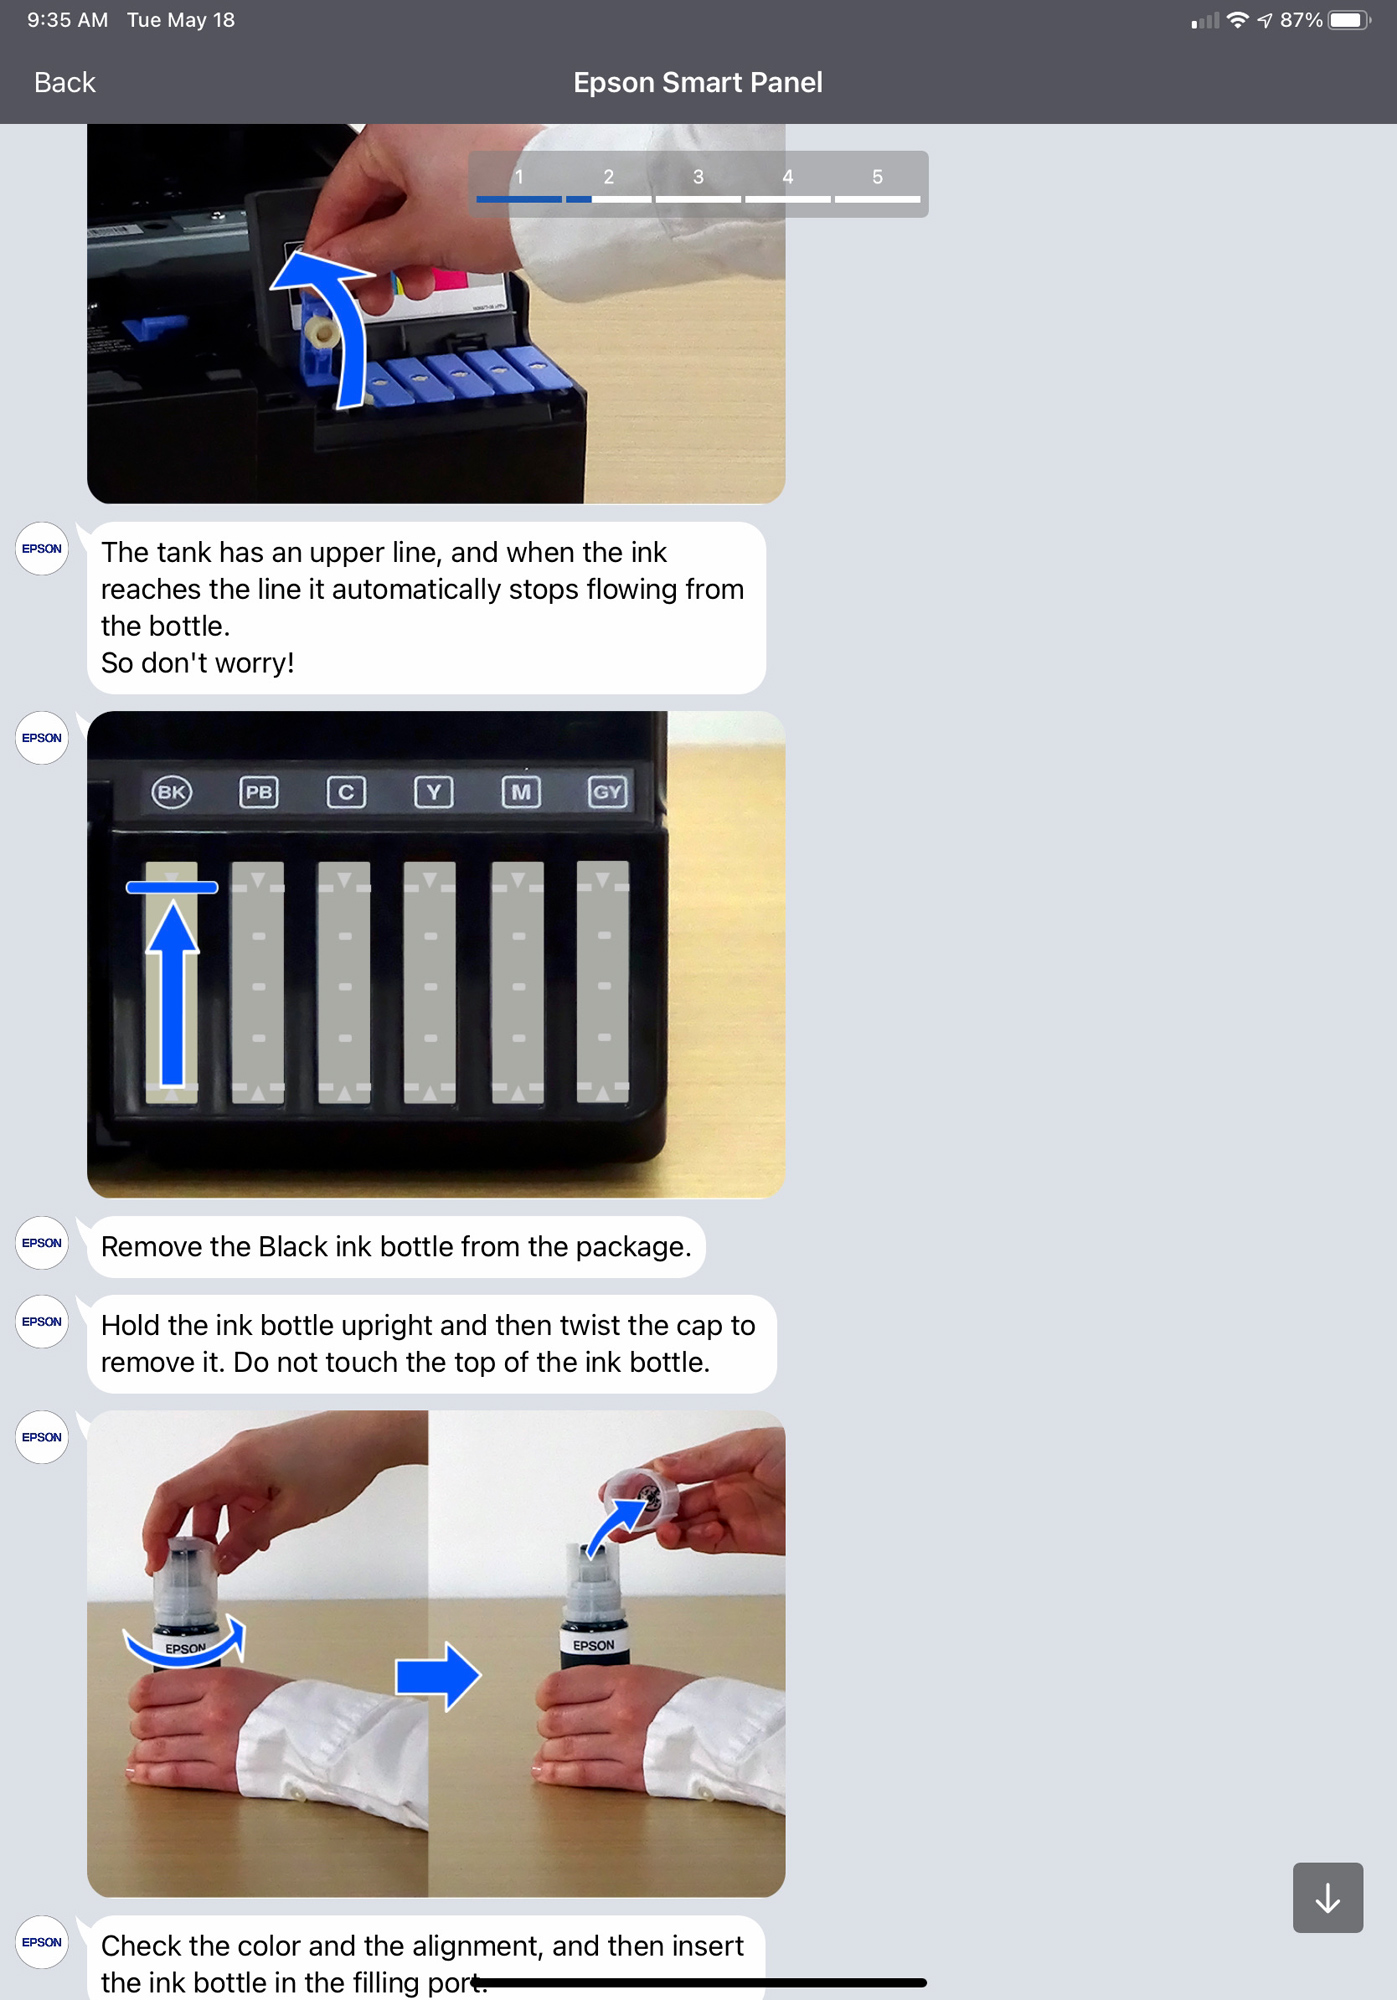
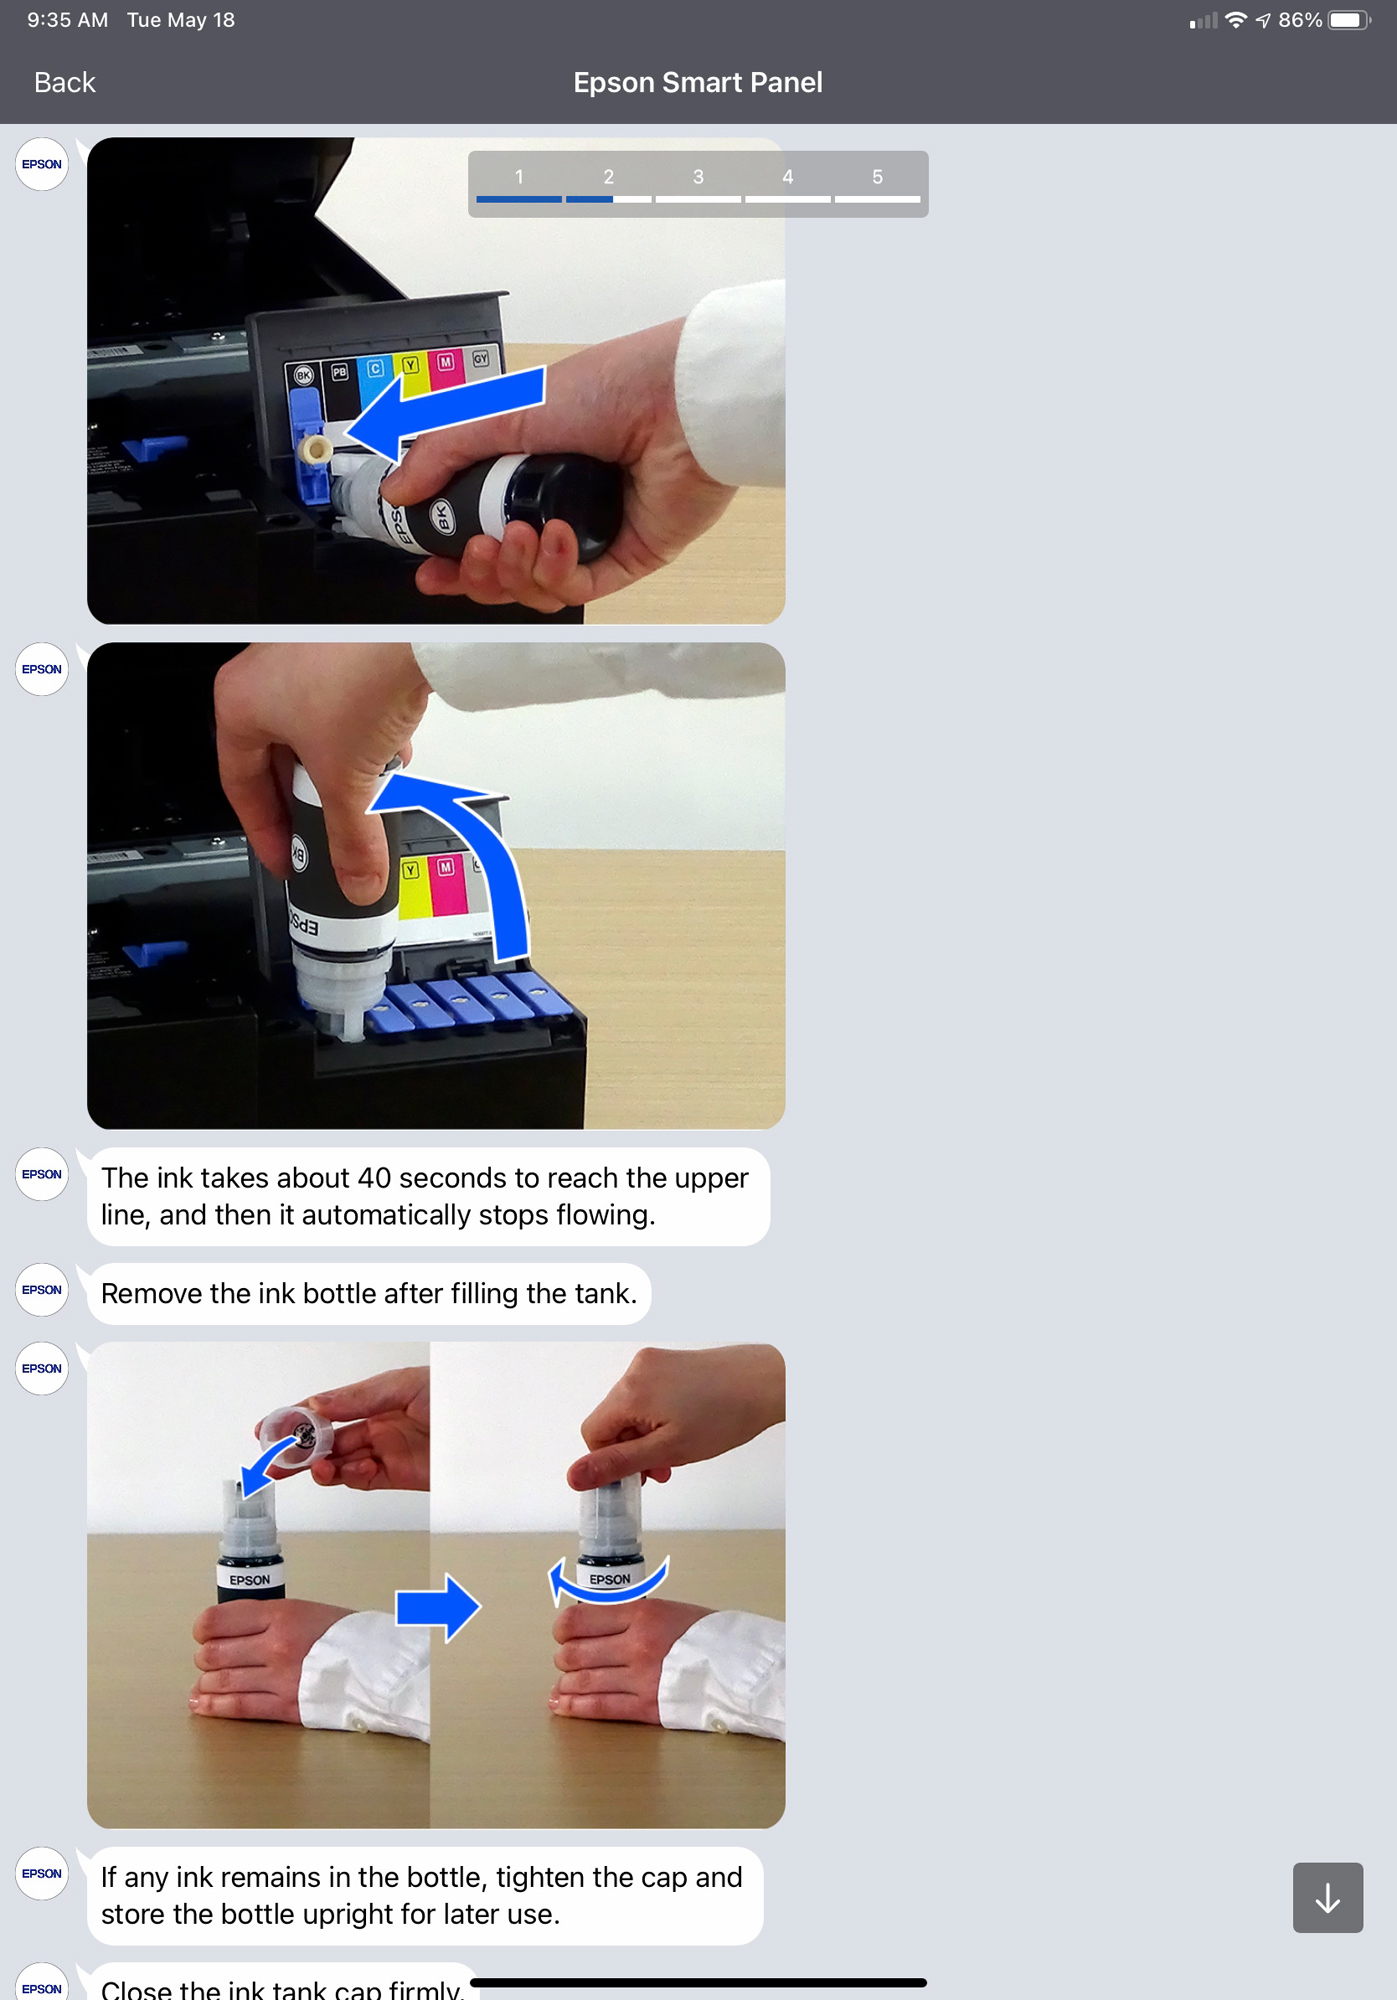
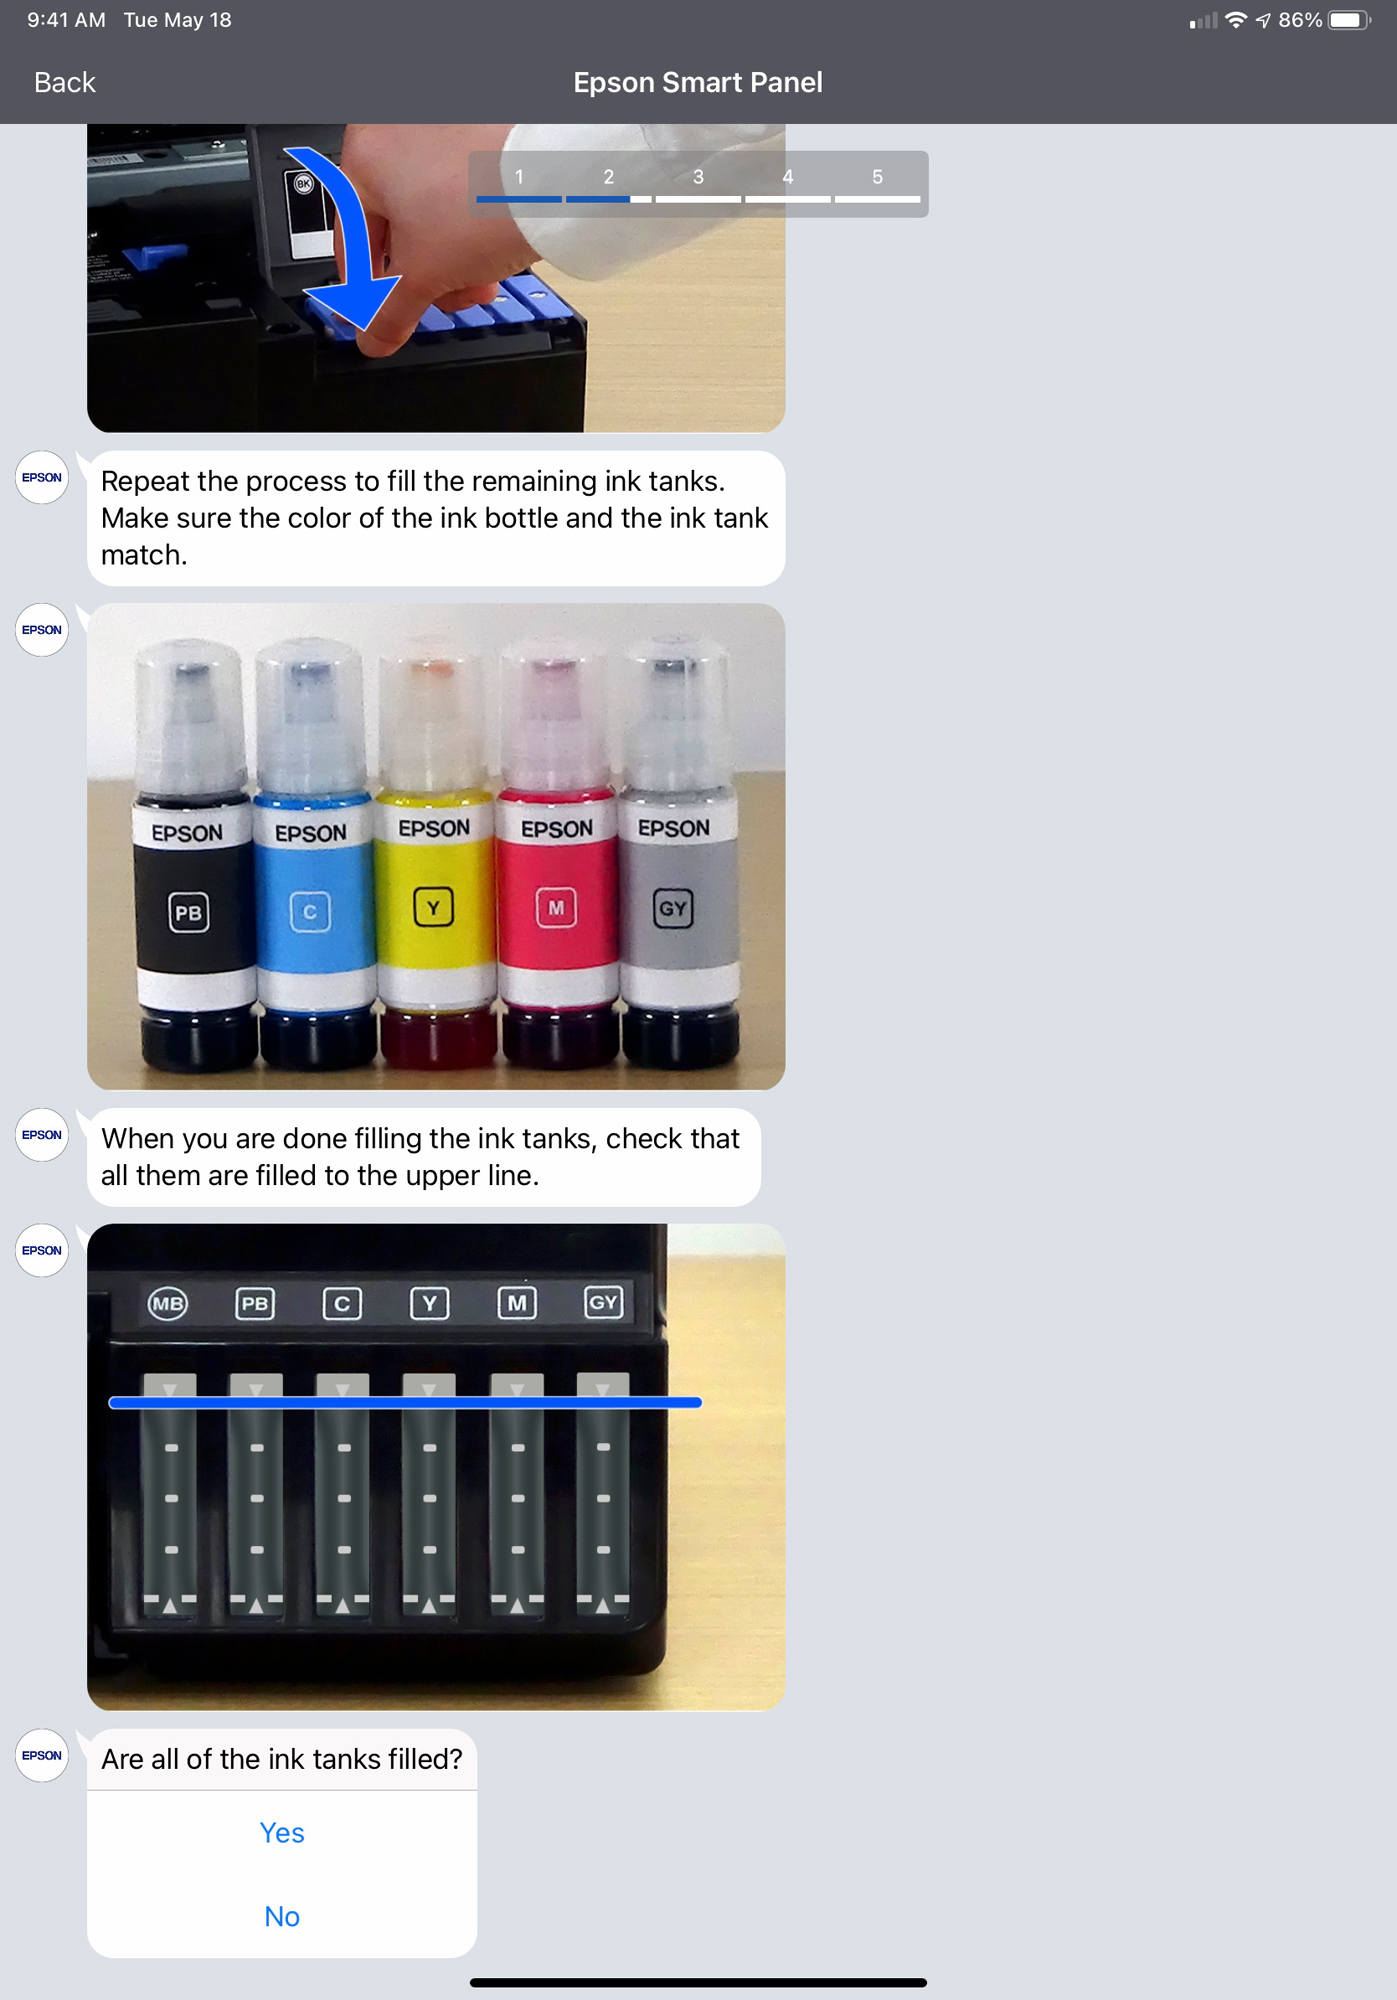
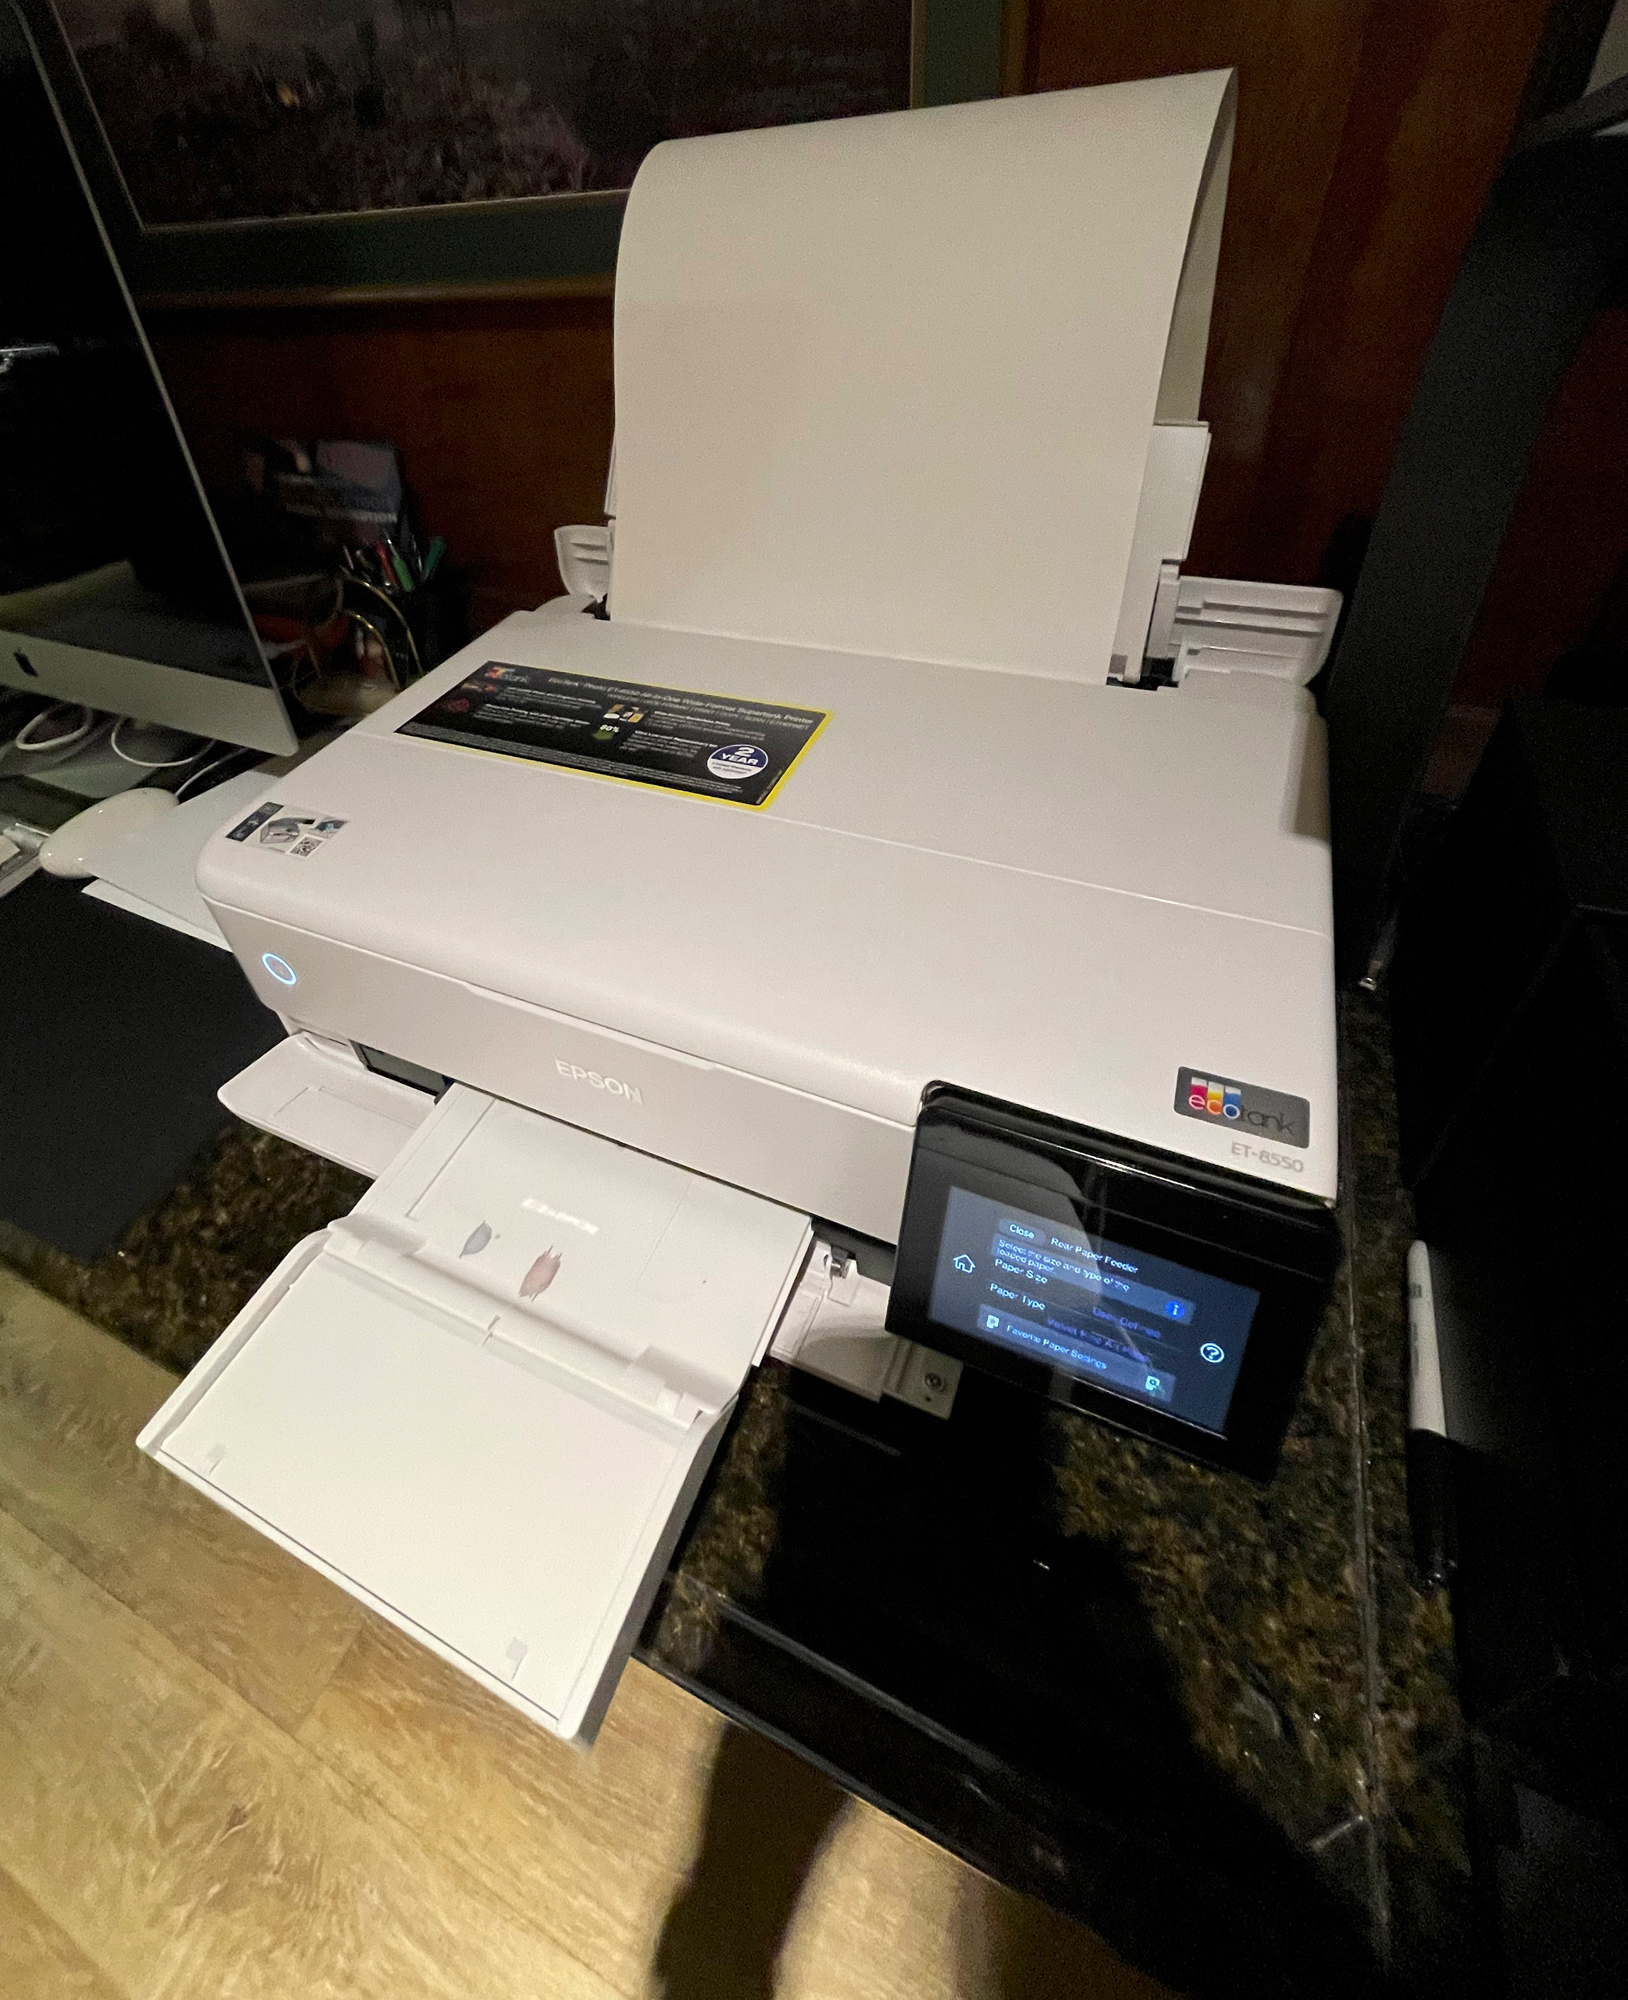
The printer comes well-packaged, and all the parts are carefully packed. On top of the box is a quick-start poster. Following the steps was super easy. What made it even easier was that it asks you to download a quick start app to your mobile device. In my case, it was my iPad. Then when you are ready, it walks you through each and every step of the setup process as if you were messaging someone — this was just too cool. I followed the directions and after confirming each step; it was done. I followed the steps and connected the printer to my Wi-Fi network. The process was so simple; I was astounded. I plugged the printer in, then took each ink bottle, turned it upside-down, and placed it in the receiver for the proper ink color. You can’t screw this up, as the bottles are keyed to only fit on one tank at a time.
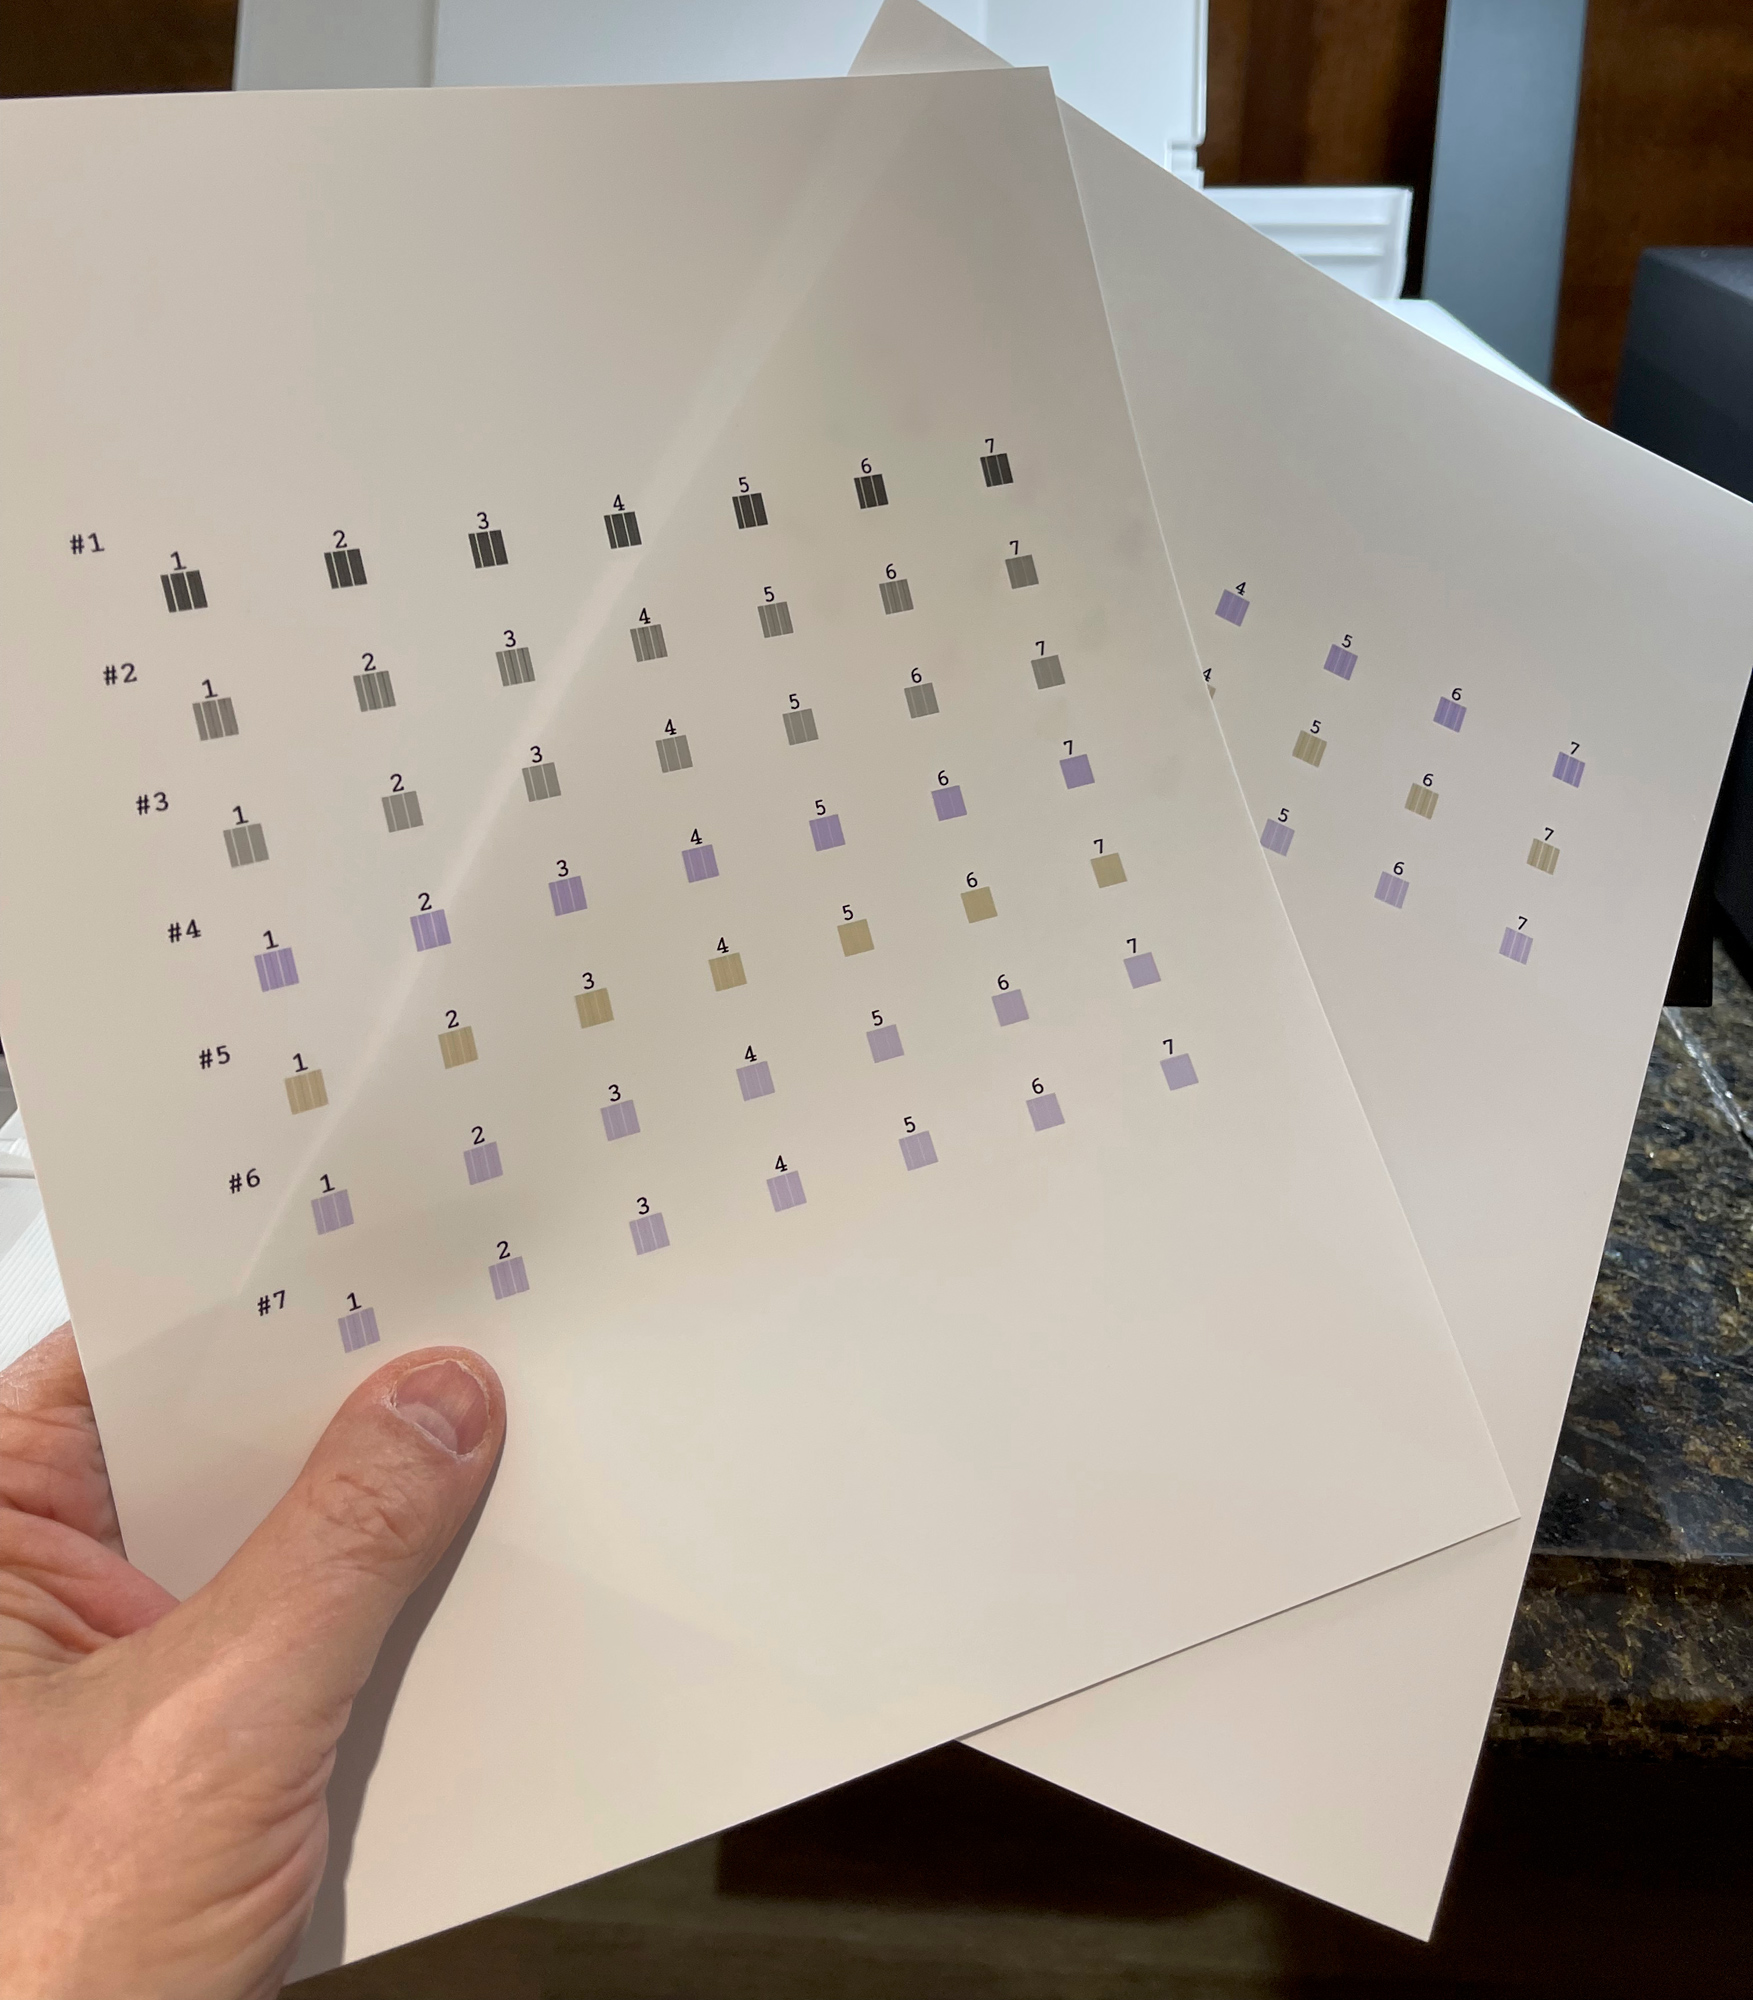
Once the Wi-Fi was set up and the ink loaded, it asked me to load some paper and perform the head alignment test. This was also very easy to do. After about 5 minutes of doing the alignment (which hardly needed any adjustment), I was ready to go.
The illustrations below show a few screens of the setup app in action . . .
At the end of the installation, they will ask you to run a series of print head alignments. It is very simple to do and takes just a few minutes.

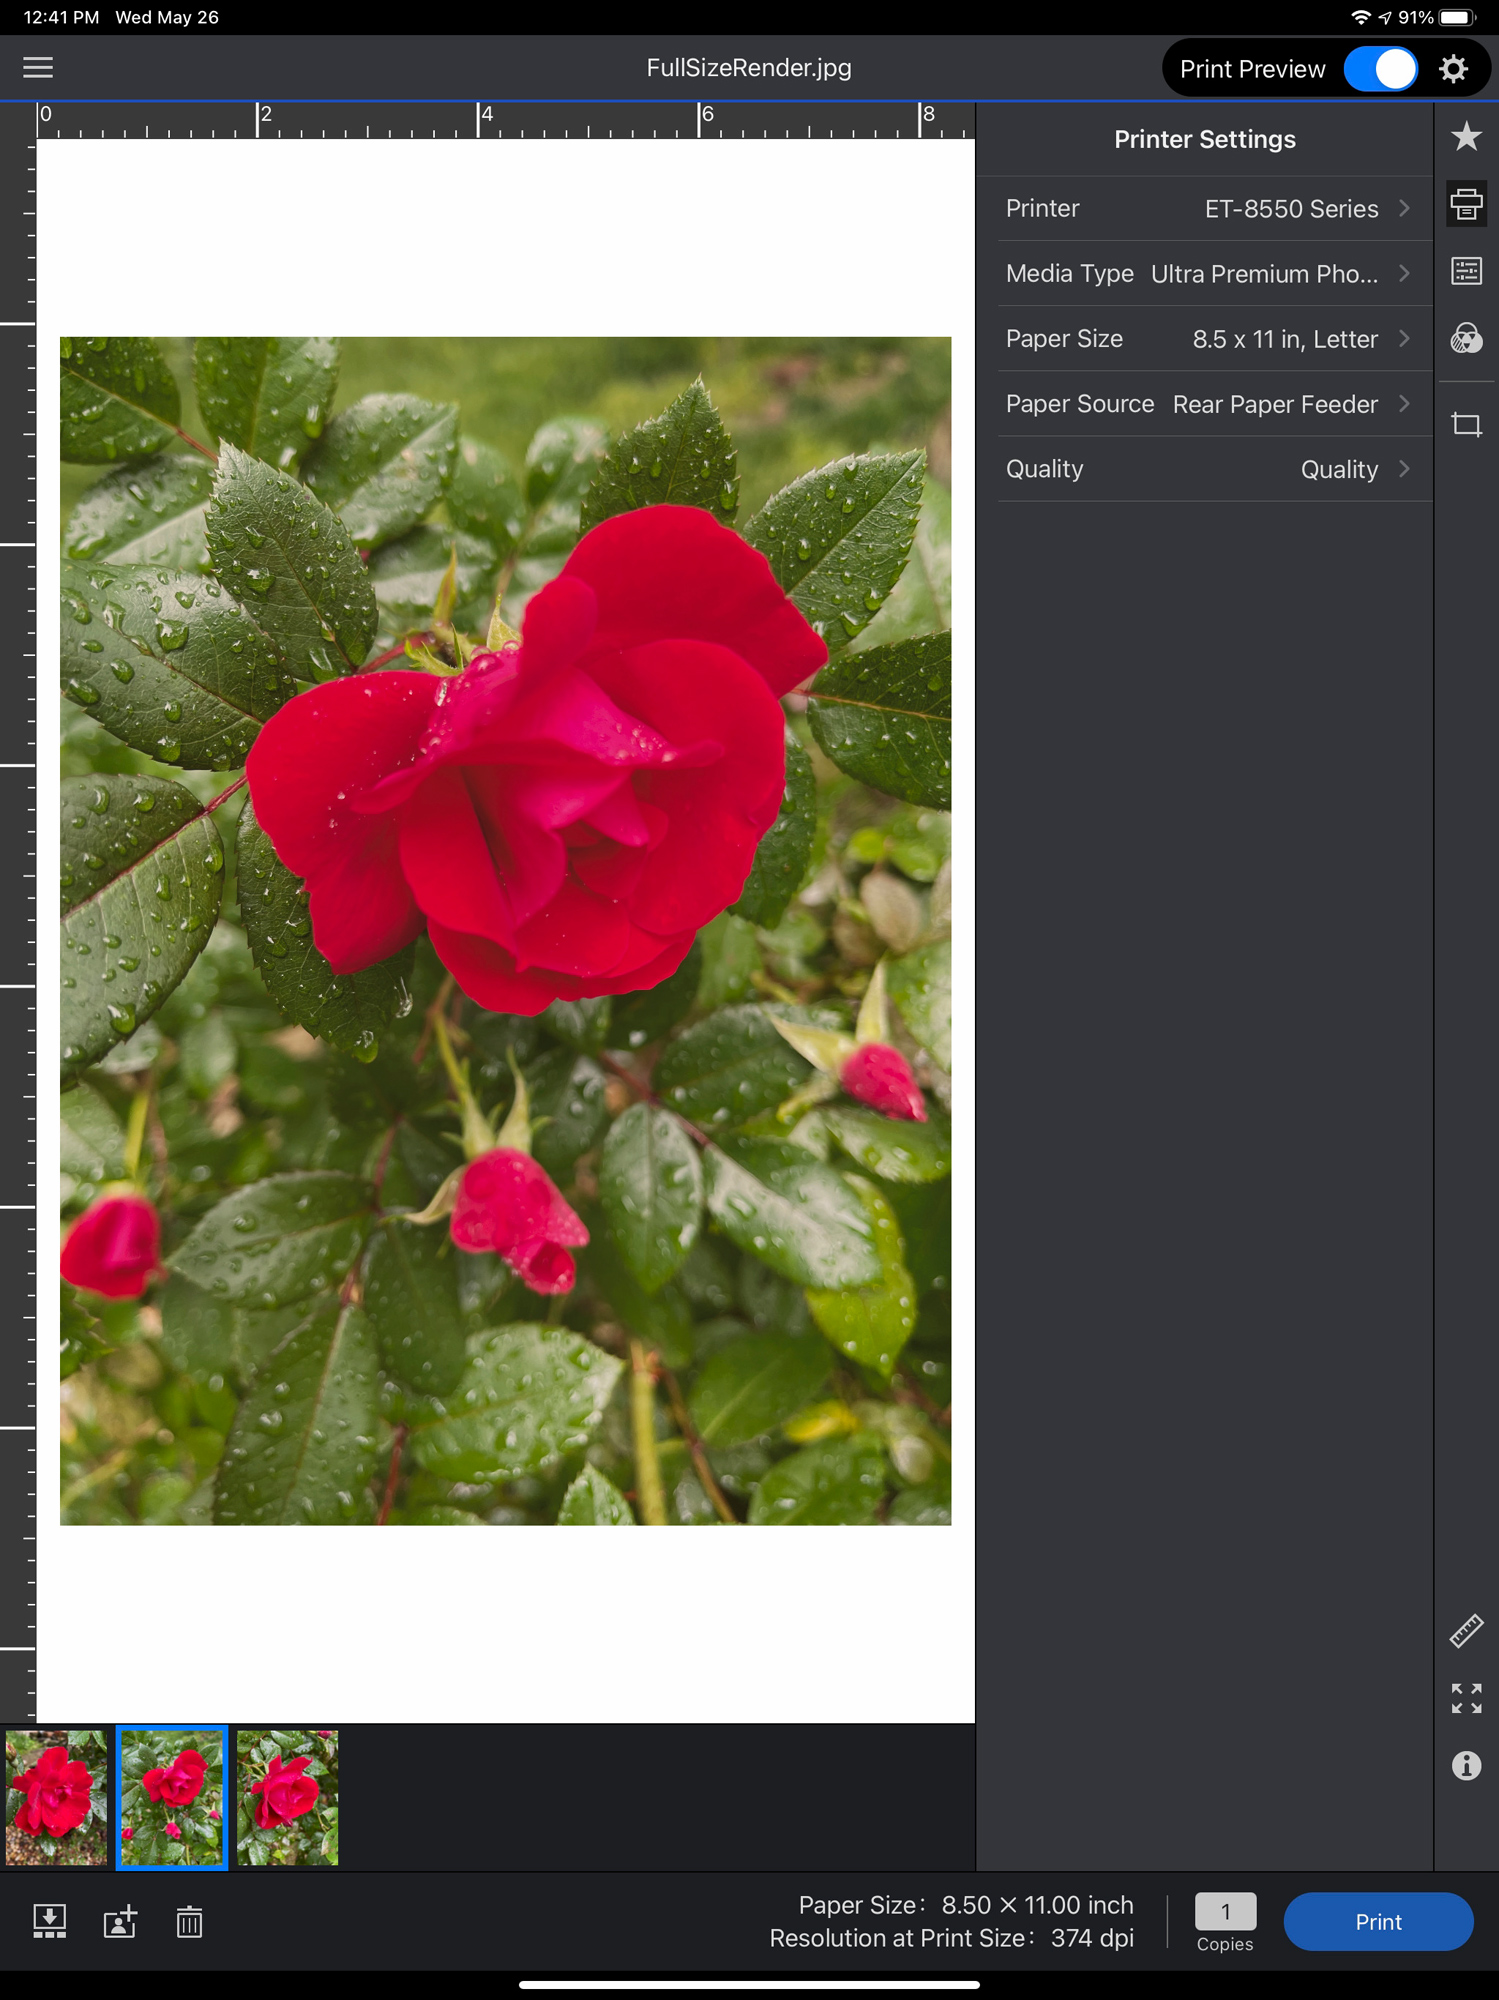
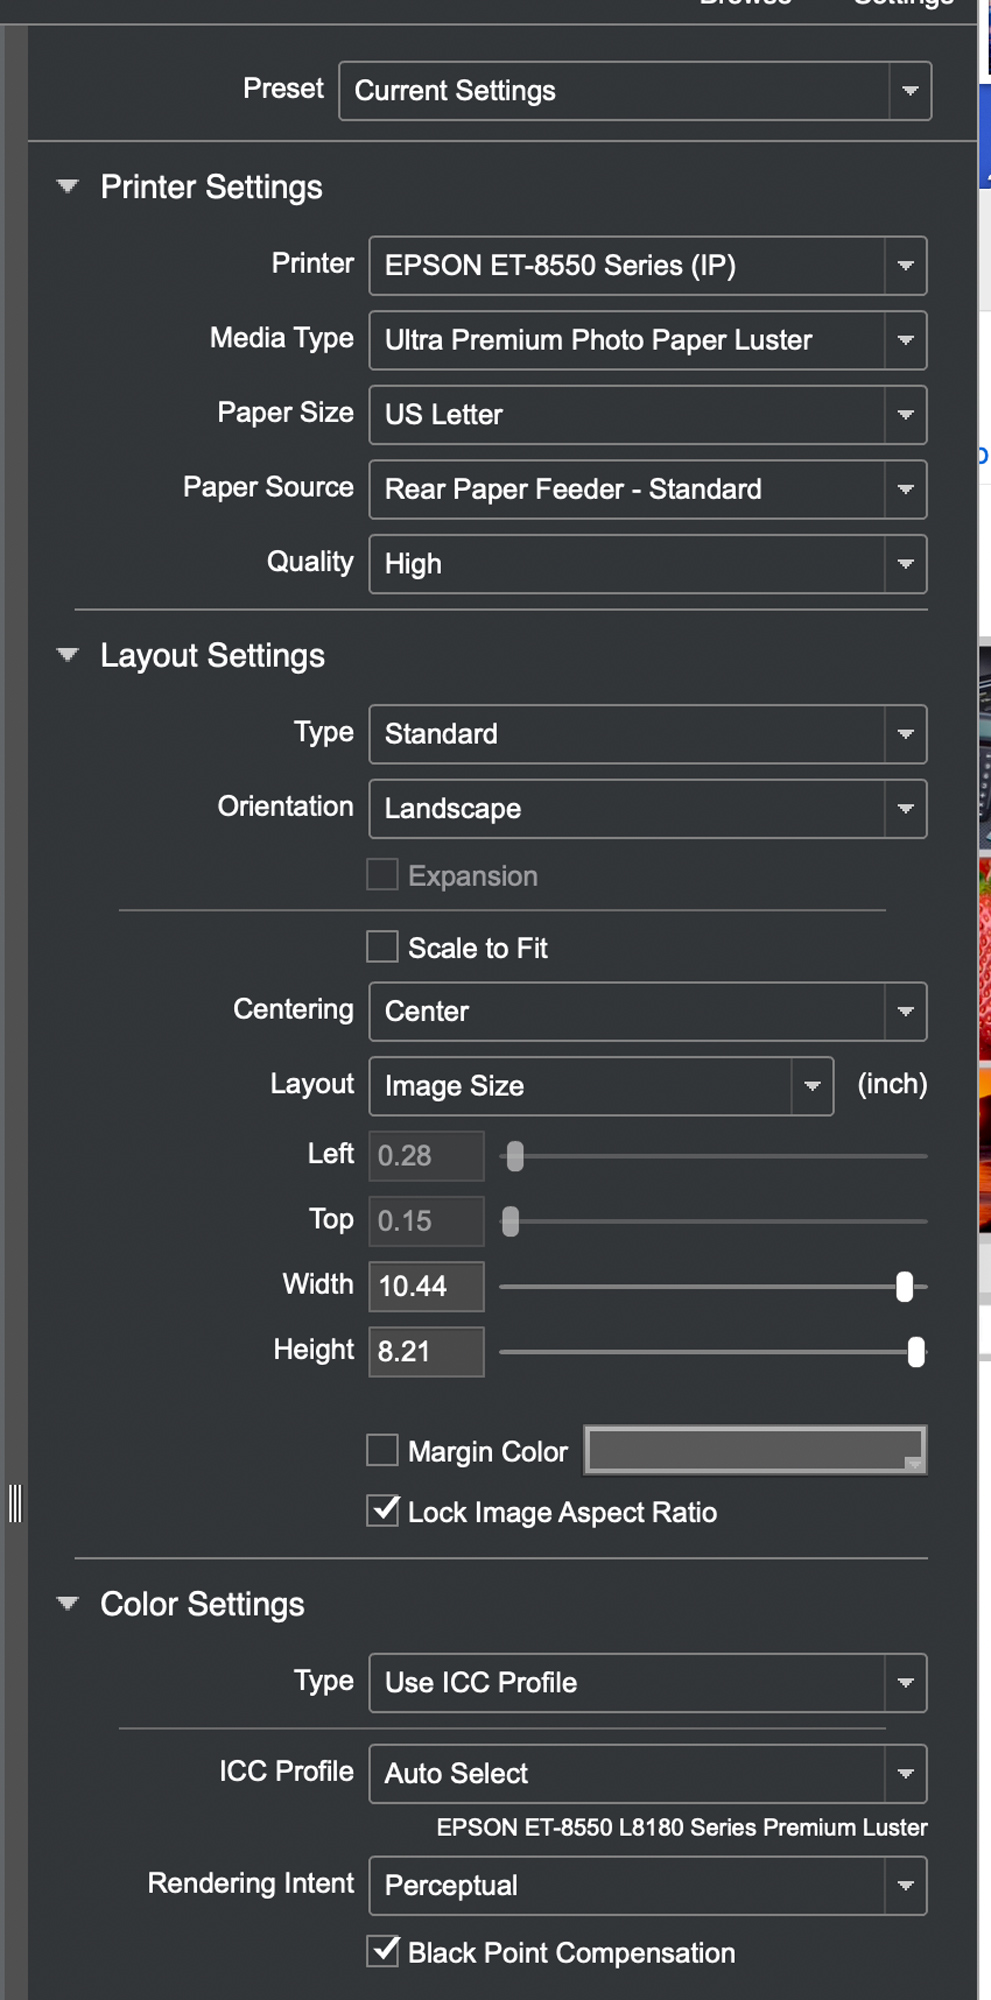
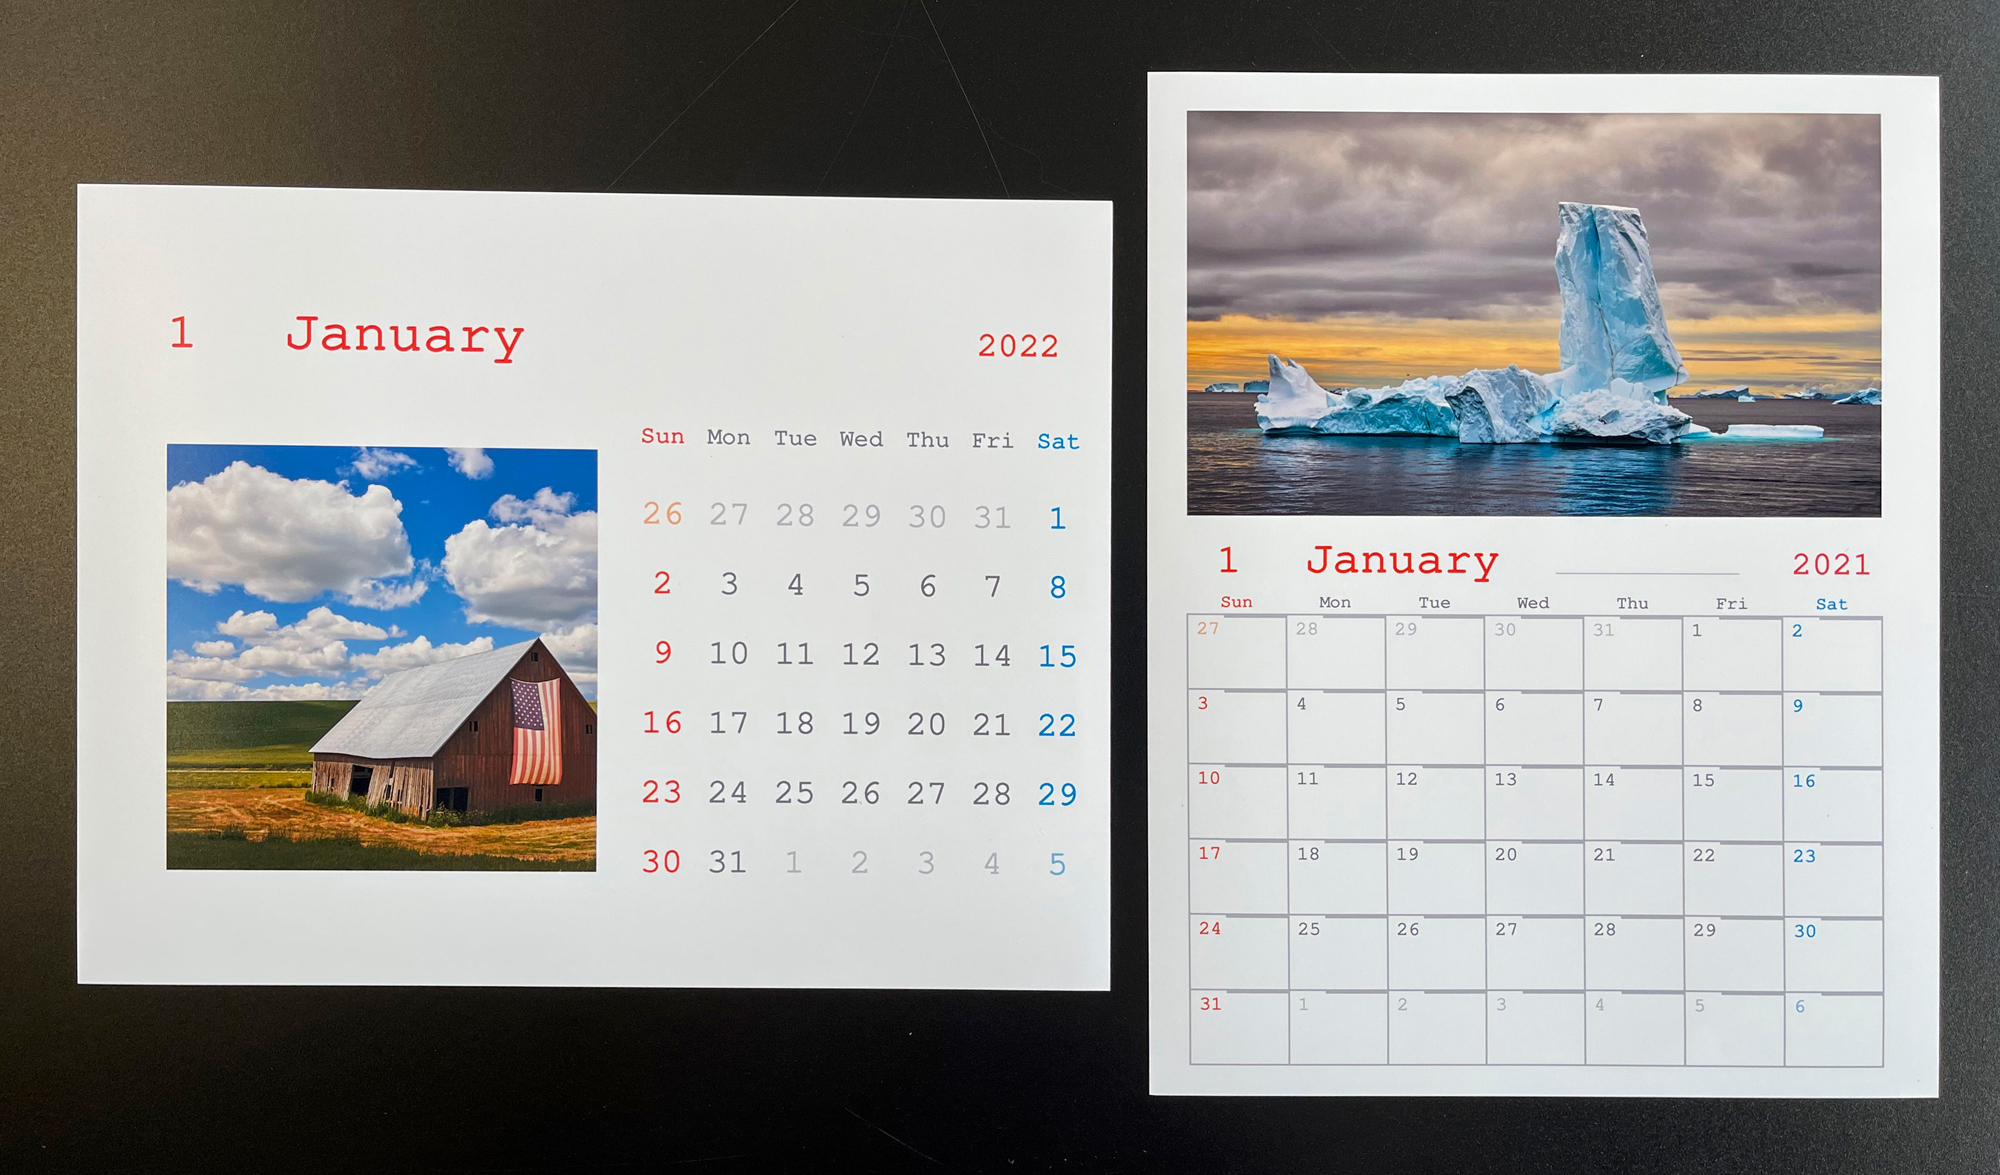
Using my iPad, I opened up the Epson Print layout app and located the printer, which now appeared on my network. I selected the printer and the paper, which was Epson Premium Lustre. I loaded the paper in the rear feeder and selected that as the source on EPL (Epson Print Layout).
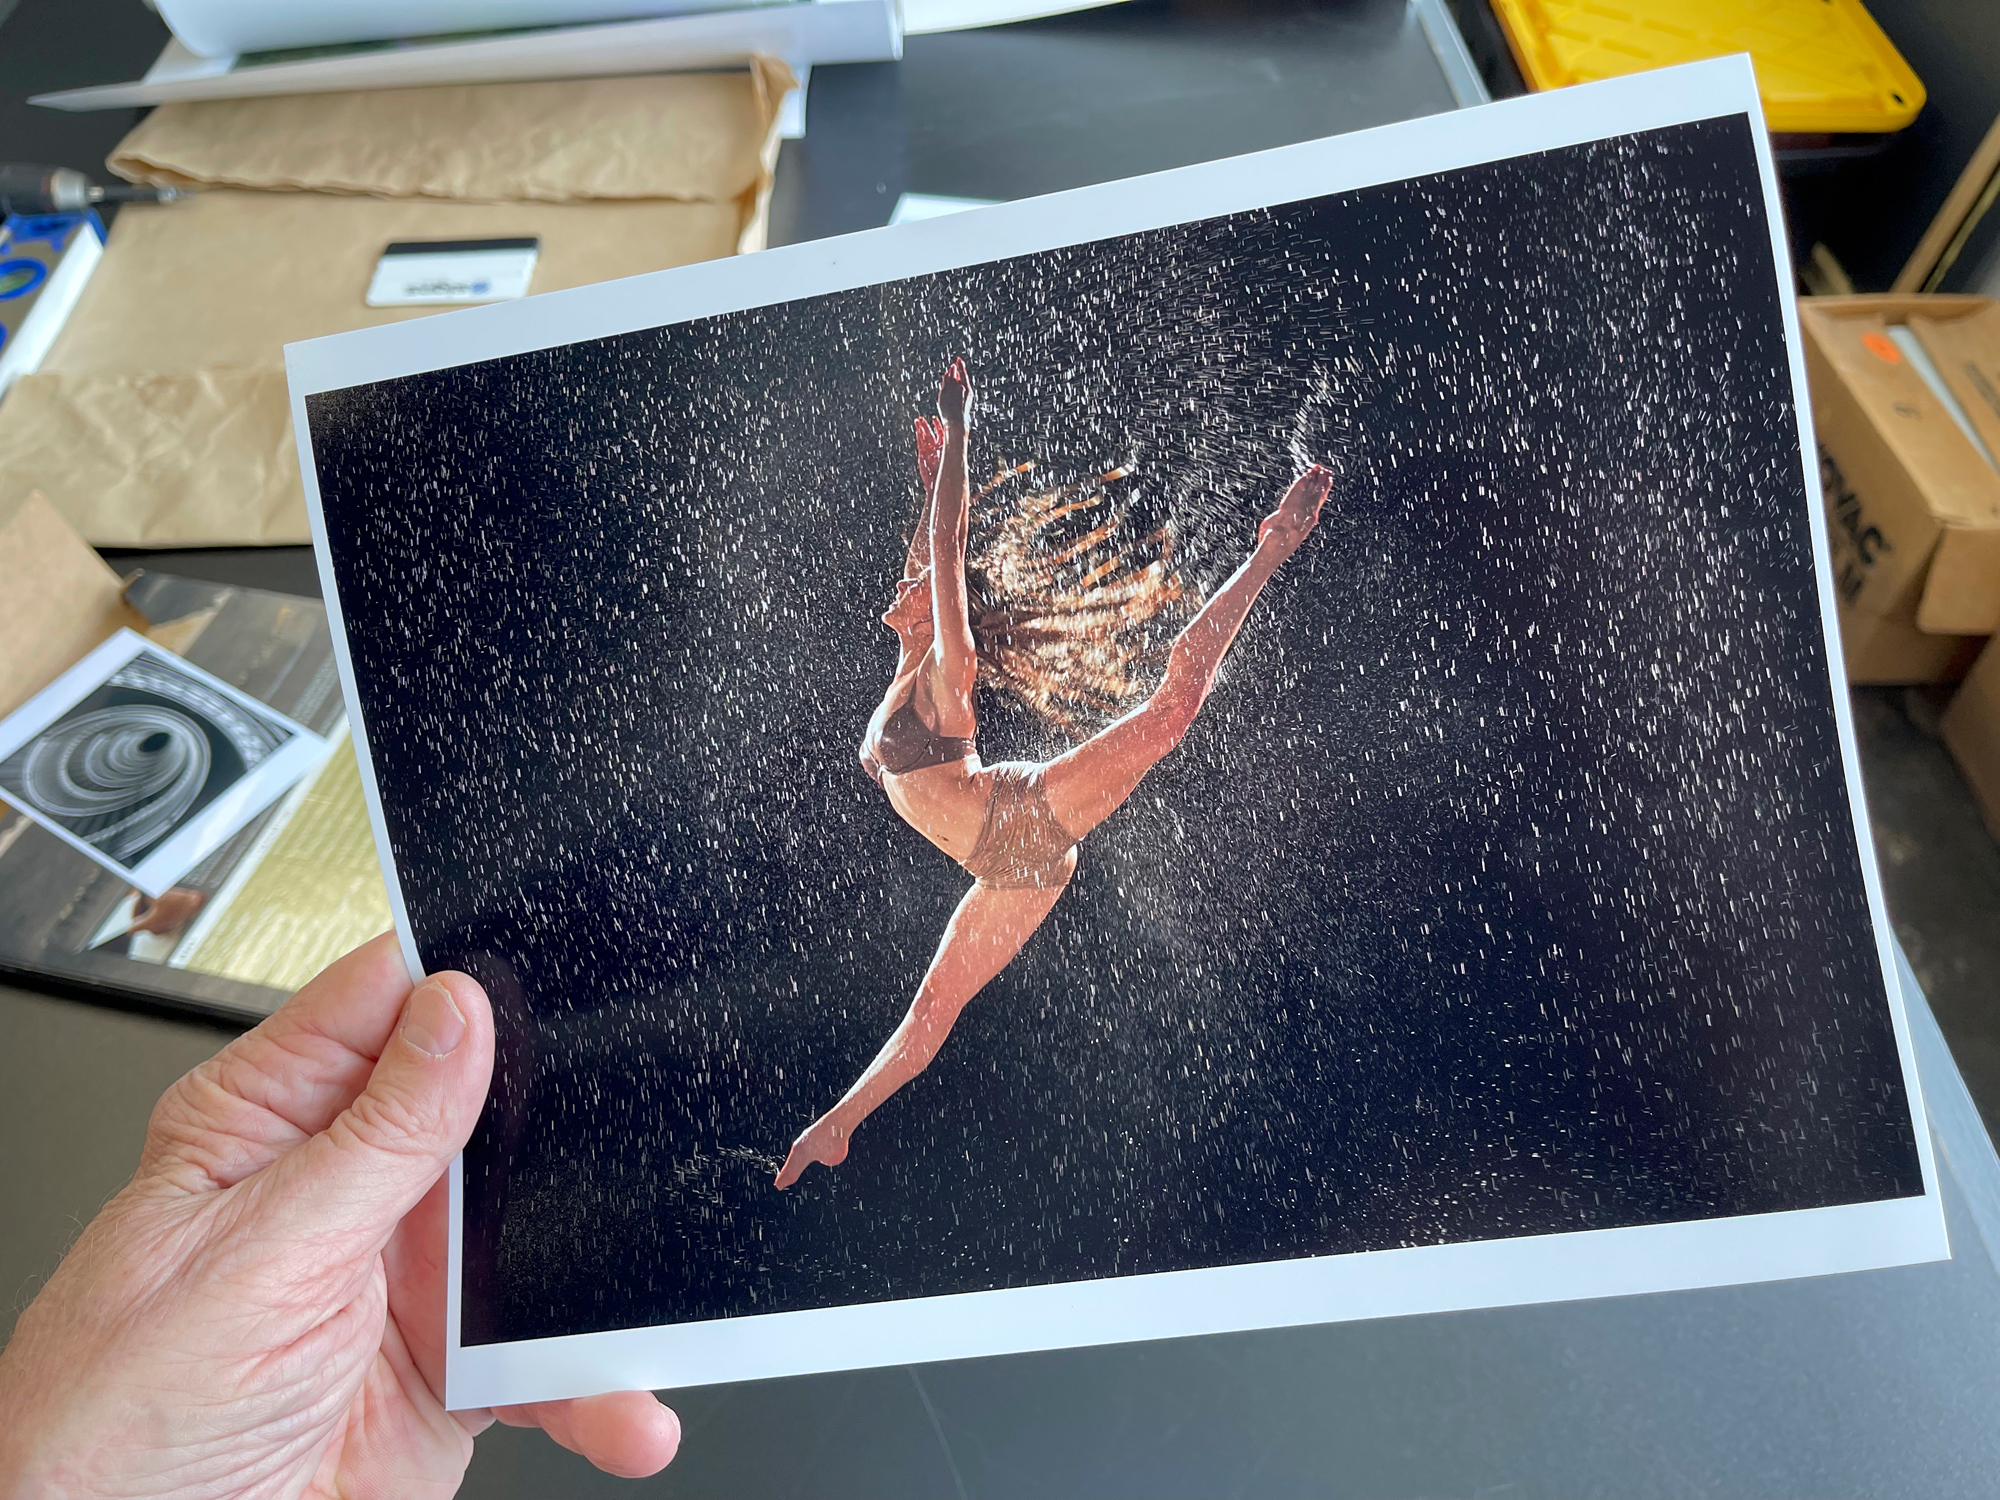
Next, I went to my camera roll and added two images. I adjusted the margins in the WYSIWYG (what you see is what you get) interface and pushed the Print button. The app said it was sending the image to the printer, and almost instantly the printer whirred, chugged, and started printing.
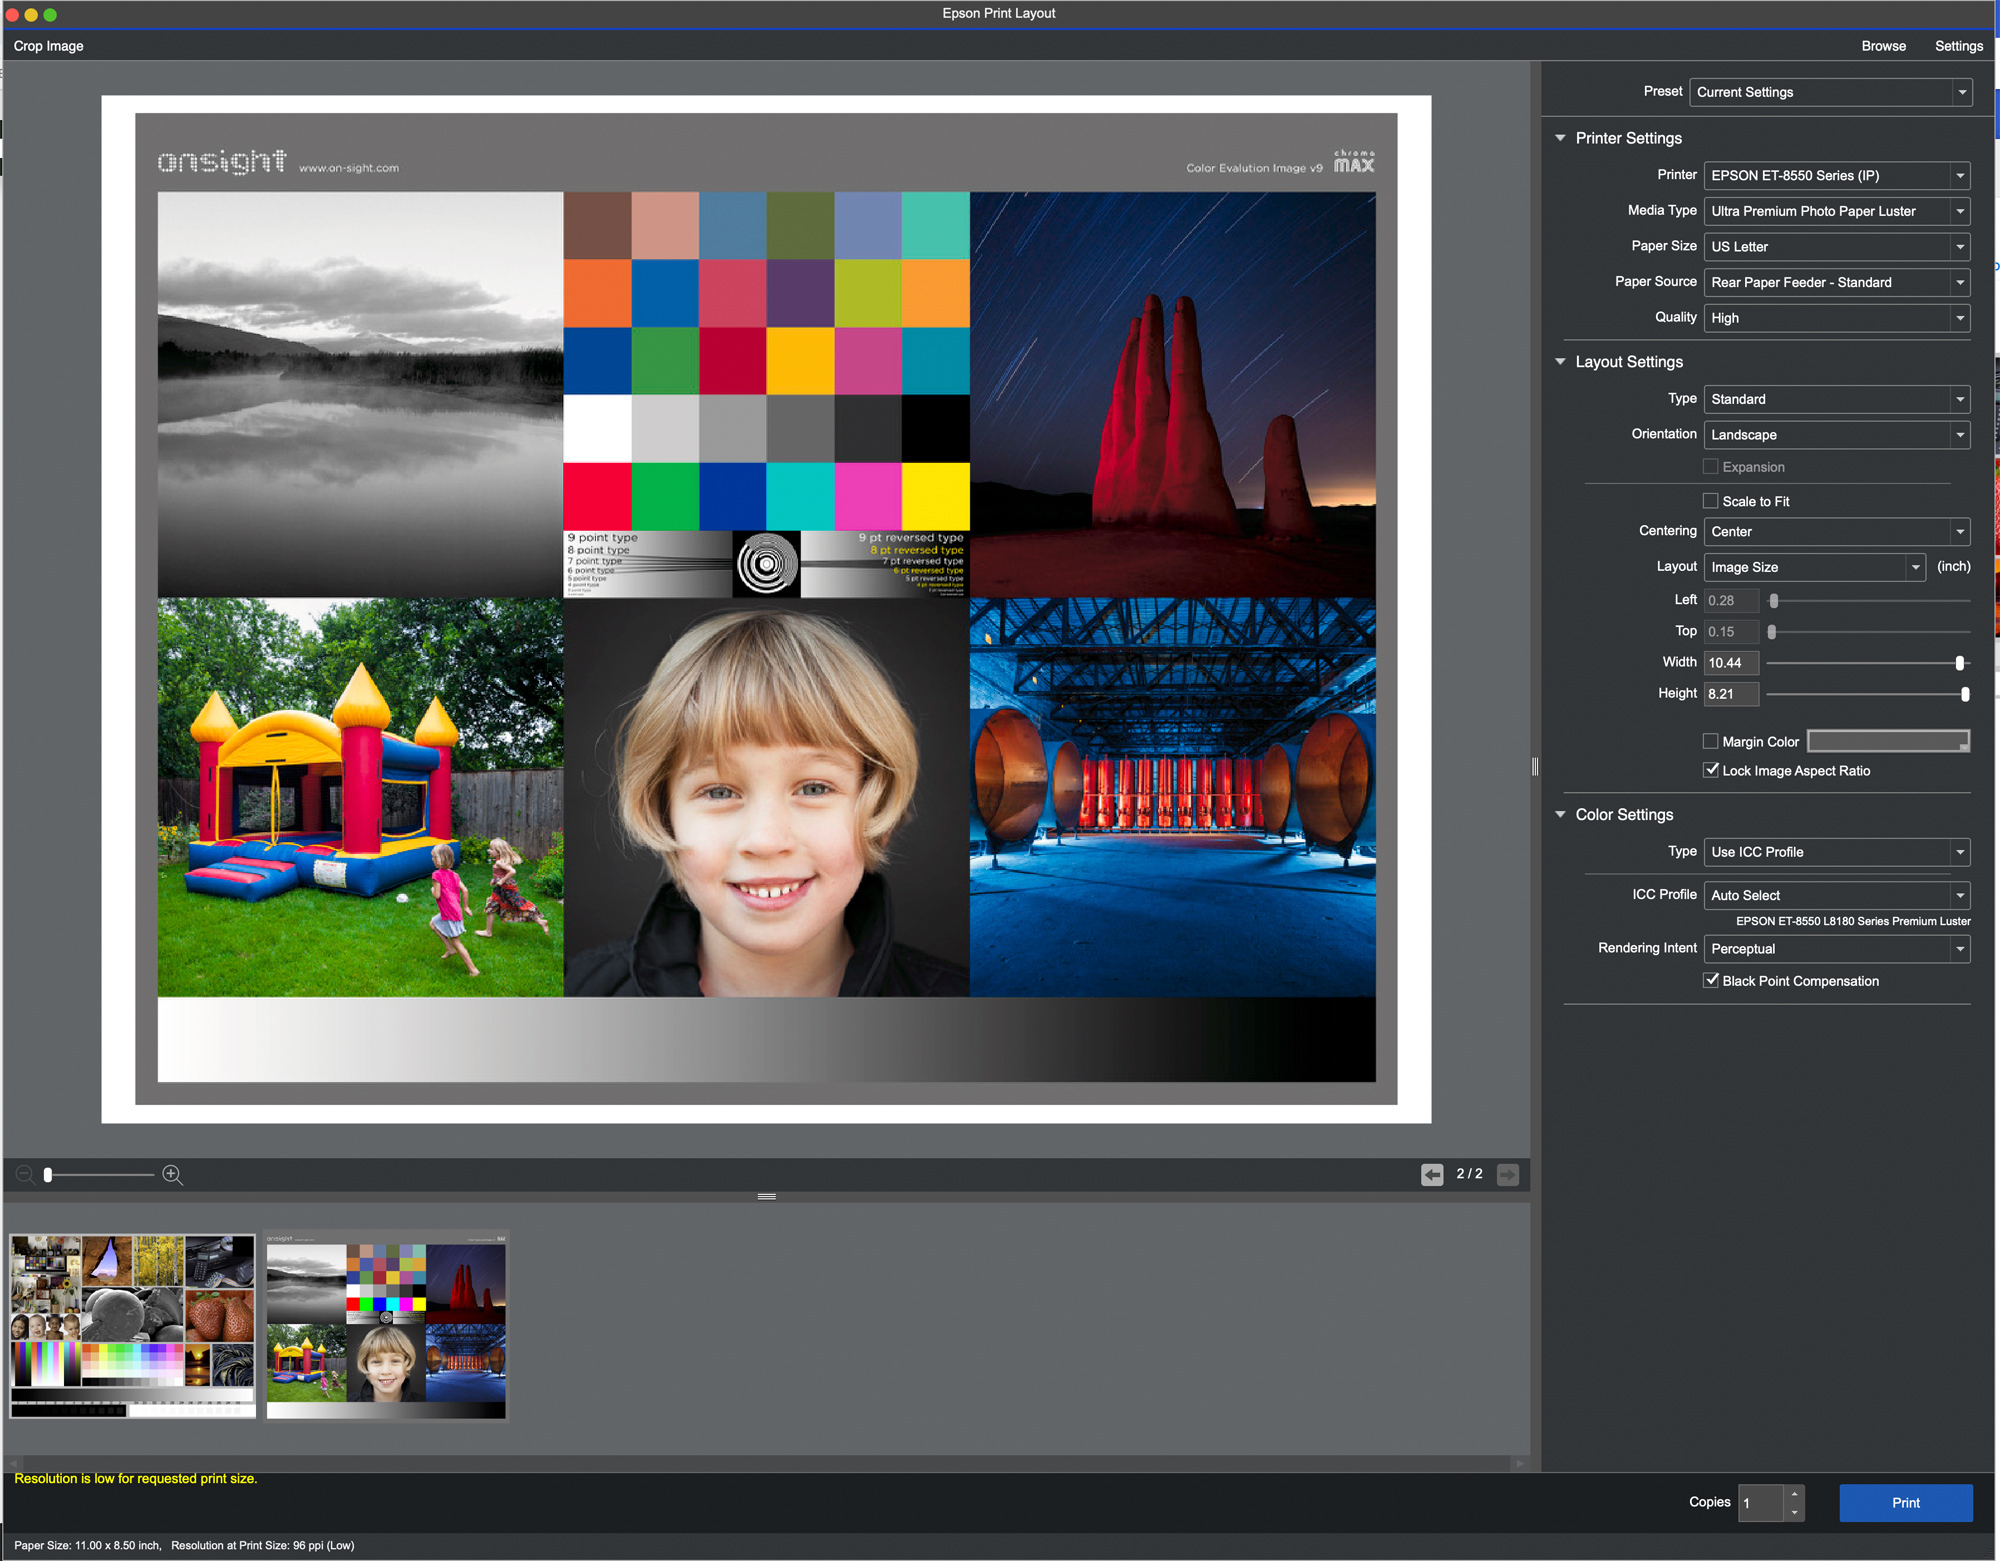
What was really cool was the print receiver tray slid out automatically like the doors on the Starship Enterprise, and a little light came on to show the inside of the printer. I couldn’t believe how quickly the print was made. I then pushed Print for the second print, and the same thing happened. The prints produced looked incredible. First-time prints and they were as near to perfect as I could ask for. I was super-impressed. (see accompanying video)
I then went about setting up drivers for my Mac and other devices. You add the ET-8550 printer as you would any printer for a Mac, but be sure (and this is important) that you don’t select the AirPrint option. Once this is complete, you can use EPL or print from Lightroom, Photoshop, and other programs by selecting the printer in the “Select printer” box.
Can It Be Really that Easy?
The answer is yes!
For just about everything I discuss in this article, I used EPL as the app to make prints. I did use Lightroom and Photoshop with fine results, but there are a number of decisions that have to be made before hitting the Print button. With EPL you basically have to select the paper and then decide on some things, but they are very easy to use if needed.
I loaded the printer with 4×6-inch paper to run 4×6 prints, and see just how fast and reliable printing could be. I added a bunch of images from my photos app to the EPL app on my Mac. I sized them so there was a slight border, as I like borders. I could have made the images borderless, but I wanted to test this option for prints. Once I had these loaded in EPL the way I liked it, I selected each print and hit Print. On a Mac you can select and print without having to wait for the print to be printed, as on mobile devices. If you open up the printer queue, you can see the print order and images waiting to be printed.
I hope that an upgrade to EPL will have a batch printing feature for mobile devices.
The 4×6 prints were flying out of the printer. Production speed was just about 15 seconds. Please note I could have used the internal paper feed but elected to use the rear pair feed when making these and most of my images, kind of just as an old habit.
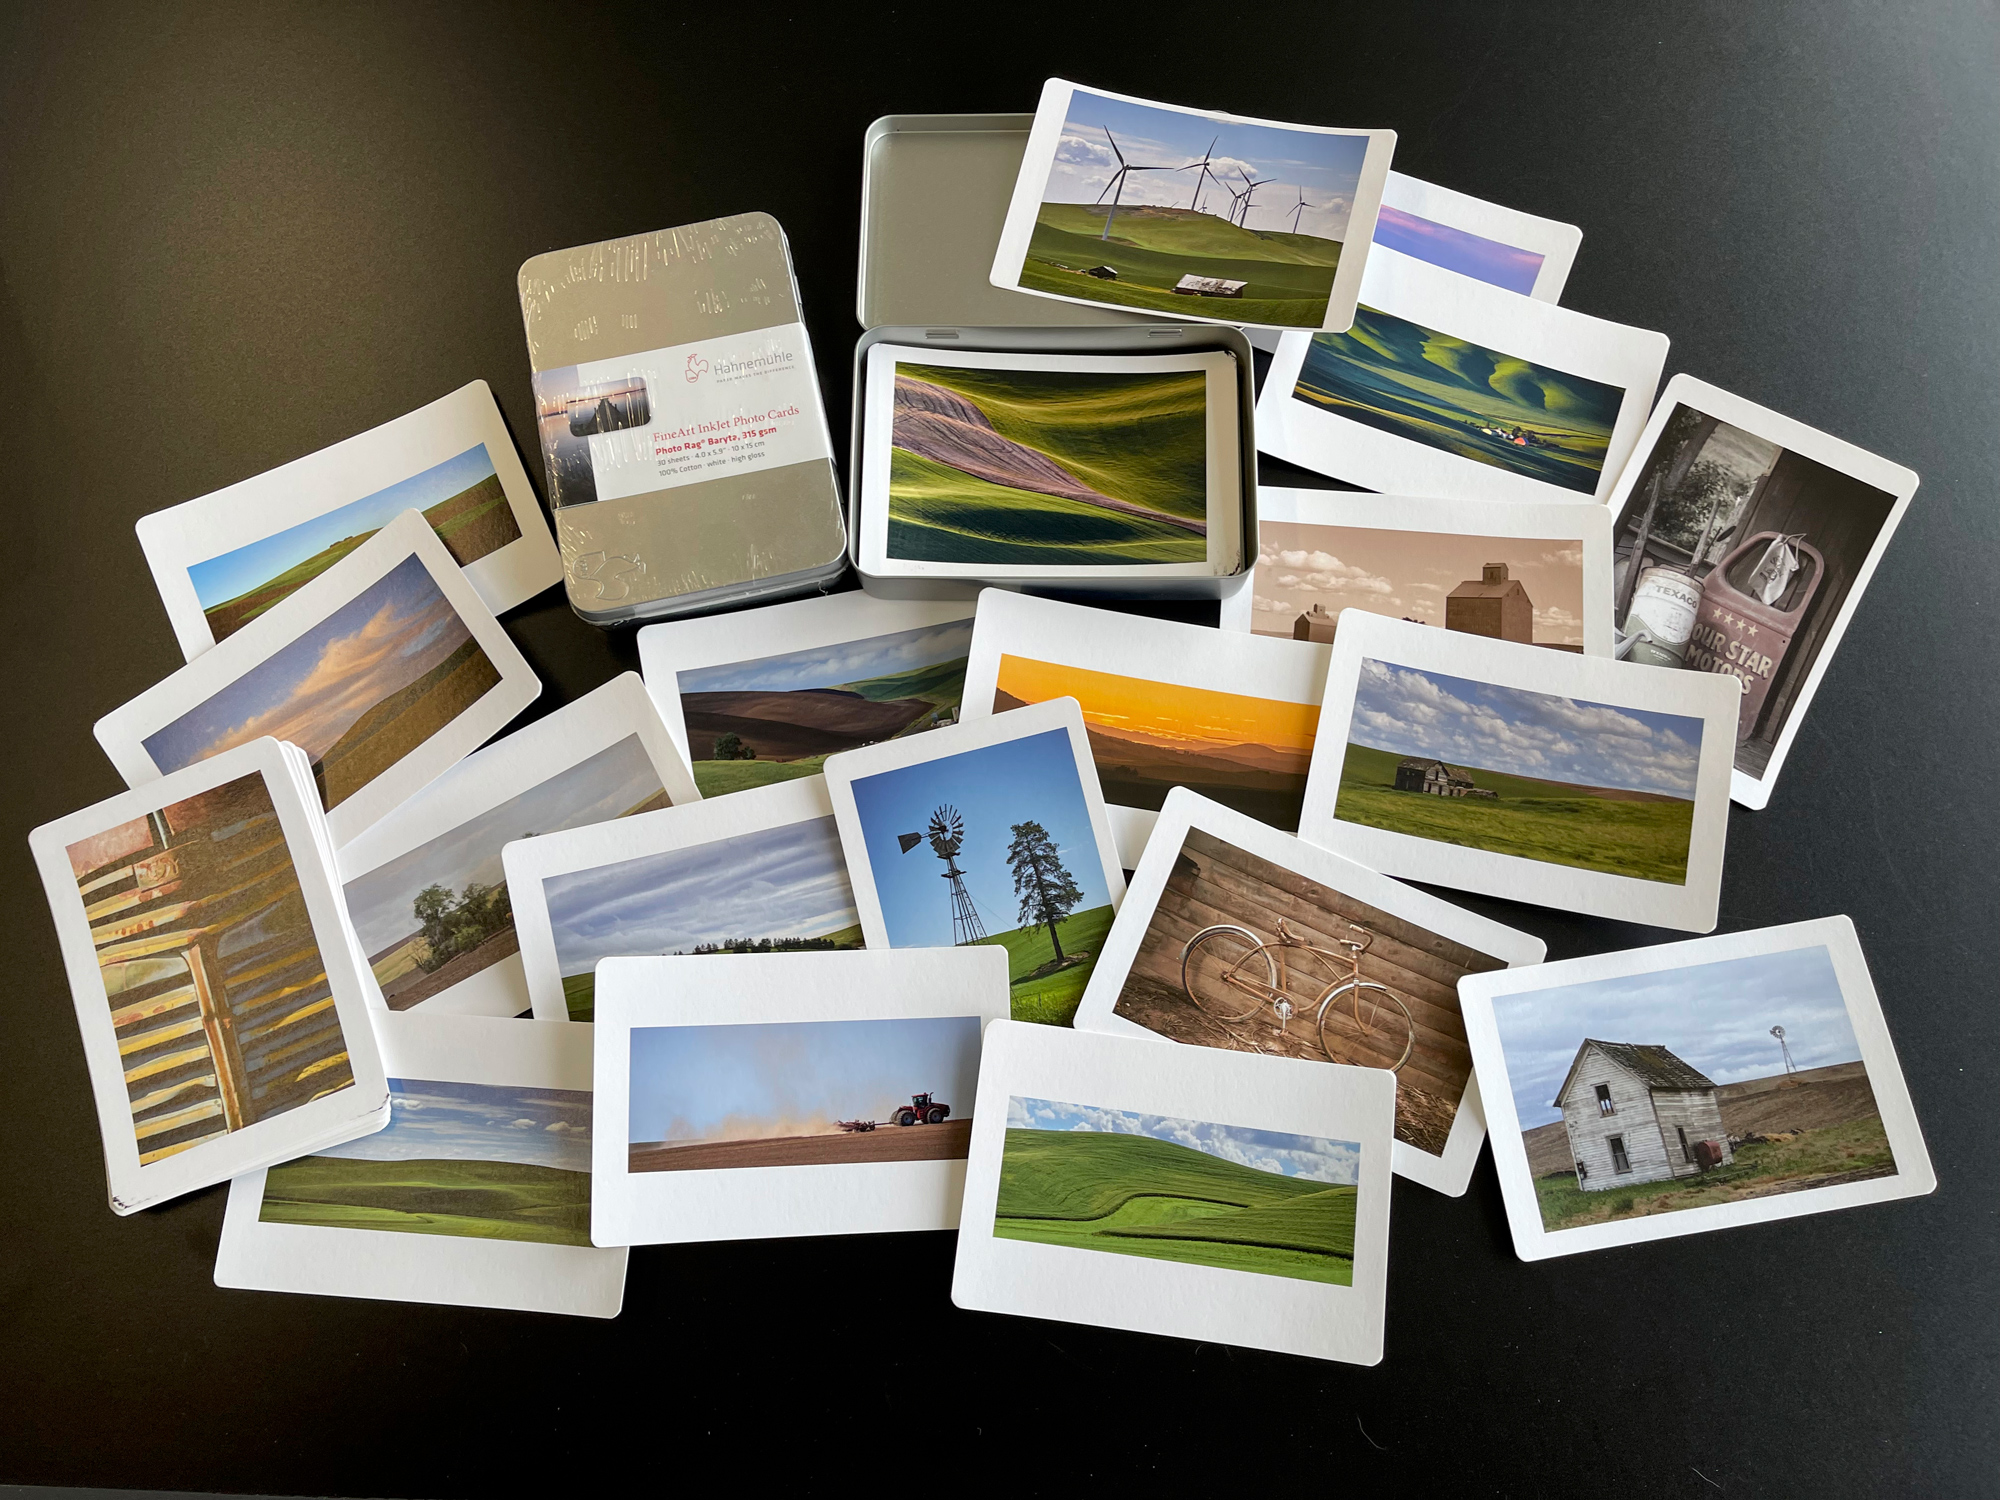
You can purchase these Hahnemühle Photo Rag Baryta Fine Art InkJet Photo Cards. HERE.
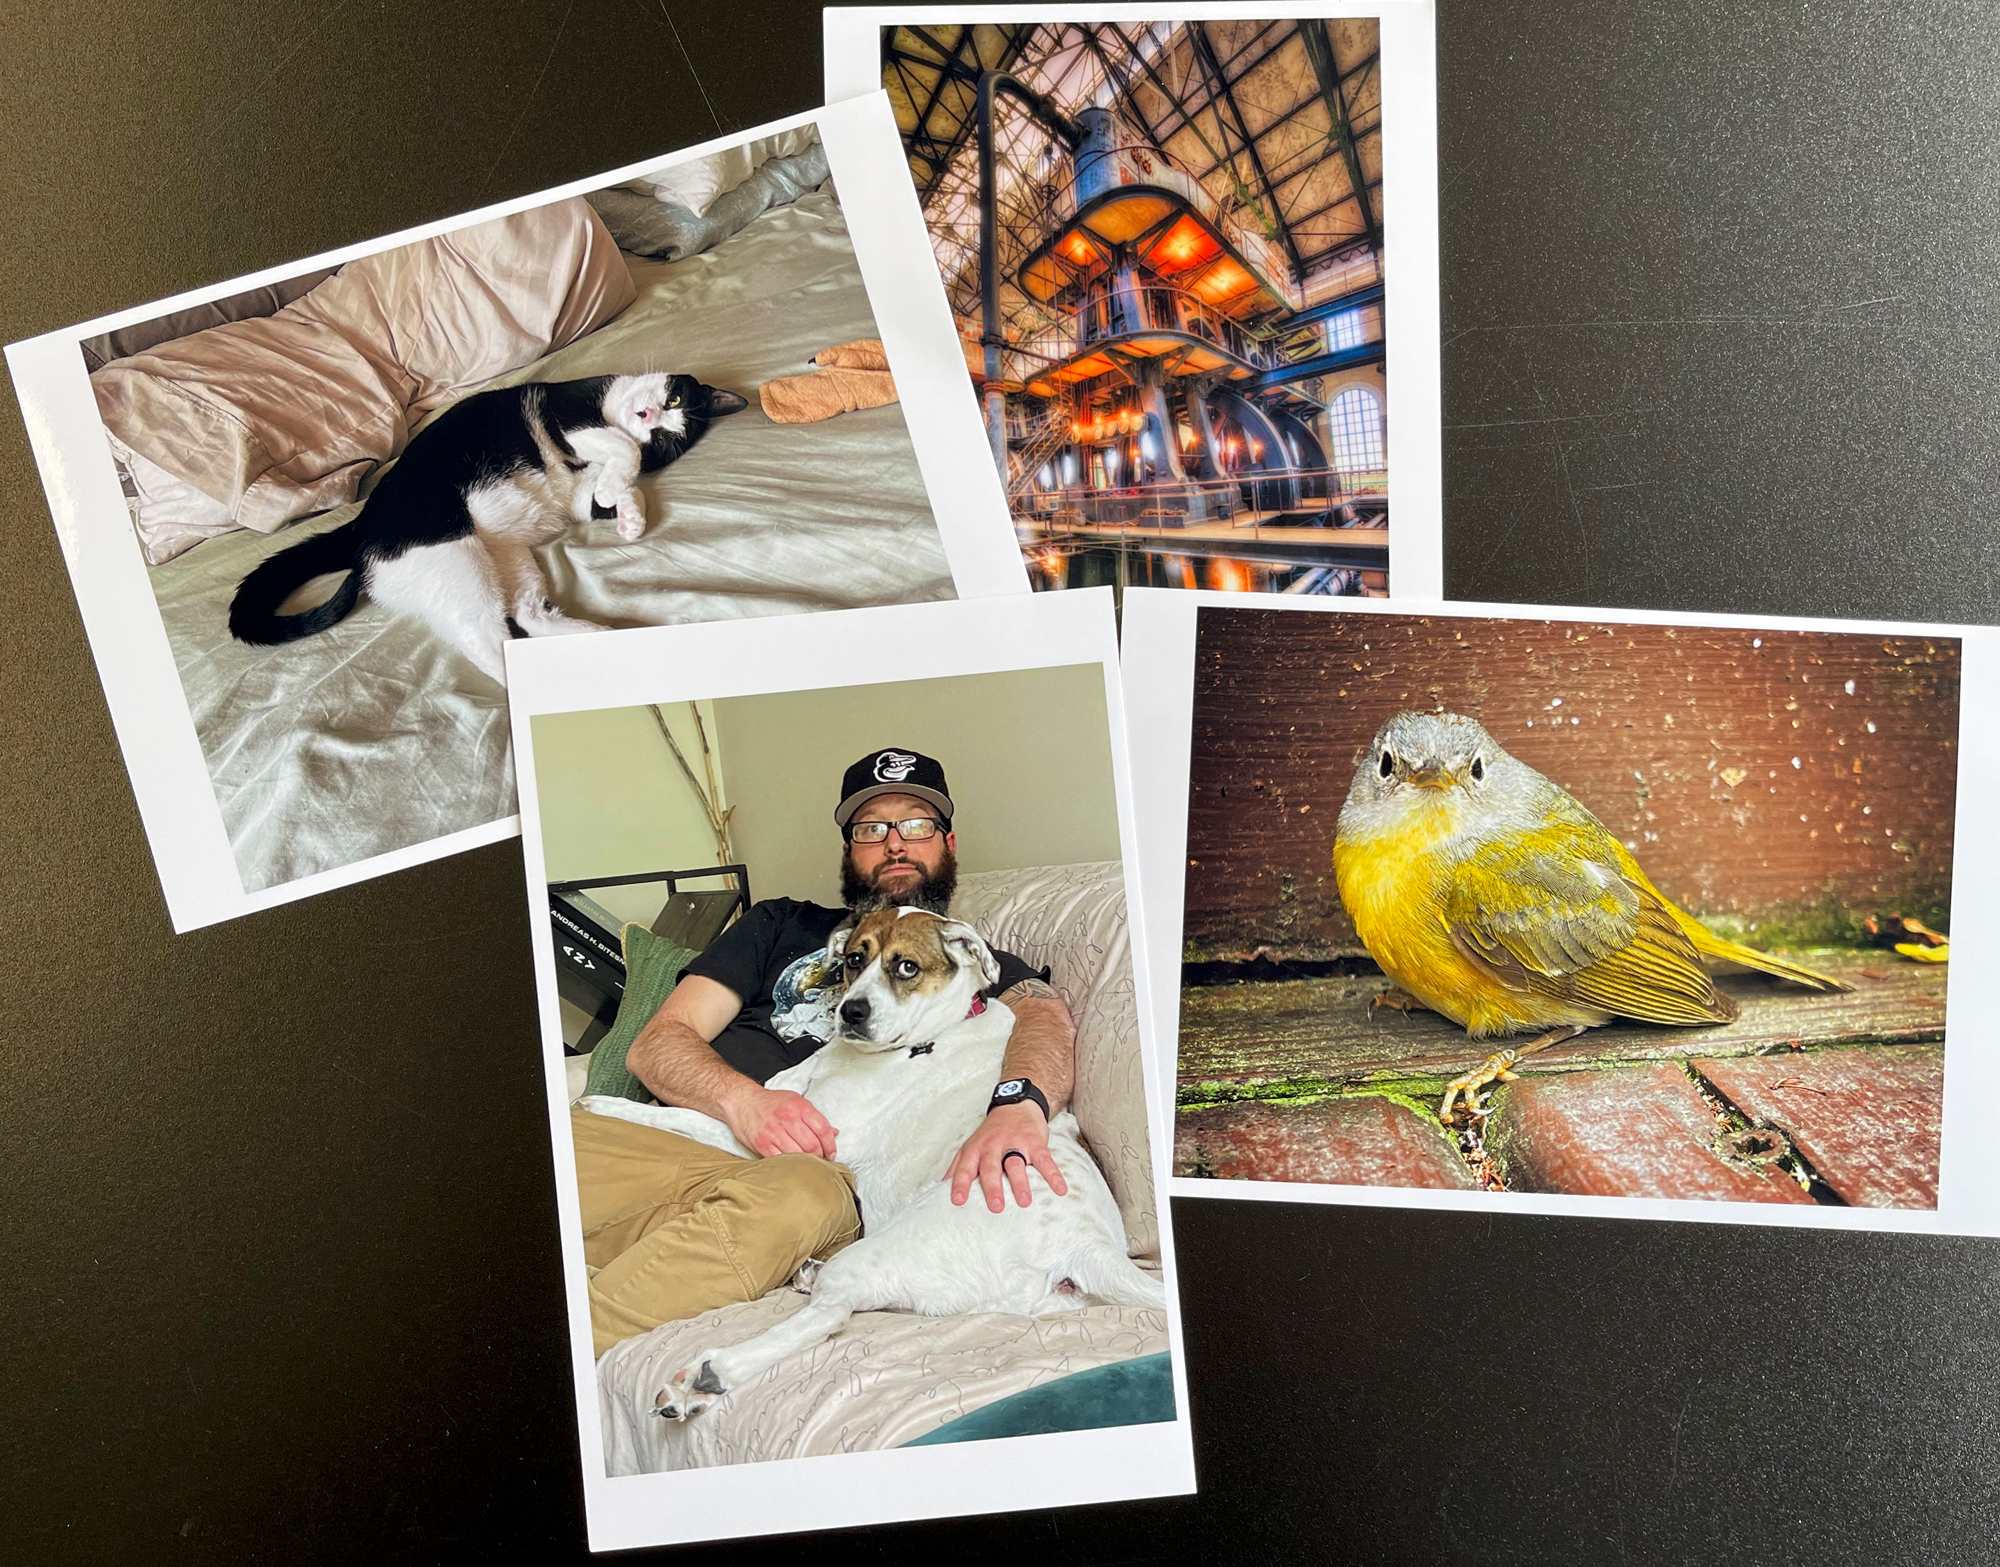
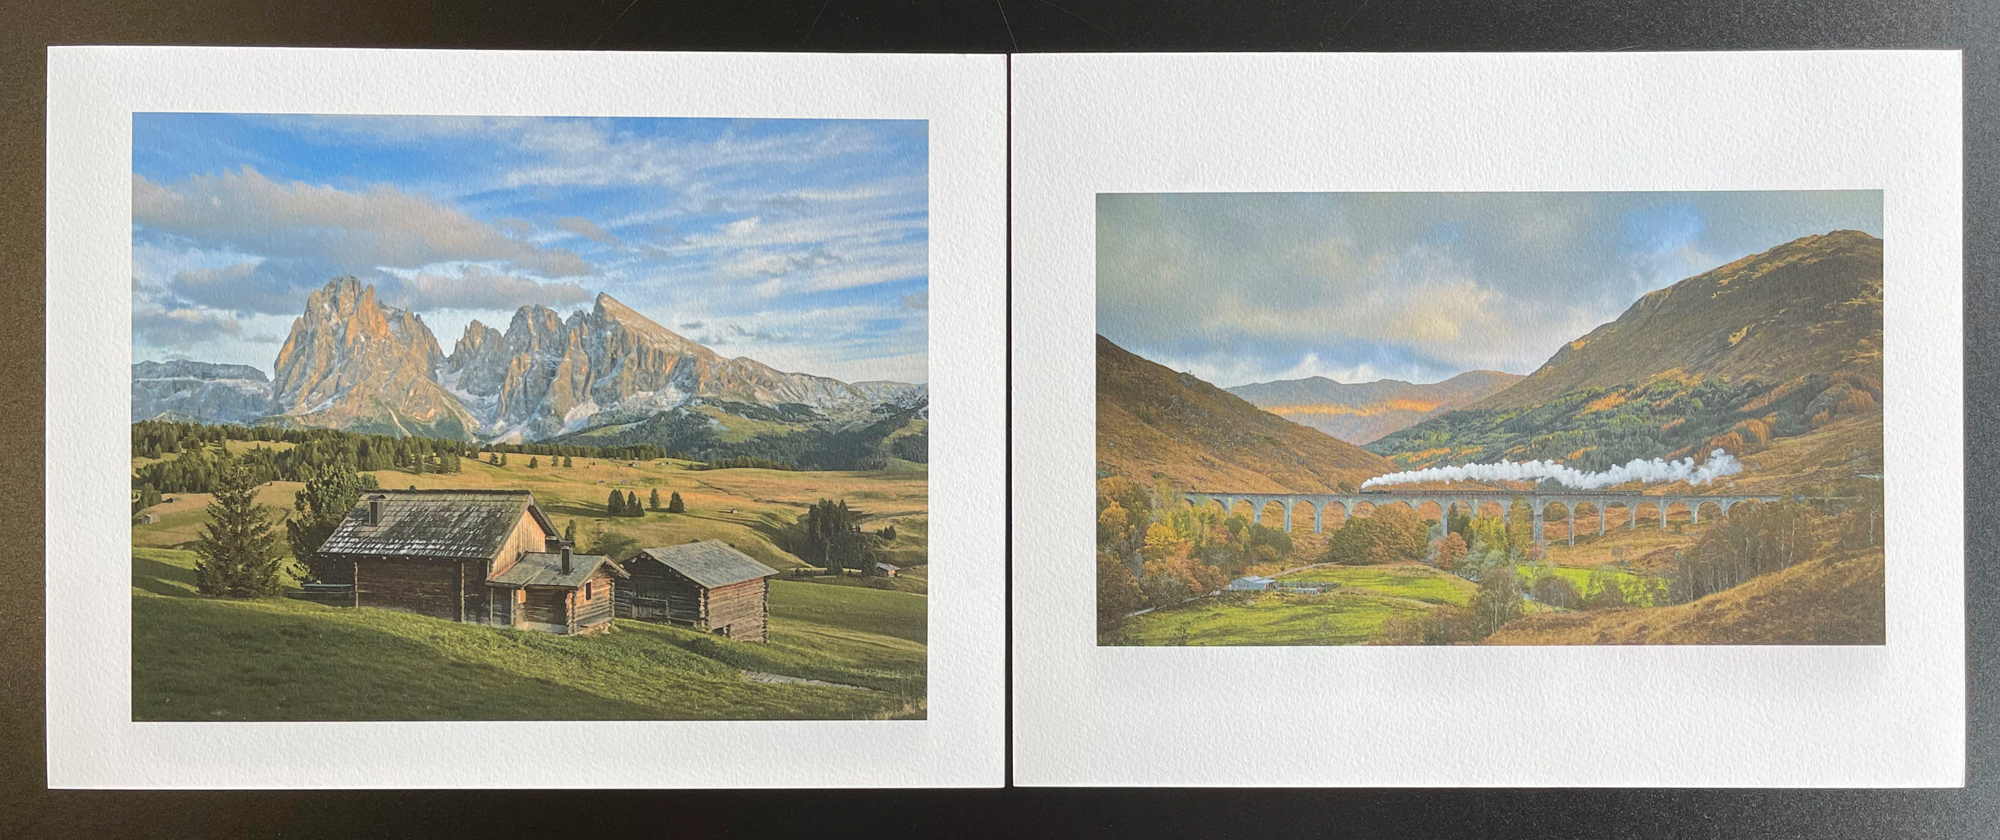
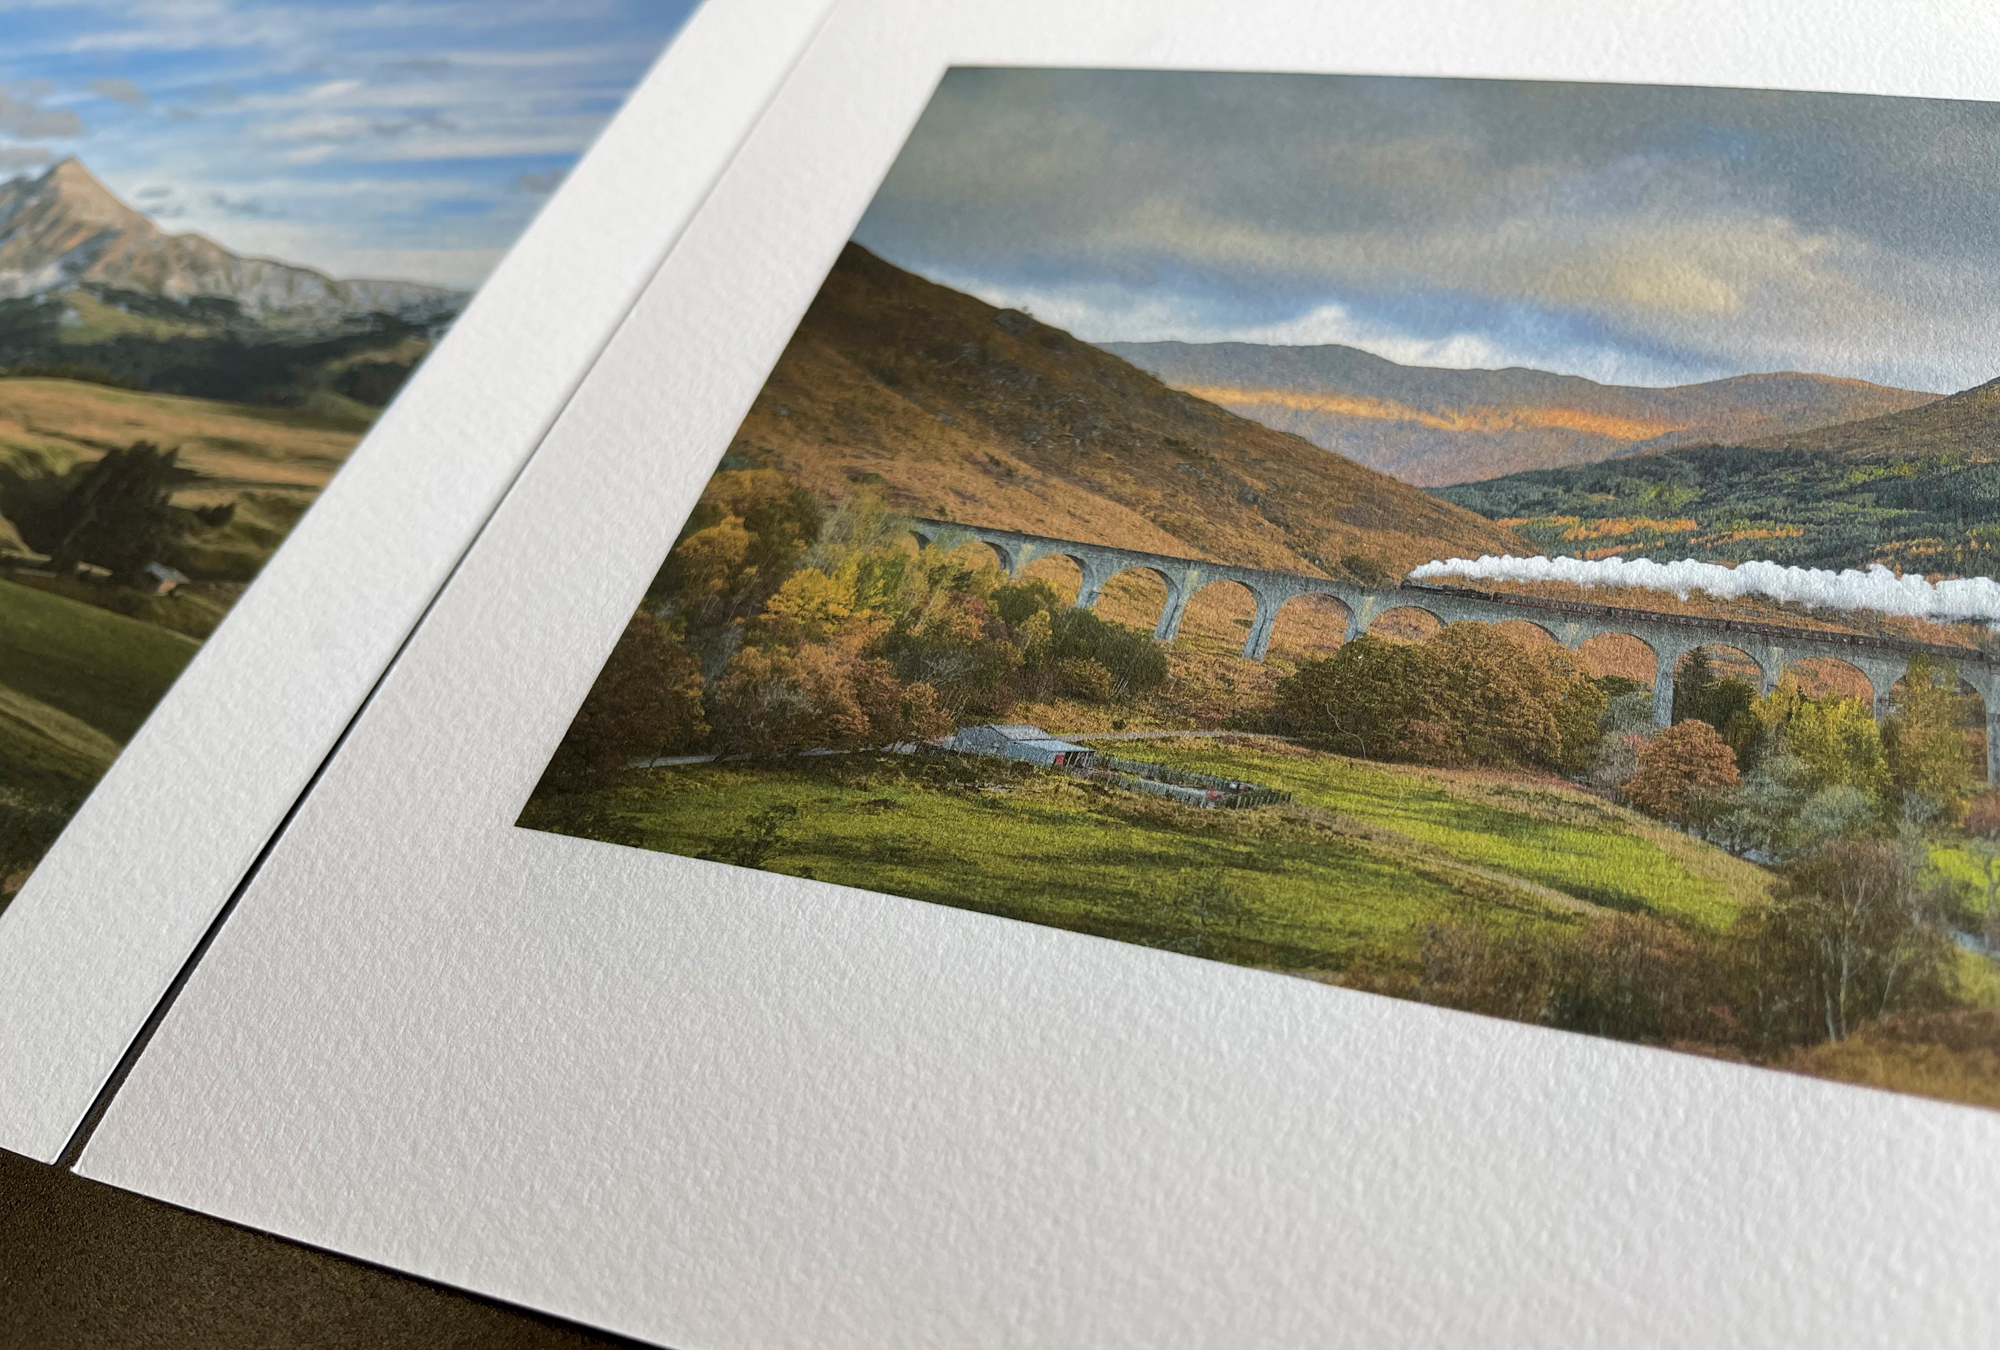
I repeated making prints not only from the photo app but also images I processed from Capture One. I printed on 8.5×11, 11×7, and 13×19 size paper. I printed most with borders, but I did try the borderless feature. Everything printed flawlessly and looked great. After an hour or so of printing, I had a pretty big stack of prints.
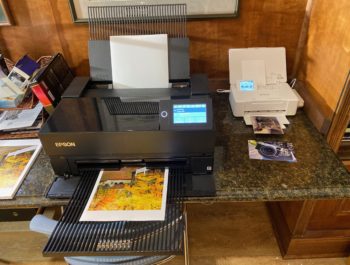
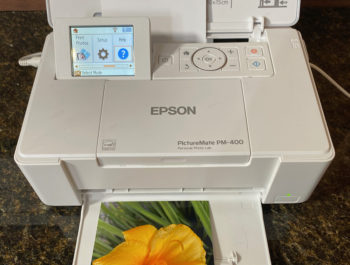
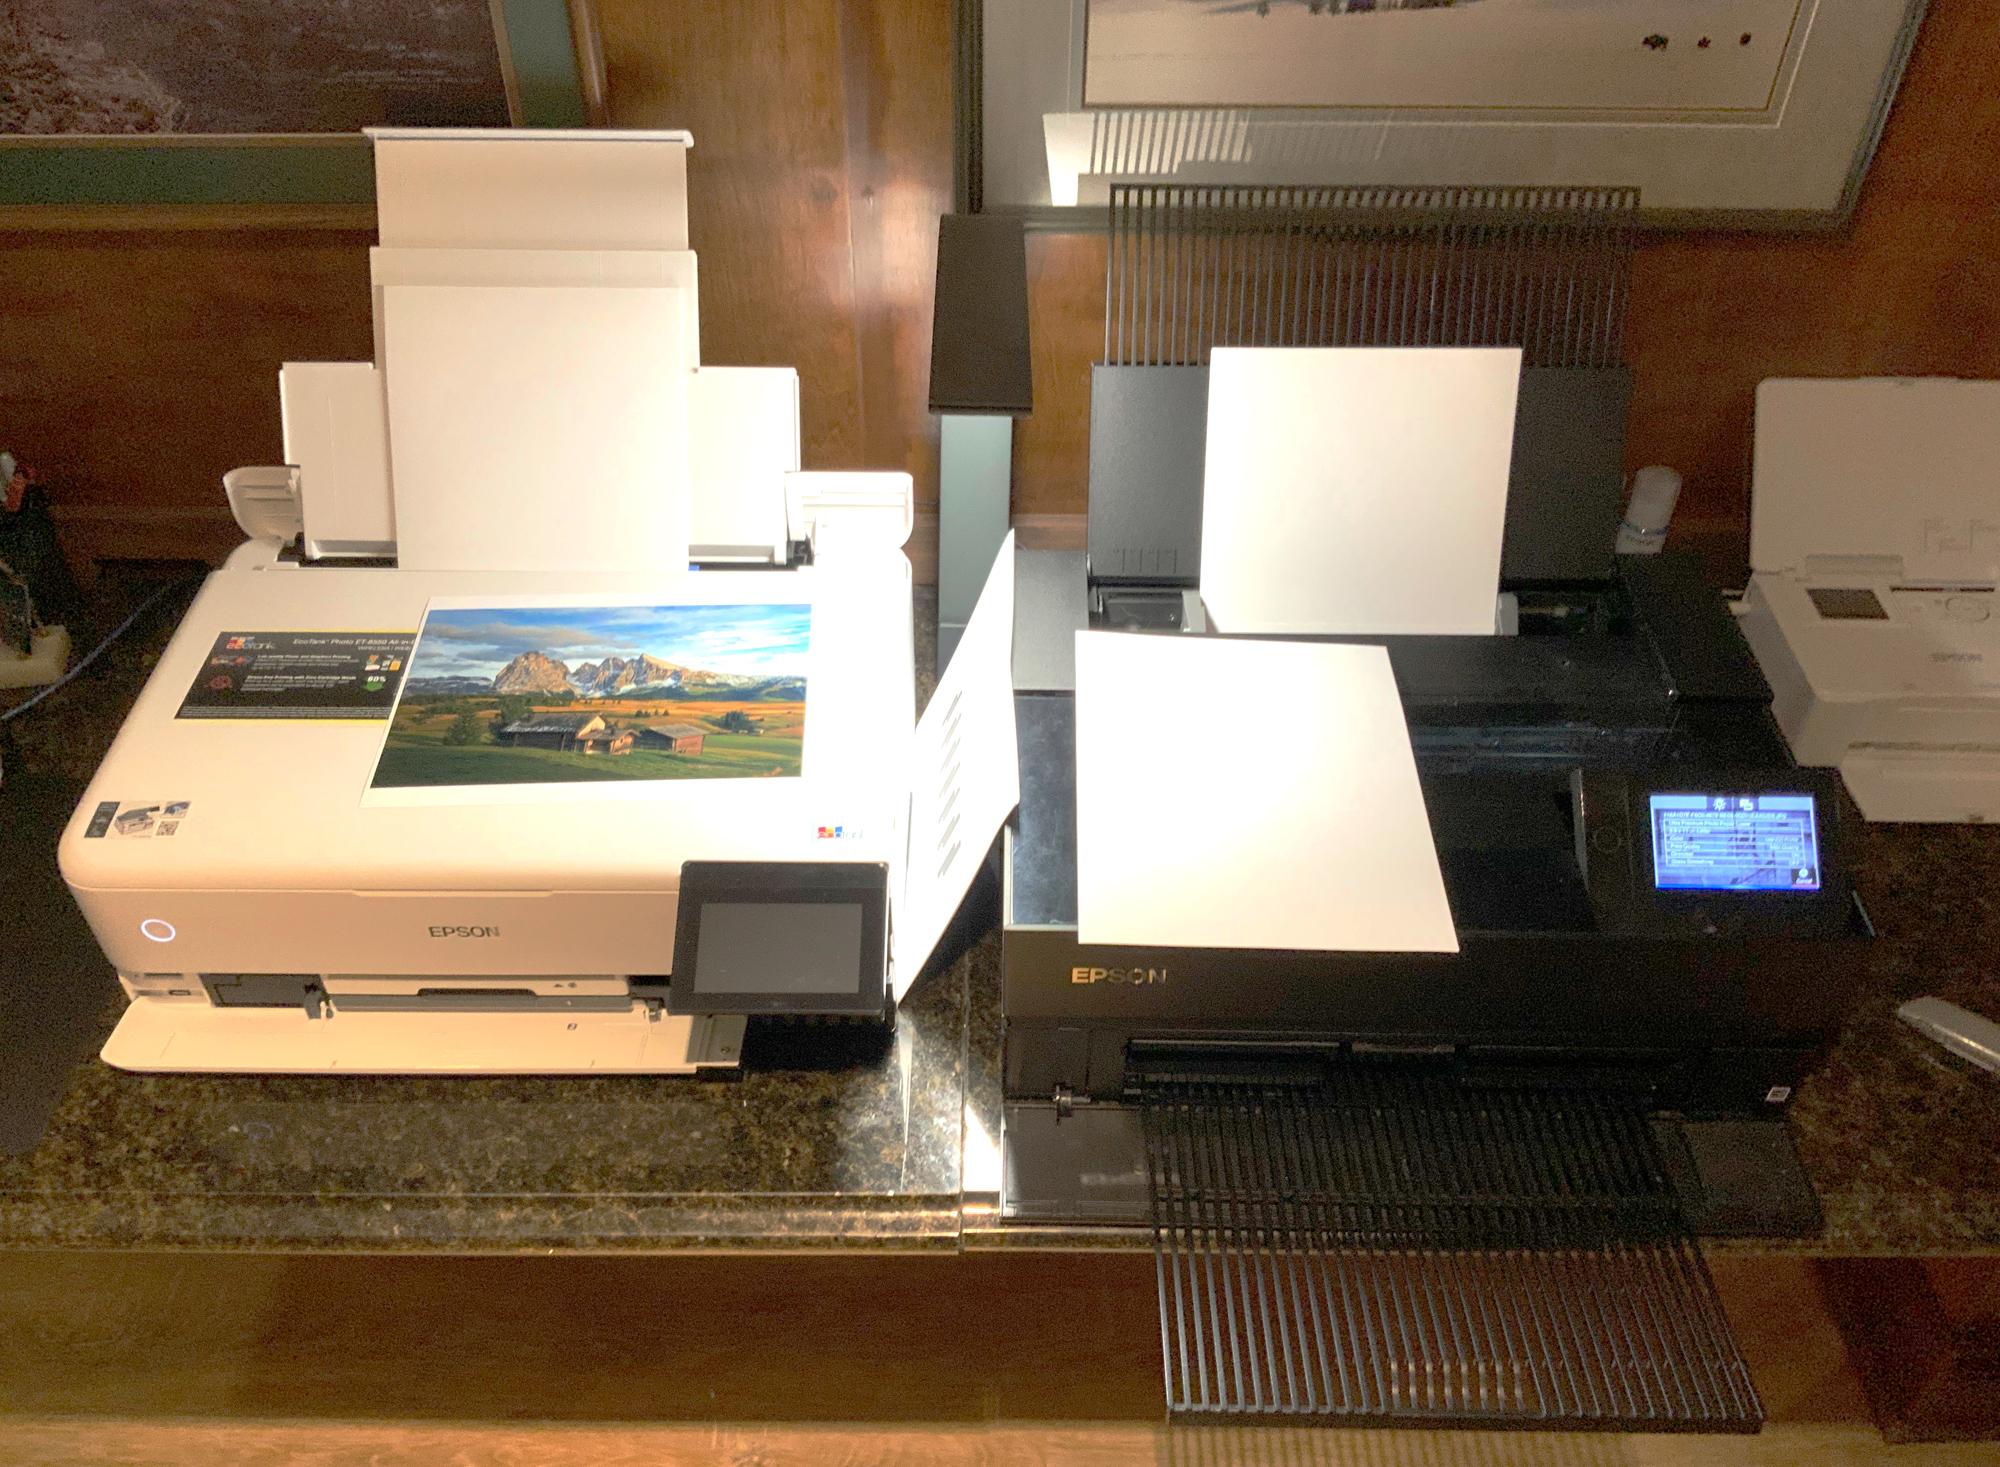
It was time for some serious color and print evaluation, so I called my wife Debra into the mix. She can be pretty critical and is kind of a perfectionist. She loved what she saw, and started to ask about what the differences were between the RT-8550 and the P700 printer sitting next to it.
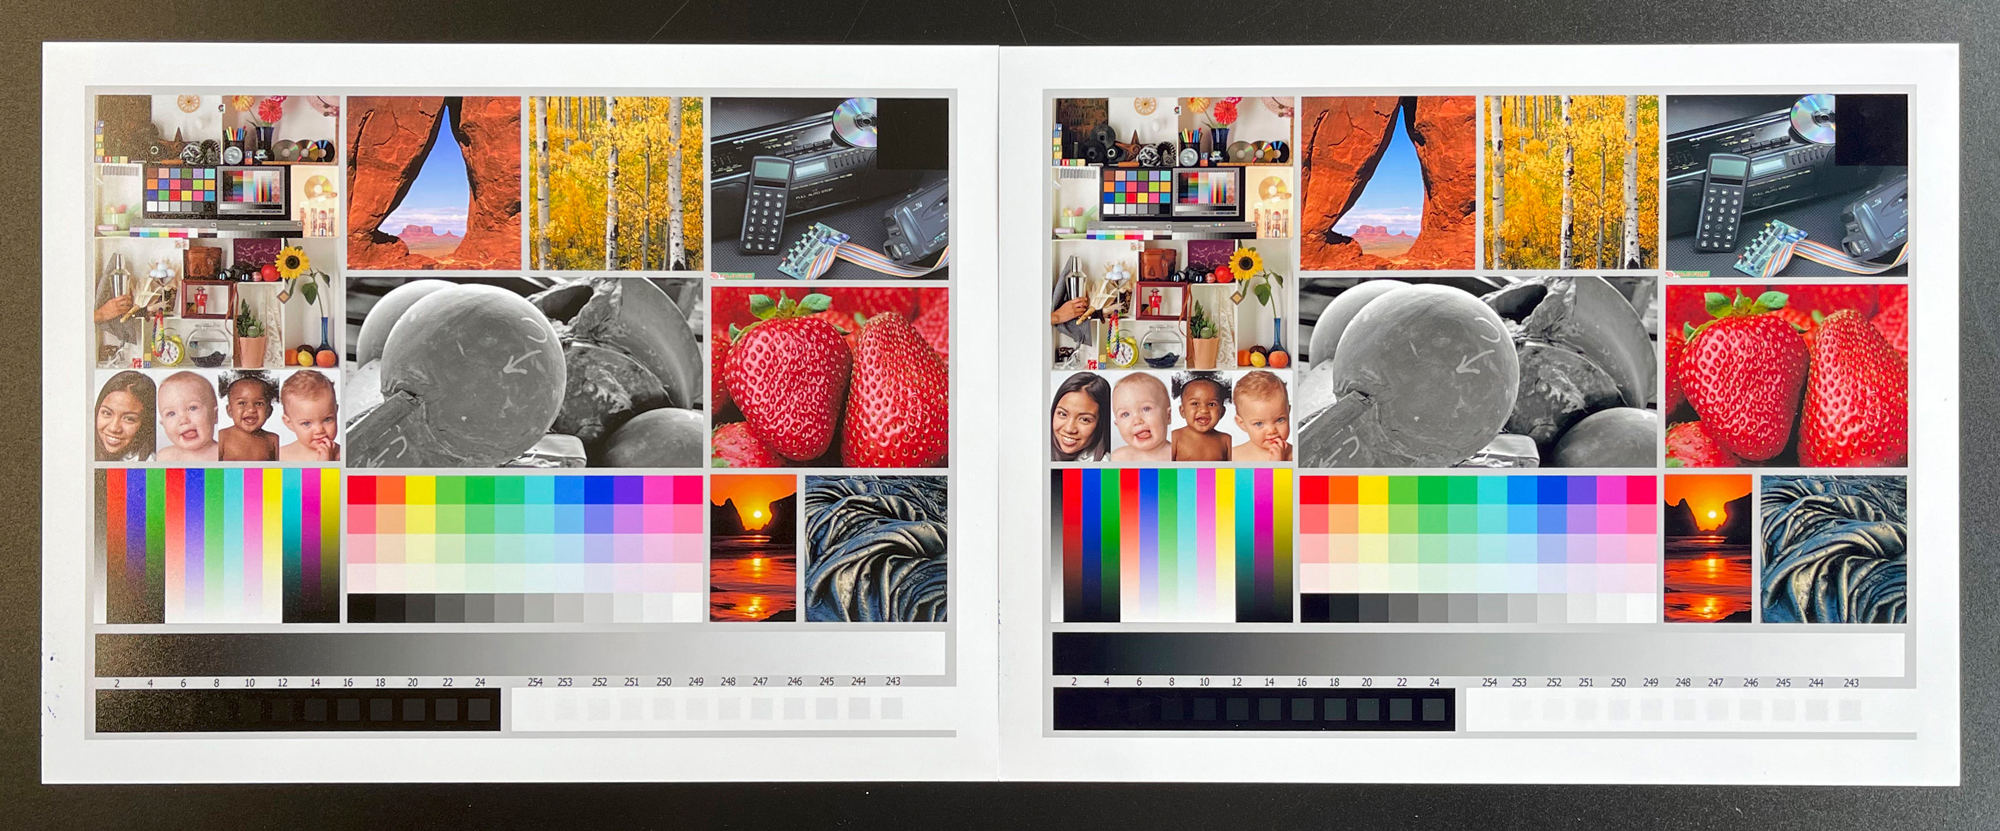
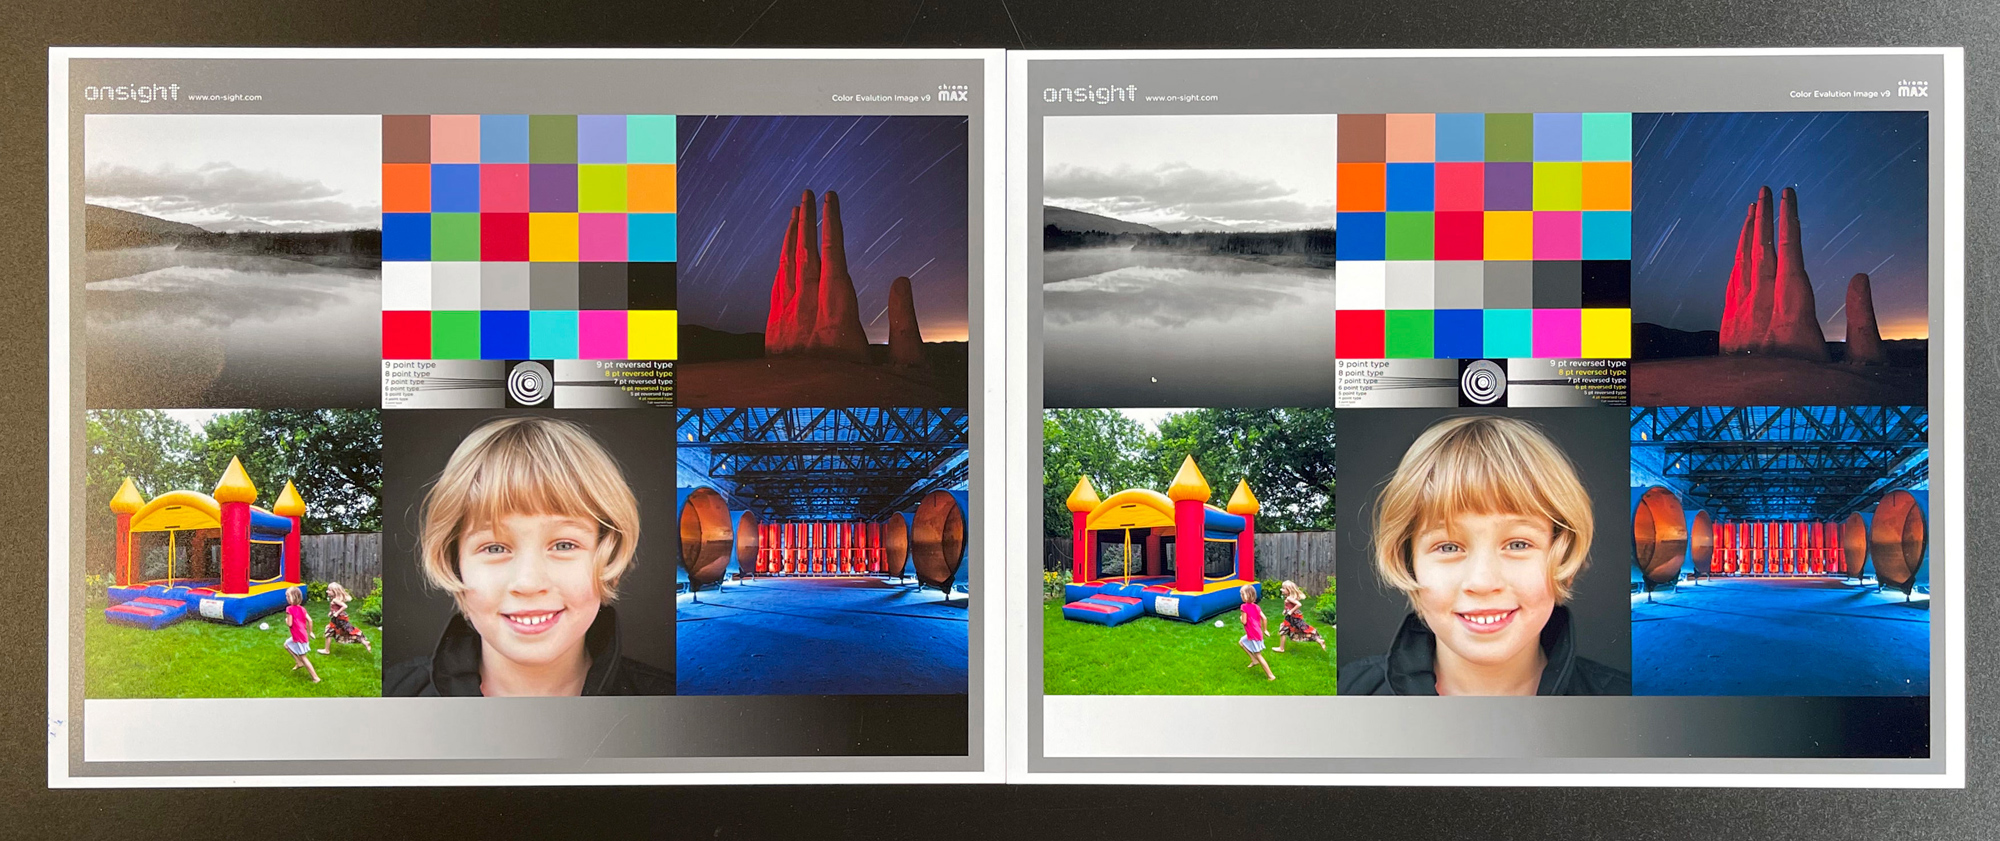
When I was in the lab business, I learned that one print on its own could look just fine; but when you compared it to other prints, the differences could be seen. This happened back when each of 9 labs would send in Shirleys (as they were called). Each of the Shirleys looked great until you put them side-by-side, and then you could see differences.
I took around 10 files, some of them actual printer color test files, and sent them through EPL to the ET-8550 and the Epson P700. I marked the back of each print with the printer used. I then started sharing them with friends who would come to the studio and see the printed images on the table.
First, there was little difference, if any, visible between the prints (Note: they were all made on Epson Premium Lustre paper). Also, when push came to shove, more people choose the ET-8550 prints than the P700 prints, which was quite astounding. Keep in mind finding any differences was very difficult. Would the prints from the P700 look any different if printed through a different app, such as ImagePrint? I don’t know.
I later did a test printing through Photoshop, and the prints looked almost identical to those printed through EPL.
Different Paper Surfaces
I printed on Epson Ultra Premium Luster, Premium Paper Photo Glossy, Velvet Fine Art, and Exhibition Canvas Satin papers. They all looked great. I must note, though, that the Velvet Fine Art paper showed the prints as rather flat. Of course, this is the nature of the paper, but frankly not to my liking. Glossy and Ultra Premium Luster worked best for me. These papers provide good contrast and vivid colors. For prints on my P700, I usually use Canson Infinity Baryta Photographique II or Hahnemuhle Photo Rag Baryta. These are more expensive papers, but by the time I get to use the P700 or my studio printers, I am making portfolio prints with archival quality.
I also used plain letterhead inkjet paper in the paper cassette for copying and printing documents such as emails. Remember, this is just not a photo printer.
Printing From The Control Panel
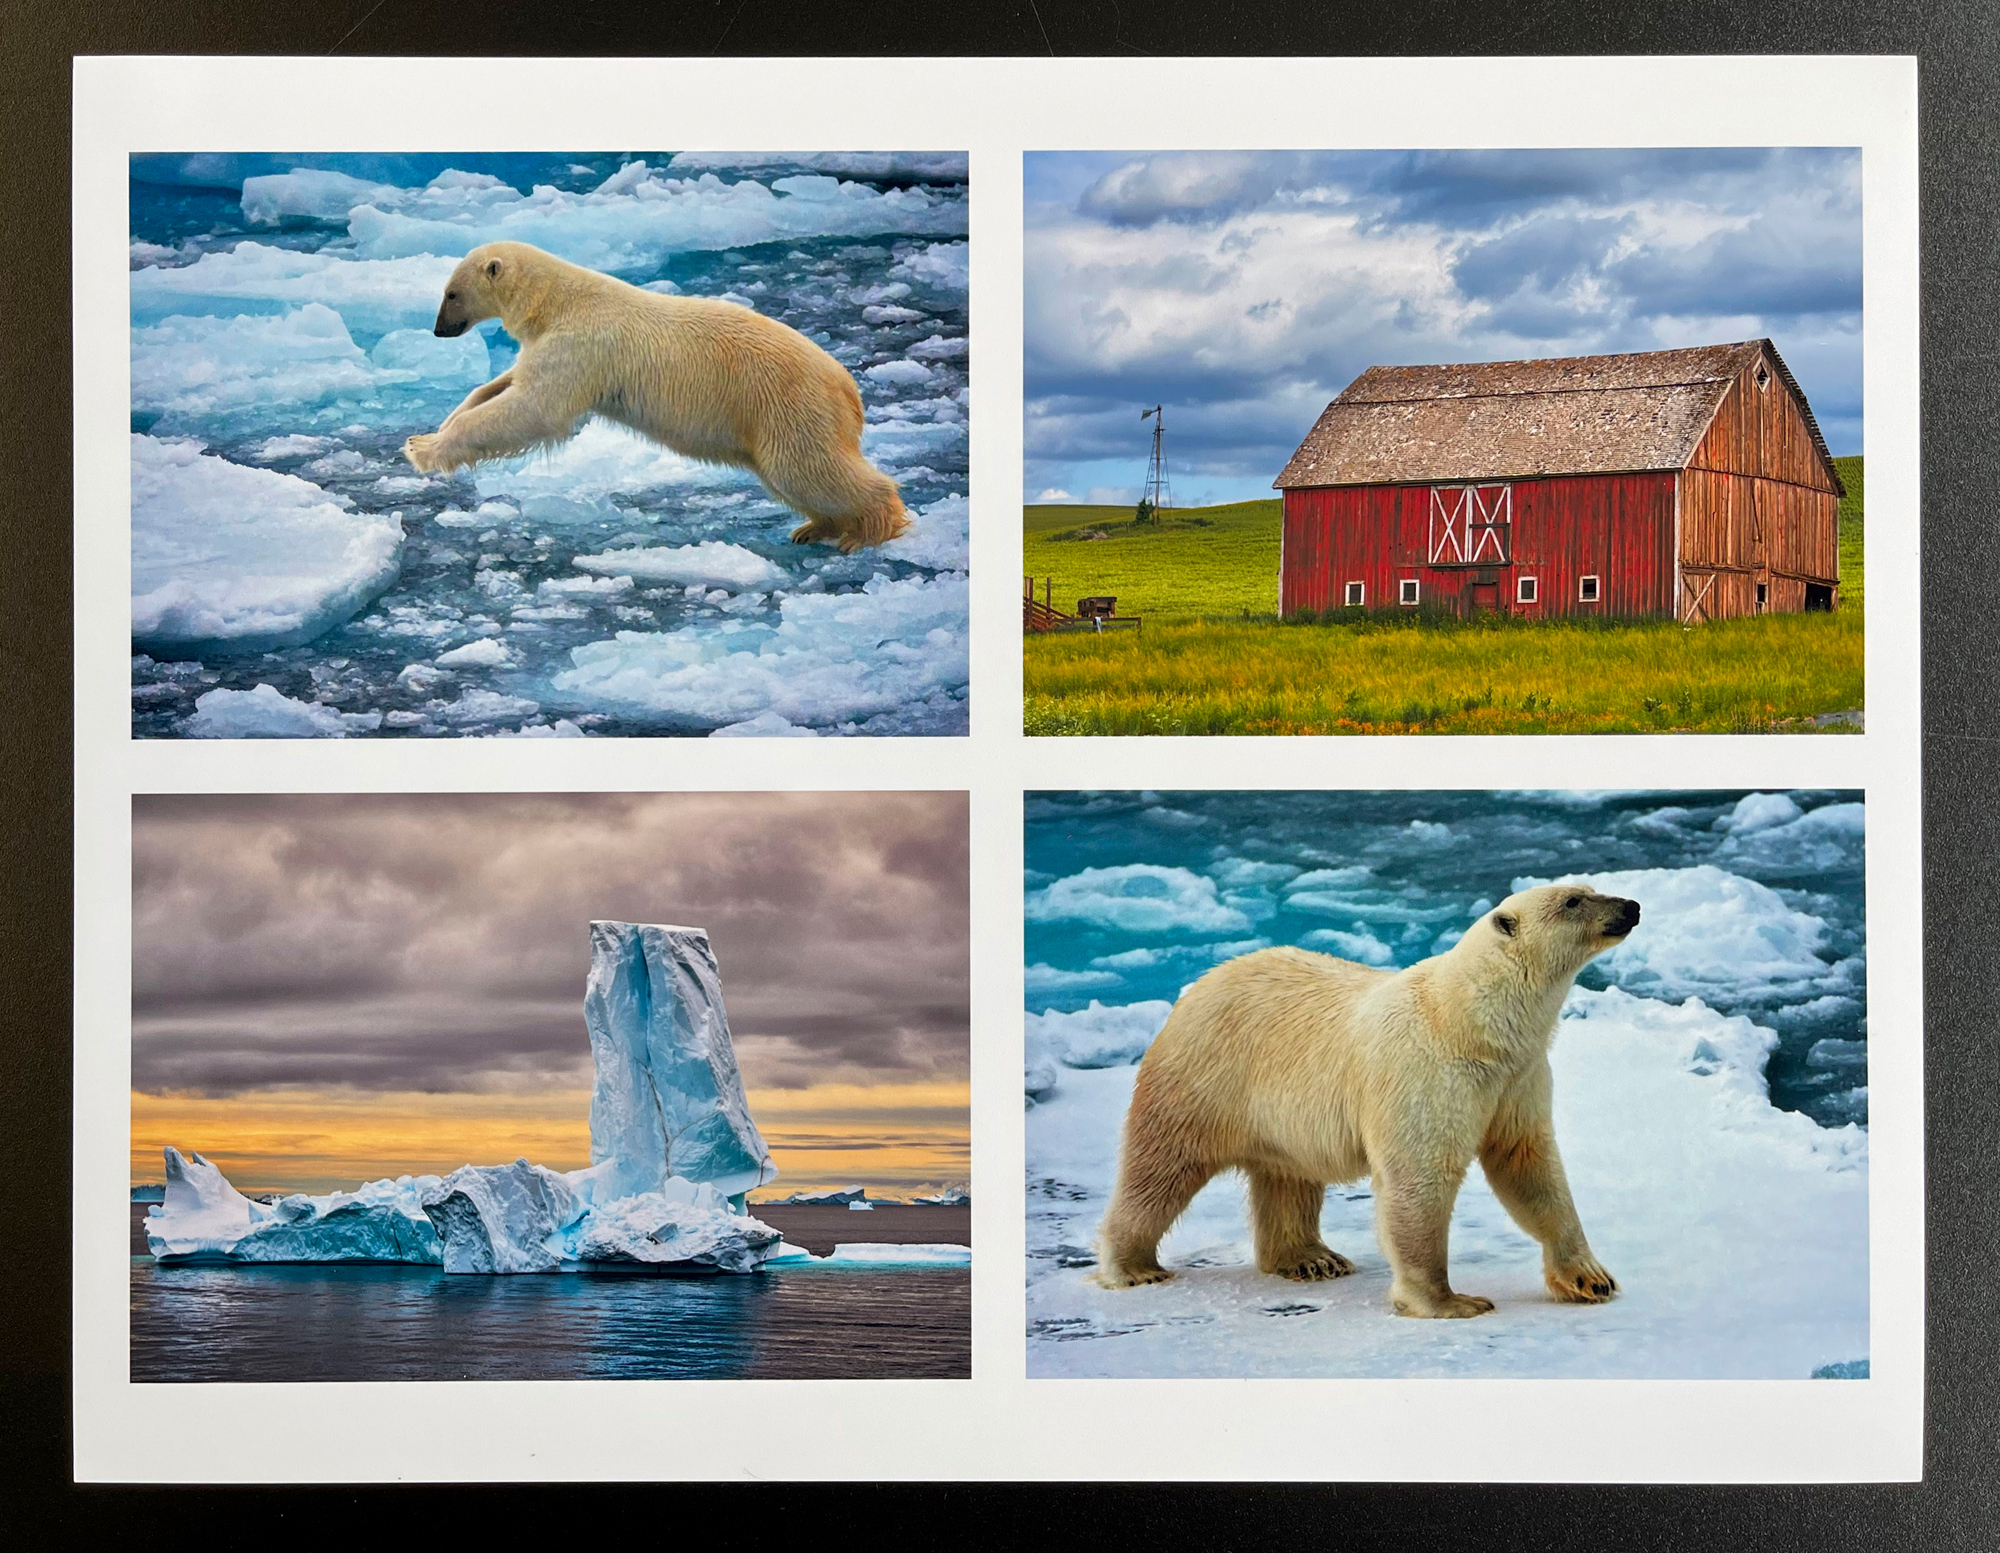
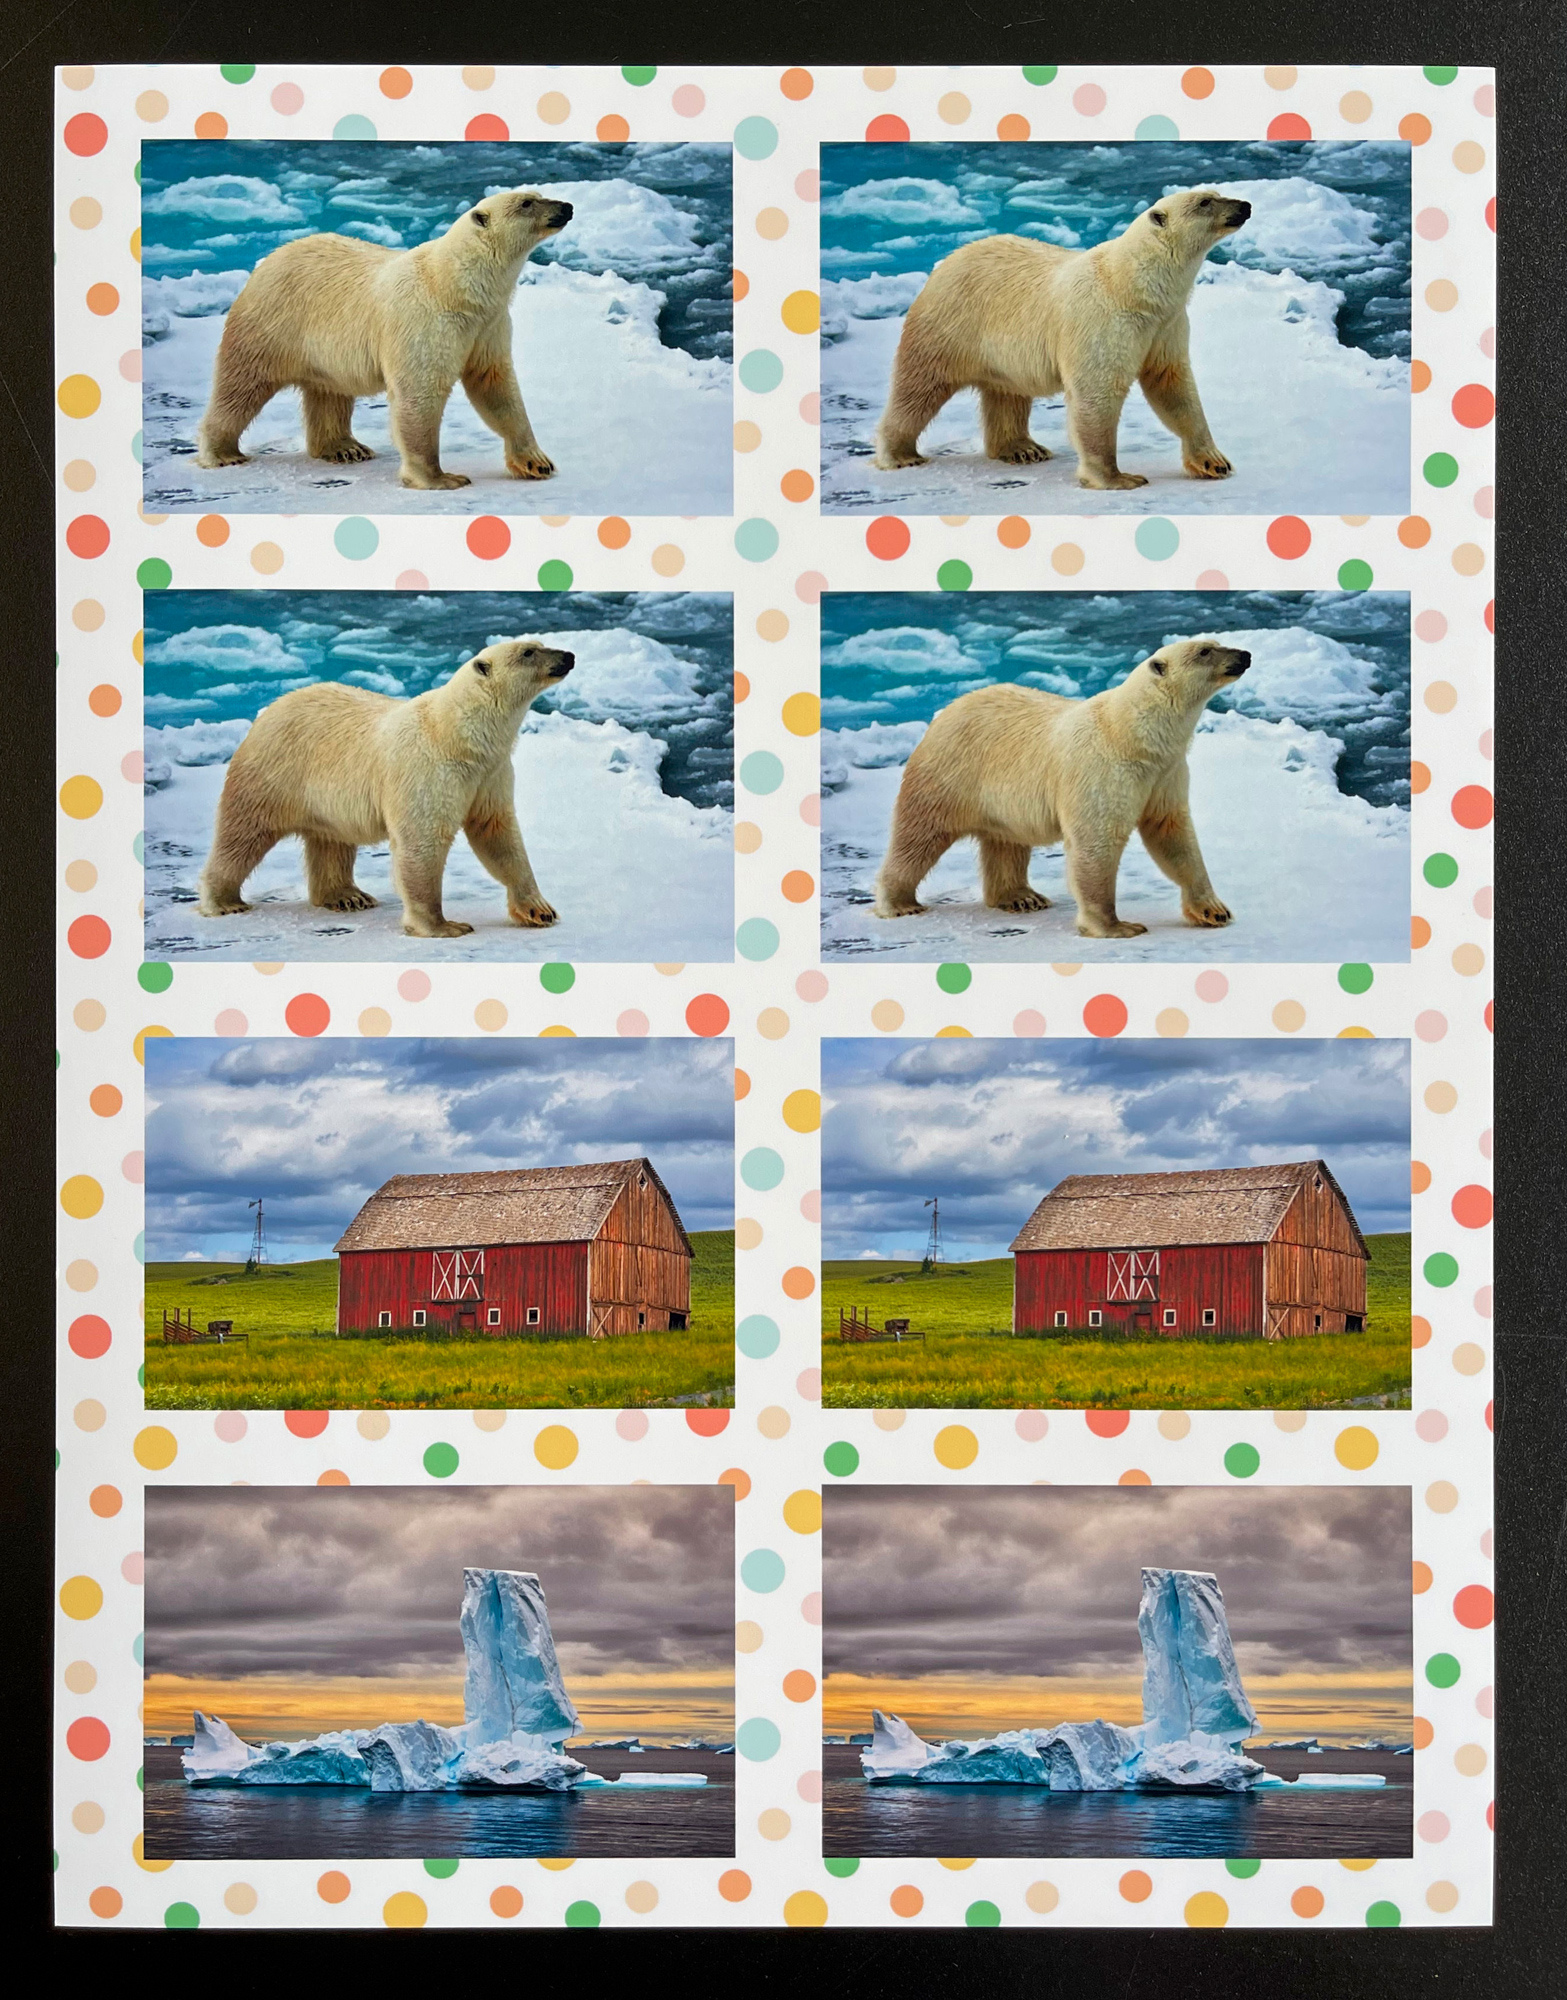
Now, this is something I most likely wouldn’t do, but there is an option to print from a USD stick or CF card directly on the printer. By doing so, you can select images to print; or if you want, you can take advantage of a number of templates that are available. I use the calendar templates to test things out, as well as a collage template. For some, this may be something you might want to play with.
Scanning and Copying

Copying works great. I tried a few copies and had no issues. I also scanned to files with no issues. The cover lid for the scanning area is double-hinged, so it can accommodate small books or thicker items.
While I won’t be using these features regularly, they are just one more reason that the value of this printer is so great.
Can It Do Panos?
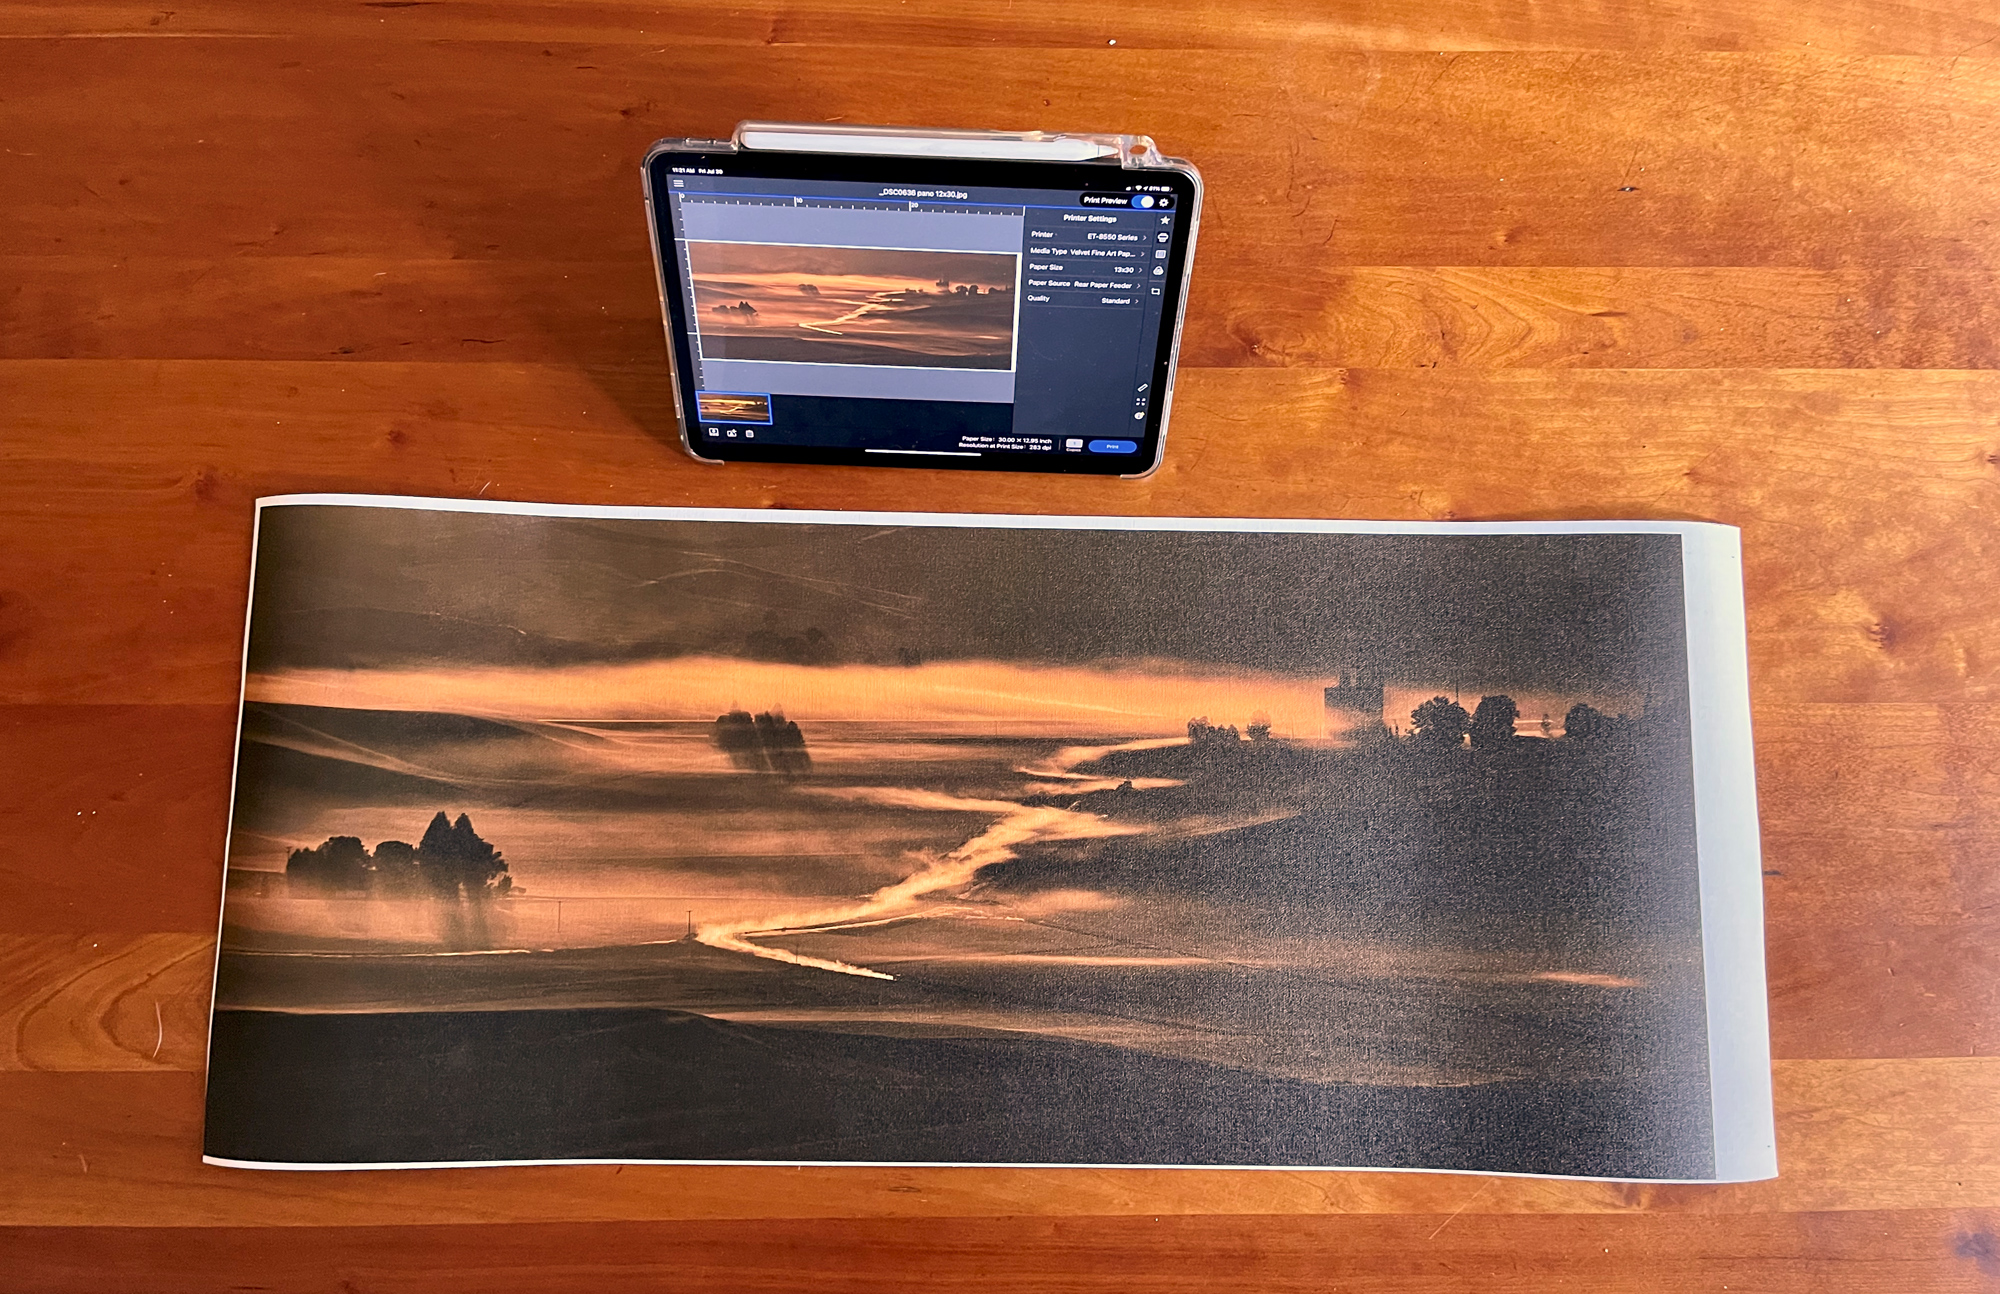
Well, good question. The ability to make panorama (pano) prints is not on the spec sheet. However, Epson Print Layout allows you to make panos in the layout of the app. Also, there is no roll feeder for this printer, which is usually how paper is fed into a printer to make a pano.
Epson probably doesn’t like me for doing this, and will say something like “you do it at your own risk,” but they might like me because I know a few people that will buy this printer if they know they can make the occasional pano print.
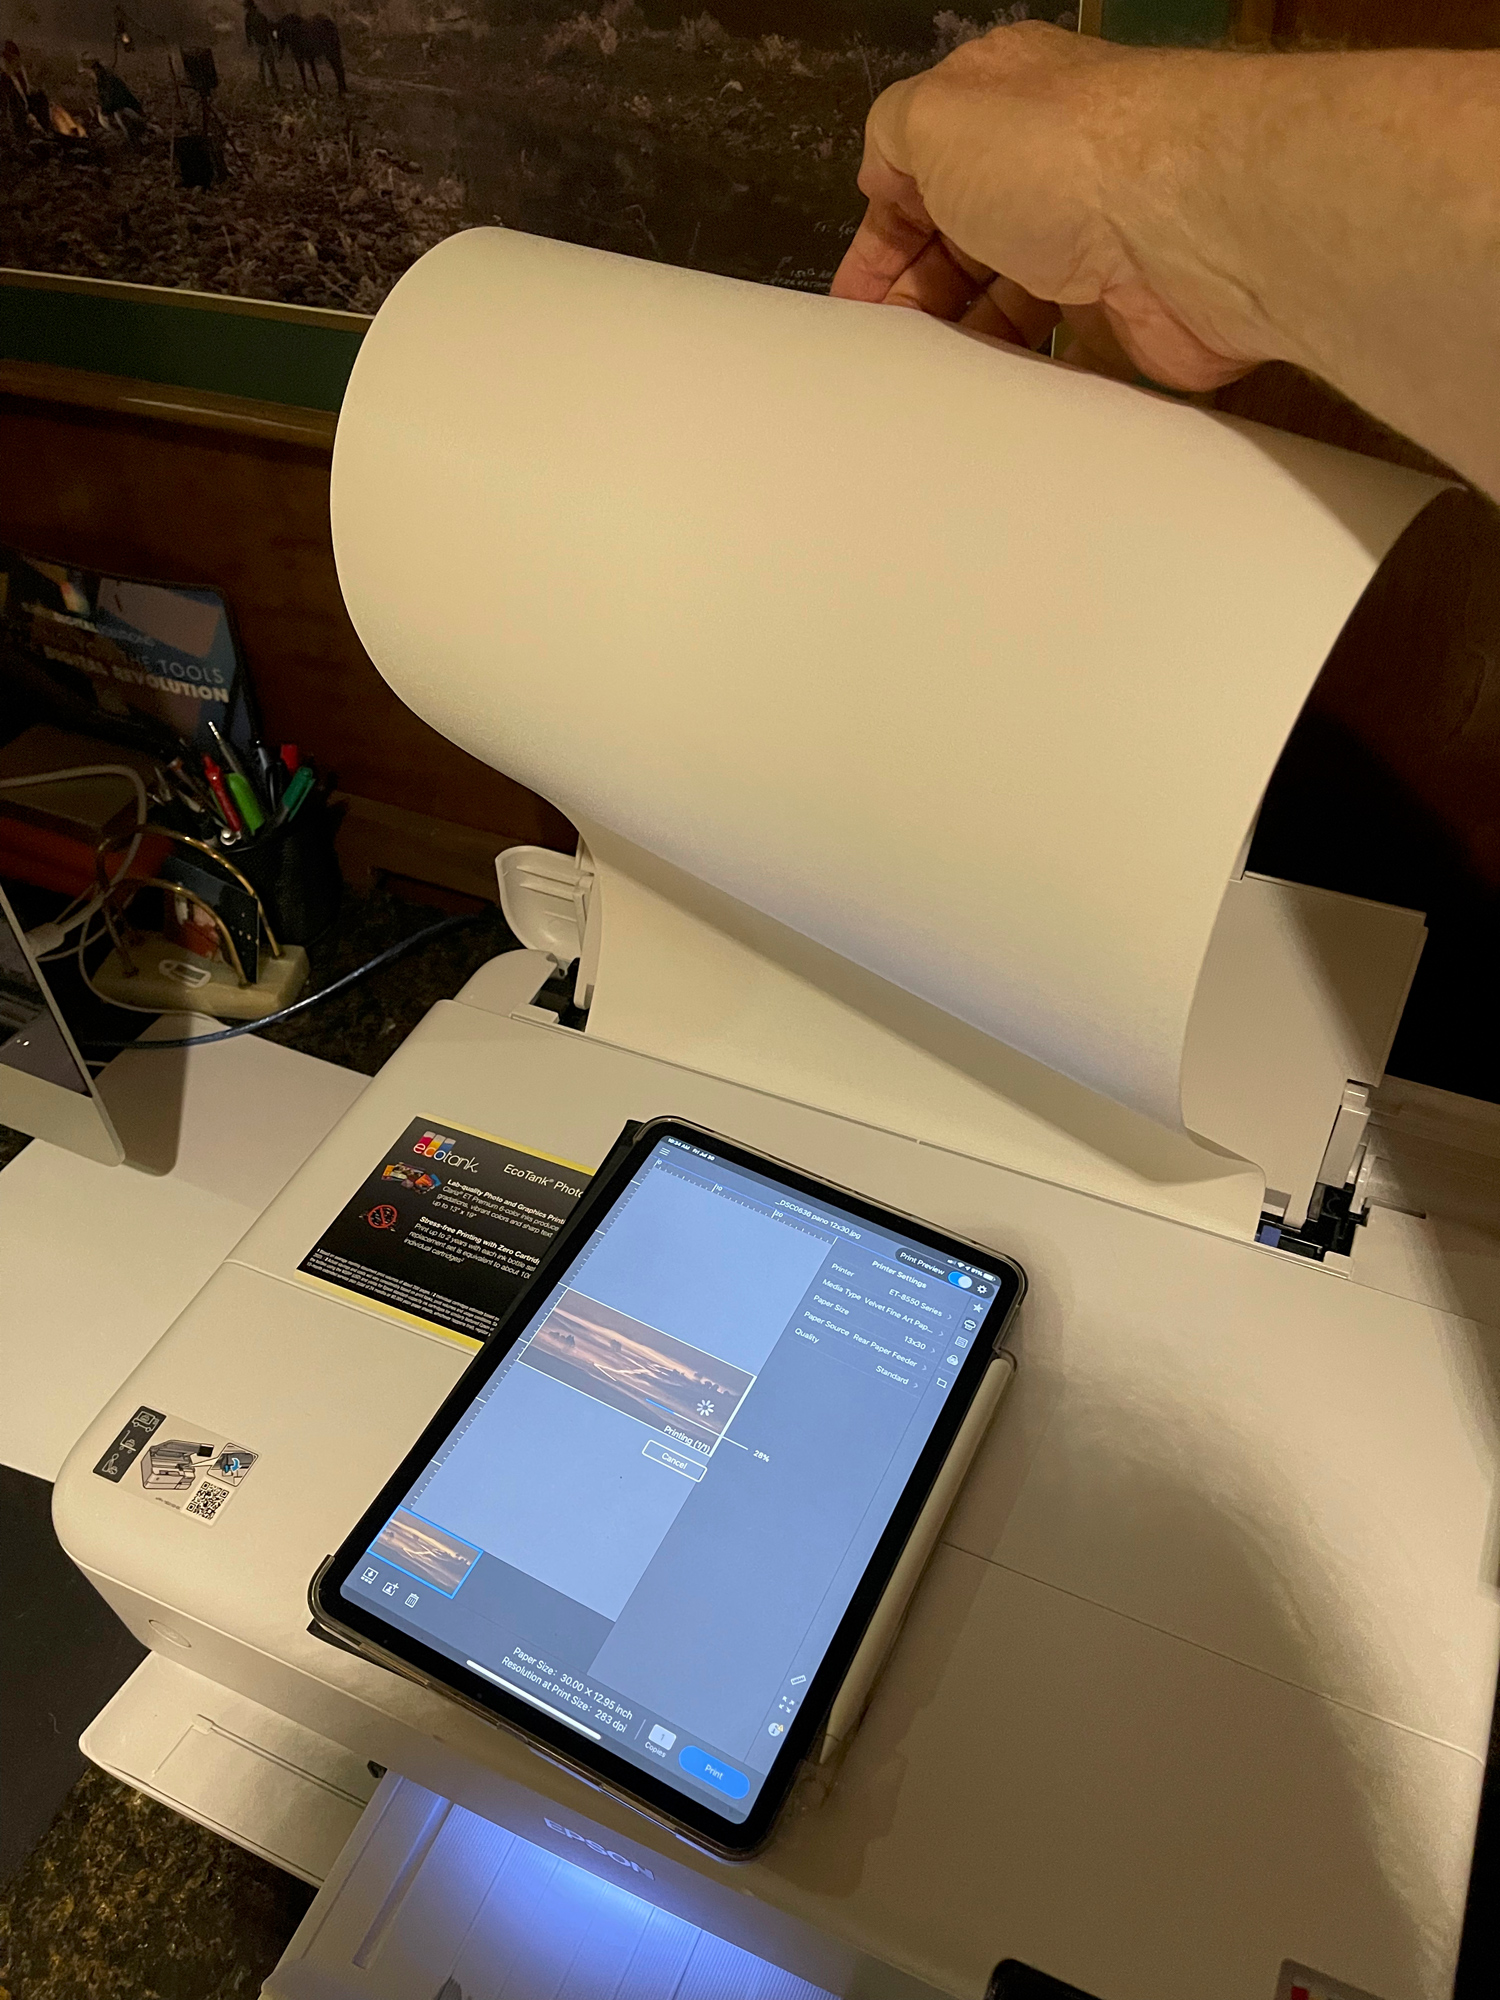
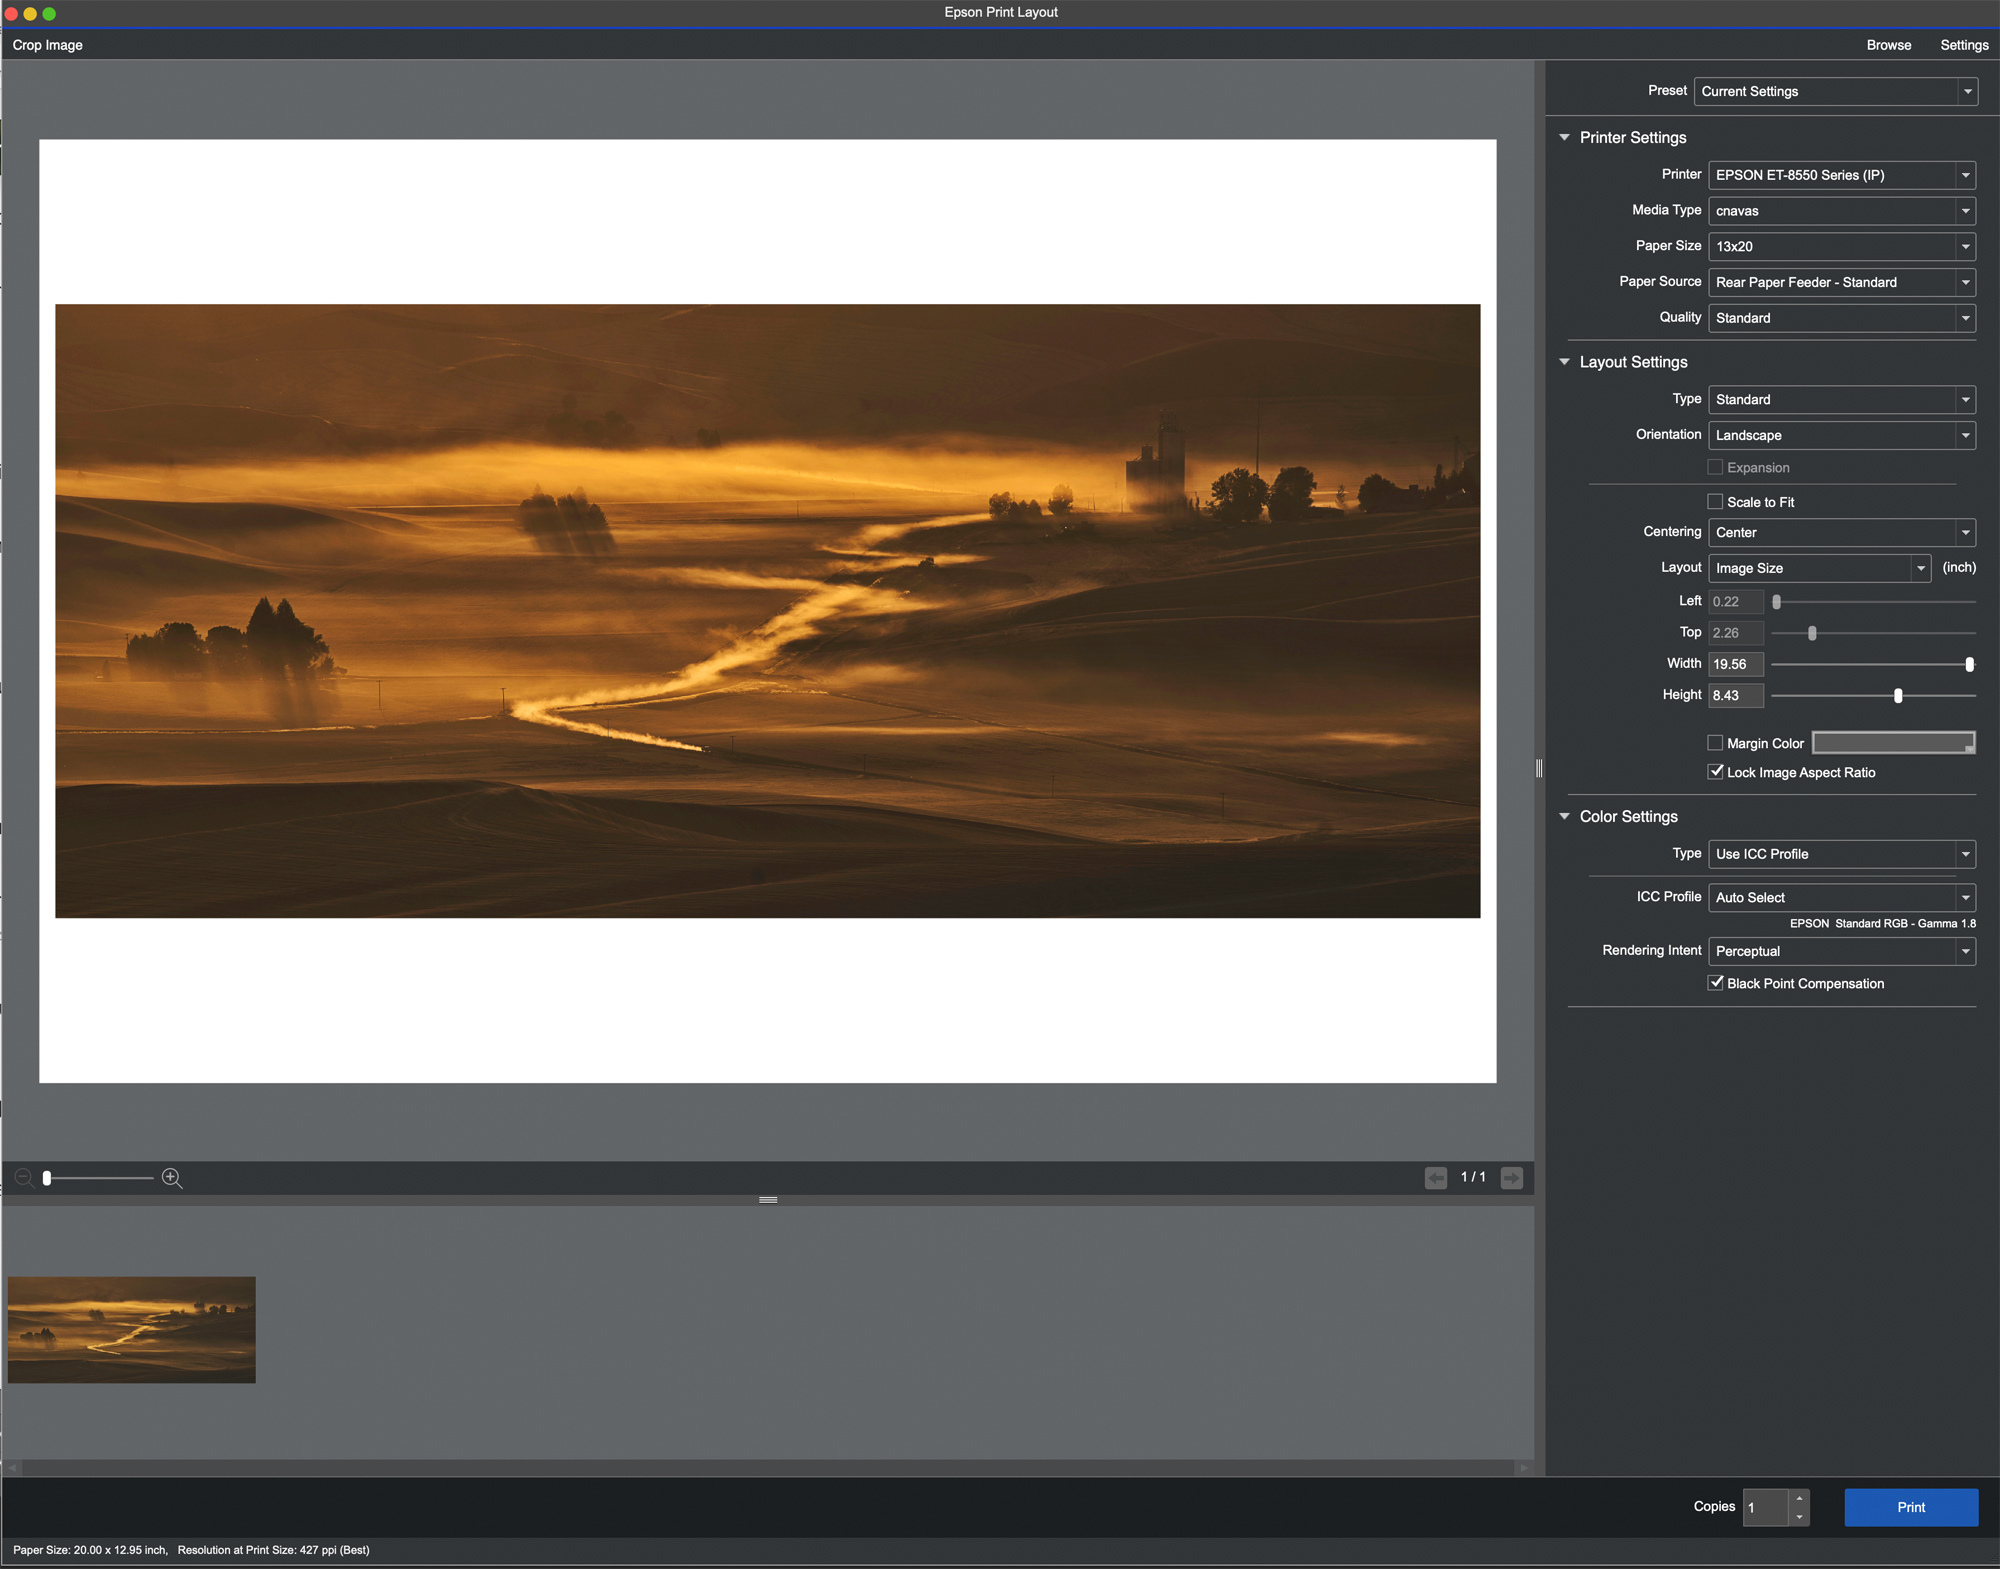
I selected one of my pano files and sized it to 13×30 inches, then I loaded it into EPL as shown in the photos below. So far, pretty simple.
I then took a roll of the 13-inch canvas (Epson Exhibition Canvas Satin) and cut a 30-inch-long strip from the roll.
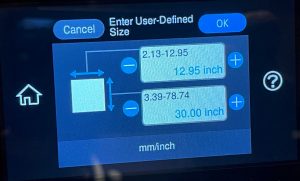
On the printer’s control screen, I set up a custom paper size. There was no canvas paper in the menu, so I used Epson Velvet Fine Art Paper. Now this means that the printer knows I am using 30 x 13 inch paper and what paper type it is. I selected Velvet Fine art because it matched the thickness and matte finish the closest.
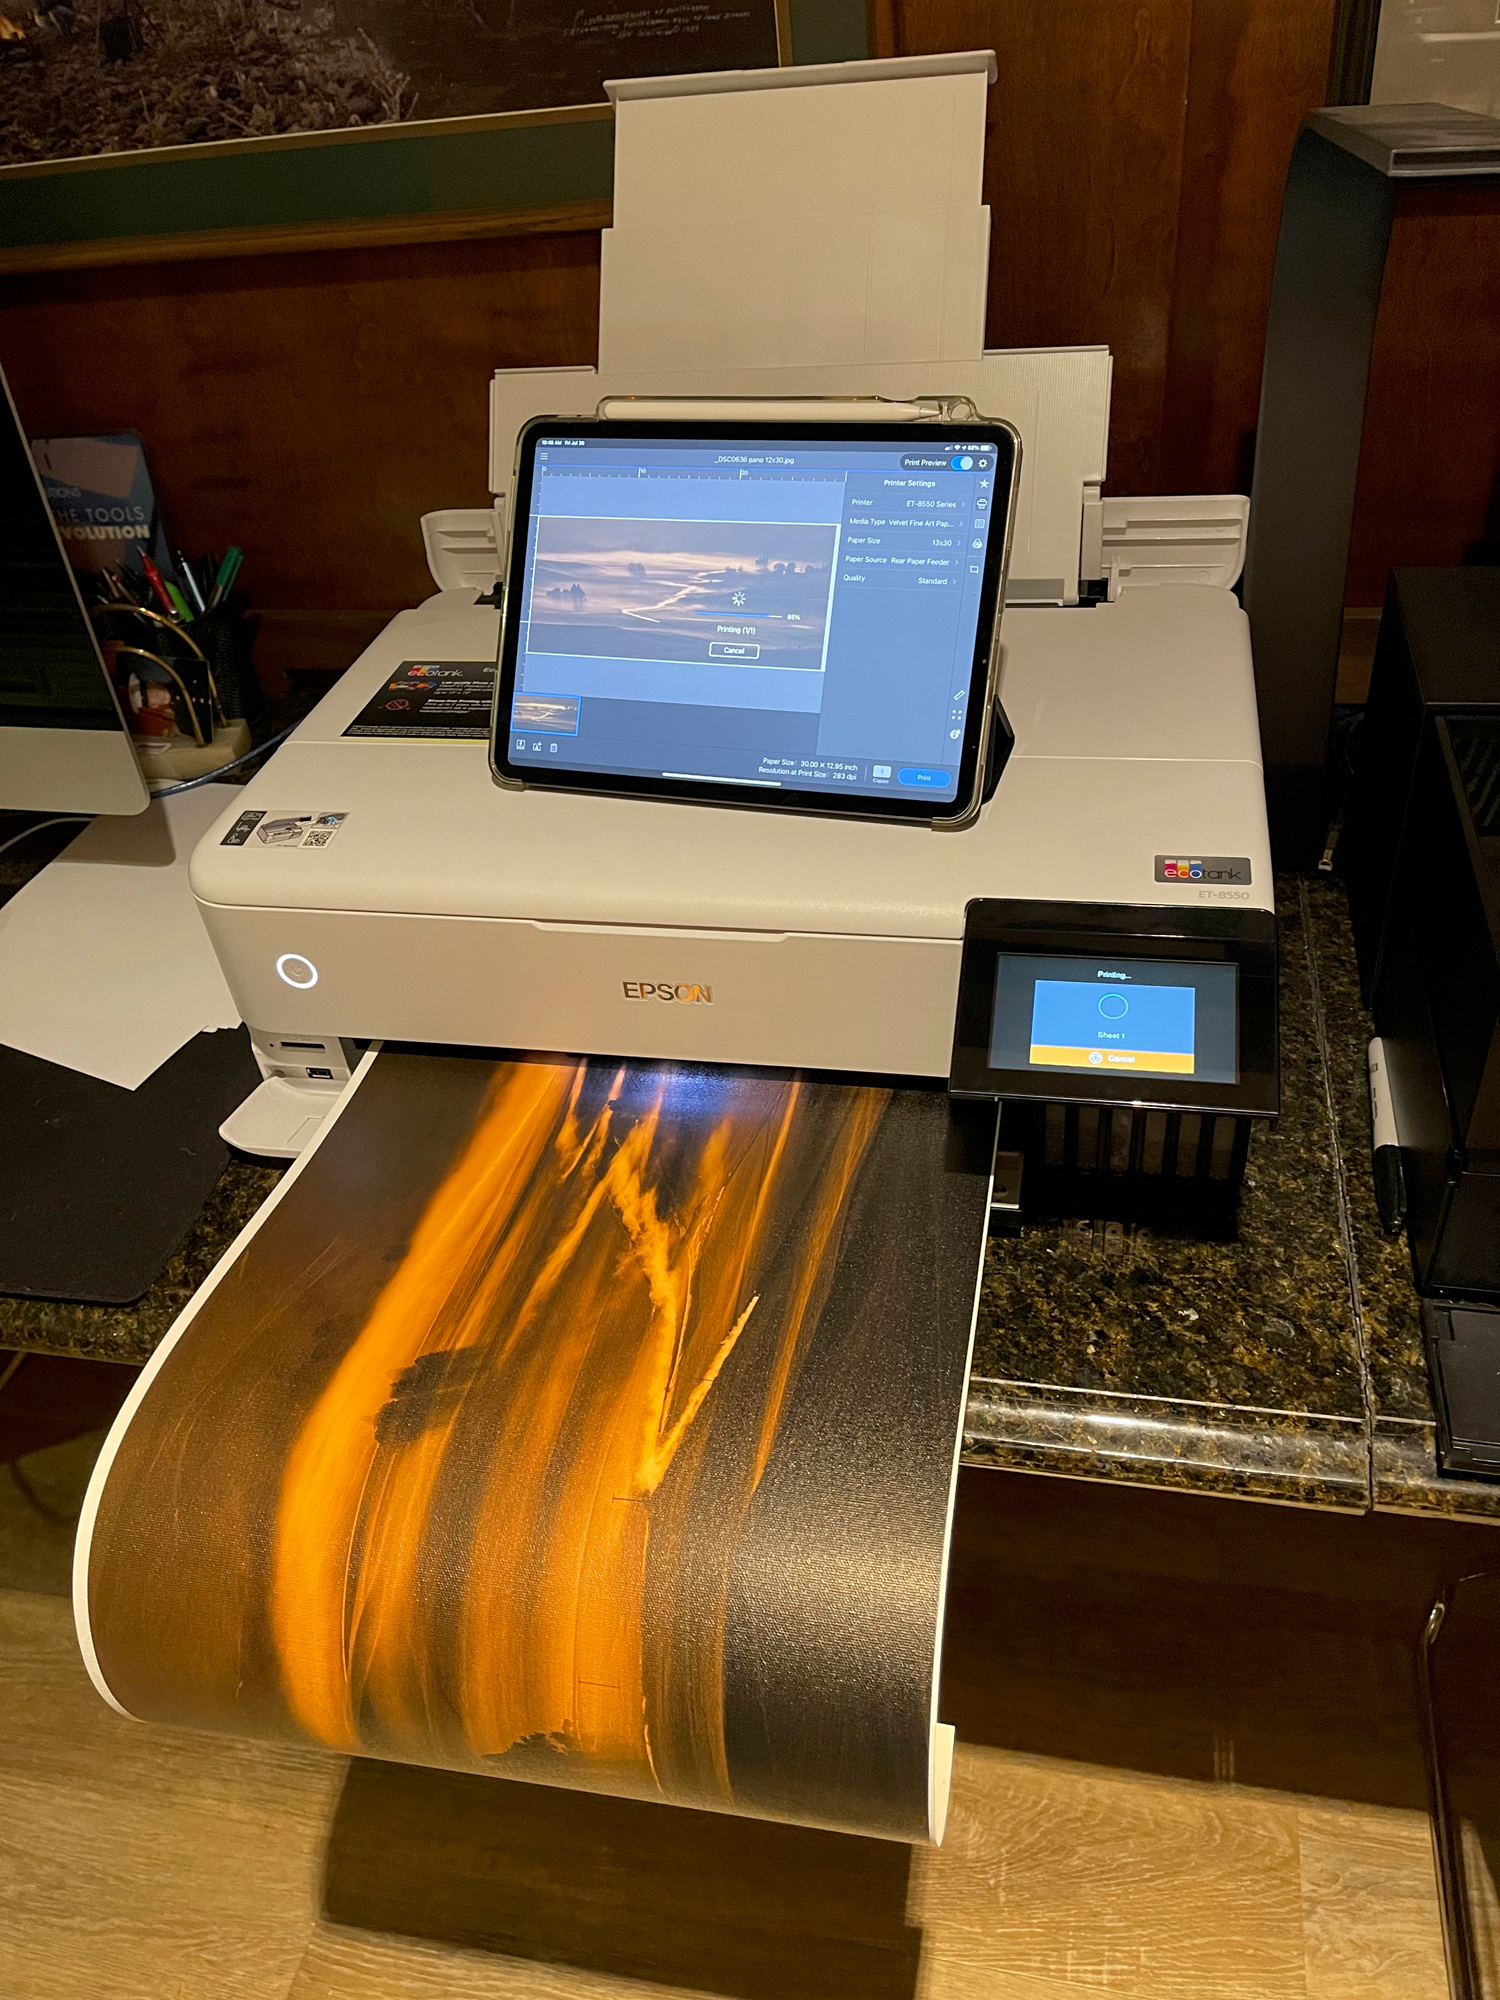
Now, using the rear paper feed, I guided the canvas into the printer, carefully folding over the rear feed. Please note that this is not just a “hit Print and walk away from the printer” process.
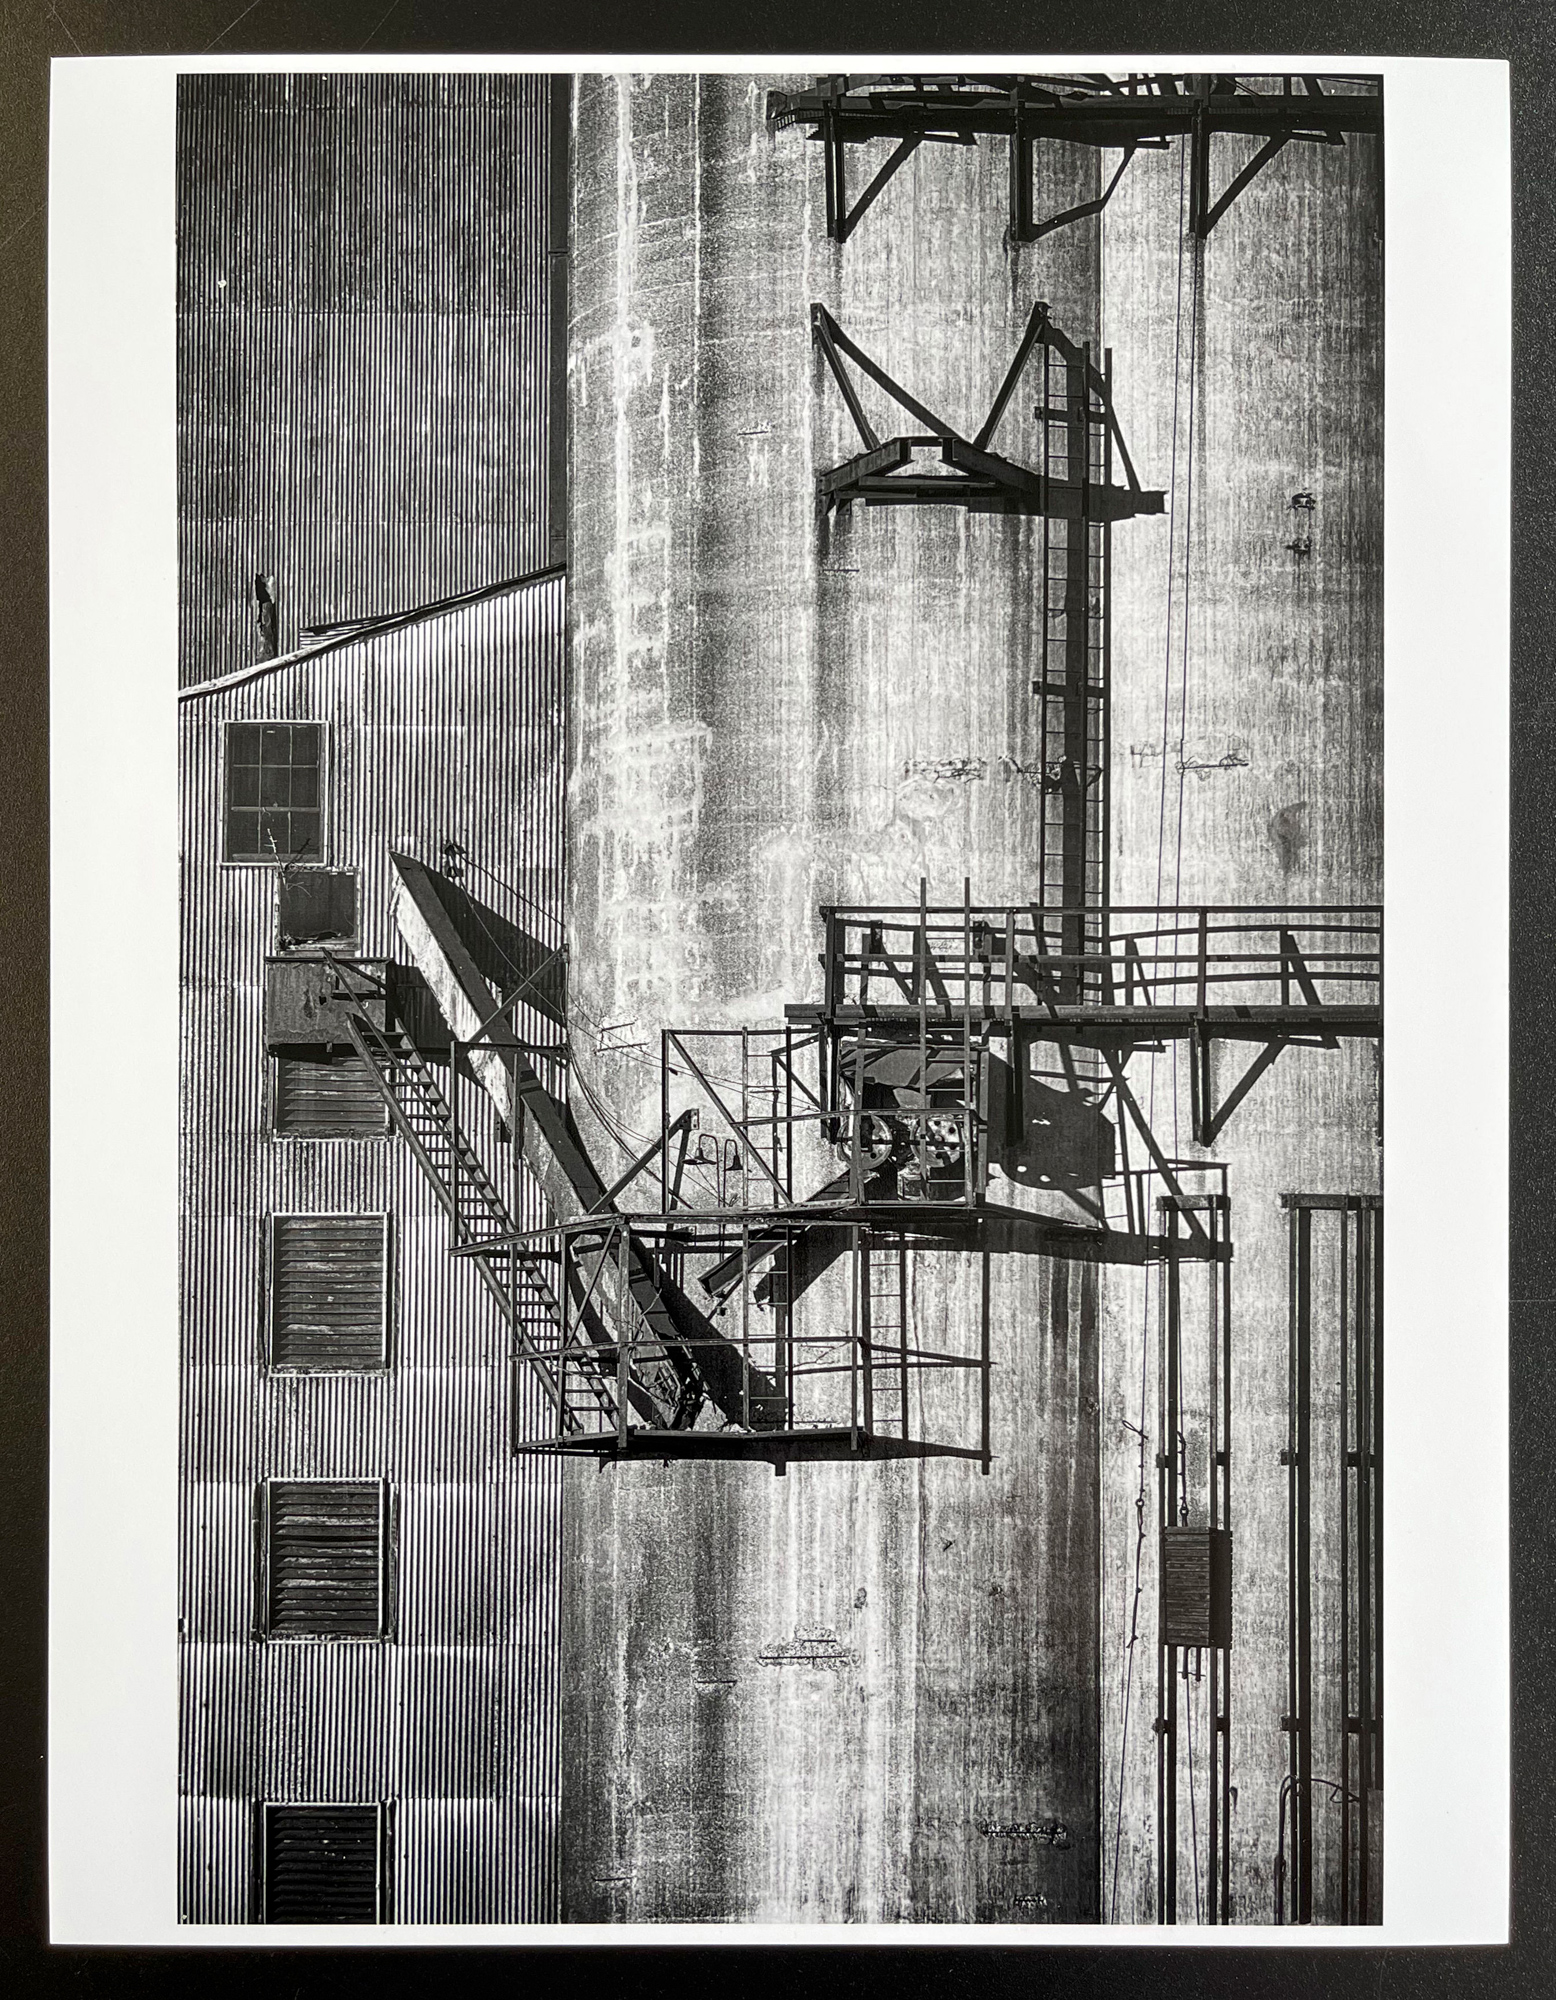
I pressed Print and to my amazement, the printer took in the canvas and immediately started printing. I monitored the feed of the canvas by gently guiding it when needed as it fed into the printer, and as it came out of the printer. I did not pull or push — I just helped take the tension off the paper as slowly fed in and fed out onto the print tray. It took maybe 10 minutes to complete and it worked beautifully, as you can see by the accompanying photos.
Note that you must leave the app open on the iPad or other device until the print is done, otherwise it will stop printing.
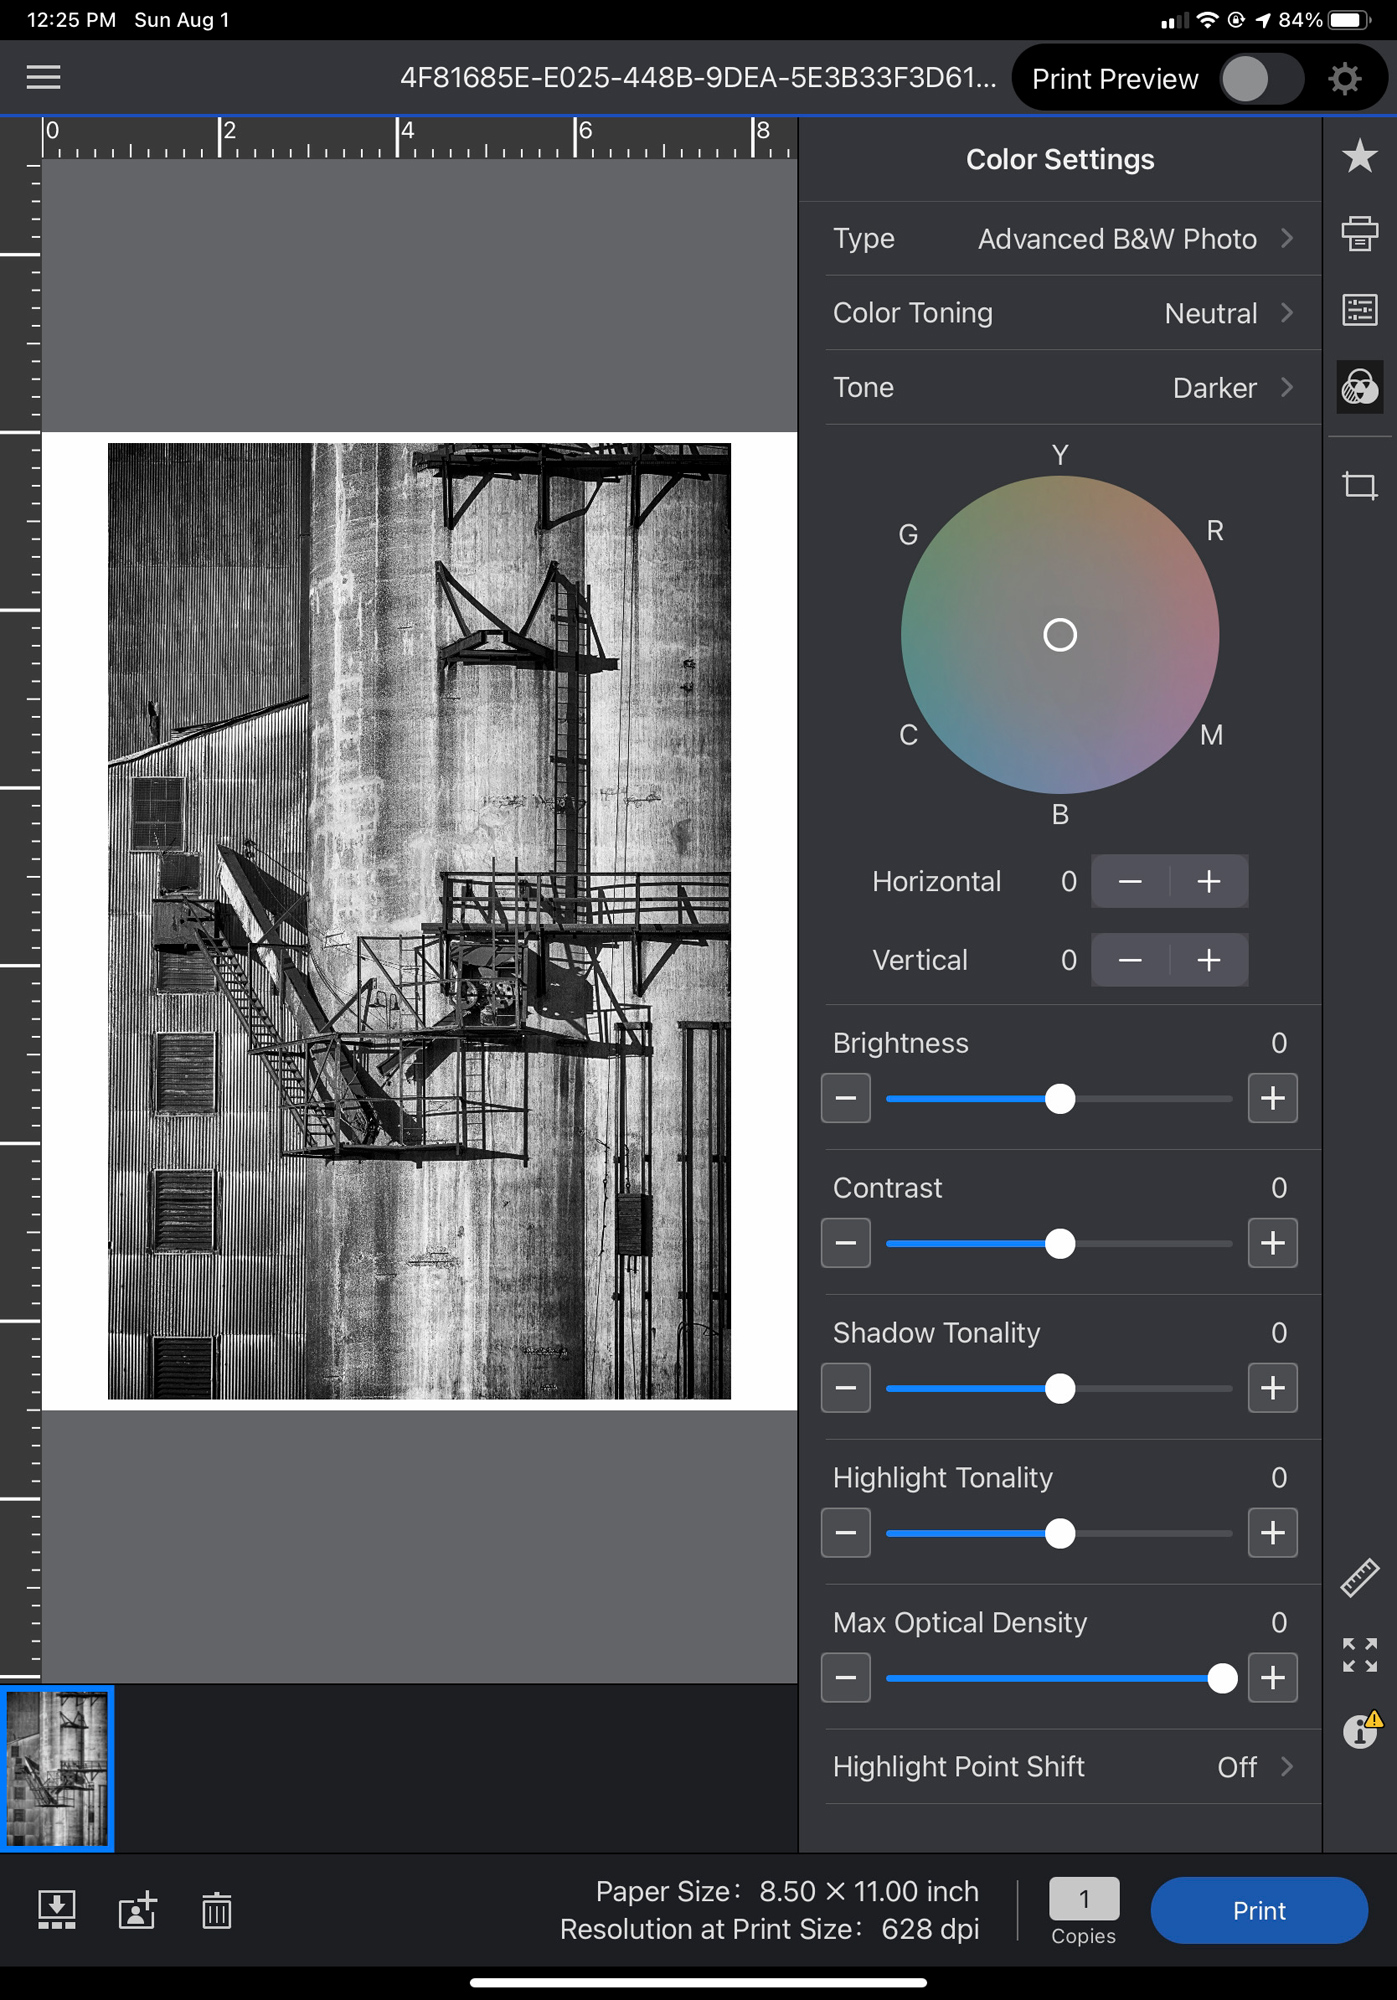
Black and White Too
The ET-8550 handles black and white well too. And, EPL makes it easy.
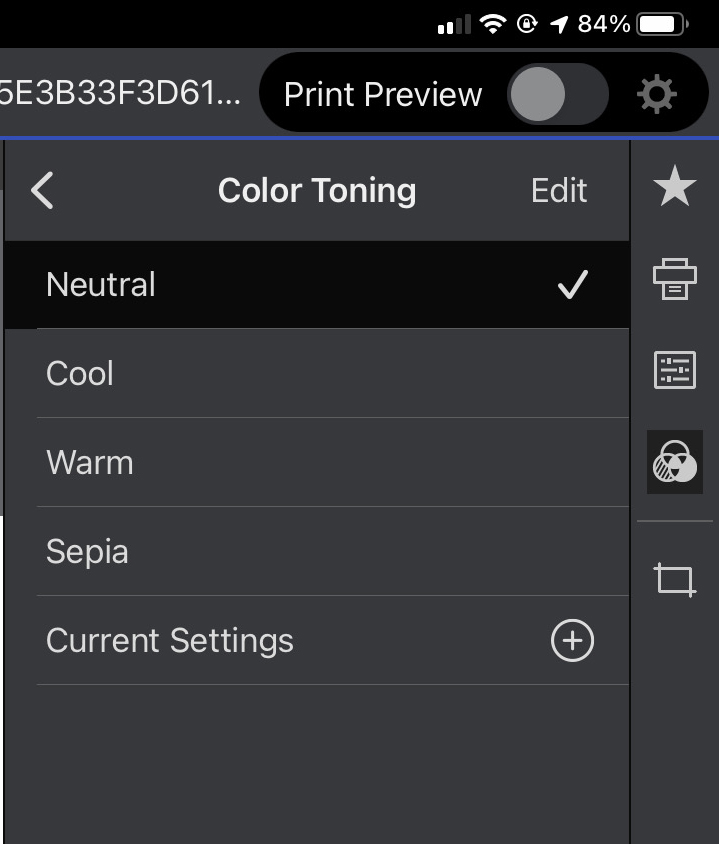
EPL has a pretty sophisticated B&W mode. Select it from the menu and your app will look like the image below. You also have a few other choices like tonality and color toning. Experiment and have fun. I have made some stunning B&W prints using the ET-8550 and EPL.

How Long Do The Prints Last?

Very good question. The Epson Pro printers use more ink and are pigment-based ink printers. Pigment ink is known to have very good archival quality. Most of us who print fine art will print our best work on pigment-ink-based printers.
The ET-8550 is a dye-based printer. Dye-based printers are quite good, as we found with the use of the ET-8550 printer, but they use dye and not pigment. How long will these prints last? I never got a real answer from Epson. “They will last a long time” is the nebulous answer I got the most. I’d presume they would last at least the rest of my lifetime, and I’m 67. Don’t jump the gun, I plan to be around for at least 20 or more years.
Prints from the ET-8550 are great for those soccer games and family photos, special events, and so forth. The prints will most likely be put into boxes, which actually should add to their longevity. Most people printing on this printer won’t consider longevity as a concern.
I will use the ET-8550 as a proof printer that I can use to make inexpensive images, for previewing how my images look on paper. I can make a ton of 4×6 prints and use them to mock up books, and store or show to friends. When I find those special images, I will print them to my larger pigment-based printers.
For me, printing is a craft. Very soon I will be showing off my new studio, where we will be offering fine art printing workshops. I’m very excited about what we will soon be offering. More information about these workshops will be announced on photoPXL.
My Final Thoughts
The Epson ET-8550 printer is amazing. The cost of this little workhorse with ink is $699, and worth every penny. I haven’t printed as much as I have with this printer. In combination with the Epson Print Layout app, I am printing from all my devices whenever and wherever I want.
I can sit in front of the TV and go through my images. If I find one I like, I can print it. After the show is over, I go down to the man cave, and there it is. I have 100% reliability with this printer — not one misfeed or error that wasn’t my fault.
All you do is select the paper, and away you go. A few weeks ago we had a party with 16 guests. I could shoot iPhone images of guests, couples, and cooking fun at the party, and send the images off to the printer. At dessert, I retrieved the prints and shared them with everyone, and let the guests take home a keepsake of the evening.
This printer is just fun, and it’s great for those who have never printed before. There is zero intimidation factor. The setup of the printer is the easiest I have ever done. The very clever messaging app guides you through every step of the way. It’s like someone is really messaging you and telling you how to get started.
I am a big fan of never having to buy another ink cartridge. They always ran out without warning and at the most inopportune times. No more! The idea of having bottles and a year’s supply of ink on hand is so cool and reassuring.
I set Epson Print Layout up to use Epson’s papers. However, with the Epson media installer, you can add other brands of papers to the mix. Using the media installer is a bit tricky, and there are a few YouTube videos that will help you with this if needed.
You can, of course, print through any of the other popular apps like Lightroom and Photoshop. There just happens to be a bit more to do when using this method. If you are already familiar with this, then it will work just fine.
The bottom line is that Epson has a winner with the ET-8550. Printing is finally becoming out-of-the-box simple. If you have never printed before or feared the process because of previous experiences, then this is the printer and the time to try again. The whole concept of using a tank instead of cartridges to store ink is brilliant, and a sign of things to come (I predict).
Complete your photographs by making prints. The tangible and tactile feel of a print in your hands makes you feel like you have accomplished the true mission of what photography is all about. You have spent a lot of money most likely on cameras and lenses or even a good mobile device. It’s now time to invest in a printer that will bring all those images to life and allow you to hold them in your hand. WARNING: once you start it can be addictive. All I know is I am having a blast, and I think you will too.
Kevin Raber
August 2021
Indianapolis, IN
Photography is my passion and has been for 50 plus years. My career in photography has allowed me to travel the world, meet some of the most interesting people on the planet and see things I could never have dreamed of. My goal is to share the passion of picture taking through photographs and teaching with as many people as I can, hoping it brings them as much joy and happiness as it has me. I do this through photoPXL.com, this site, as well as Rockhopper Workshops, and other projects, as well as teaching as Artist In Residence at the Indianapolis Art Center.