Xencelabs Digital Tablet Hands On
This One Changes Everything
I have been using digital tablets for years. I own two Wacom tablets that I have used for some time. One is the Cintiq Pro 13 and the other the Cintiq 22. Both are excellent and have served me well. Well, the game has changed.
I have been wary of knock-off tablets that you see advertised on Amazon and such. Then I discovered the Xencelabs medium tablet. I was fortunate enough to obtain one for testing and wow, was I impressed.
Using a pen instead of a mouse on a tablet takes a bit of getting used to. We have been conditioned for so long to use a mouse that working with a pen and tablet will take some time to adjust. Once you do, though, you may find it hard to go back to the mouse. Like many things, practice makes you better, and the time invested will pay off.
The Xencelabs Tablet
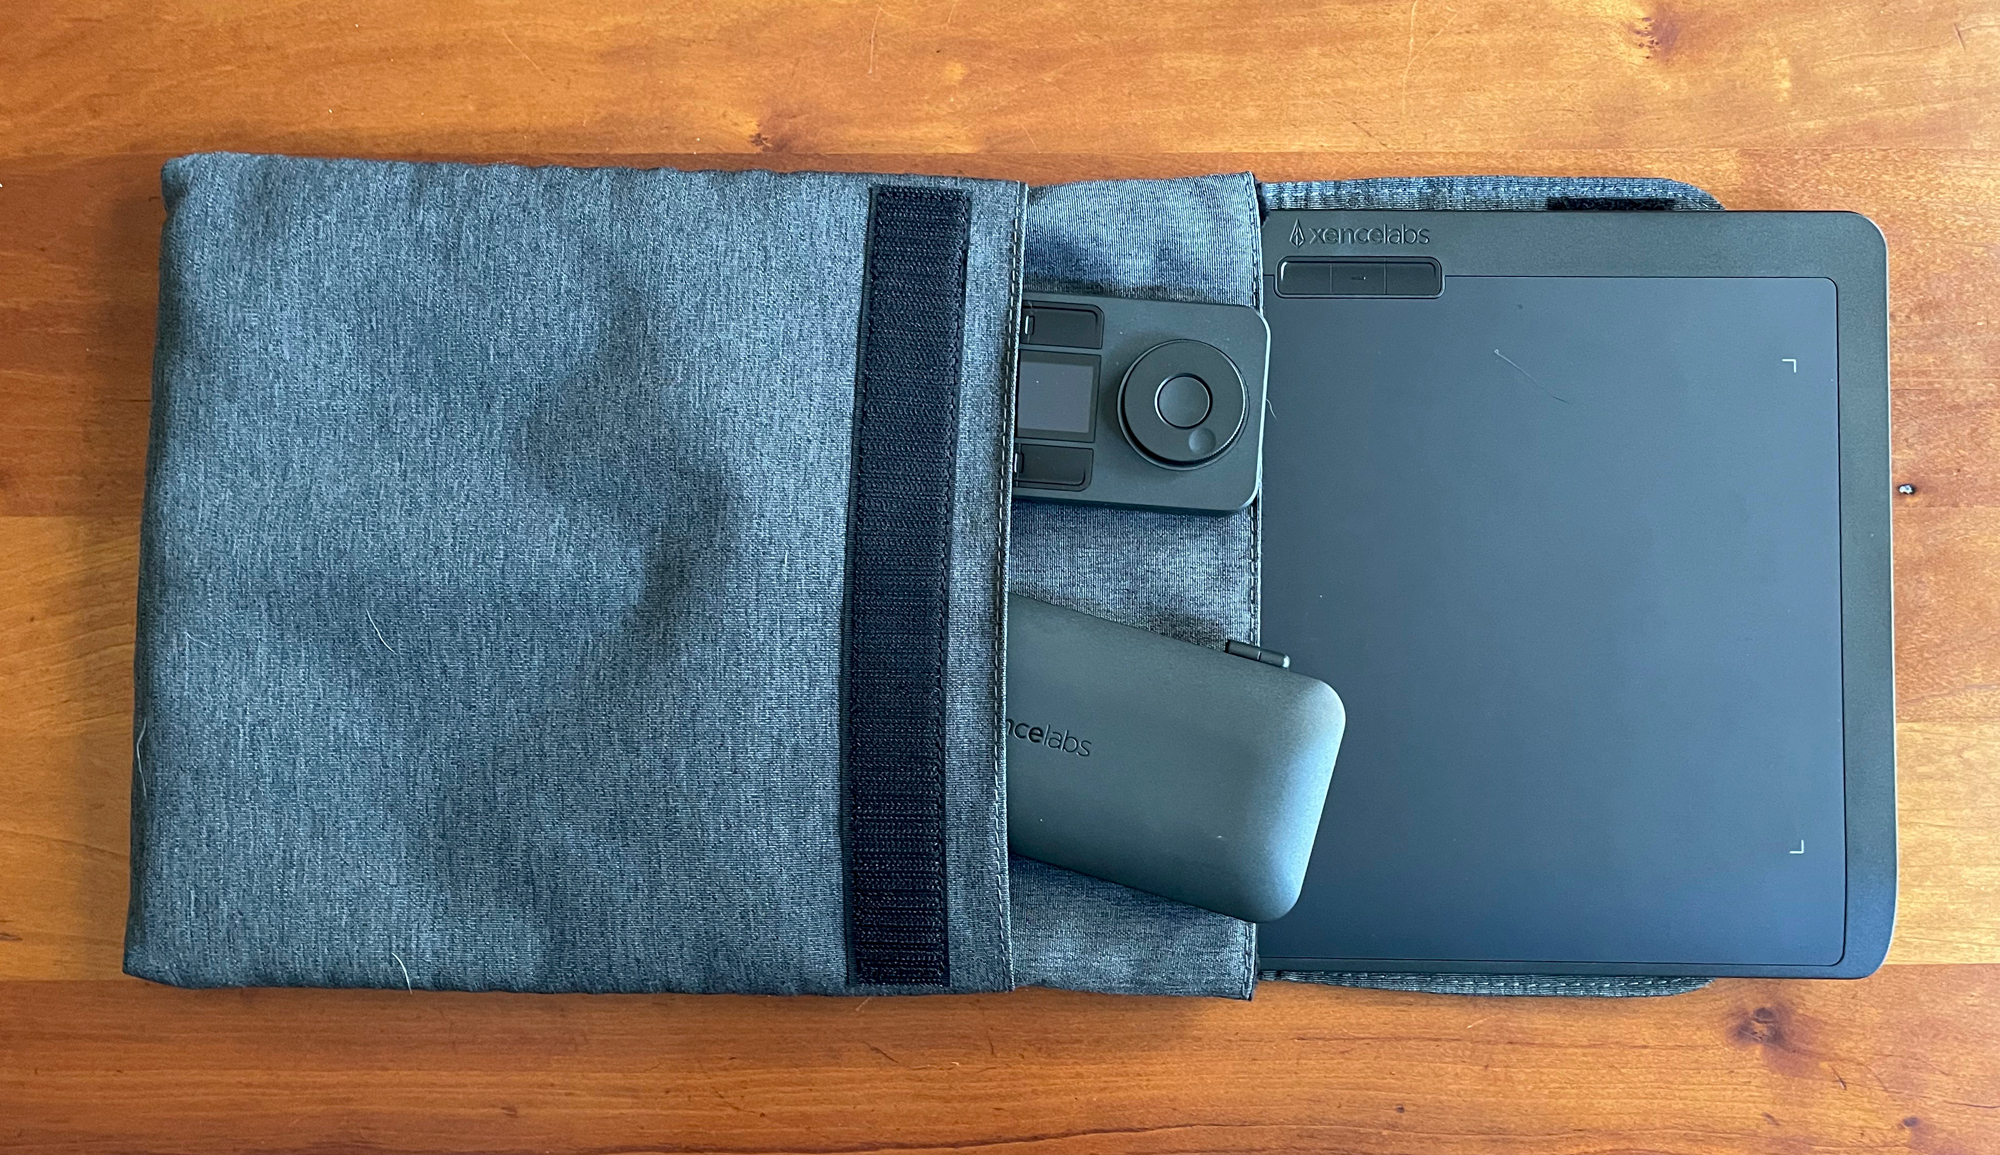
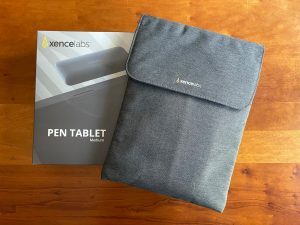
Everything about this tablet is impressive. When I opened the box, I found a soft case, the tablet, a case for two pens and extra nibs, and the Quick Keys remote. They felt solid and well manufactured.
 Installing the hardware to the computer was also super easy. Using the provided USB-A cord, you connect the tablet to your computer. This is how you charge the tablet. Once charged, you can use the tablet wired or wireless. I opted for the wireless method. You will know you are fully charged once the indicator lights are green. You repeat this process for the remote.

You connect wirelessly using a small dongle that has a USB-A connector but comes with a USB-C adaptor if you want to connect to a USB-C port. I opted for the USB-C port. The pairing was a breeze and you have indicator lights to show that you are connected.
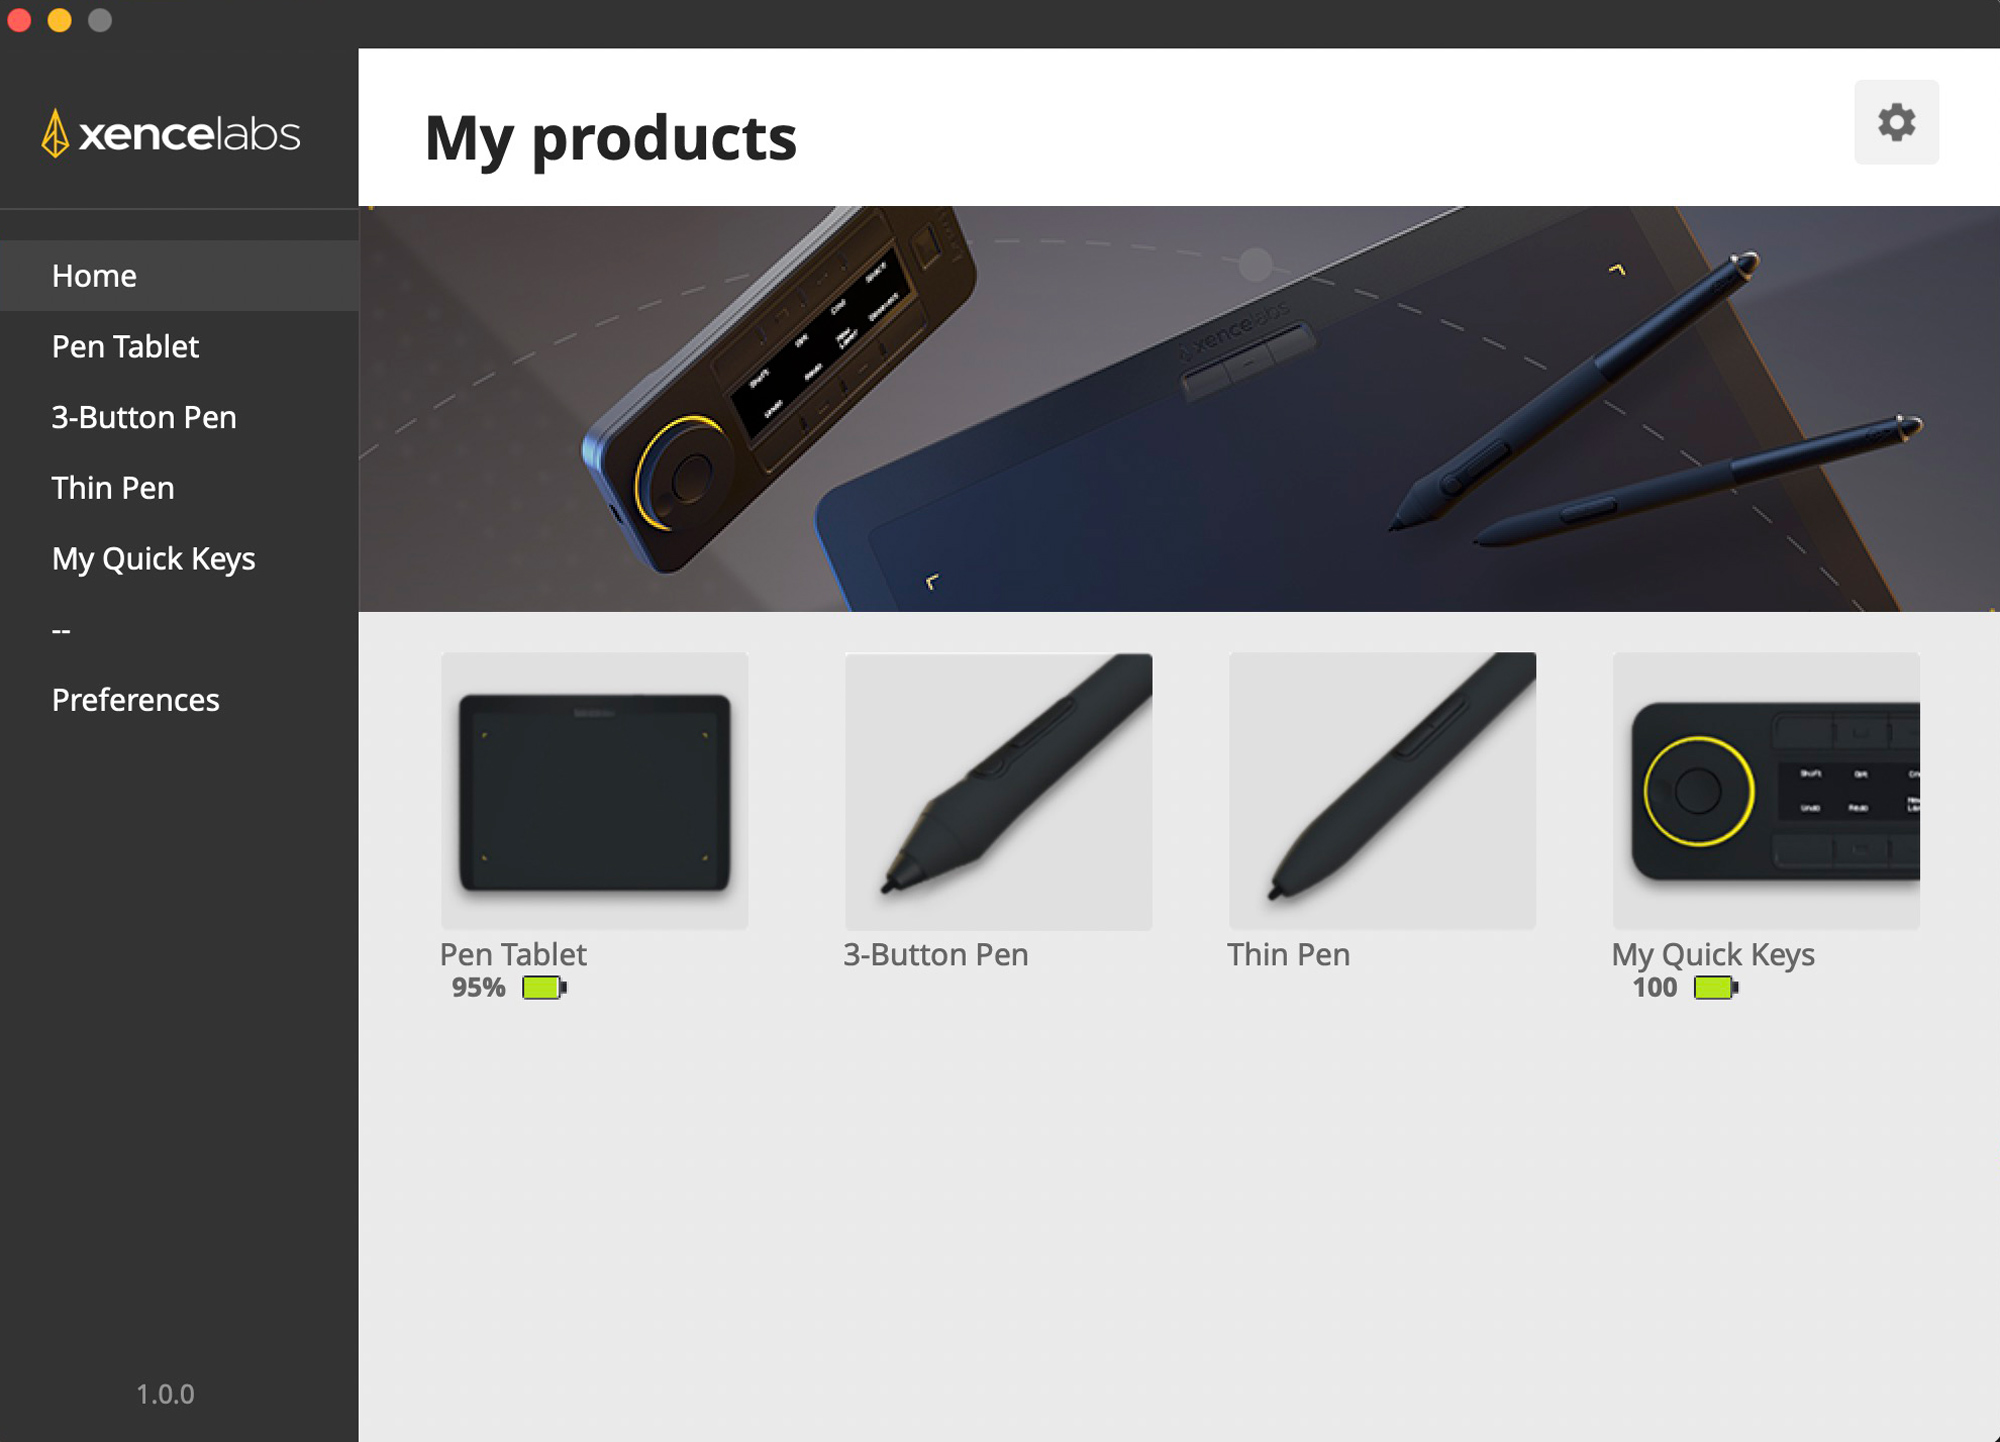
The second thing I did was to install the Xencelabs software on my iMac Pro. I used the iMac Pro for just about all my photo editing. It handles Capture One and Photoshop extremely well and is hooked up to my Raid system for image storage. The software installation was painless and once opened, I loved how well the user interface was designed.
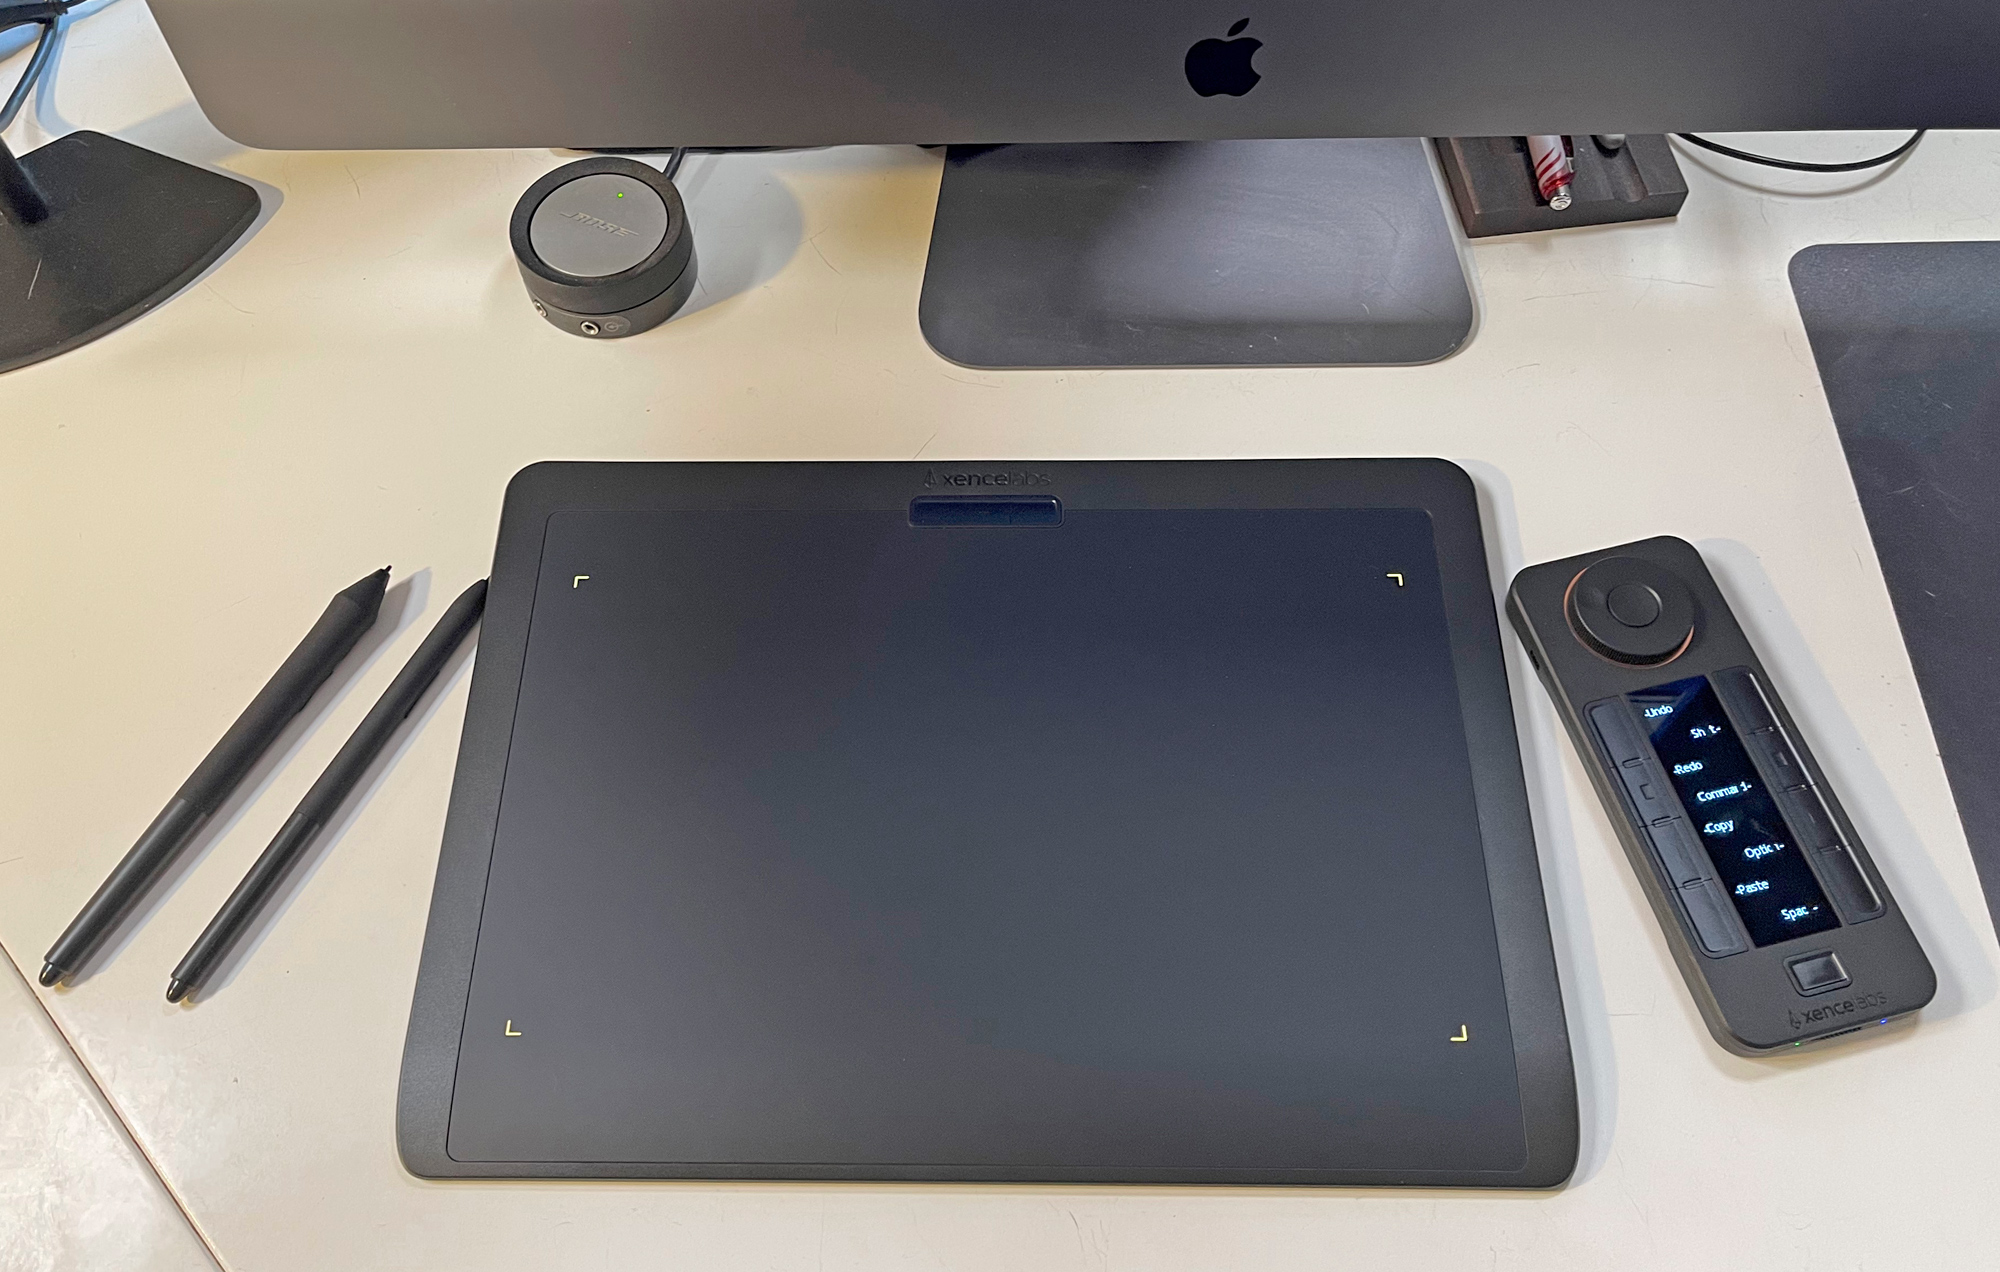
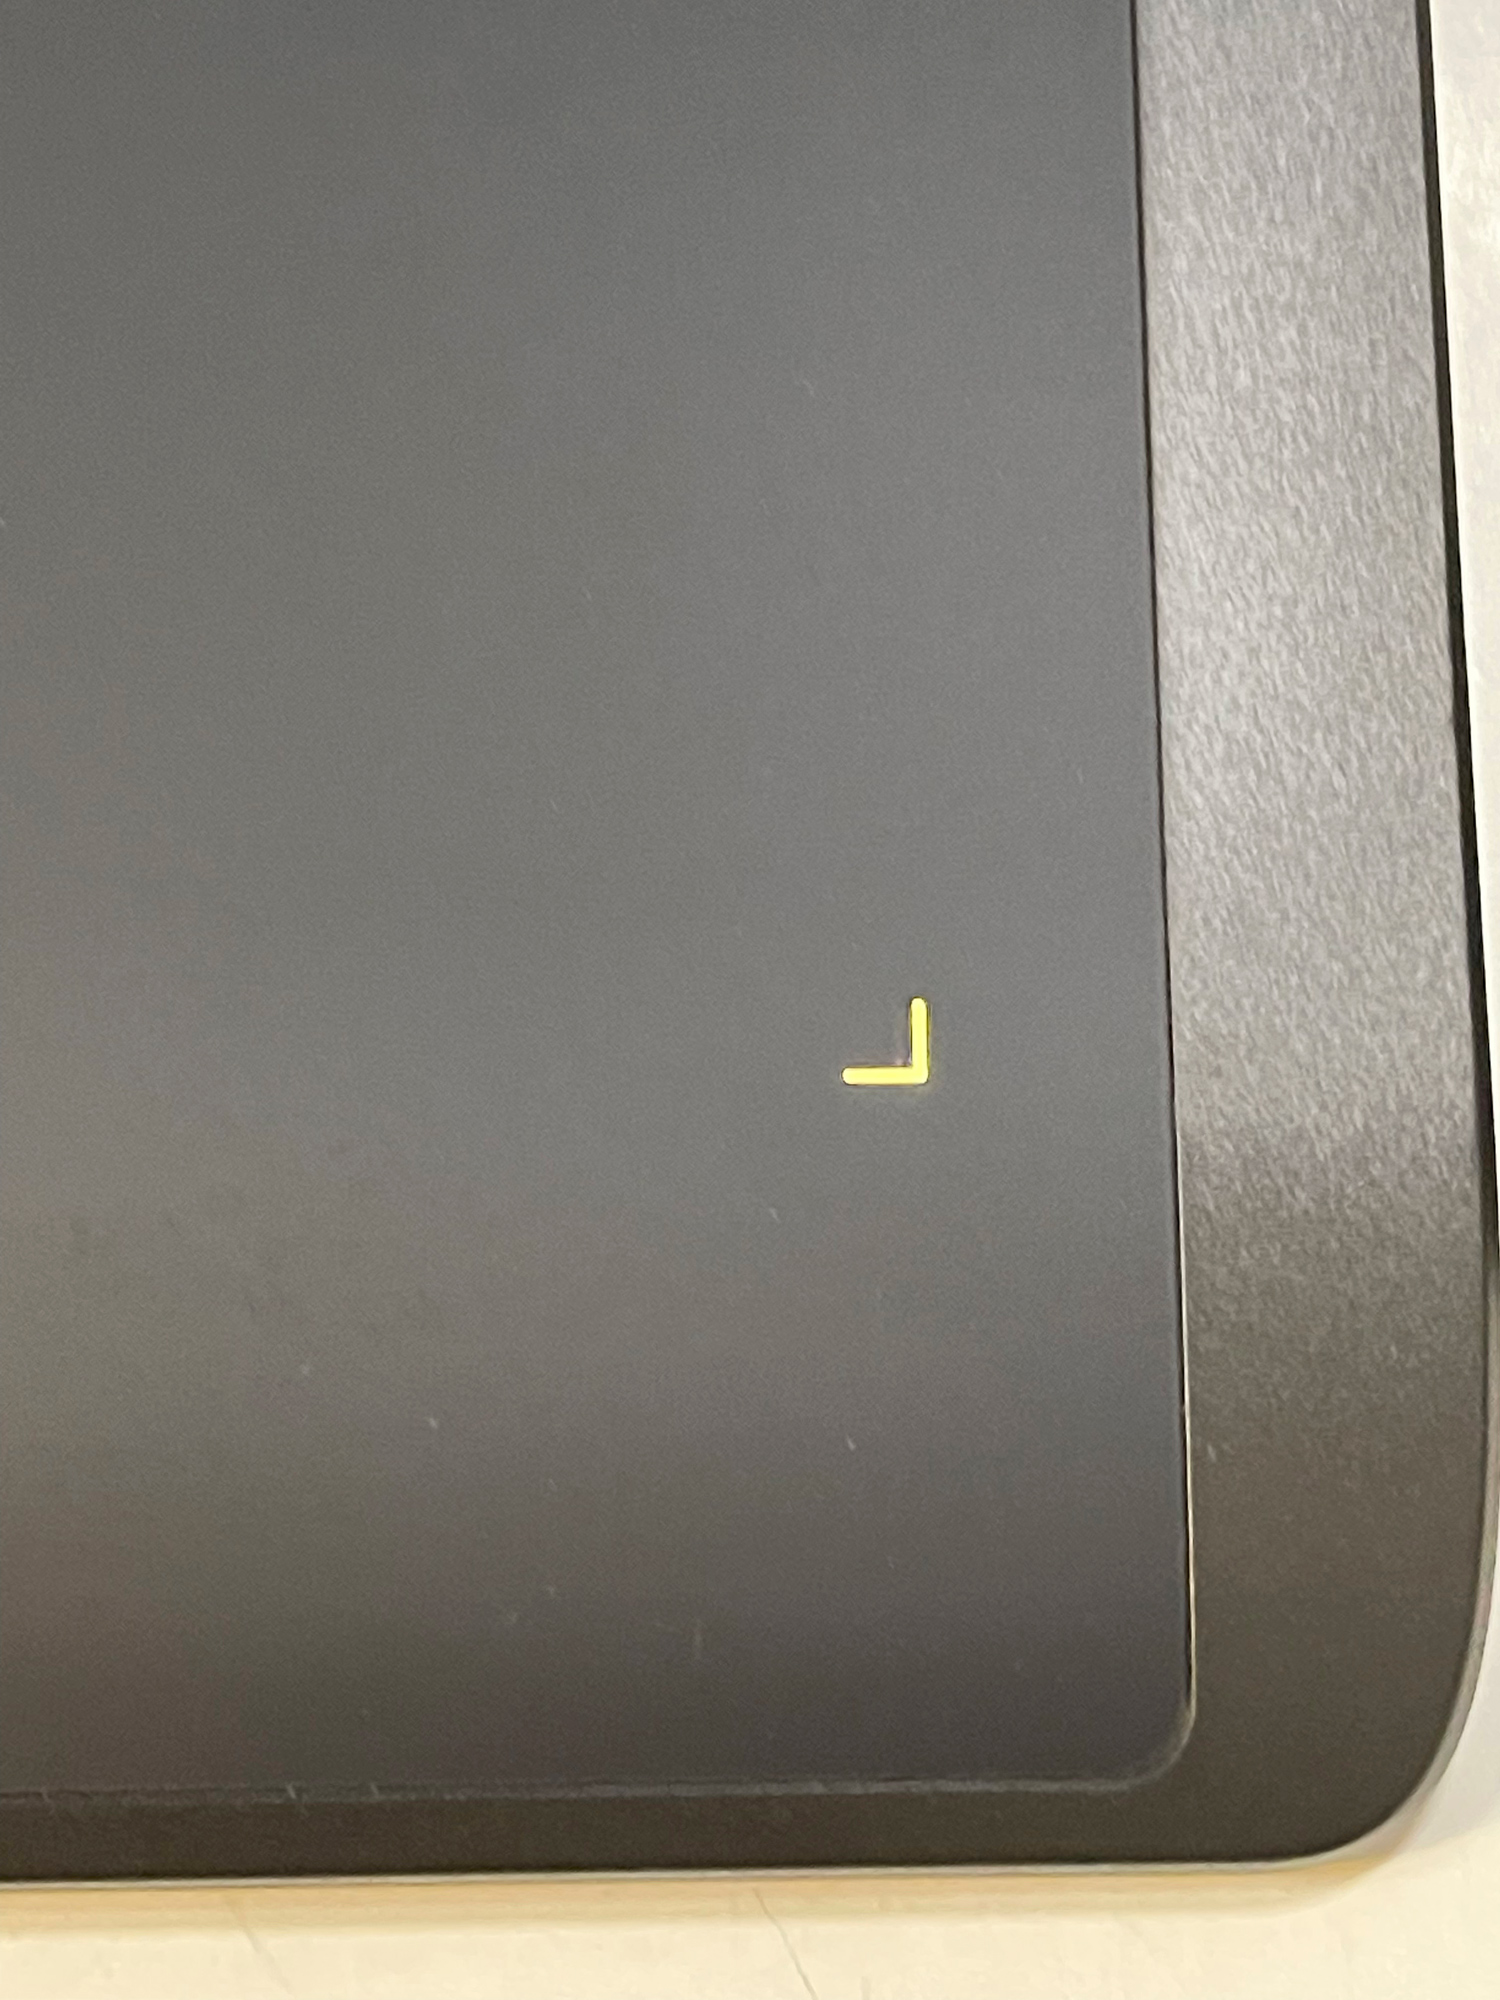
The tablet itself has a slide switch on the top edge that powers up the device. There are also three keys on the surface at the top that can be programmed for various functions. On the tablet are also corner marks that indicate that it is active and is also lit up. You can even change the color of these marks.
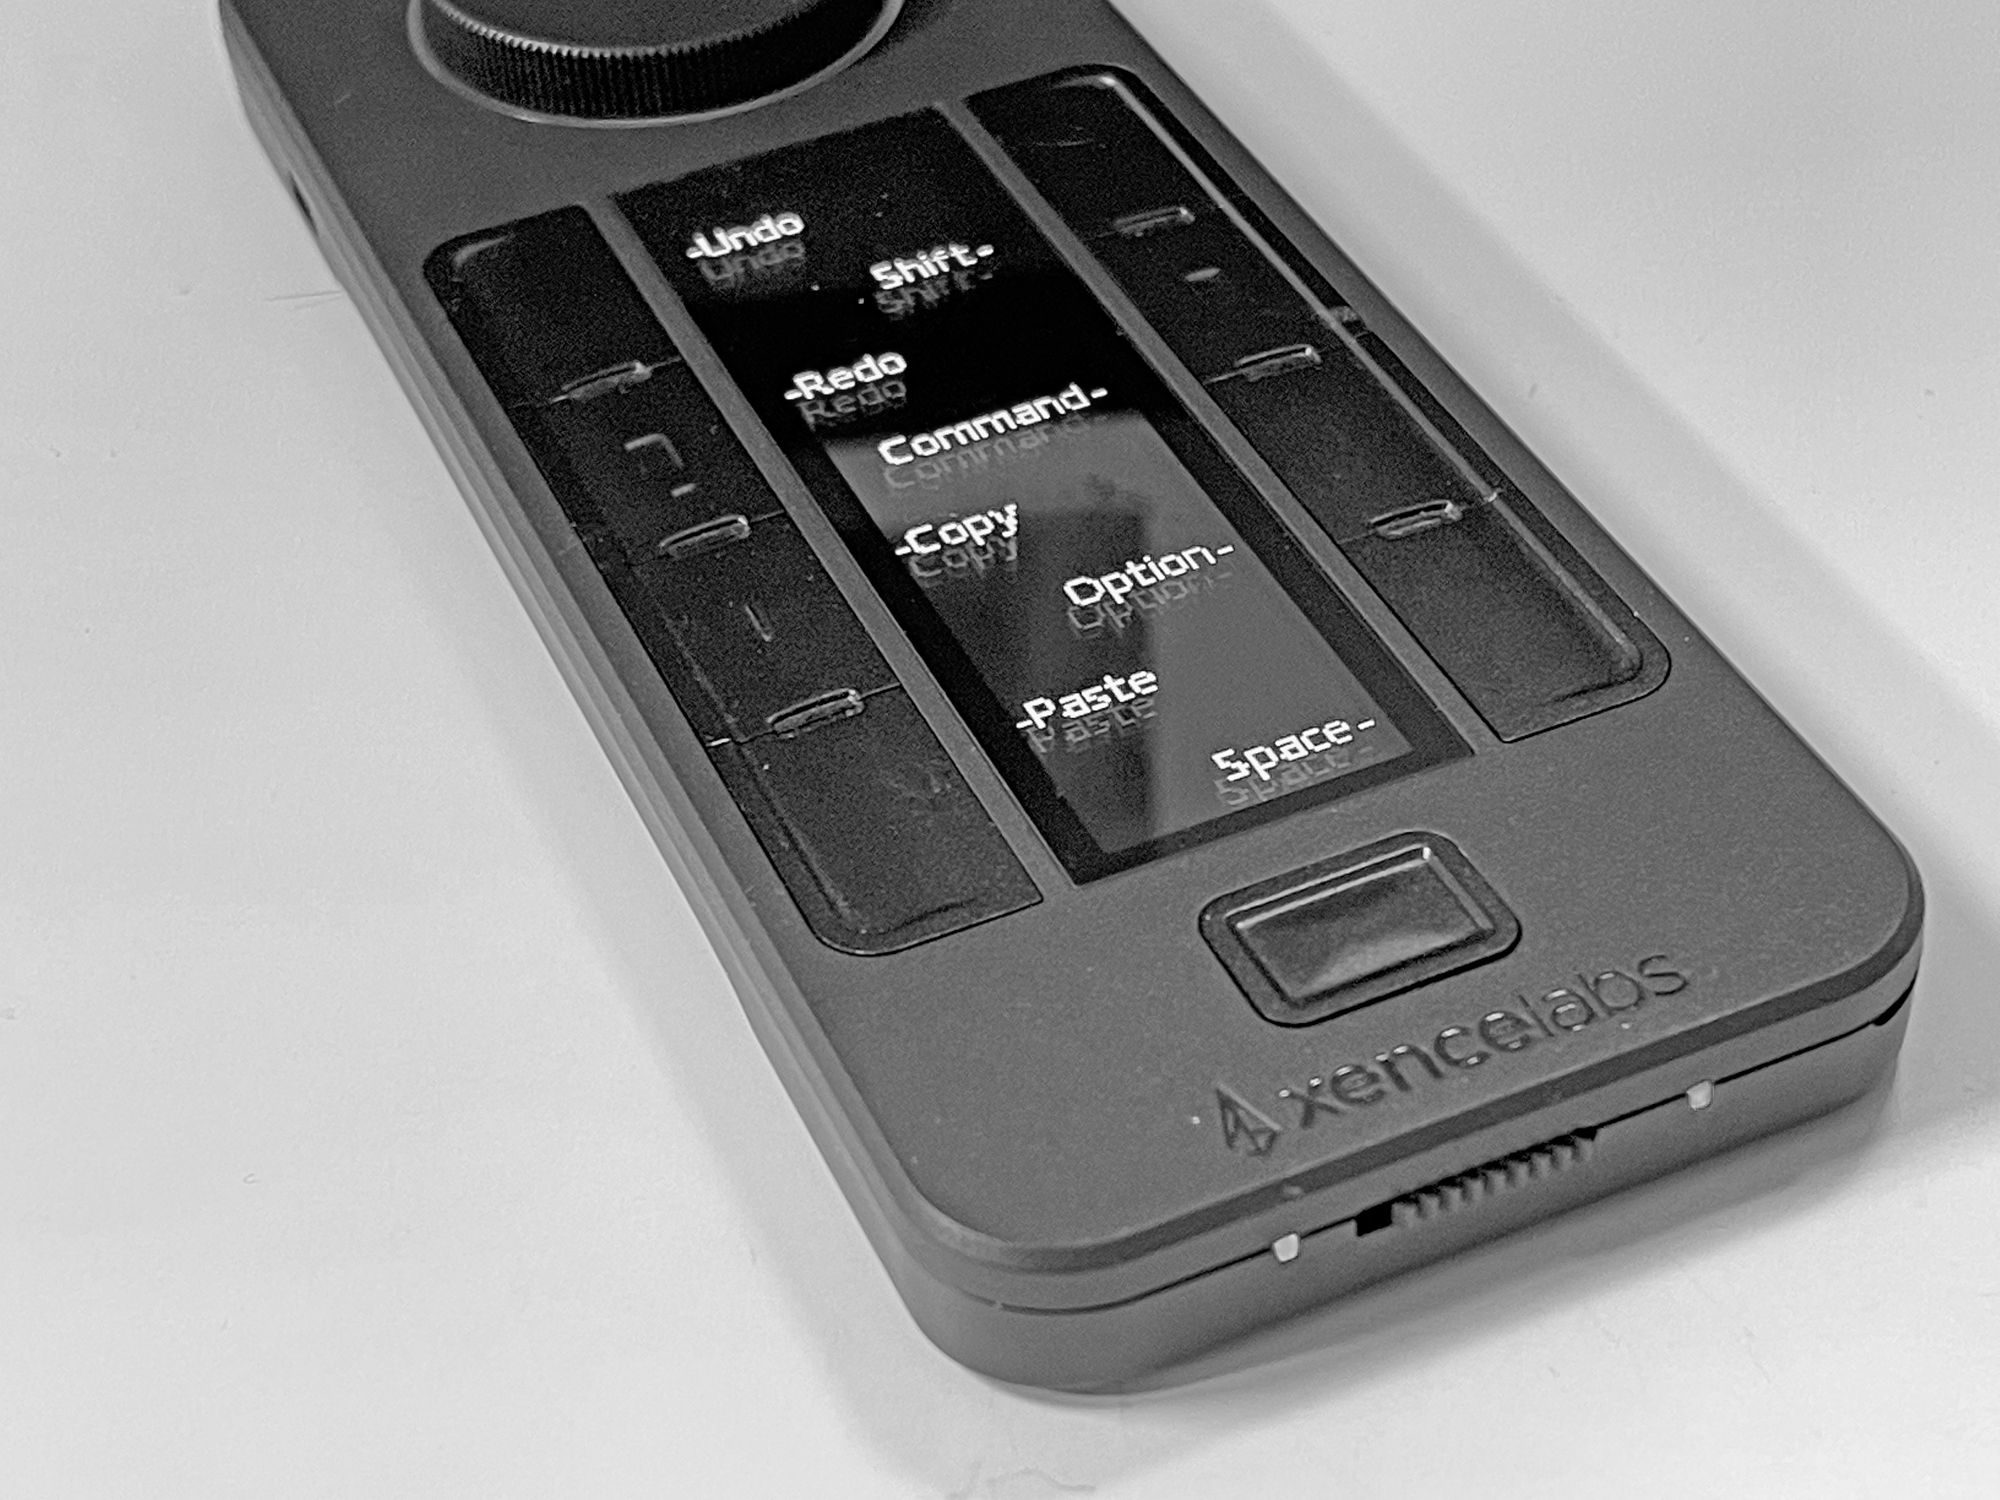
The remote control is also rock-solid in construction and fully customizable and a lot of fun to use. It’s also completely customizable.
Video Overview
Kevin Raber goes over the Xencelab Tablet in this video.
Using The Xencelabs Tablet
Once you get the remote and tablet paired, it’s time to set the system up the way you like it to work. You can get started right off the bat, as the standard default configuration is well defined for just about any work you may need to do.
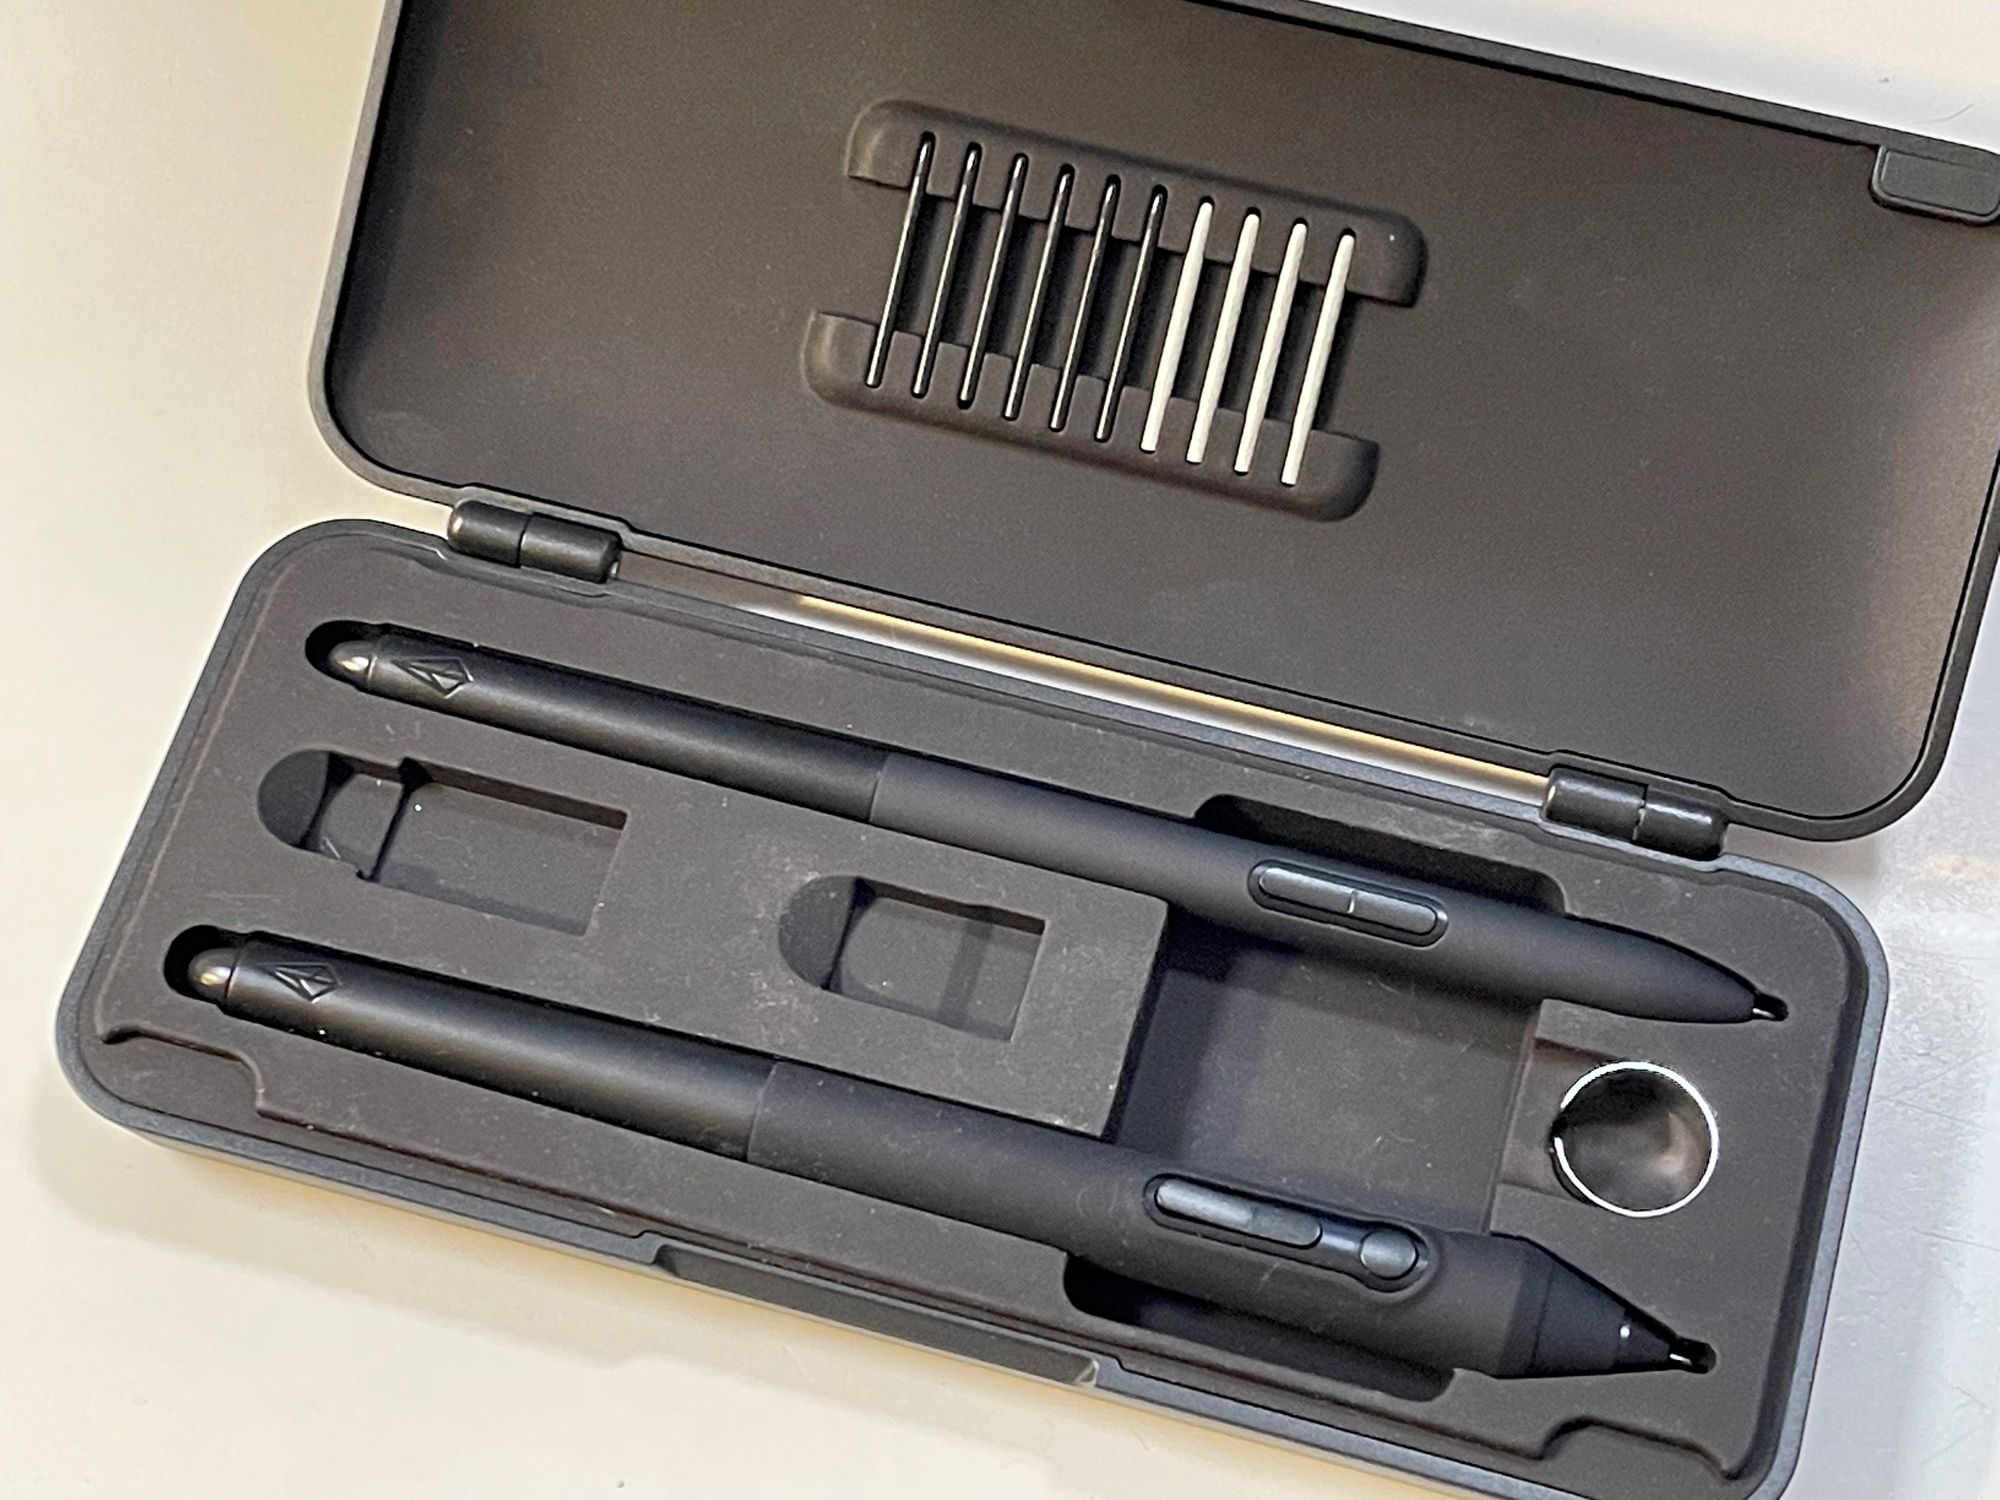
If you want to customize things, I’d start with the pens. You get two pens in the kit plus a load of extra nibs. There is a three-button pen and a two-button thinner pen. I set mine up so I could use both, but I changed the button configuration. Changing and customizing the buttons is a breeze.
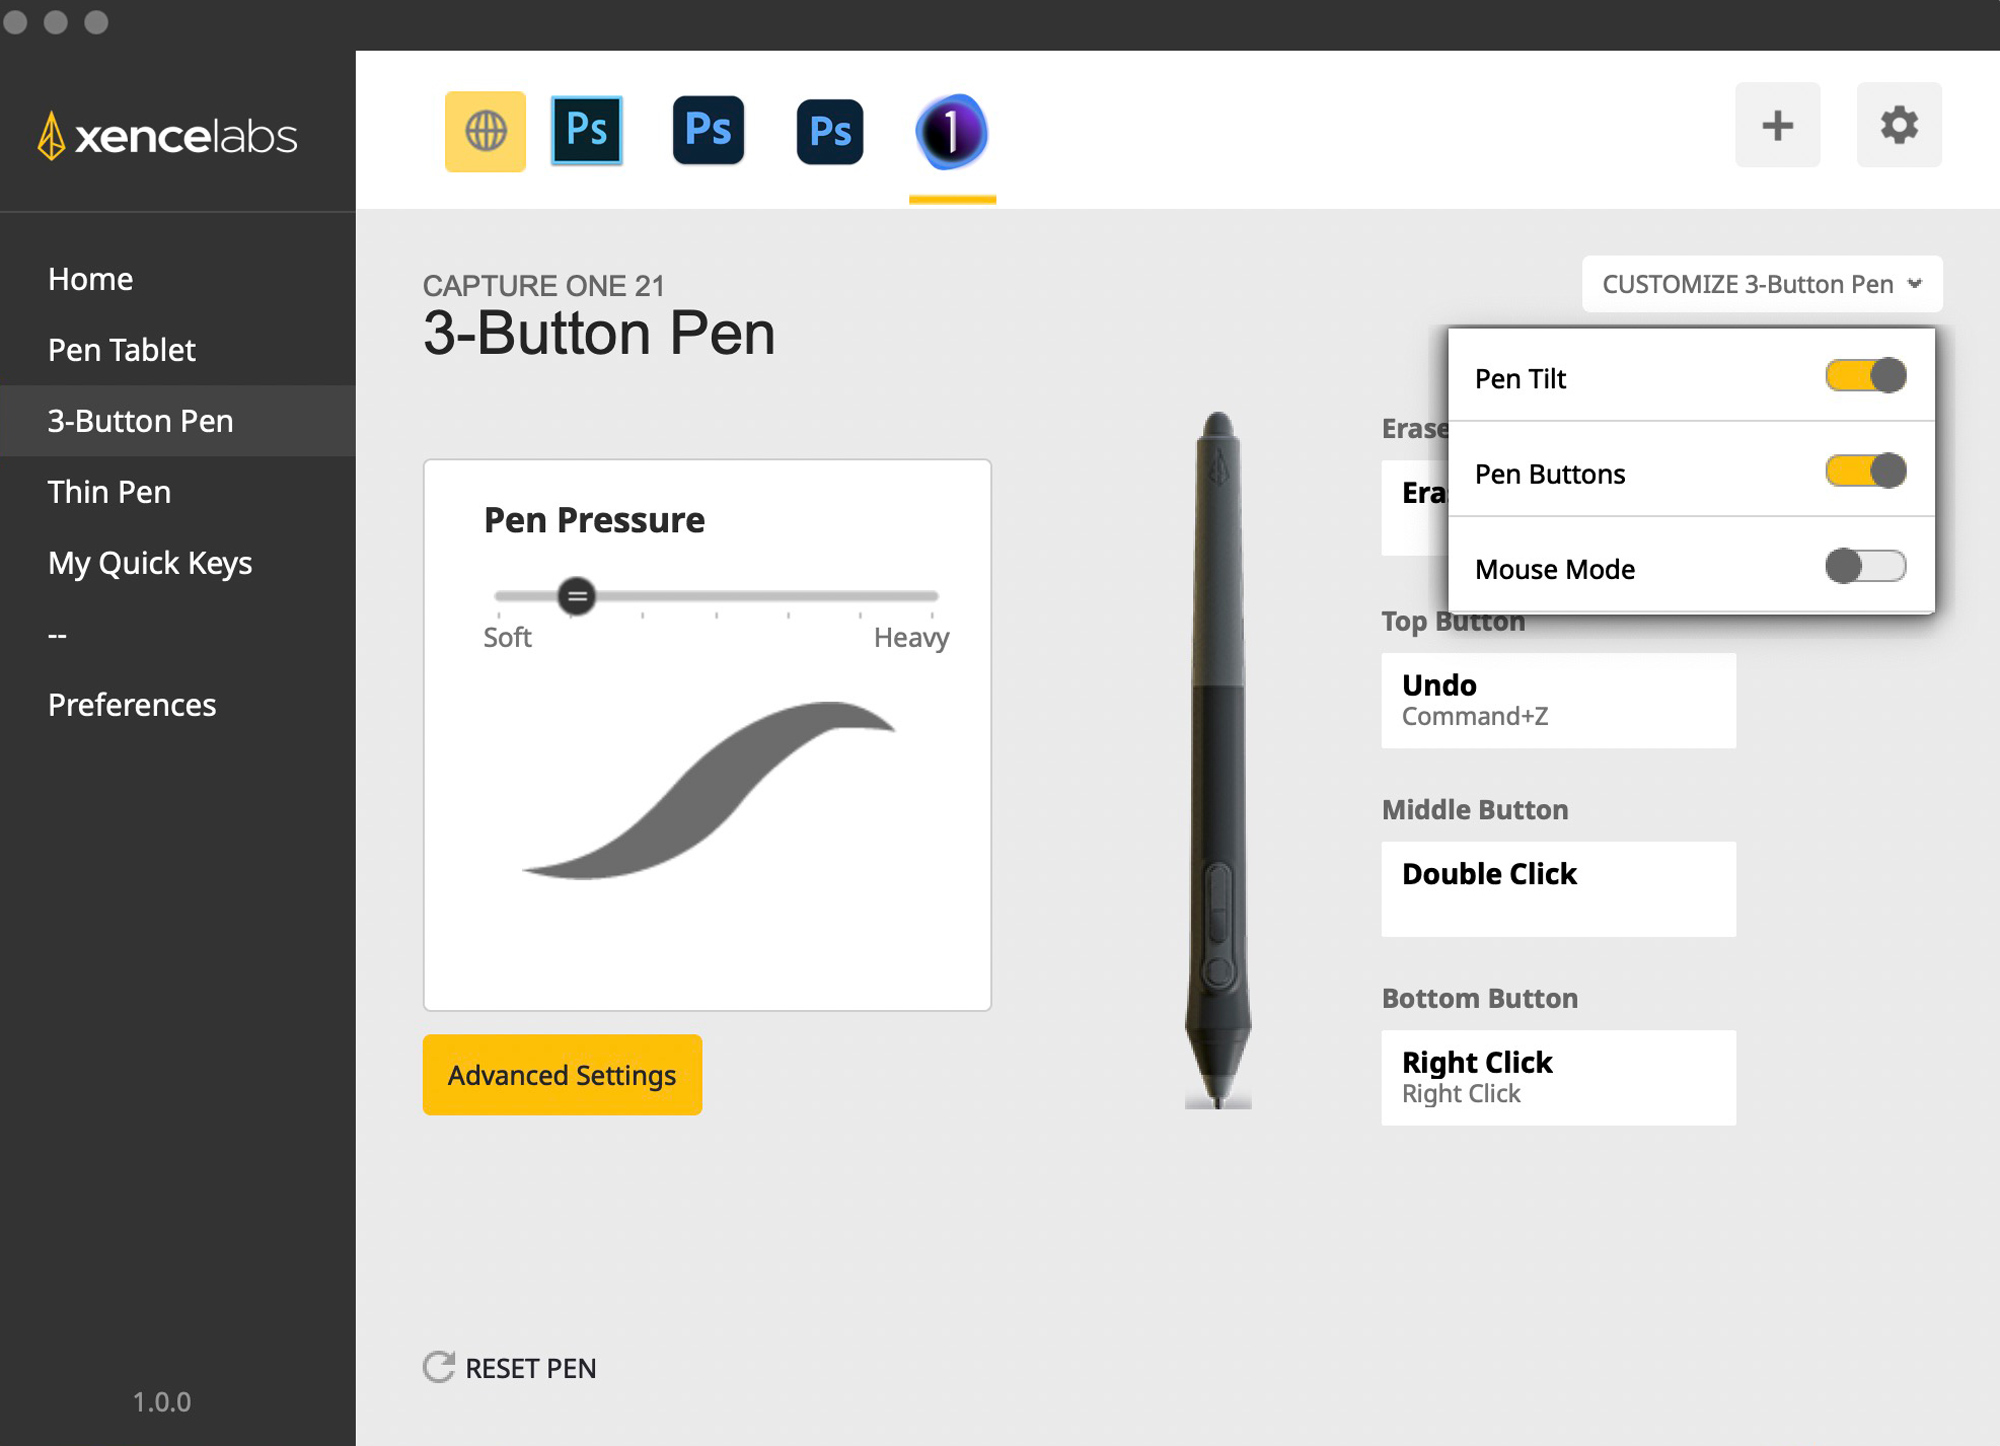

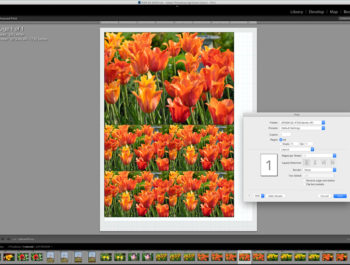
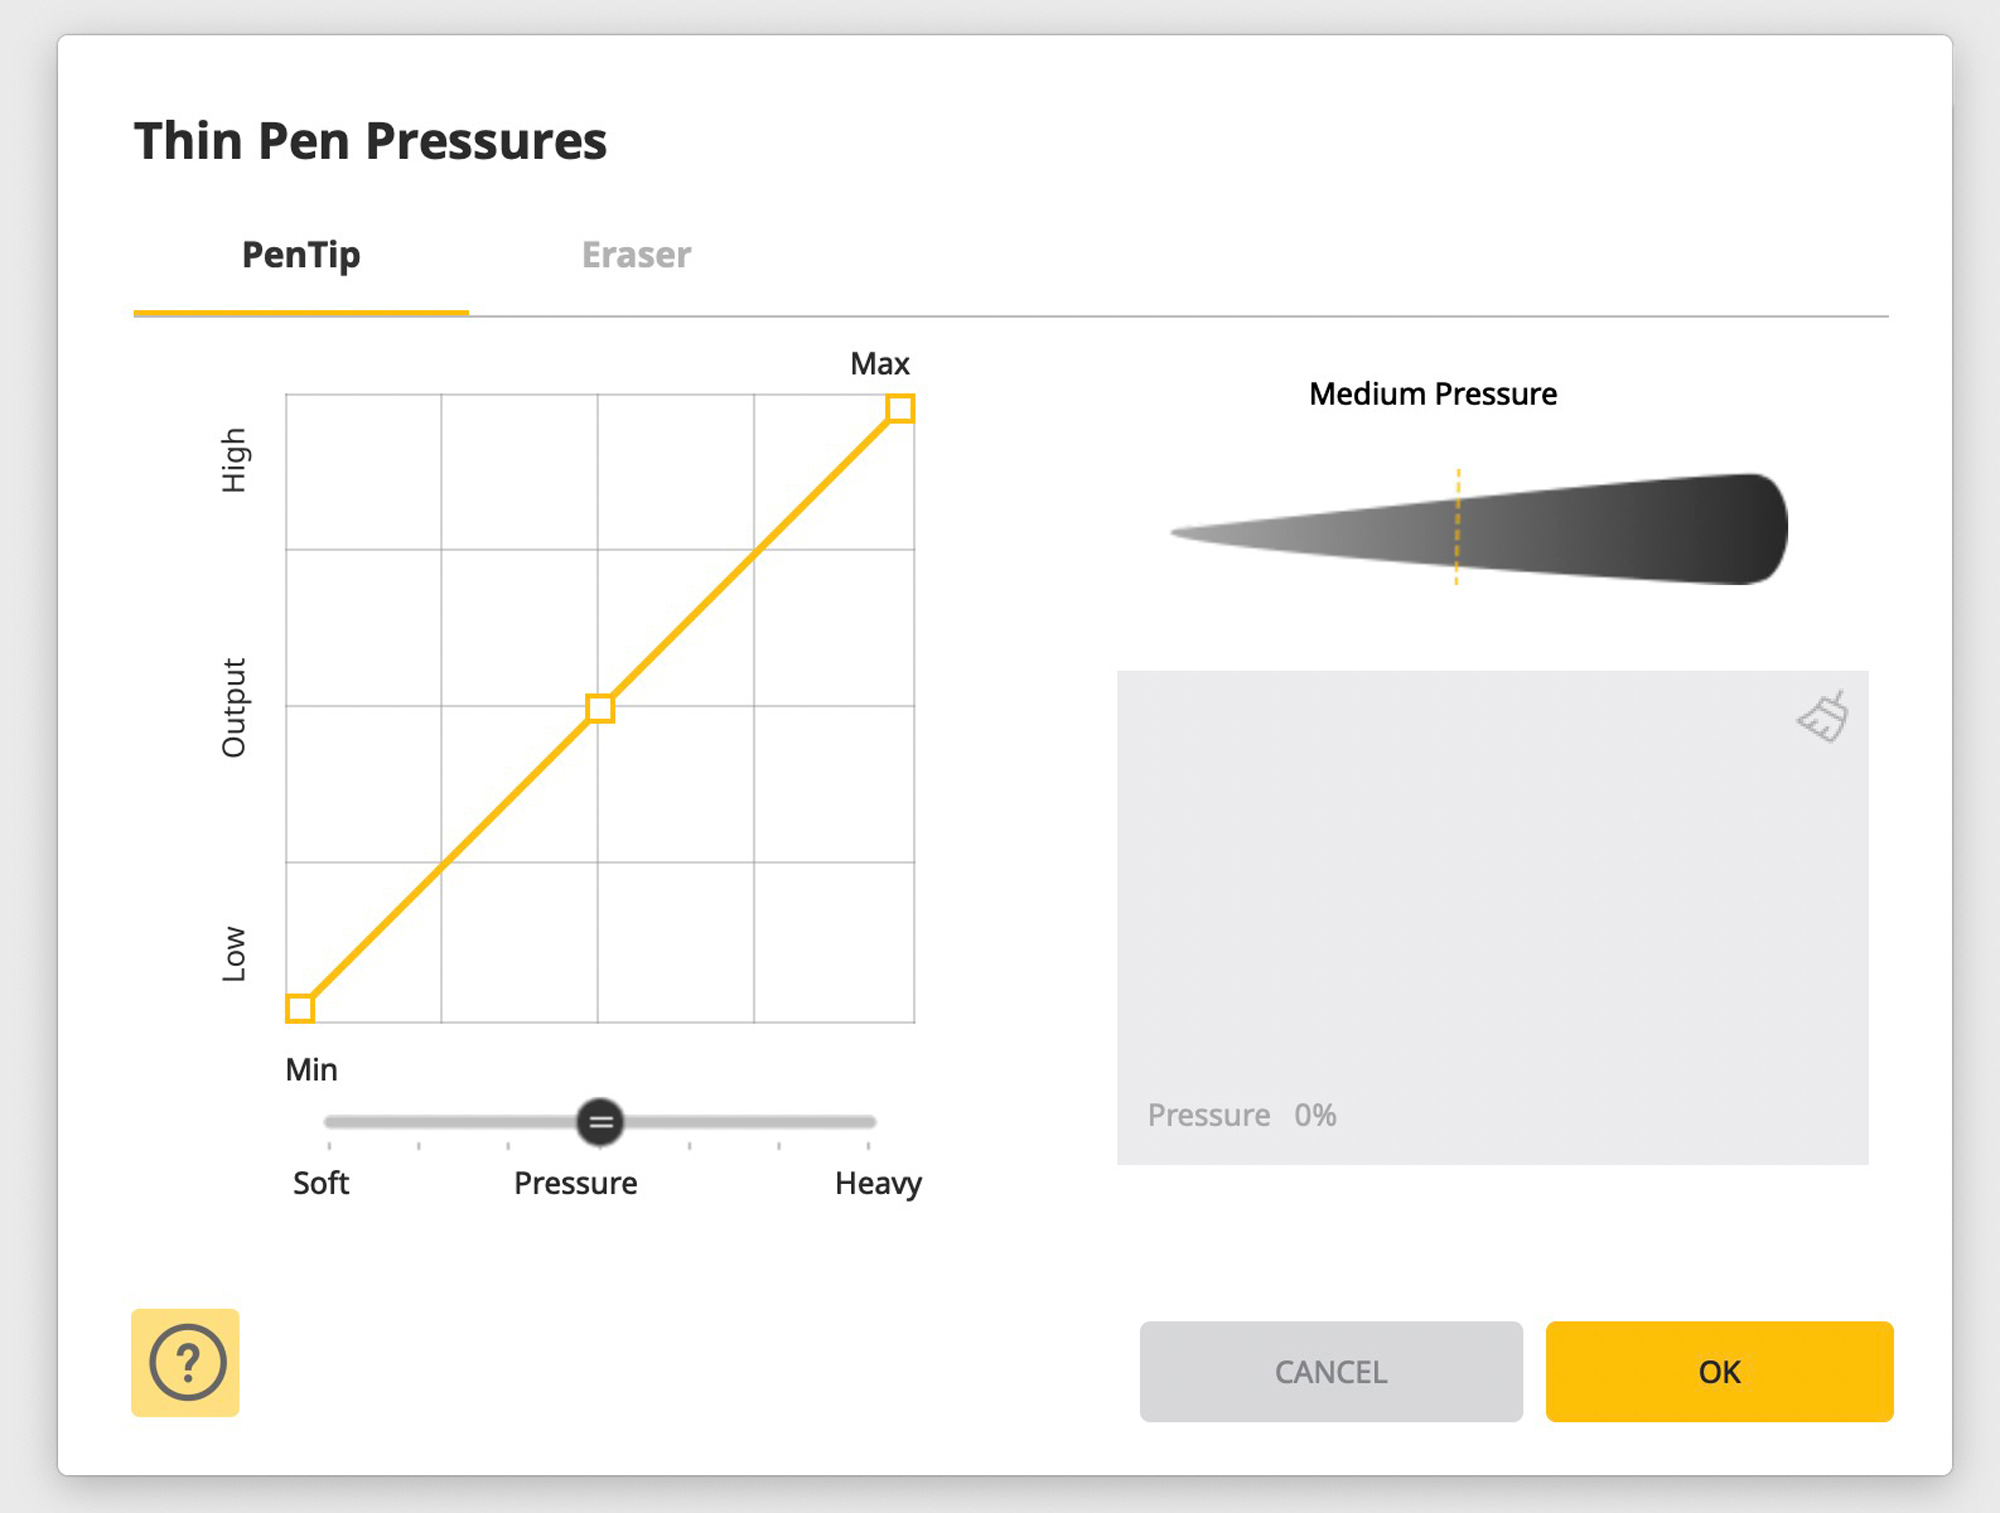
As shown in the illustration, you choose from the software what pen you want to configure and what application you want to configure the pen for. You can select the pen pressure first and, using the slider, adjust the feel for creating the effects. As you can see in the illustration, I set the pen up for Capture One. Pen-compatible apps will be shown in the window.
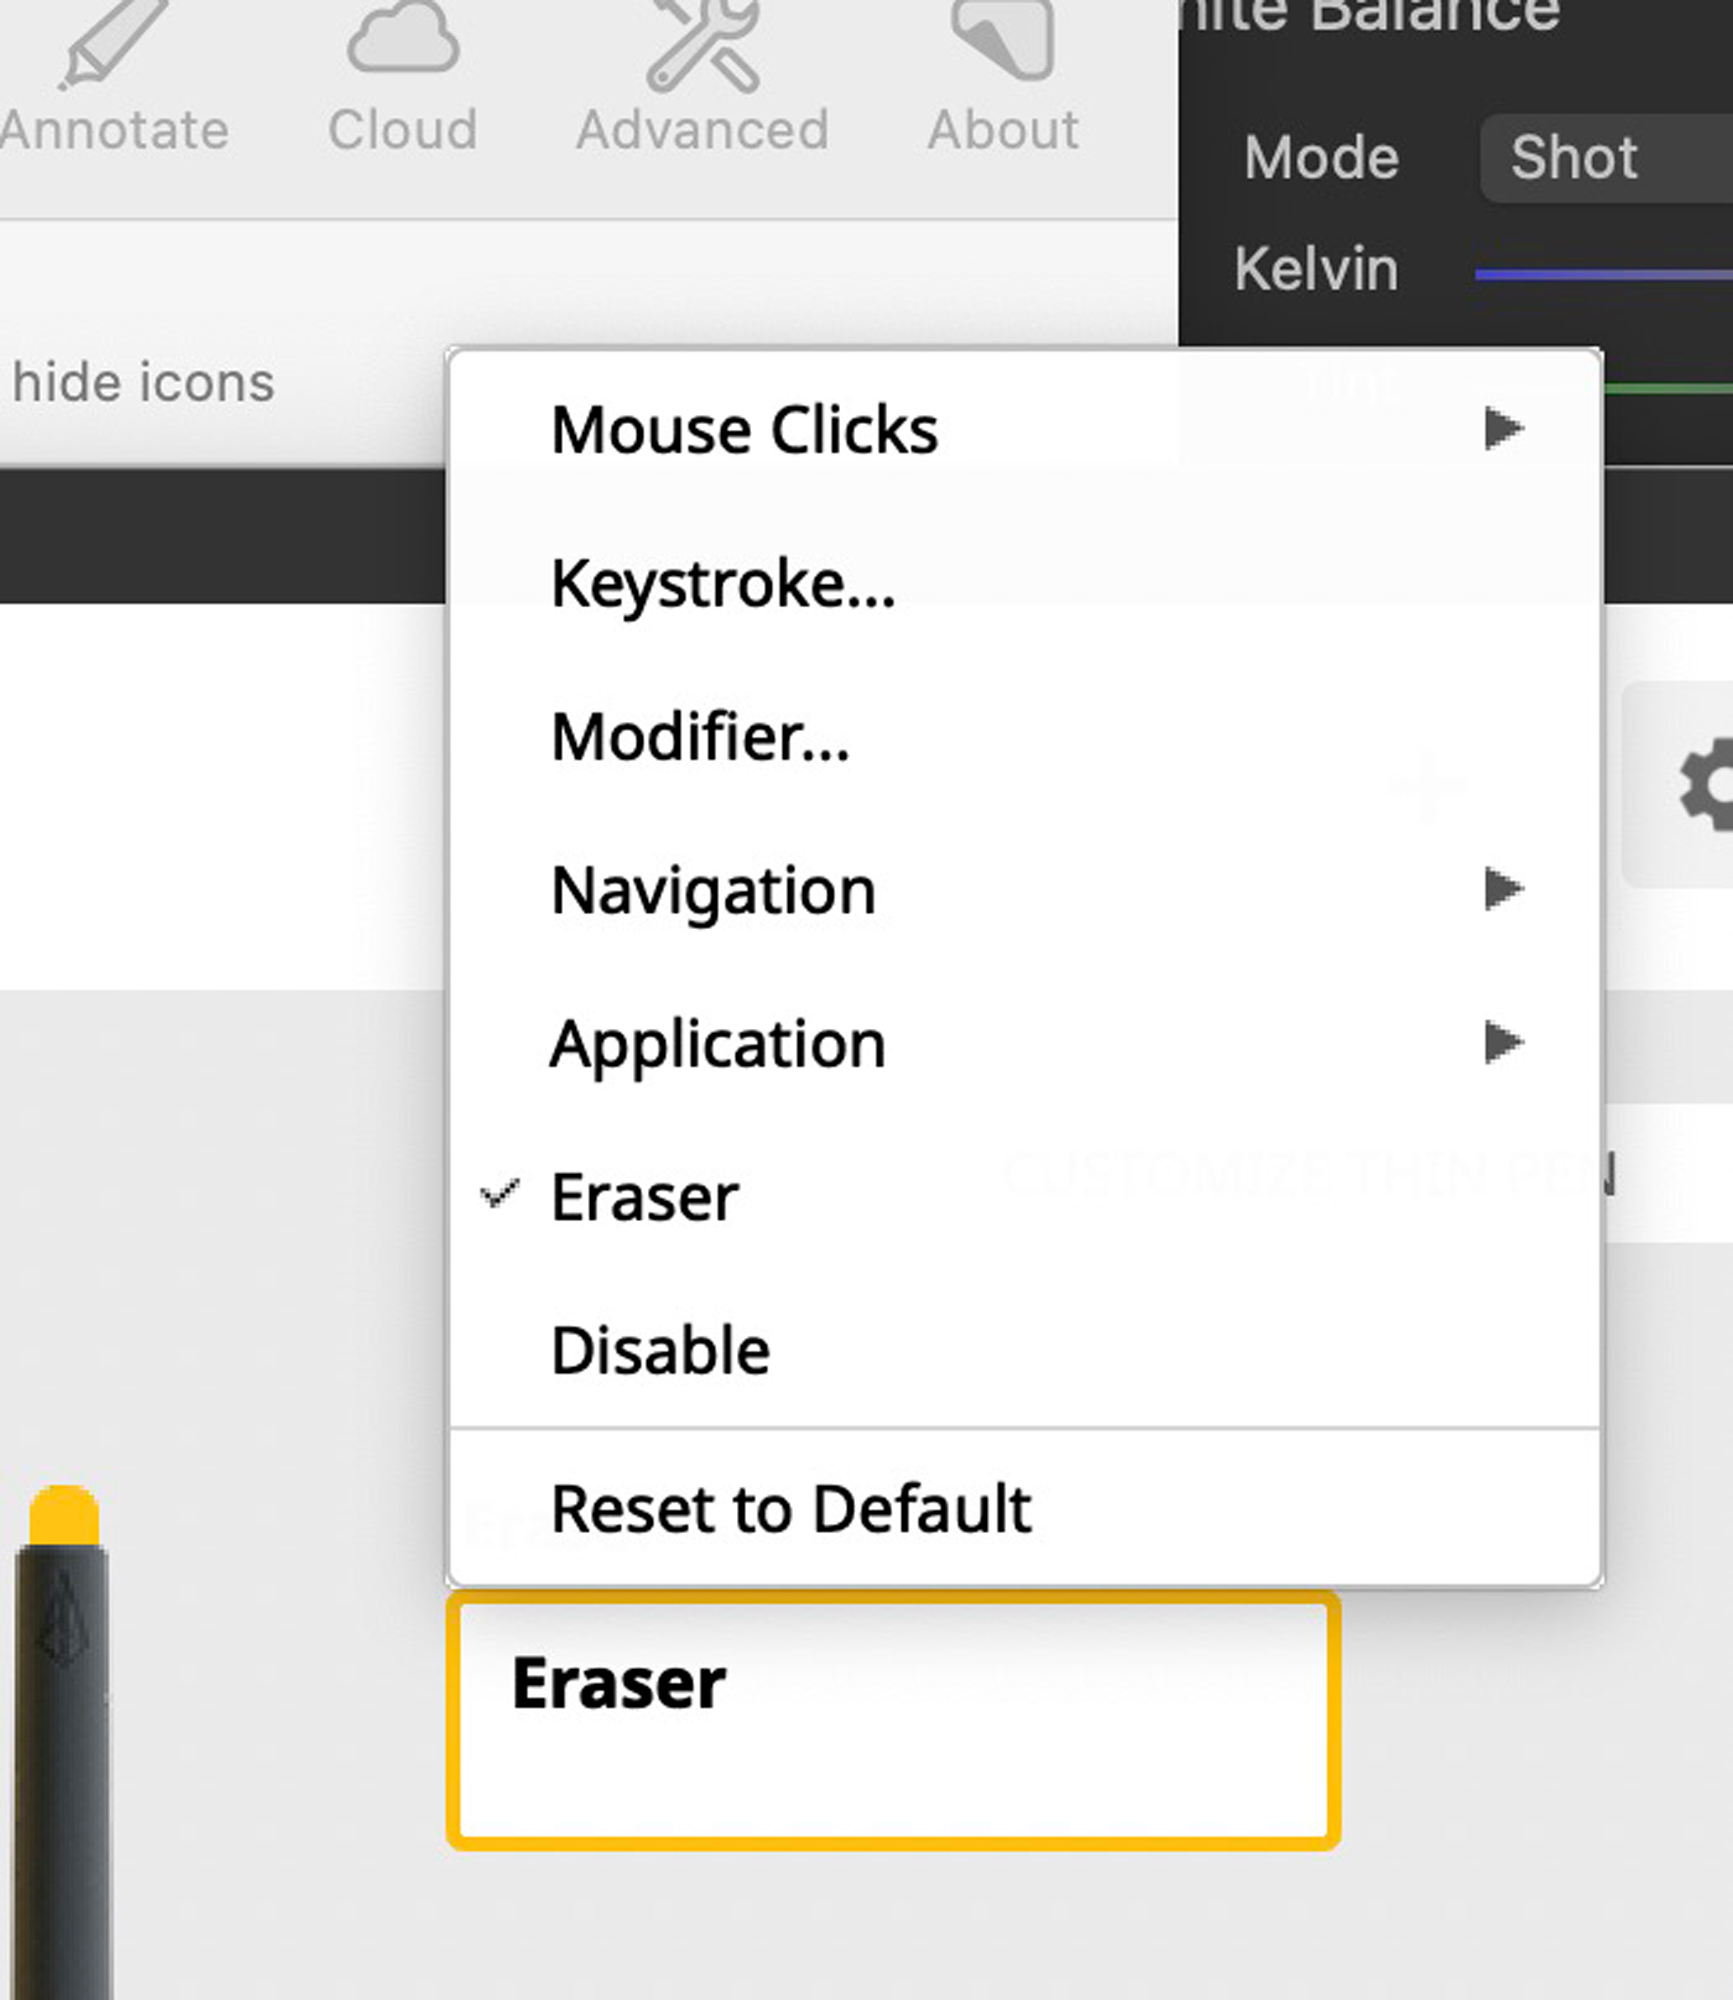
I also selected what each button does. When you choose a button to configure in the software, you’ll be presented a drop-down with available choices. You can also set up the eraser to be customizable, but it’s called an eraser for a reason so I left it alone. You also can make choices for the tilt of the pen, buttons, and mouse mode. It’s all pretty much intuitive and you’ll catch on rather quickly.
You will repeat the process for the thin pen and its two buttons.
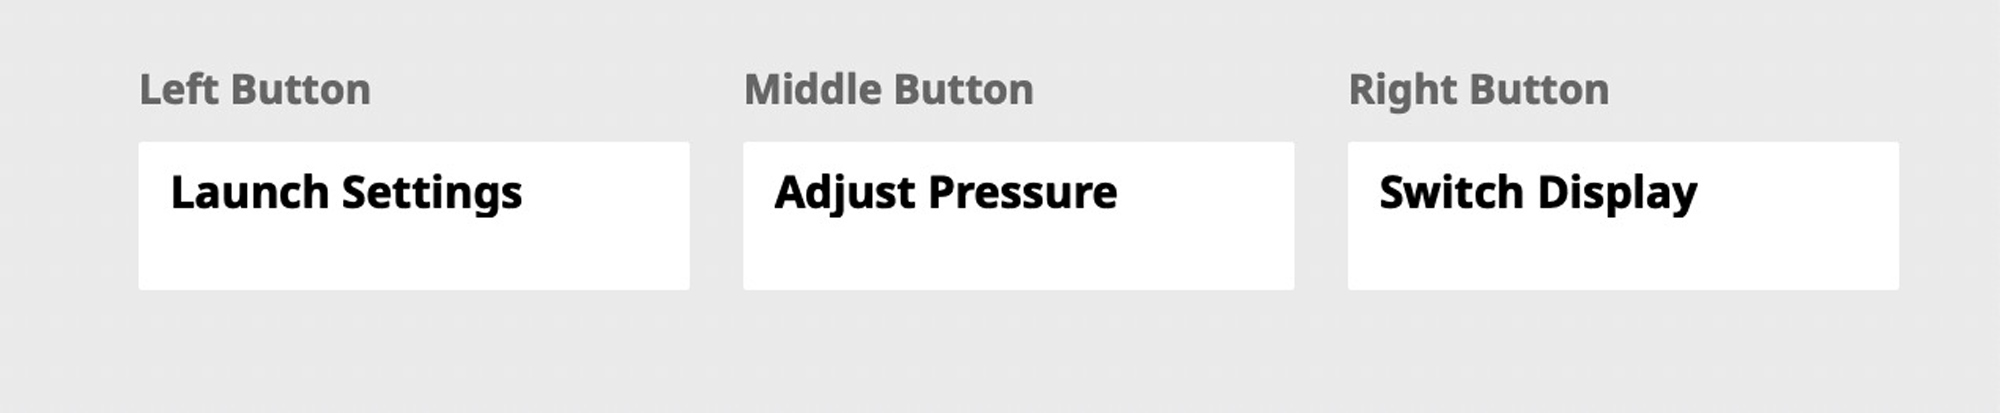
For the tablet, you have three buttons to configure as well as the color and brightness of the frame lines. As you can see from the illustration, I have chosen the three buttons Launch Settings, Adjust Pressure and Switch Display.
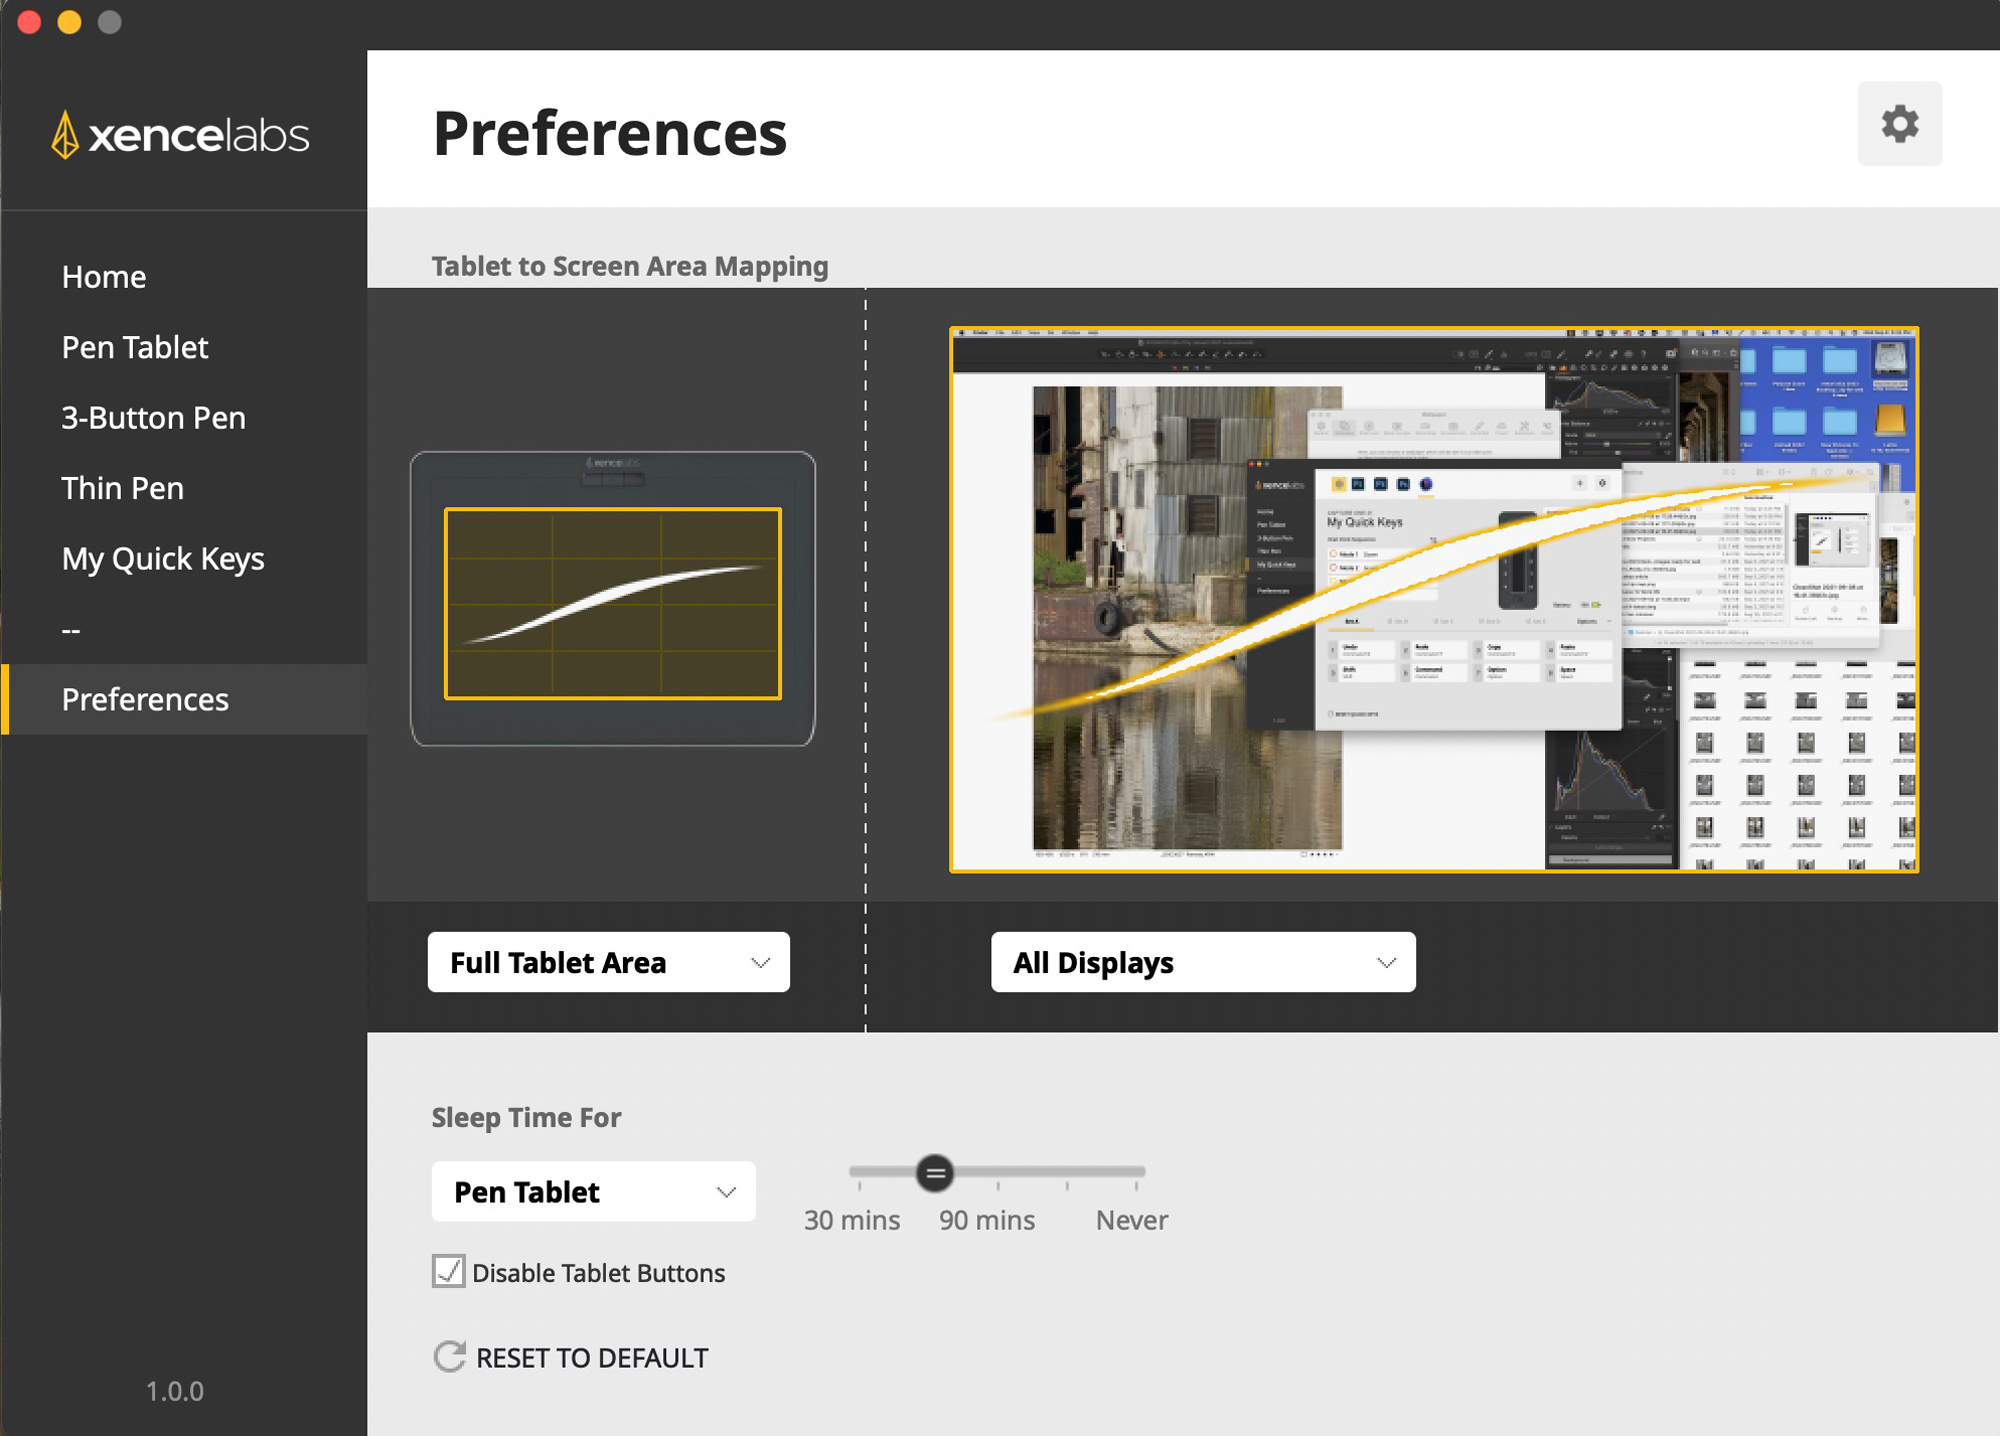
Finally, there is the Preferences area that allows you to configure the tablet. As you can see in the illustration, it allows for Tablet Area and how it works with the display. You can also adjust sleep time as well as disable the tablet buttons.
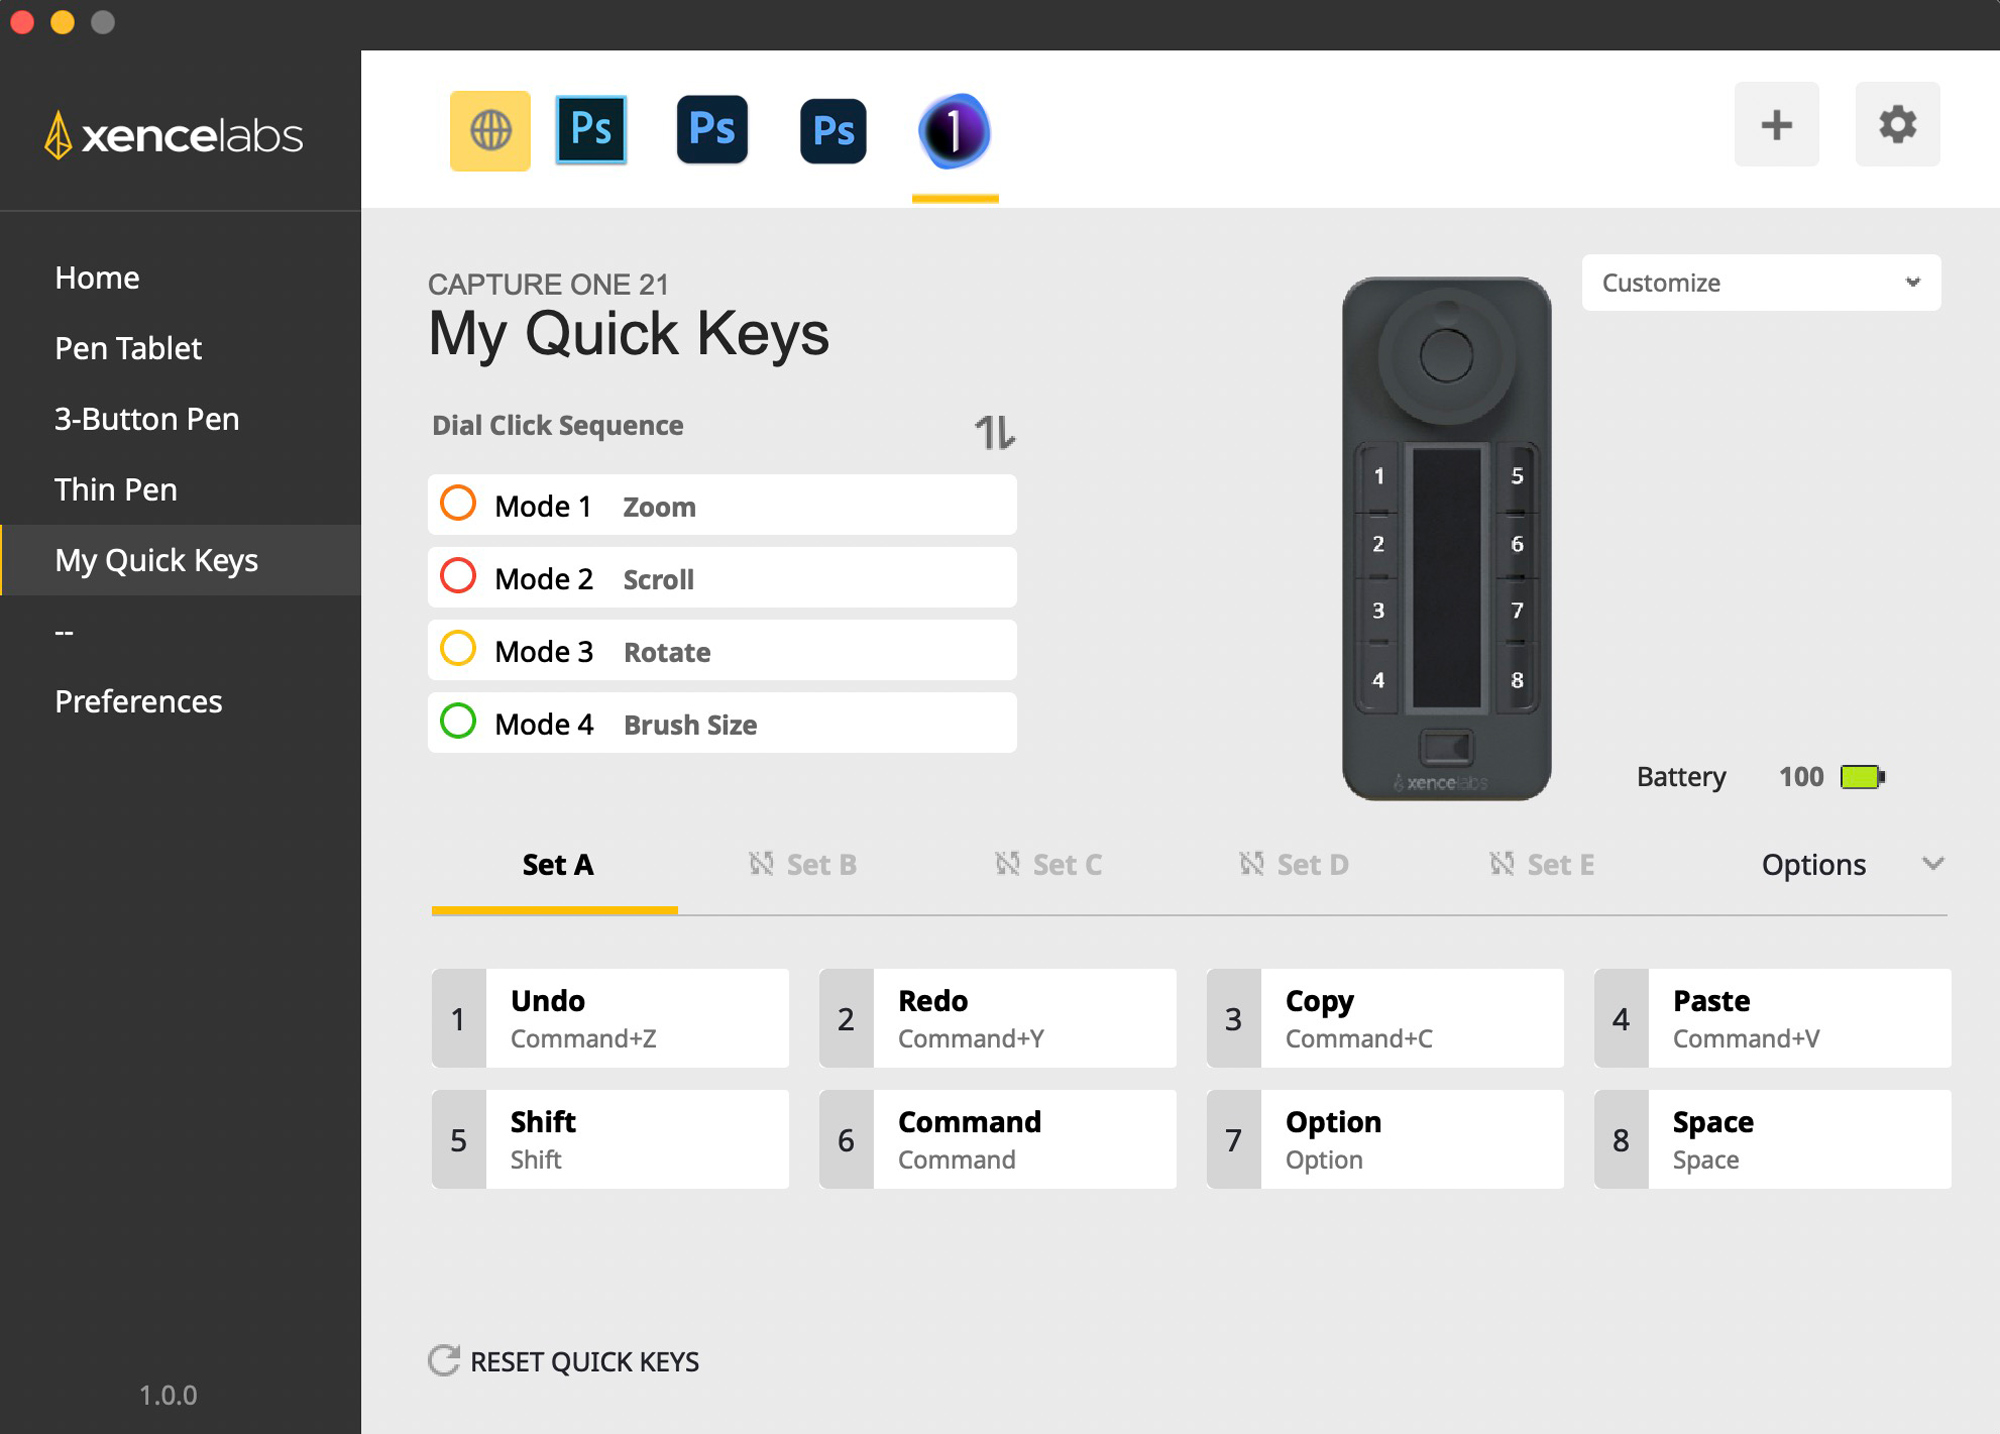
On the remote, you can customize that too. You can see my set-up in the illustration as well as the customized screen from the software.
The Xencelabs Tablet In Use
The great part about this tablet is that it is wireless. I was able to position and use the tablet without pulling or tripping on cables. I could easily hold it on my lap to edit. I have to say it took a bit of eye-hand coordination to adjust to it after using the mouse so much, but after an hour or two, I was getting pretty proficient. If you have used pantalets before, it should be a no-brainer.
You also need to learn the right pressure of the pen and what the strokes do in use. In Capture One, where I used it most, I found it to be a little different than using the mouse. I had to choose the brush thickness and flow as well as how the pressure of the pen affected the choices. It didn’t take too long before I was getting pretty good at it.
This tablet comes in very handy with Capture One these days as they have added so much more as far as layer brushes and capabilities go. I find that a lot of what I was once doing in Photoshop I am now doing in Capture One. Once I got the hang of it, I found the pens and using the tablet to be really beneficial.
A lot of times I was operating with the pen in my right hand and then holding the remote in my left. Using the pre-set buttons and whee lset for zooming, I got to be fairly proficient at being super productive.
Final Word
The Xencelabs tablet has now replaced my Wacom tablets. This product is well built and has many of the same features. It’s not a big difference in price from the Wacom but you get a lot for your money. The software interface is elegant and while you won’t be using it much, it is good to know how customizable it is as you get more proficient or demand more from it as far as what it can do with the programs you are using.
Xencelabs has big plans for more devices in the near future. They make a quality product and I know a few friends who have put their Wacoms on the shelf and made a switch to Xencelabs. Xencelabs has put together a good team from design and manufacturing, as well as software design and use. Everything is easy to use and set up and it just works.
The price may seem a bit steep and many will say for that price I’ll stick with my mouse. Years ago I said the same thing until I started using pen tablets. Now it is a crucial part of my post-processing, especially when I have a lot of detail work to do like masking and layer adjustments.
If you are shopping for a tablet, then make sure the Xencelabs tablet makes it to the top of your list. It’s a great tool and what I really like is that with the carrying case I can easily take it with me to the field or when I travel. I look forward to seeing what else Xencelabs is coming up with.
You can purchase the Xencelab Tablet HERE and you can learn more about Xencelab Tablets HERE.
Kevin Raber
September 2021
Indianapolis, IN
Photography is my passion and has been for 50 plus years. My career in photography has allowed me to travel the world, meet some of the most interesting people on the planet and see things I could never have dreamed of. My goal is to share the passion of picture taking through photographs and teaching with as many people as I can, hoping it brings them as much joy and happiness as it has me. I do this through photoPXL.com, this site, as well as Rockhopper Workshops, and other projects, as well as teaching as Artist In Residence at the Indianapolis Art Center.