Monitor Calibration A Most Important Step To Great Prints
We are back with another PXLprintit video. As you know, if you have been following our series of articles and videos on The Print, I am a firm believer in the saying, “you don’t have a photograph until you can hold it in your hands”.
There are a few steps to making prints, and many of these have gotten a lot easier over the last few years. One of the first things that needs to be done before you can start to make prints is to calibrate your monitor so it gives you a good representation of what your prints will be like. A properly displayed monitor will allow you to make corrections for your files that consider color shifts for your monitor and the screen brightness and ambient light in the room where your computer is.
The process is rather simple and takes only minutes. I have several monitors that I calibrate and I use two different devices. Both accomplish the same thing in the end. I use both so I can work with clients that have either.
The Spyder X
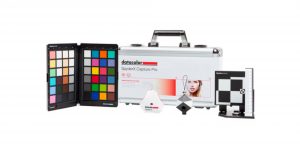 I have the Spyder X Capture Pro . This is a lot more than you most likely need but I bought the kit so I could have a color checker card and the exposure cube. Both aid me in obtaining the best color. You could just buy the Spyder X elite for less and use it just for your monitor calibration. It works great and is simple to use.
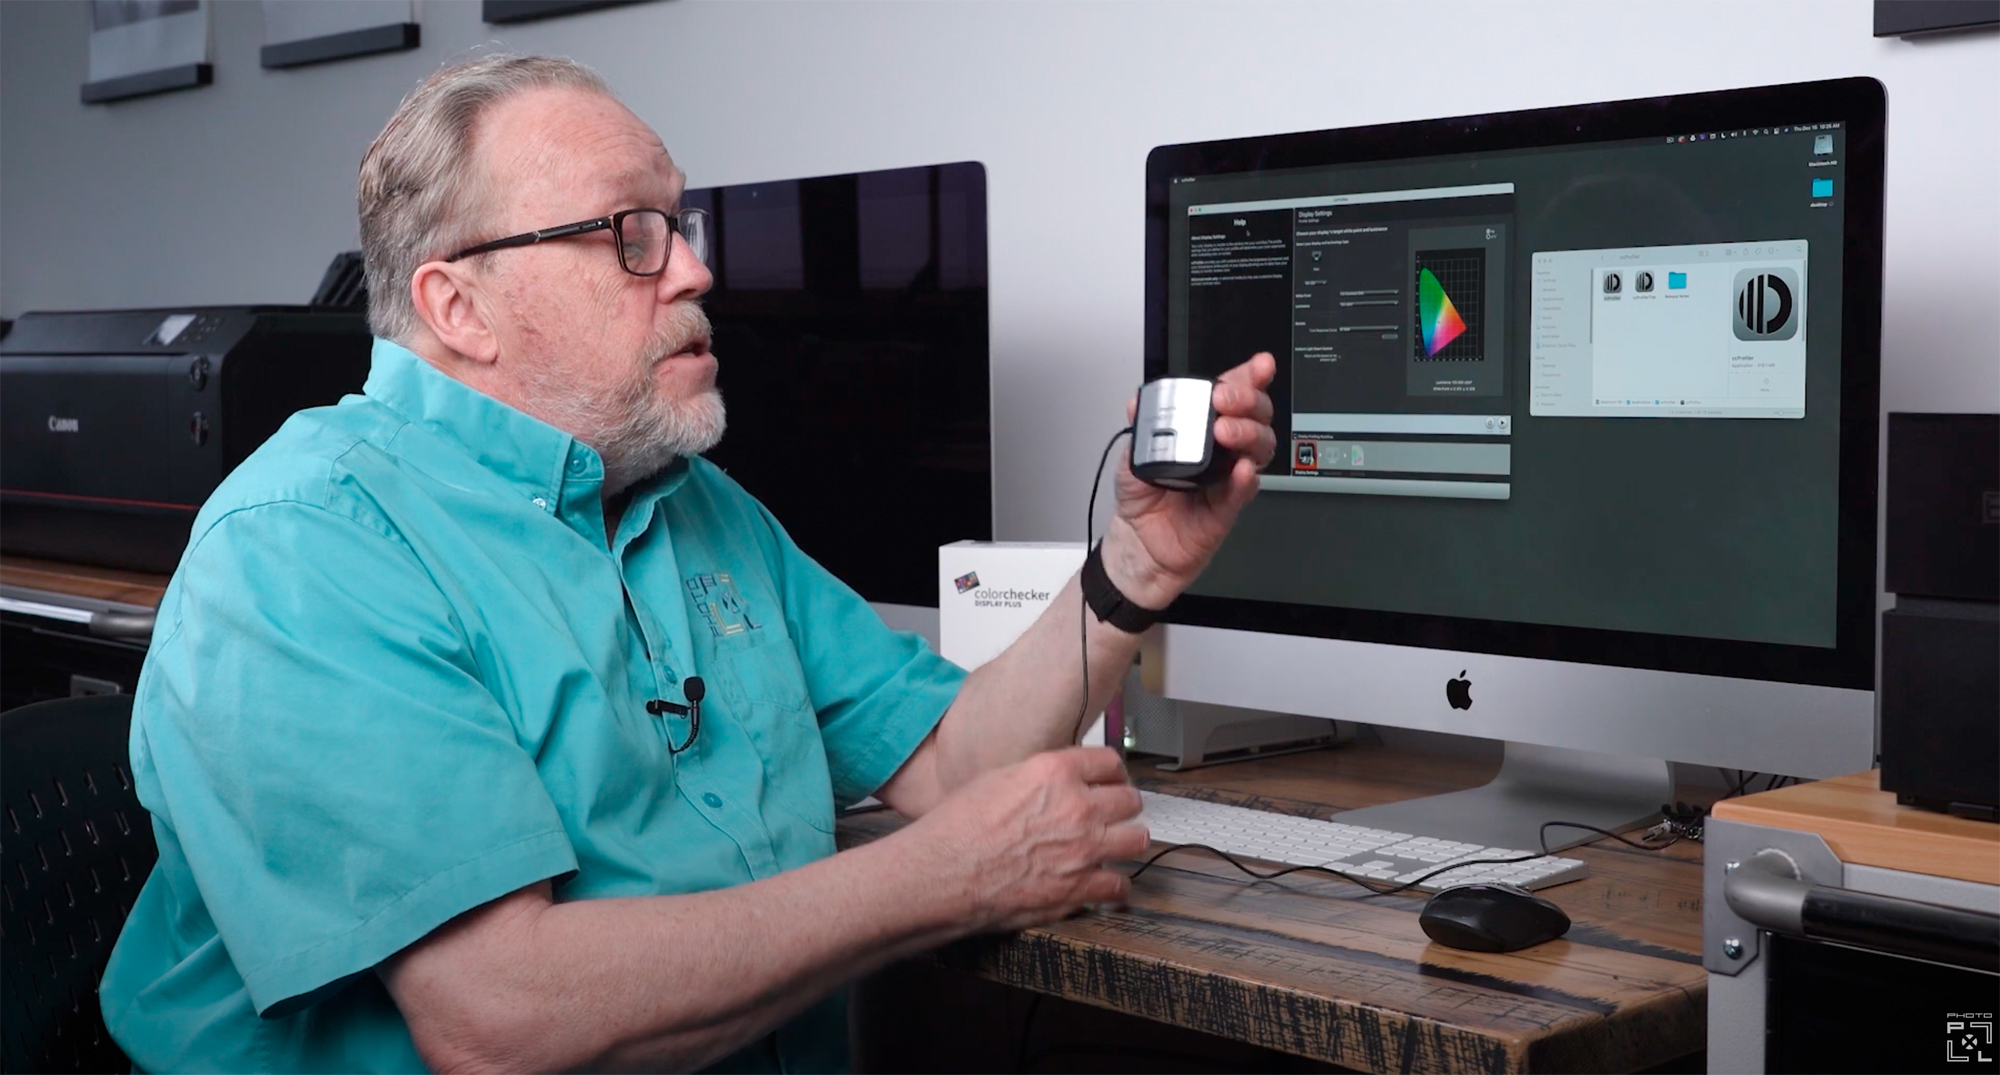
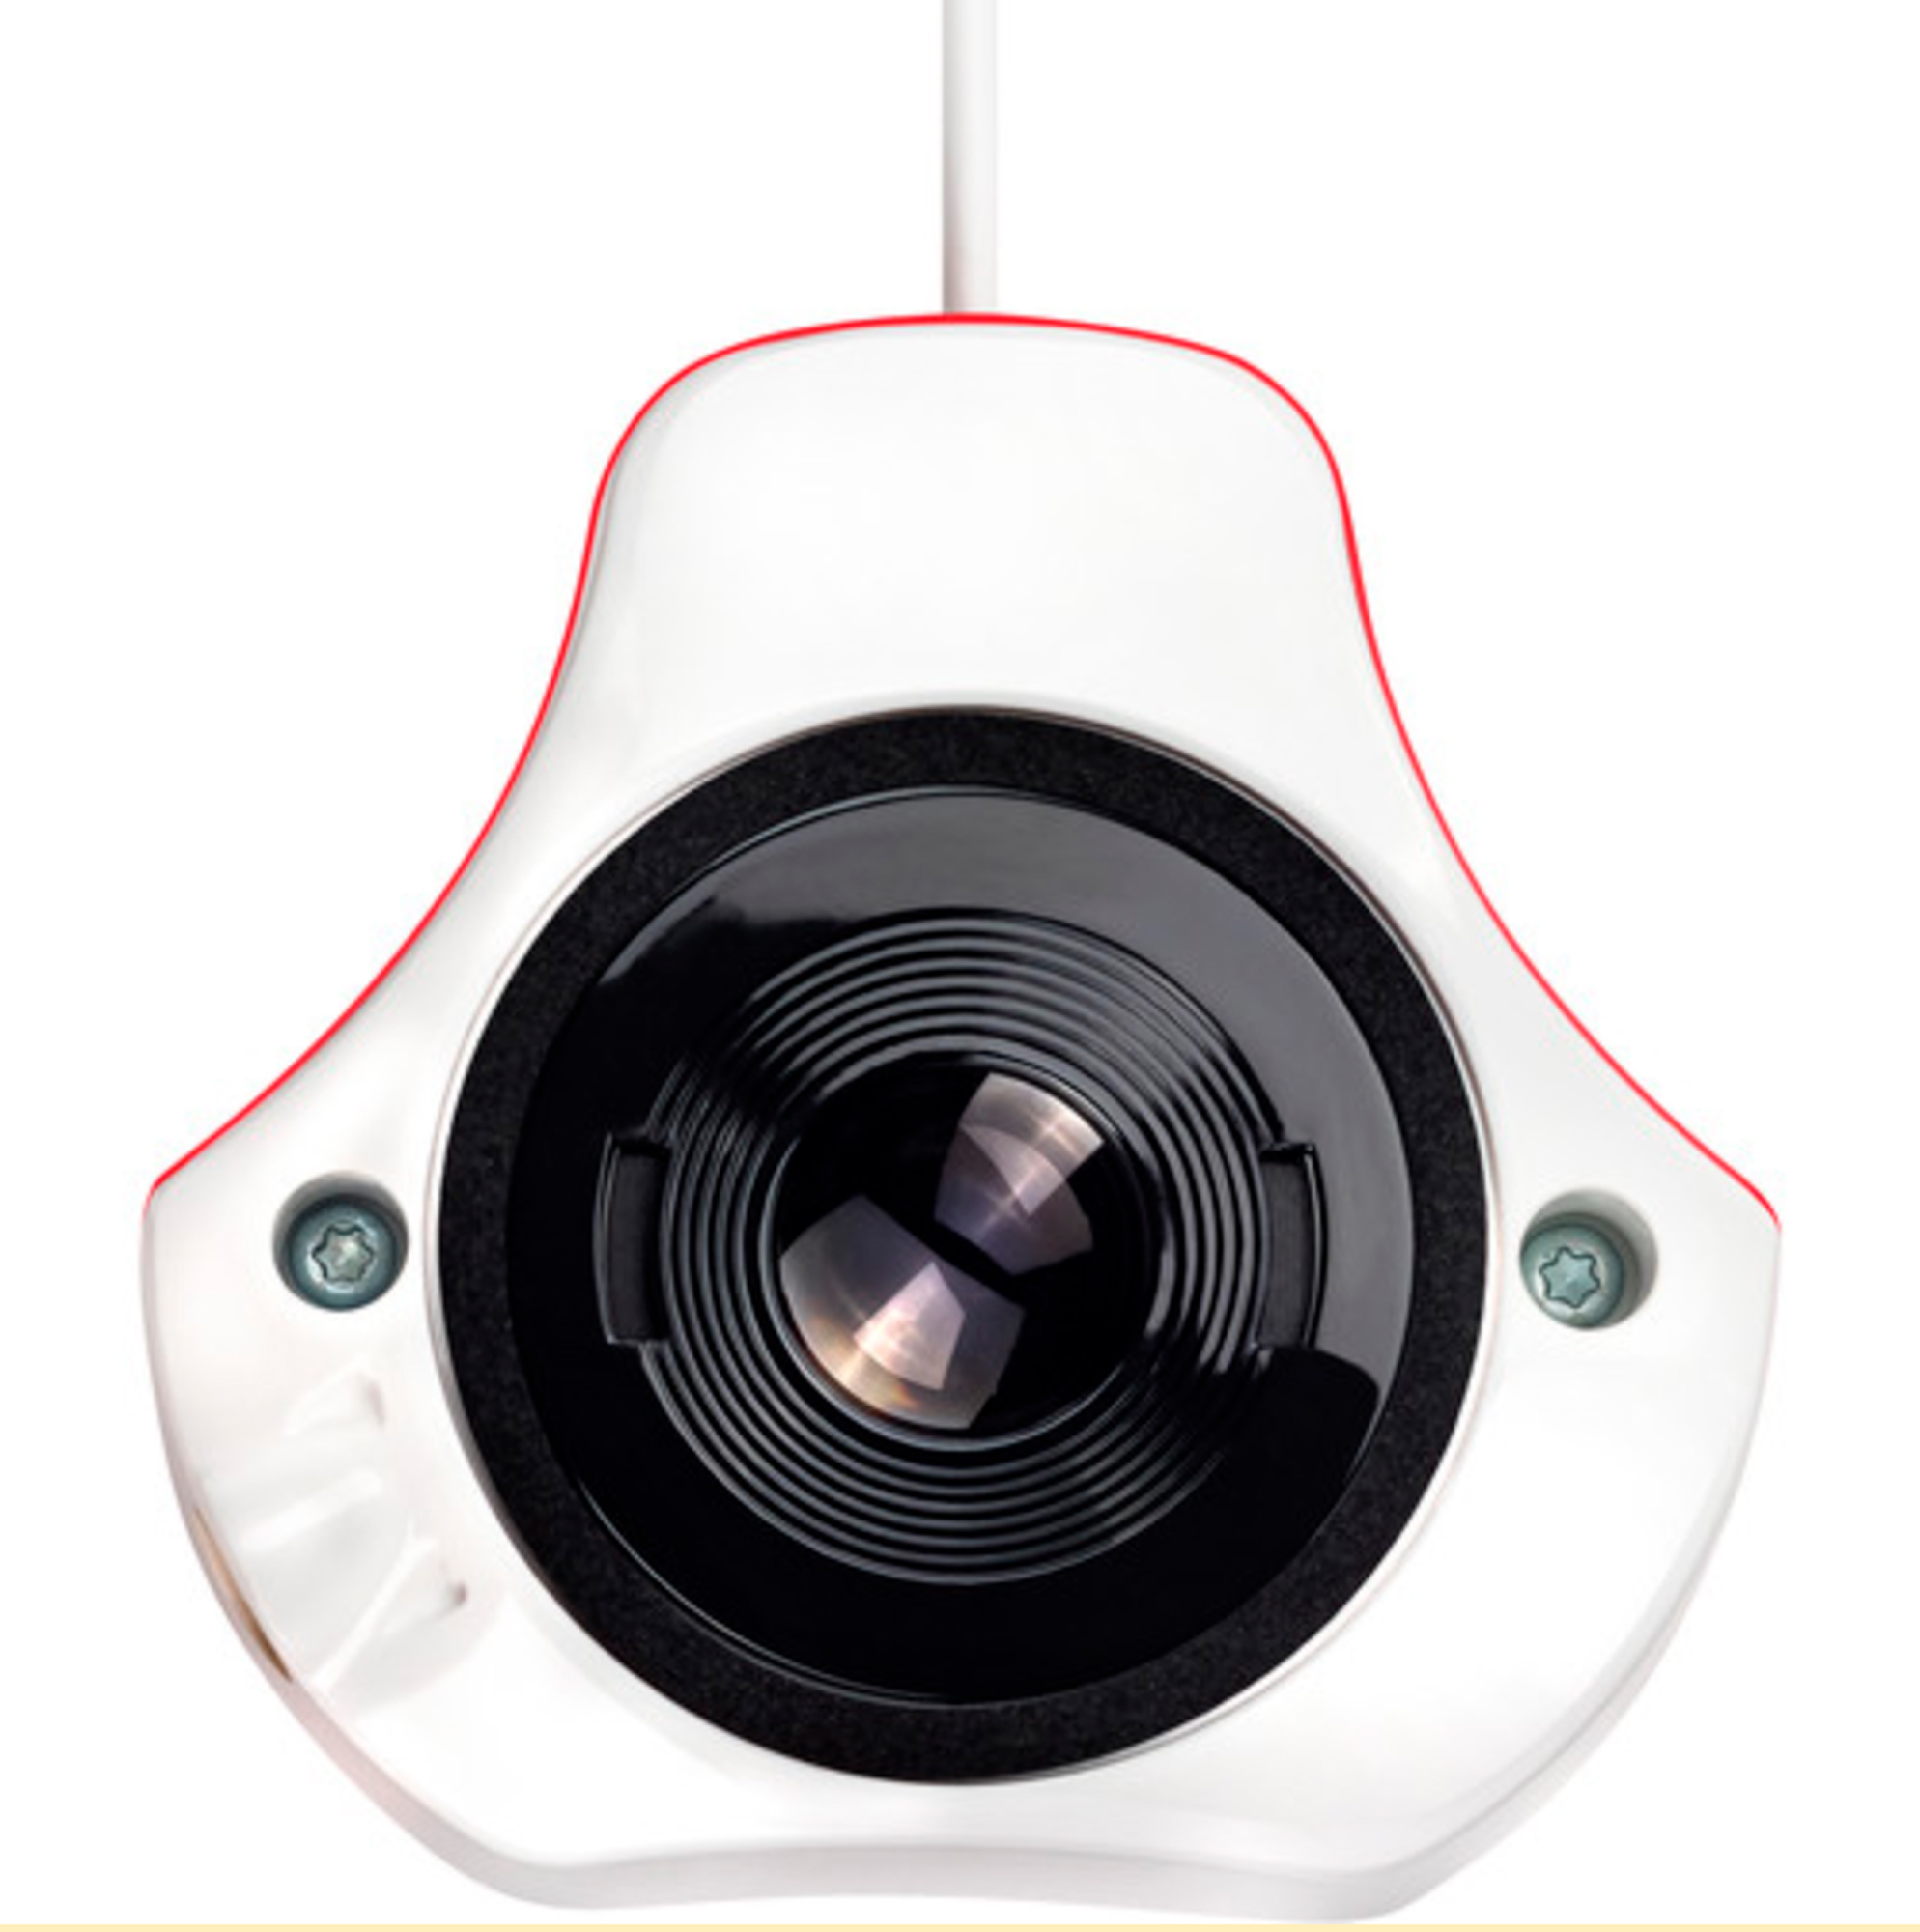
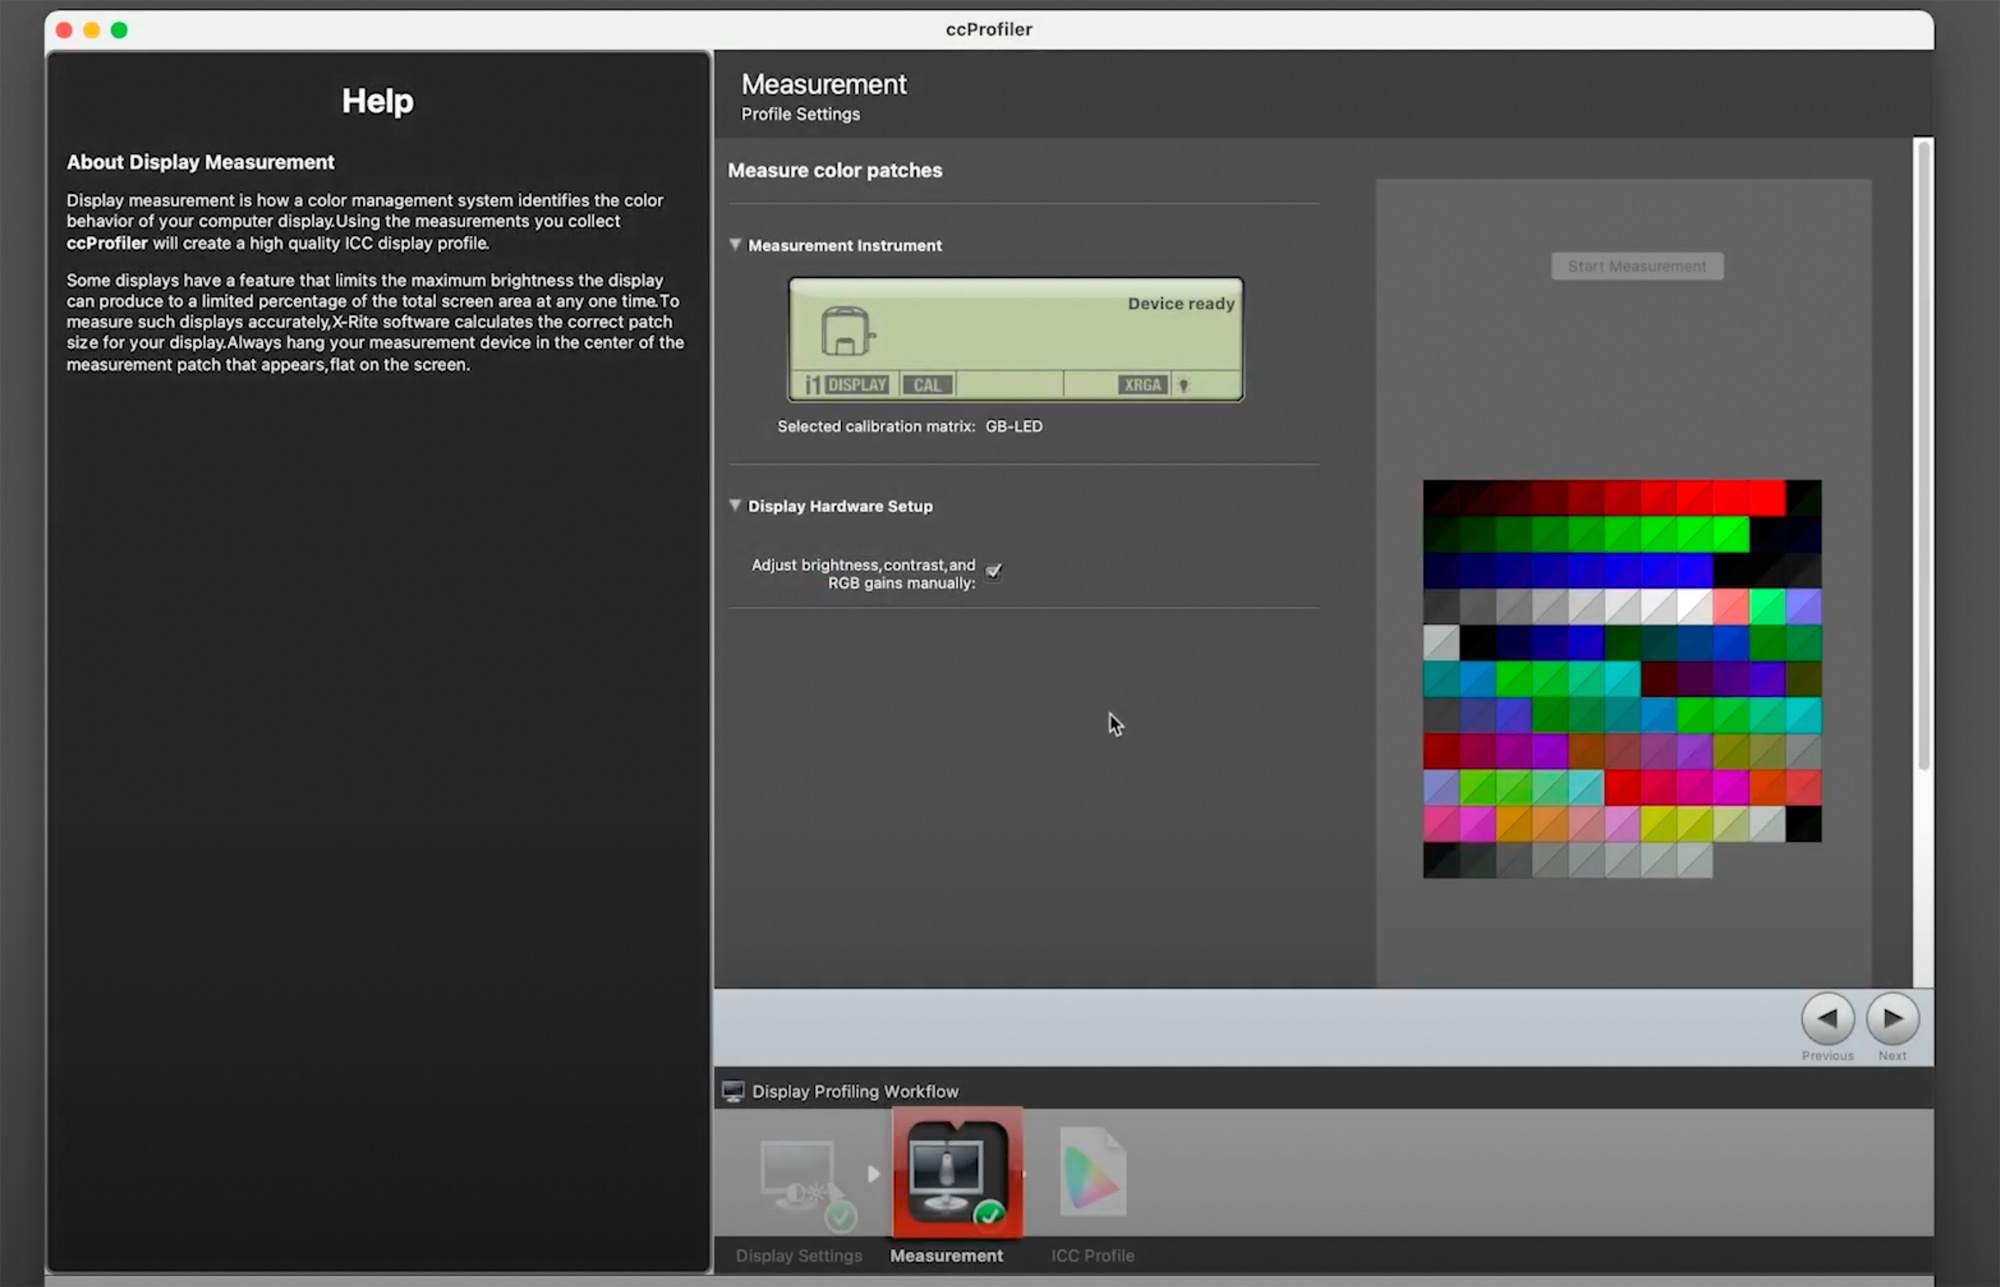
Calibrite Color Checker Display Pro
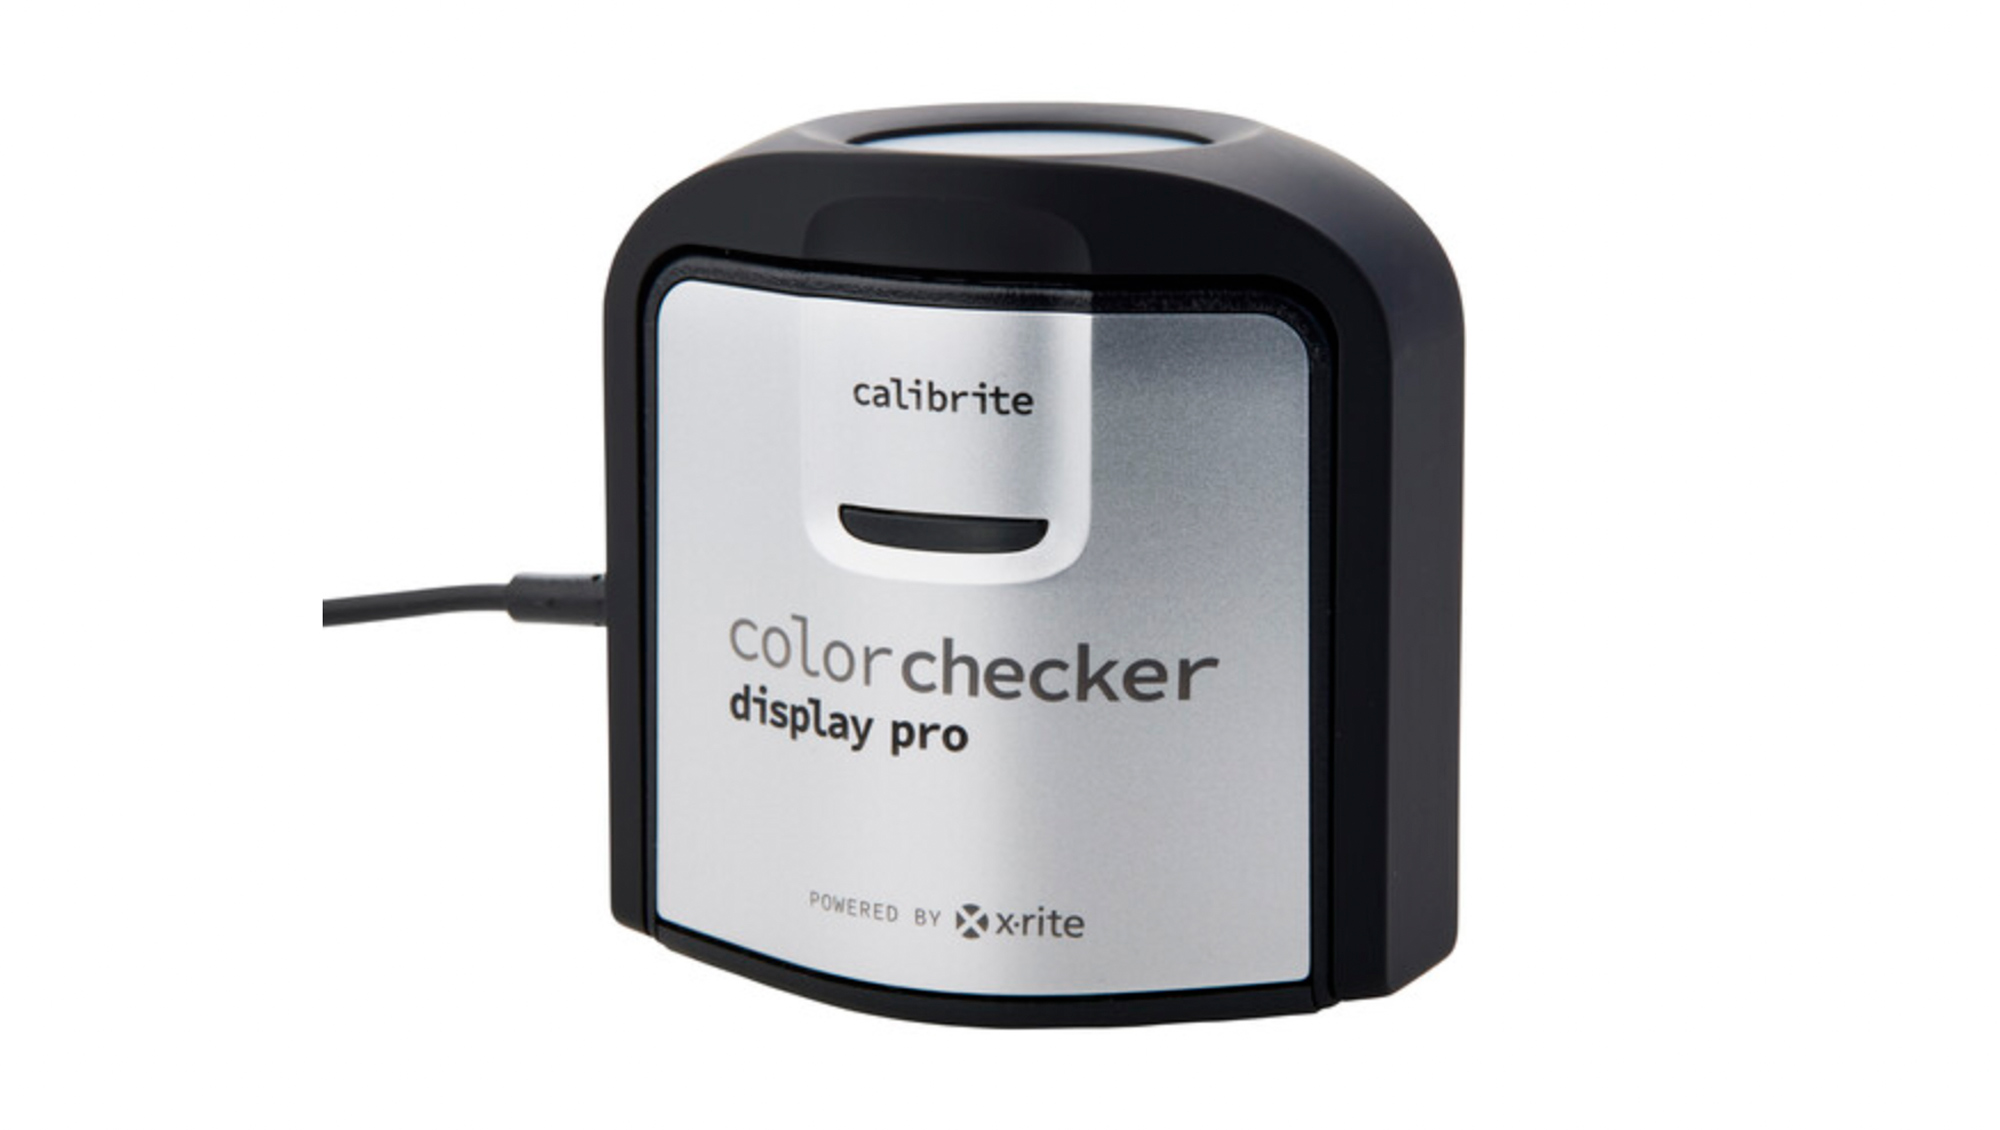
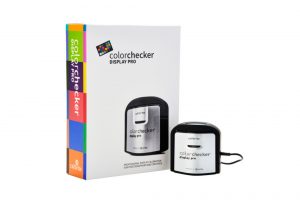 X-Rite made this device and it does a great job. It’s what I used in the accompanying video. The Color Checker Display Pro can be used like the Spyder to calibrate both your monitor and a projector. Step-by-step displays in the software guide you through the steps. Simple and quick.
The Video
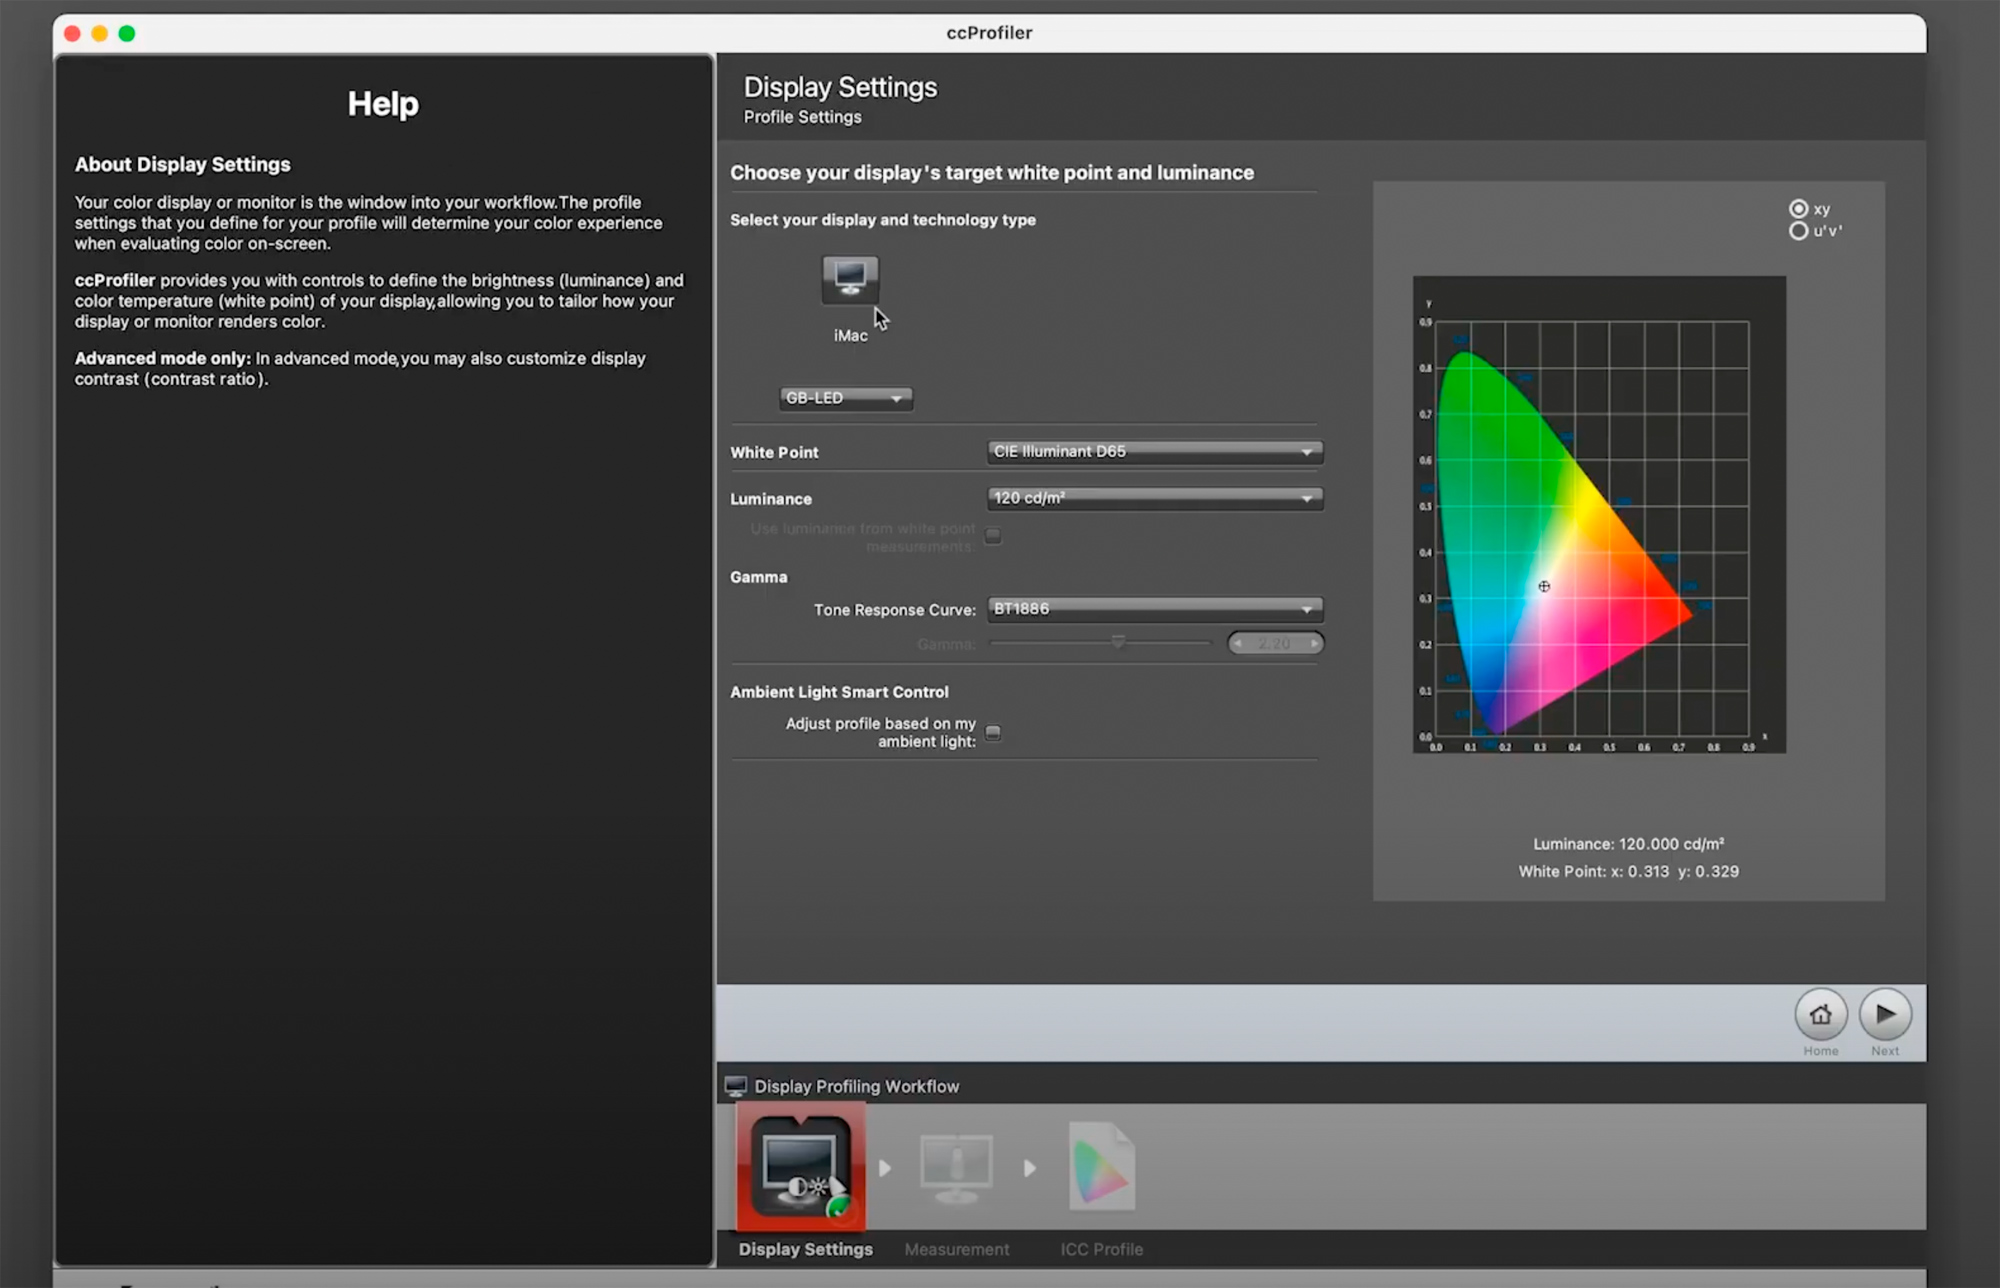
This video will show you just how easy calibrating your display can be. The device comes with a link to download the software for both Windows and MAC machines. You need to make a few simple choices along the way. You will also have to decide how often you want to run the monitor calibration again. I usually do it every 3-4 weeks. The software will remind you to do it.
Don’t forget to make sure you choose the monitor calibration file in your displays preference. And, make sure you are at the proper brightness. I have seen many photographers up the brightness on their displays and wonder why colors and print brightness are different.
Final Words
This is the simplest and one of the most important parts of your printing workflow. Even if you don’t print, it will show you the best colors for making adjustments to your images in any post-processing software.
Follow the links provided and make sure that one of these devices is sitting next to your computer.
Kevin Raber
August 2022
Indianapolis, IN
Photography is my passion and has been for 50 plus years. My career in photography has allowed me to travel the world, meet some of the most interesting people on the planet and see things I could never have dreamed of. My goal is to share the passion of picture taking through photographs and teaching with as many people as I can, hoping it brings them as much joy and happiness as it has me. I do this through photoPXL.com, this site, as well as Rockhopper Workshops, and other projects, as well as teaching as Artist In Residence at the Indianapolis Art Center.