iPhone 15 Pro Max – Macro Control: Getting Up Close
Apple introduced Macro Control with the iPhone 13, and it’s improved each year since.
It’s convenient to go from photographing landscapes or portraits to making macros with the touch of a button. No changing lenses like we do with a big camera and no need for an accessory lens (although you can get even closer with a good macro lens attached).
Here are a few steps for creating macro photos with the macro feature on the iPhone 13, 14, and 15.
First, you must turn on Macro Control in the phone’s camera settings. (Settings>Camera>Macro Control>ON)

When you turn Macro Control on in the settings, a macro switch is added to the camera interface. It appears as a tiny flower icon when you move the camera close to the subject.
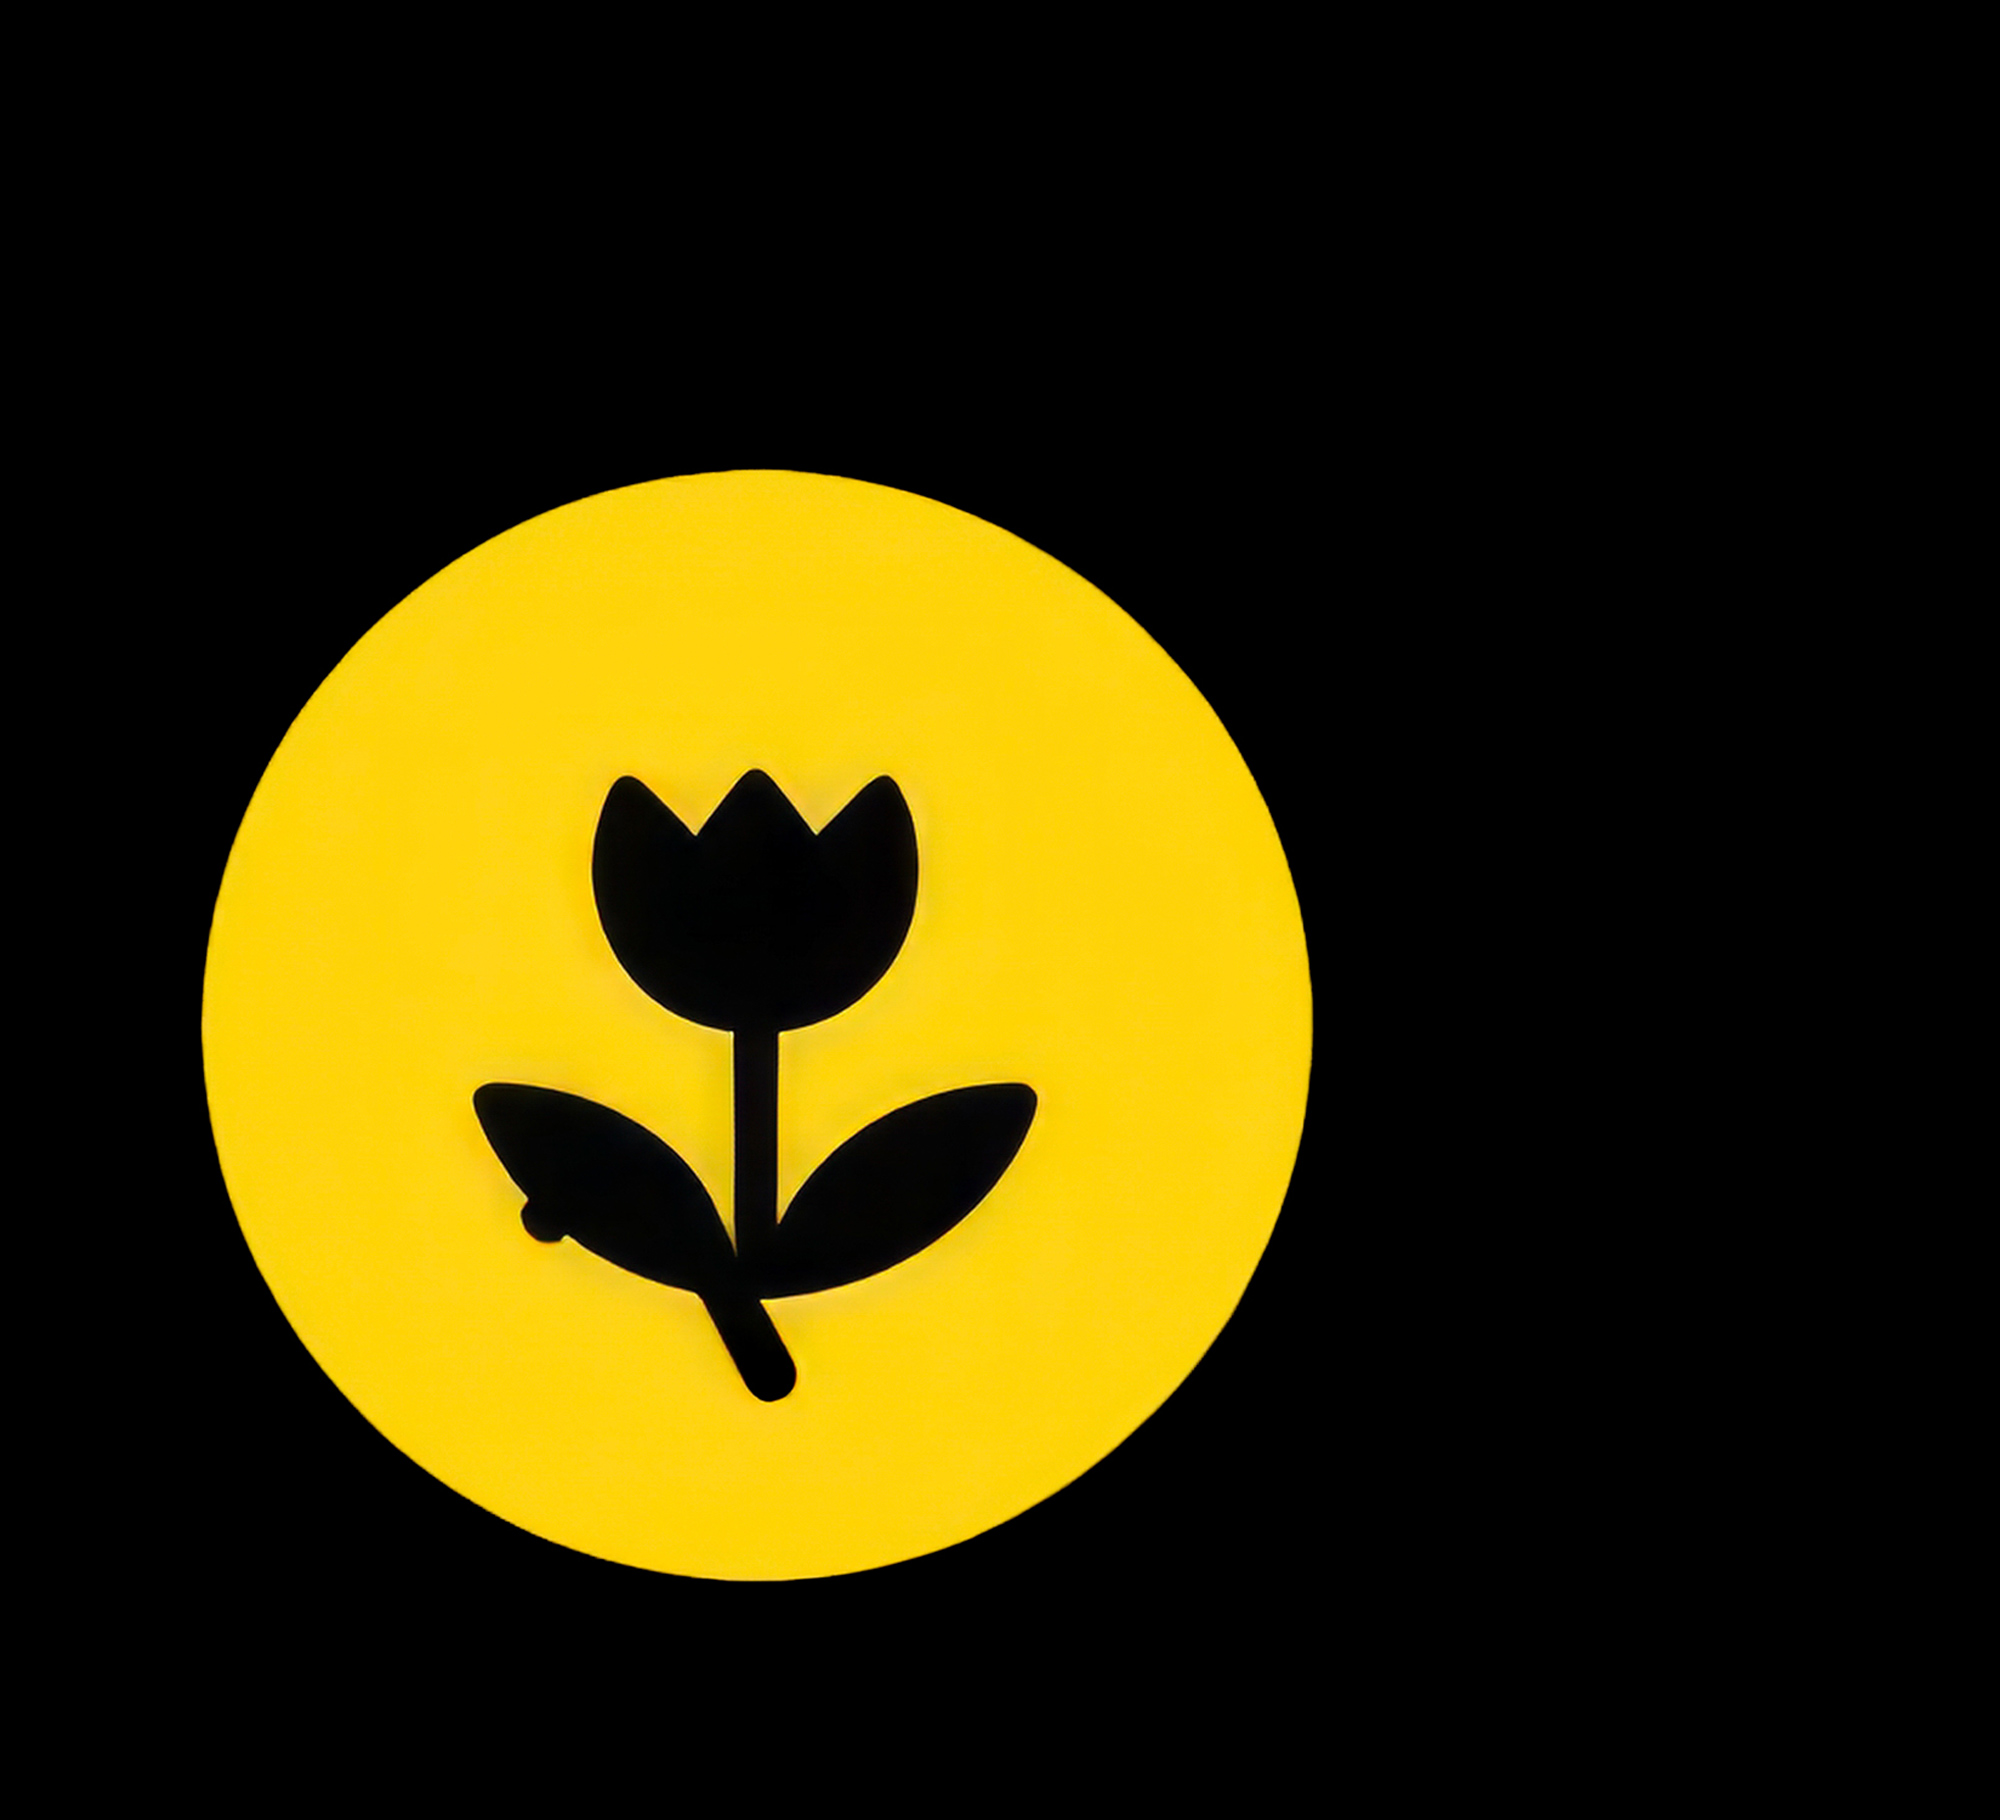
The macro switch icon appears in the lower left of the screen. When the macro is ON, the icon appears yellow; when OFF, it is white and has a line through it. It’s ON in the screenshot below.
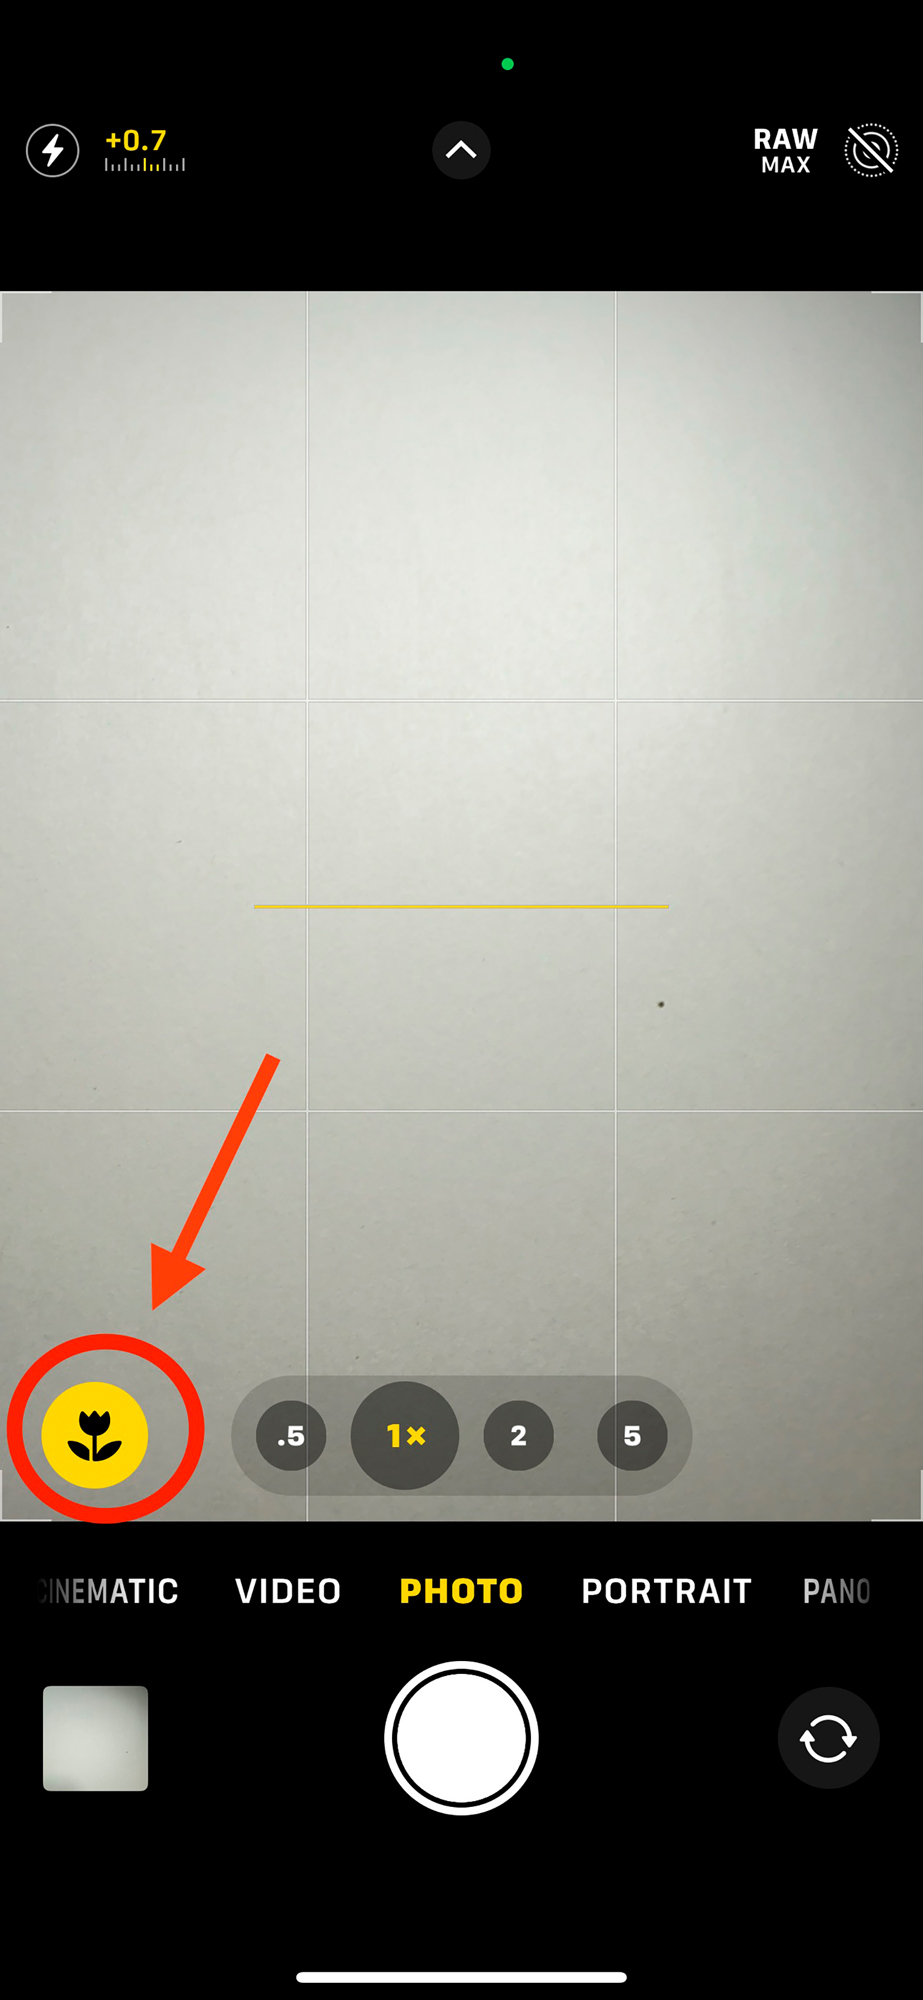
Tap the Macro icon to turn the macro feature on and off. As you move close to the subject, the icon will appear. Move away, and the icon will disappear.
You may notice a flicker as you move closer to the subject. This is switching to the 13mm ultra-wide camera used to make the macro photo. You can still choose camera lens options (.5x, 1x, 2x, or 5x) to frame your photo, but when macro mode activates, the phone automatically switches to the .5x, 13mm ultra-wide angle lens.
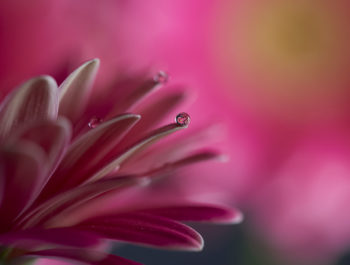
Macro mode produces a very shallow depth of field, meaning that only elements that are the same distance from the camera will be in focus. You’ll need to move the camera (or the subject) until you get the part(s) of the subject that you want to be in focus.
Holding the camera still and having a still subject is critical to being in focus. Photographing a flower that is being blown by the wind will not usually yield a sharp photo. I get the best results when I brace myself to hold the camera as still as possible or use a tripod.
Tips for Making Macro Photos
Use Burst Mode
When using macro mode outdoors when wind is moving the subject, take a burst of photos instead of a single shot. You’ll have a better chance that one of the photos in the burst will be in focus.
Note: Photos made in burst mode will be jpegs; you can’t create a RAW photo in burst mode.
To make a burst of photos, drag the shutter button to the left and hold. The camera will fire for as long as you hold the button and stop when you release it.
Use a Tripod for Stability
While you can get good results with handholding, macro photos are very sensitive to any camera movement, so using a tripod will increase your odds of an in-focus photo.
Here are links to three small tripods I use. The first two fit in my pocket.

2018 Pocket Tripod Wallet-Size iPhone Tripod – Universal Kit

Kenu Stance Mini Tripod Stand (Lightening Port)

Kenu Stance Mini Tripod Stand (USB-C Port)

SIRUI Table Top Tripod, 13.5 inch Mini Desktop Tripod
Photograph in Bright Light
Having sufficient light will produce a better photo.
Bright, overcast conditions are great for photographing flowers outdoors, while direct sunlight can be too harsh and produce unpleasant shadows.
If you’re indoors, find a spot near a window where you can use the ambient light. To soften the light, use a sheer piece of fabric as a diffuser. Our dining room windows get great light, and the sheer curtains serve as the perfect diffuser.
Otherwise, illuminate your subject with artificial light. You can use lights you have around the house but using lights designed for photography will give you the most control over the light temperature which affects color accuracy. If you’re creating in the RAW file format, you can easily adjust the white balance and color temperature in editing software such as Lightroom Mobile which lets you select a white balance in the Color management tool, or SnapSeed, which has a surprisingly good White Balance adjustment.
Try The App
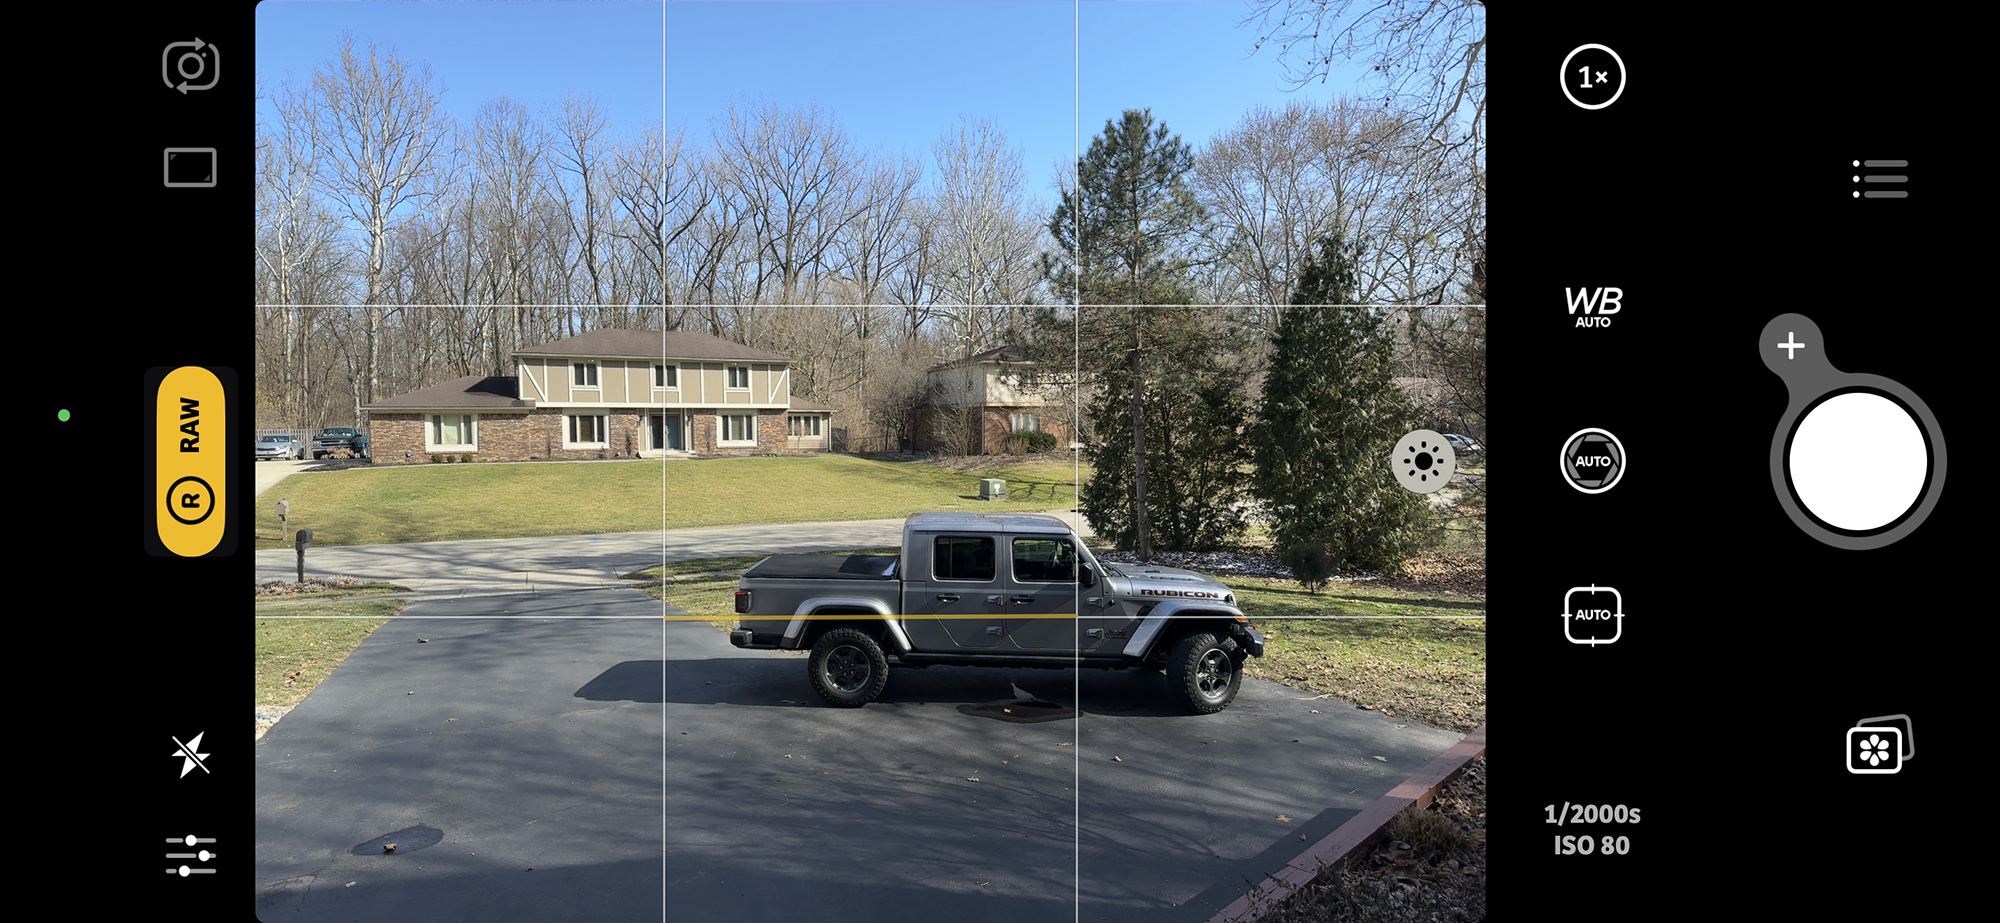 Camera +: Pro Camera and Editor
What if you don’t have Macro Mode on your iPhone? If you have an iPhone 12 or earlier, your camera doesn’t have that feature.
But there’s a great option: Camera +: Pro Camera and Editor! This app has a fantastic macro feature that does about as well as the built-in version in the later iPhones.
Be Patient and Take Your Time
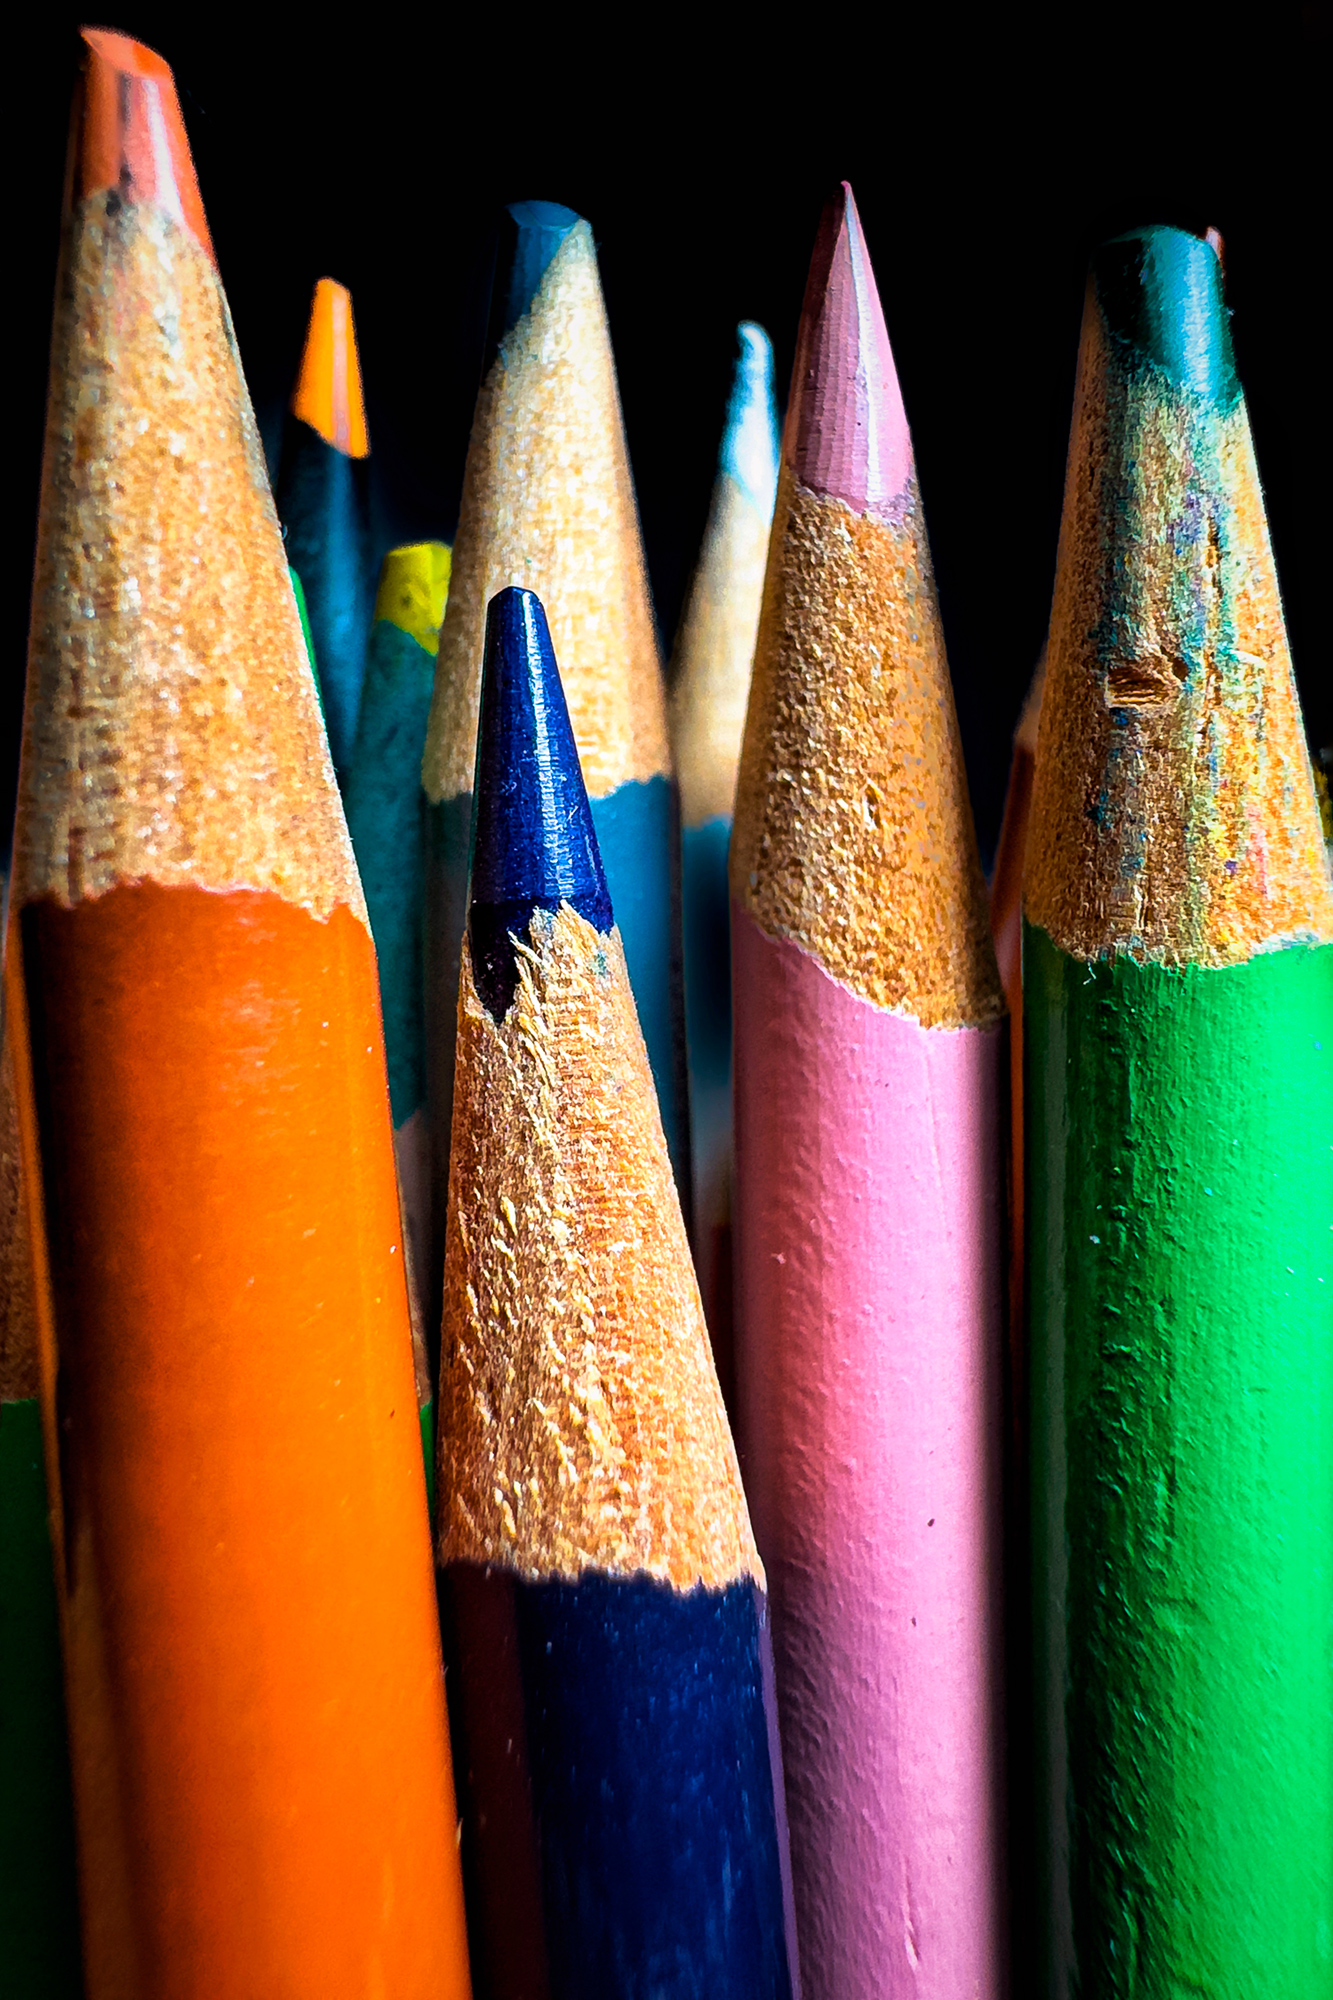
Macro photography takes time and patience. It requires practice, making lots of photos, many of which will not be up to par. Trying different angles, different lighting options, and varying your subjects is all part of the fun!
Thanks for taking the time to read this blog post. I hope you find it useful and that you’ll give macro mode a try! For more posts like this, how to videos, and other photography tips, I hope you’ll subscribe to my newsletter or visit my YouTube Channel!
Rad Drew
February 2024
INDIANAPOLIS, IN
Photography has always been synonymous with fun and magic. As a kid, it was fun to compose, fun to capture, magic to develop and process, and fun to share. It was fun to seek out photos and to engage people, and magic to travel to new lands or find the unusual in familiar places. It was magic to convey an emotion or make a point and touch others through visual imagery that I created. As an adult, photography continues to be more fun and magical than I ever dreamed! Despite changes in technology that have occurred during my lifetime, the esthetic of photography remains much the same. The creative mind of the photographer is still the most important element in a great photo. The camera doesn’t create a photograph any more than a hammer designs a building; it’s merely a tool that allows us to create our vision. Today, my camera bag holds two mirrorless cameras, an infrared camera, a point-and-shoot, and an iPhone. Of these tools, I credit my use of iPhones since 2010 with providing more opportunities to practice the esthetics of photography, making me a better photographer regardless of the camera I'm using. And photography has never been more fun and magical!