How to Work With Flash in Macro Photography
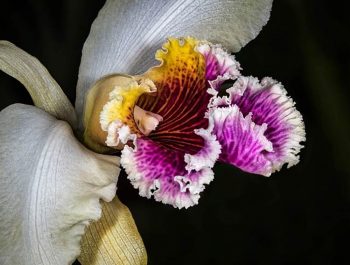
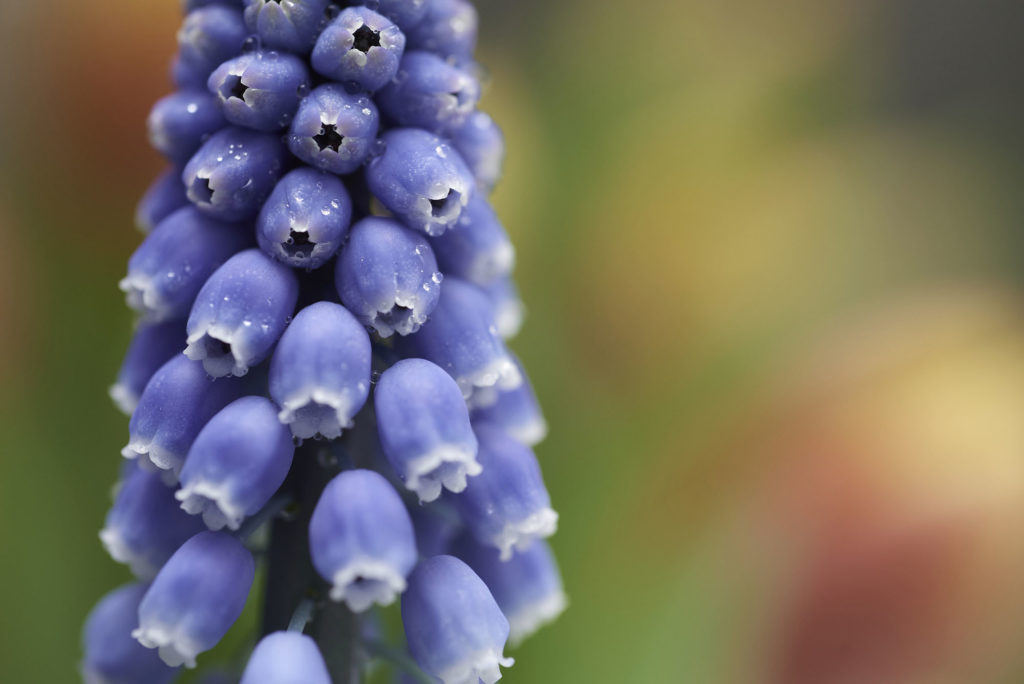
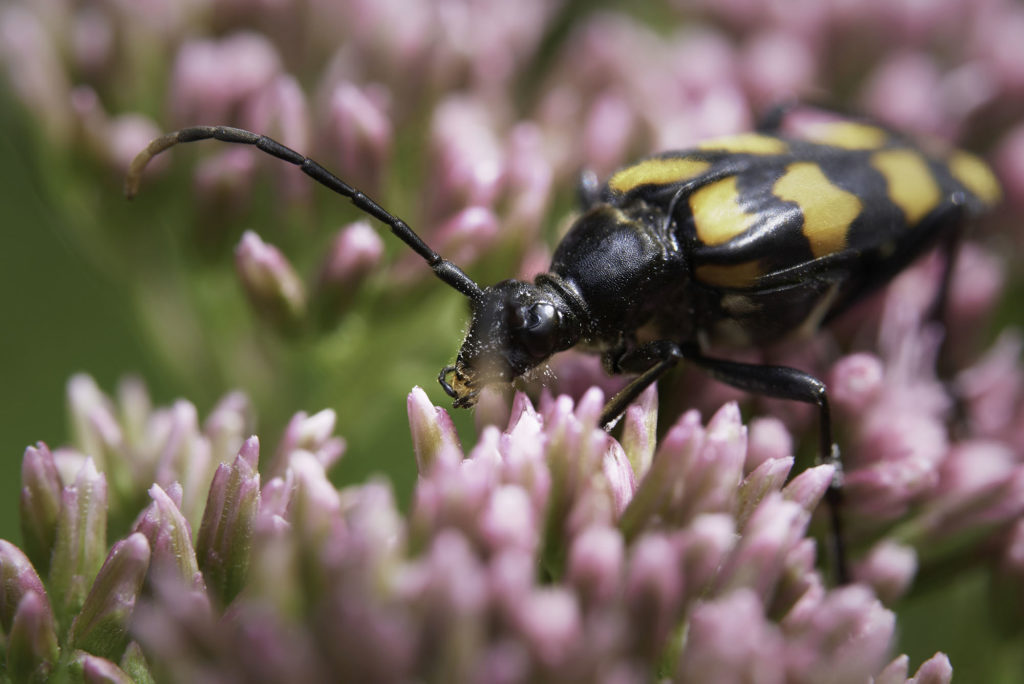
Most macro photographers find their subjects in nature. They photograph insects, flowers, rain droplets, dew, and other animate and inanimate subjects found under the sun. Therefore, natural light is often their first choice until they run into a series of issues.
A macro flash can be handy to overcome, i.e., movement blur from your subject or give you a wider range of creative freedom in your compositions.
Due to magnification and small camera-subject distances, you’ll usually have a very shallow depth of field in macro photography. Sometimes, it’s so shallow that you don’t have the entire subject in focus. A flash can light up the scene, allowing you to use a smaller aperture and have a greater depth of field. This means you might not need focus stacking to have the subject in focus or at least have more of the subject in focus in one shot.
Furthermore, natural light depends on weather conditions and the time of the day. For example, chasing insects before dawn to capture that misty atmosphere and dew on their wings means working in low lighting conditions.

When you increase the amount of light in the scene, you can use faster shutter speeds. A flash allows you to freeze movement when shooting moving subjects and take pictures without a tripod. With a simple piece of equipment, you get more creative space. It gives you the freedom to take pictures with a handheld camera, which is very useful when “chasing” insects through the grass. It also gives you the freedom to choose the light’s direction and intensity, making more composition options possible. That being said, here is what you should know to work with flash in macro photography.
Illuminate the subject from the right angle
The direction of the light changes the composition completely. When working with natural light, you can’t change the position of the sun. You can only change the camera-subject alignment or plan your photoshoot at a different time of the day. Things are different when using a macro flash system.
The standard built-in flash is positioned behind the lens, and you can’t change its position. When you are very close to your subject, the lens can even block the light coming from the flash. Also, in many cases, frontal lighting reduces shadows and makes the image look flat. You’ll create more interesting compositions using lateral light or a flash pointing behind the subject illuminating the background. Your photos will have more texture and detail. But to do that, you need to update your lighting equipment.
Instead of using the built-in flash, you can choose a flash system attached to the front of the lens. A ring flash is such an option. It’s a circular flash that you fit around the lens. It provides an even illumination that surrounds the subject more naturally.
If you want to illuminate the subject from behind, you can use an off-camera flash and a trigger or cord. You can use a flash mounted on a bracket or a flexible arm for lateral lighting that allows you to position your light at an angle to your subject. You can start with a 45-degree angle and work your way from there.
Using a flexible twin macro flash system like, i.e., the Venus Optics KX800 Flexible Macro Twin Flash, you can easily adjust the direction and power of the flash. Even though it is a manual flash, it can give you great results, in my experience.
Understand flash fall-off
Flash fall-off means that the intensity of the light produced by a flash decreases with distance.
You can calculate the intensity of light that reaches an object with the inverse square rule. If the object is situated at a distance d from the flash, it will receive 1/d*d of the light emitted by the flash. To illustrate this with an example, at a distance of 2 meters from a light source, you will have (1/2*2) = 1/4 of the light intensity you have on a 1-meter distance.

If there is a small distance between the subject and the background, both will be illuminated in the same way, and you’ll have the subject in focus and visible background. When there is a considerable distance between the subject and the background, they will need different exposure settings. In this situation, you have several options:
- Place the flash on the subject and expose for the subject. The background will be dark, even black, if it’s far enough. It’s a more dramatic approach that makes the subject stand out. It’s often used for still life and studio macro photography where the background isn’t an addition to composition.
- Place the flash on the subject and expose for the background. This will help you have both subject and background correctly exposed, colorful, and part of the composition. It’s a more natural approach as in nature you usually have an interesting background.
- Place the flash on the background and expose for the subject. This method keeps the subject well-exposed while illuminating the background with additional light. The aim is to have a more evenly lit scene.
- Place the flash on the subject but reduce its power so that you still capture some ambient light. This helps you achieve a more natural-looking scene with softer lighting. You can also increase the ISO to allow more ambient light to hit the sensor together with the light from the flash. I often shoot with flash power of 1/64.
How to Counteract Harsh Light When Using a Flash
The built-in flash has a harsh, unidirectional light that can affect the composition, especially when you’re close to your subject. For example, it may change your subject’s colors, which isn’t ideal in, i.e., flower photography. It may also reflect on iridescent or shiny insects and result in distracting glares. Overall, it creates too much contrast, reflections, overexposed bright areas, and dark areas that lack detail. This type of light can work for still life or abstract compositions but not for nature photographs.
You want a soft, natural-looking light that allows you to take good photos when the natural light isn’t enough but doesn’t affect the composition. Using a soft source of light helps you maximize depth of field, color, and clarity. To diminish the effect of the flash, you could use a greater camera-subject distance. The built-in flash works best at 6 -12 feet (2-4 meters) from the subject. But with macro photography, this isn’t always possible.
A popular item in macro photography lighting is a flash diffuser, a special light modifier that spreads the light and makes it softer.
There are multiple types of diffusers ranging from a simple diffuser cap to softboxes designed for the flash head. You can even make it yourself using white paper, cloth, or plastic to cover the flash. A diffuser works better when the camera-subject distance is small because the light is softer near the flash head.
Flash and Camera Settings
Working with a flash in macro photography changes the camera setting you commonly use. A flash provides more light and therefore makes exposure settings more relaxed. For example, using a flash gives you enough light for taking macro photographs at small ISO values. You can go as low as ISO 100 when shooting outdoors and reduce the risk of adding noise to your photos. Furthermore, you can decrease the aperture up to f/22 and have a deeper depth of field, which means having a larger area in focus (but with a possibility of lens diffraction setting in).
With more light into the scene, you can also increase the shutter speed and reduce the risk of blurred photos even when you don’t use a tripod or photograph moving subjects. But more on that later.
Especially for macro photography, it’s important to learn to change the flash settings. That’s because you don’t always want to use the flash at its full power. Especially when mixing flash with natural light, you may want to reduce its power to ½ or ¼ or even lower compared to its maximum capacity. It will still compensate for the lack of natural light but it will provide a softer and more natural-looking atmosphere.
Nature photographs benefit from placing the subject in its natural environment, which means capturing the background colors. When you give less power to the flash, you allow the camera to capture ambient light as well. If you use the flash in TTL or Auto mode, you can decrease its power by setting flash exposure compensation somewhere between -0.5 and -2.0.
It’s also important to synchronize the camera’s flash sync speed with the shutter speed. Make sure the shutter speed is equal to or lower than the camera’s flash sync speed. For most cameras, the fastest sync speed is 1/200 or 1/250 second. Choosing a faster shutter speed will make the flash and the time the sensor is exposed to light come out of sync. This results in, i.e., the upper half of your image being lit up by the flash, while the lower half is coved by the shutter when the flash lit up the scene.
Don’t worry about not using a shutter speed other than 1/200-1/250. The light from the flash is faster than your shutter with a duration of 1/10000-1/20000 of a second, effectively freezing the subject, even for insects in flight.
Concluding words
Capturing macro photographs while using a flash allows you to be less dependent on natural lighting conditions. This means you can take pictures with a handheld camera, before dawn or after sunset, on a rainy day, or in a dark forest. Also, the flash gives you control over the direction and intensity of the light. You can create amazing compositions by mixing natural light and flash. Many photographers fear that using flash will make their photos look unnatural, similar to staged photos taken in a studio, but it’s not the case. Flash only provides more freedom for you to be creative and photograph unique moments of the natural world.
Peter Dam
April 2021
Soroe, Zealand
I enjoy shooting a variety of different genres within photography, but mainly: macro, landscape, wildlife, and nature photography. I share tutorials about how to use Affinity Photo and Photoshop.