Fuji Film Simulations JPEG vs. Capture One From A RAW File
For those of you that work with the Fuji X camera, you are well aware of how addictive the built-in film simulations can be. I love them, and it is so cool to be able to photograph a scene and see it stylized as of your old favorite films right on the rear screen.
 In case you are not aware of this feature on the Fuji camera, film simulation allows you change the appearance of an image to match the style of a popular film from years past. These simulations are so good that many photographers don’t change them, shooting their subjects in a particular film simulation to give them a signature look.
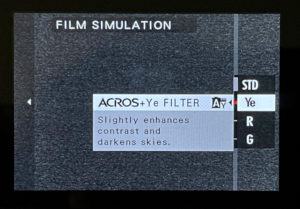
My favorite simulation is the ACROS simulation. There are four choices to choose from. This film is a smooth, medium-contrast, silky black-and-white look. Once you shoot with it you’ll become hooked. Fuji added three additional choices for ACROS: green, yellow and red. These choices simulate what these colored filters would produce if used, and they are dead-on. My favorite is ACROS red, as the red filter darkens the sky to an ominous shade. The yellow filter also does this somewhat, but to a lesser extent. To understand the effects you need to shoot several scenes and see how the filters affect them.
You can also read the article on the HOYA Filter website, “How Black and White Filters Work.”
Depending on how and what you shoot, you may be very happy with the results of these filters, and just as happy creating an instant JPEG file you can use. The in-camera processing and results are very impressive.
The Dilemma
For me, I’m a RAW format shooter. So, many times I shoot RAW with JPEG, and select a filter like ACROS. When I do this I can get the best of both worlds, sort of. The viewfinder simulates the filter being used. I prefer a color viewfinder. I also want to have a variety of possible filters to choose from; but if the scene is of high contrast, I might not get exactly the tonality or details in highlights or shadows that I want.
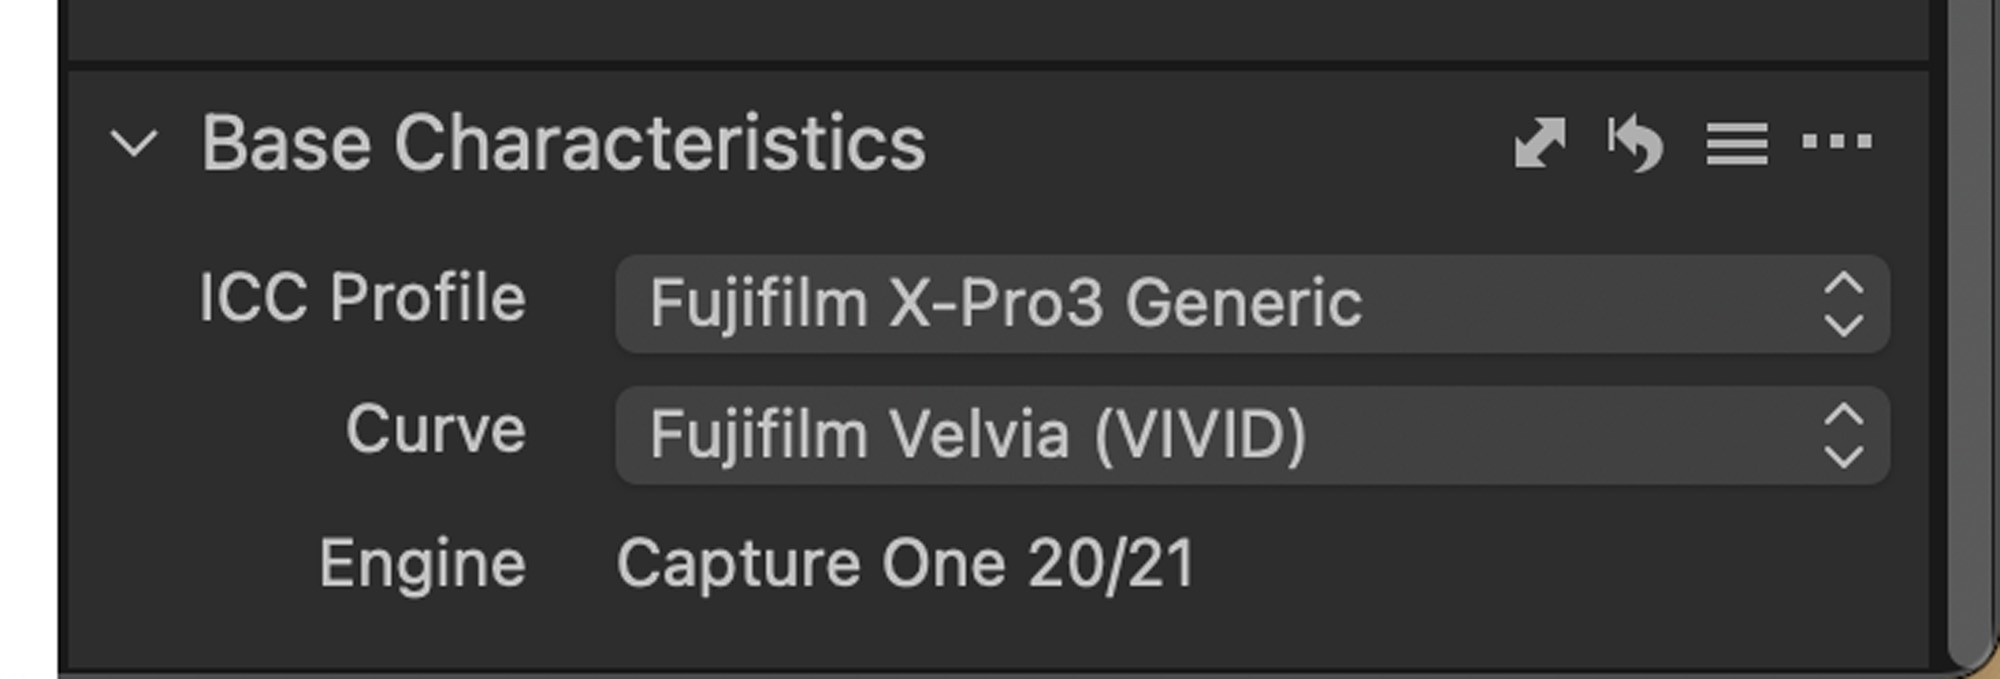
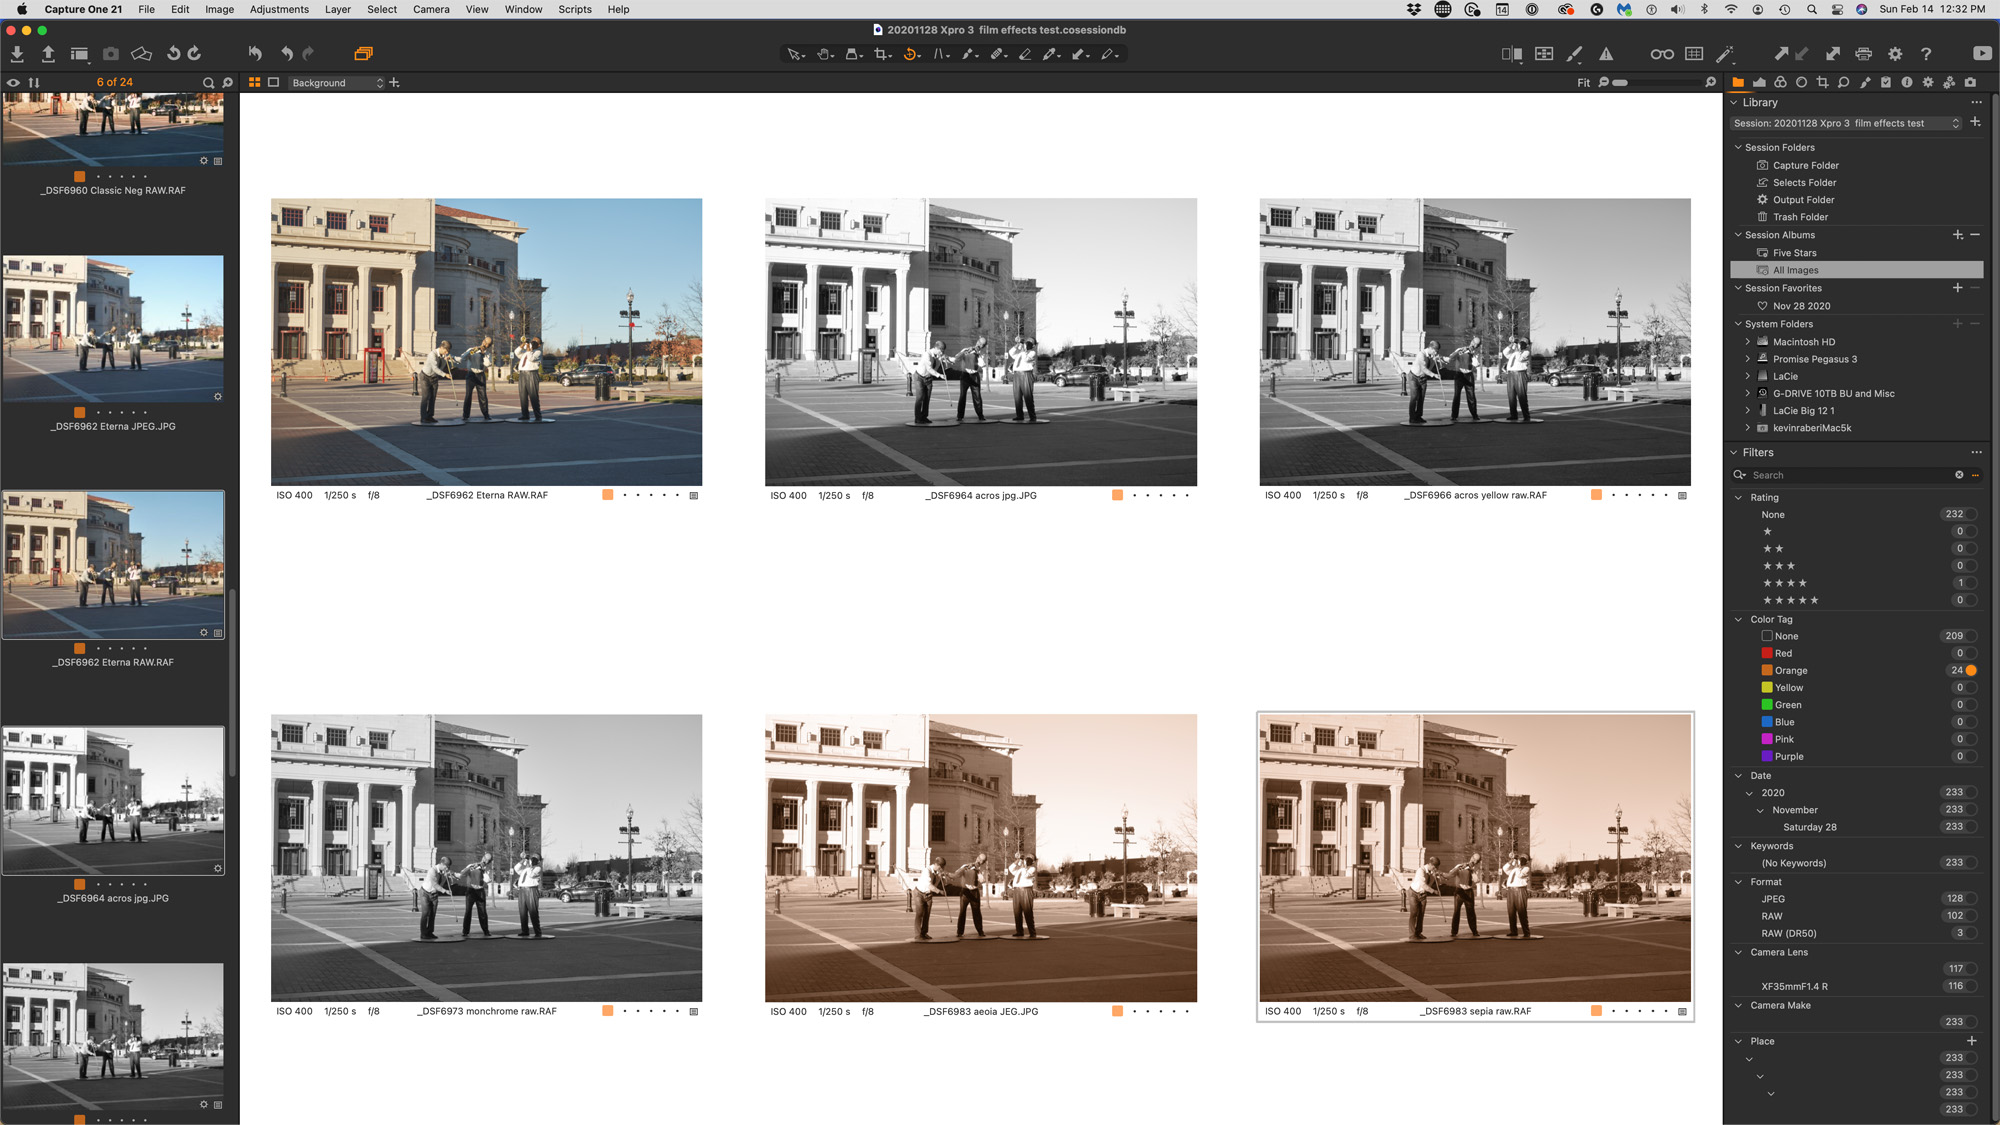
I decided to try something. Capture One is my go-to RAW processor. They have also partnered with Fuji to include Capture One in each camera box. In addition, they took all the film simulations and made film curves of them so they can be applied to any RAW image.
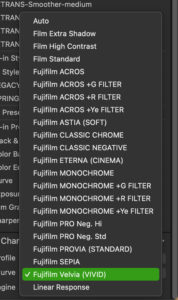
This is just what I wanted. I could shoot straight RAWS images, and then import them into Capture One. I could then adjust the RAWS data, fixing exposure, curves, highlights and shadows; as well as dehaze, clarity and perspective, to name a few. and produce a better image. I could then select a film simulation curve from the base characteristics selection of Capture One and apply it to my adjusted image. The results speak for themselves.
This has now become my standard method of operation. I get the benefits of shooting RAW and film simulations on an adjusted image. Capture One has done a great job at matching those curves as close as possible, as I would have expected. If you haven’t tried this method yet, then I encourage you to do so. It’s one more tool in your tool kit.
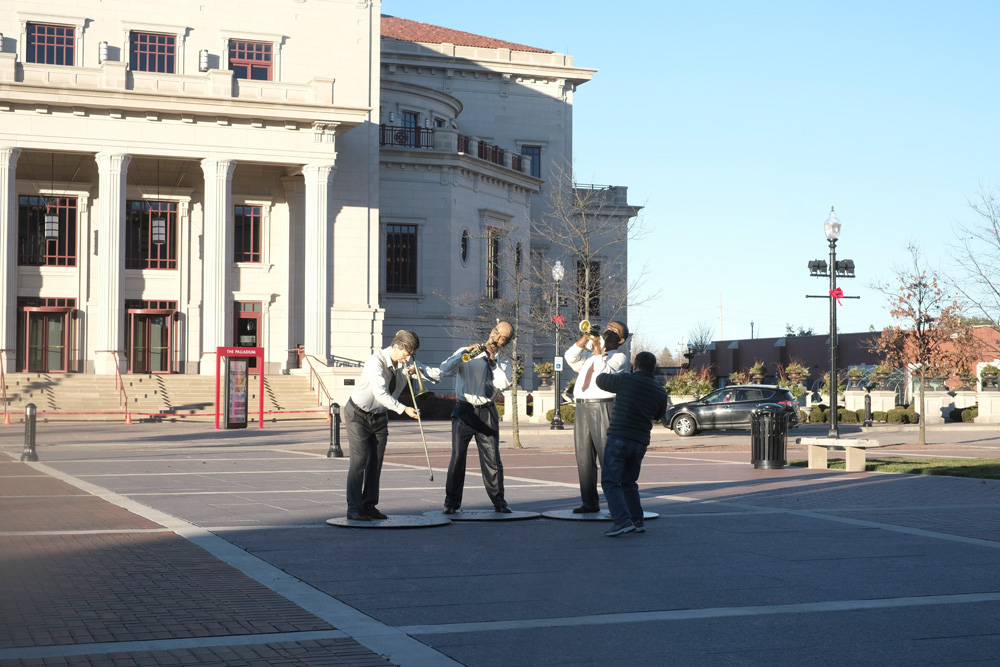
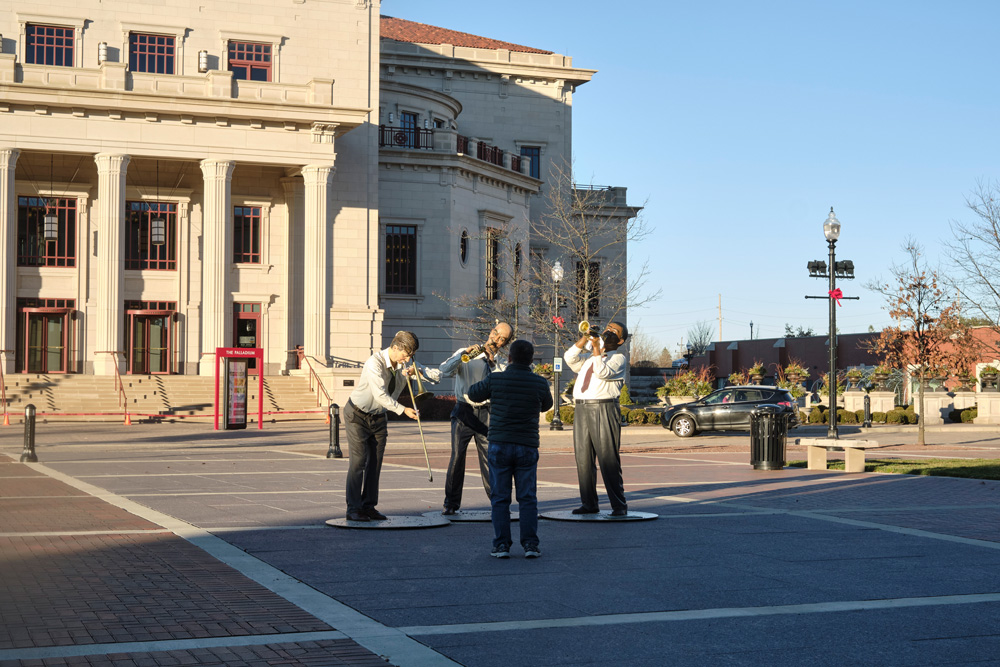
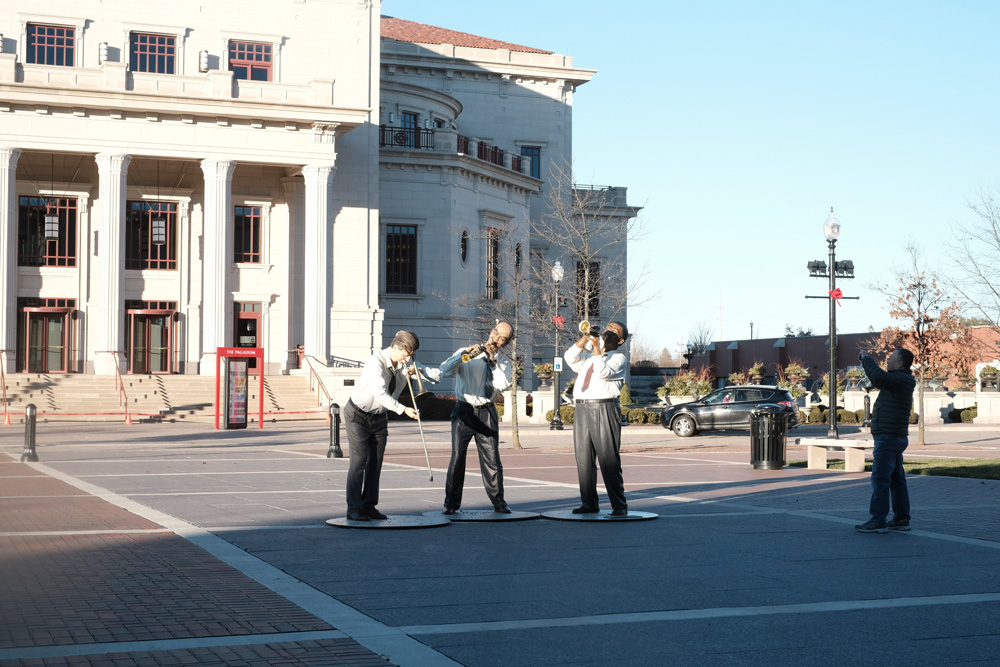
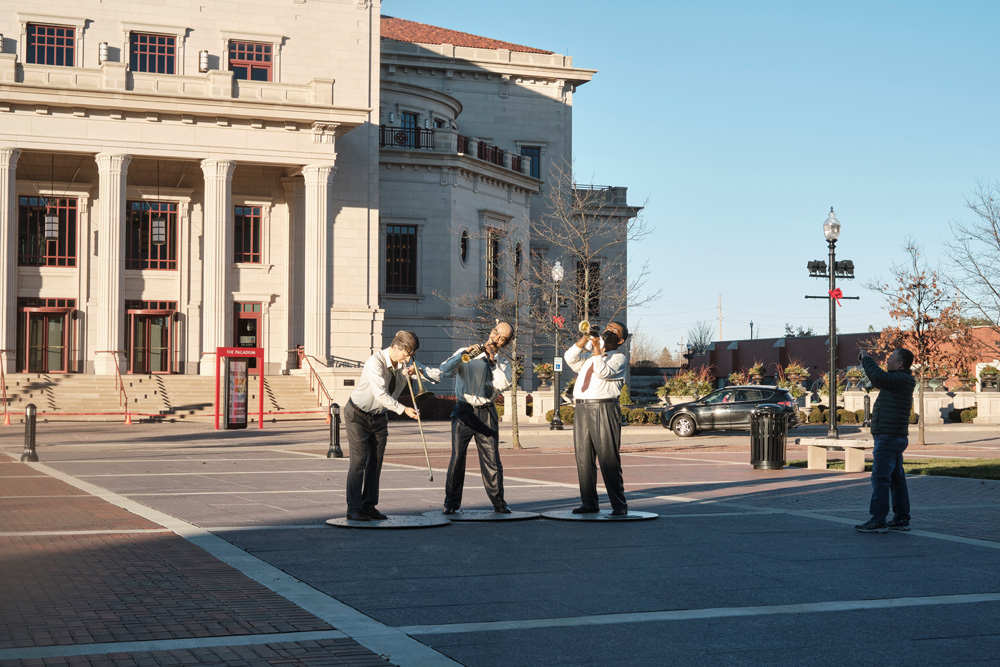
Examples
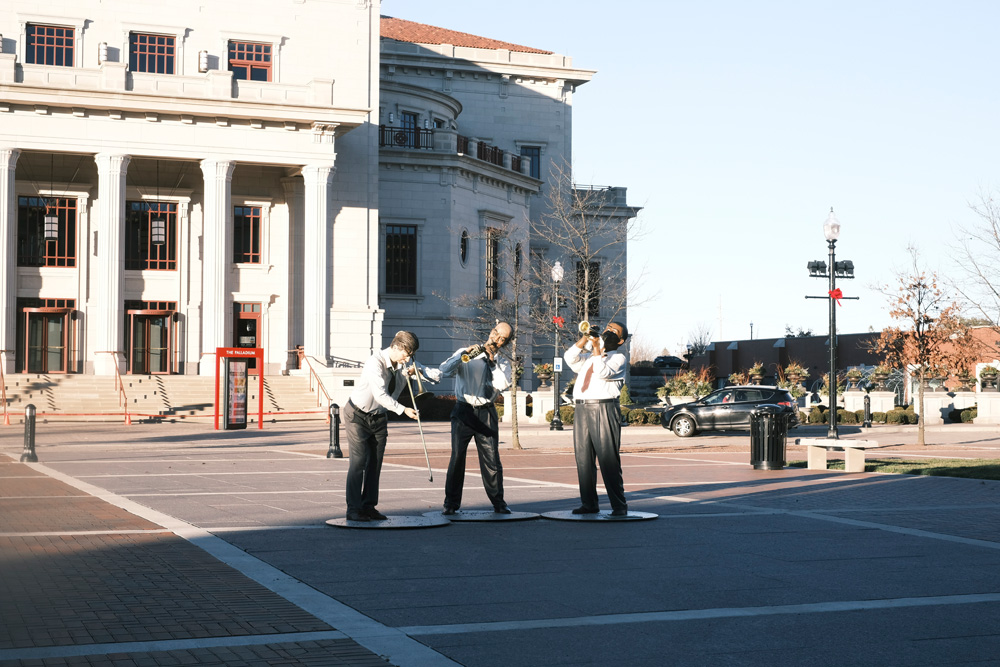
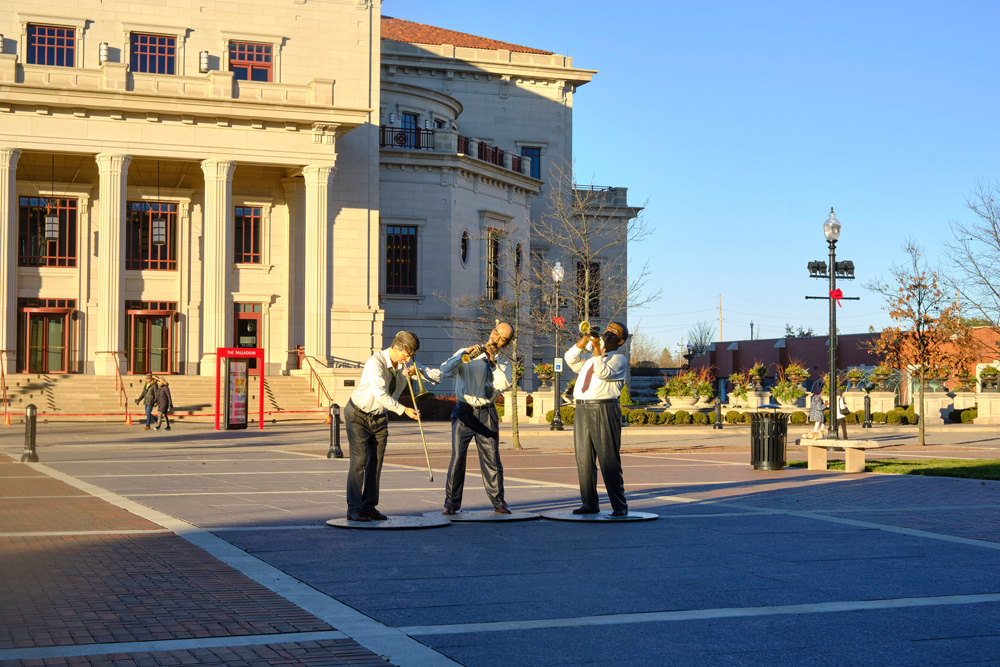
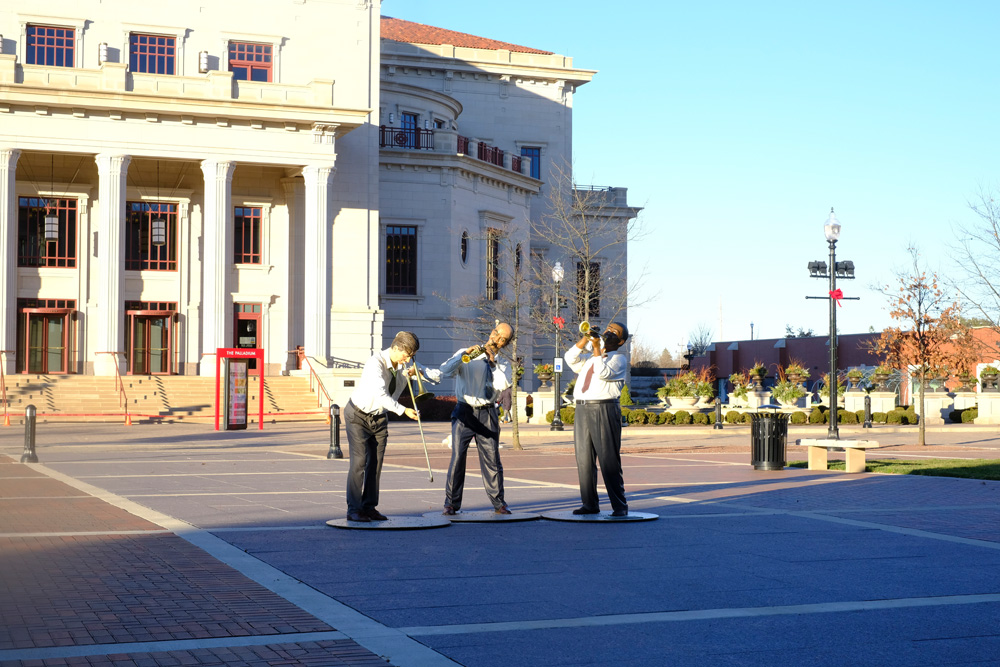
Here are a number of examples with slide over. You can slide the window to see JPEG out of the camera and RAWS processed out of Capture One. I hope this helps you see alternatives and when you may use them.

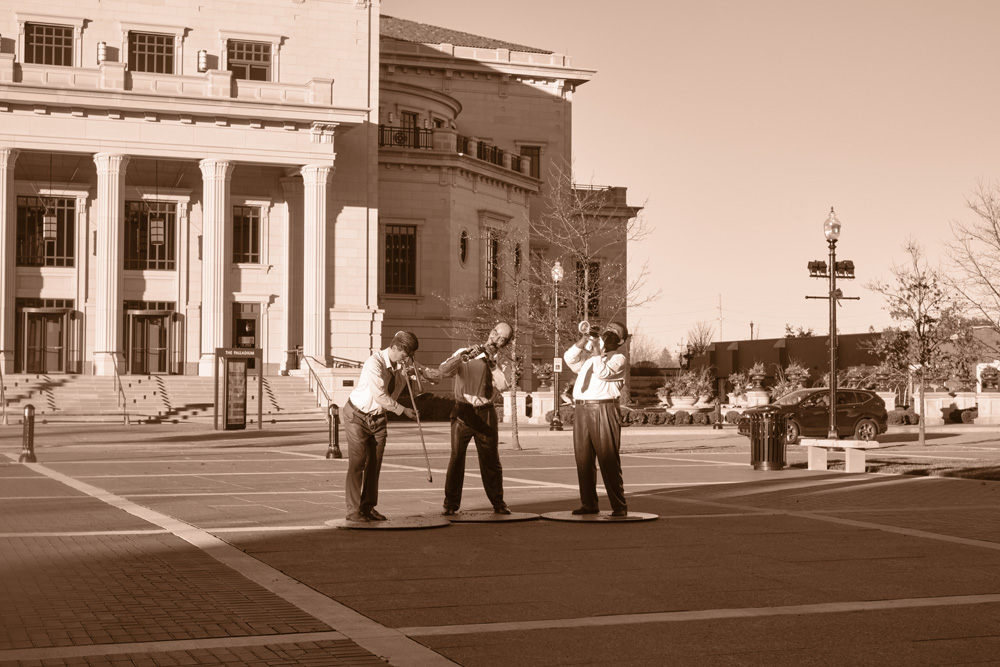
Sepia


Monochrome

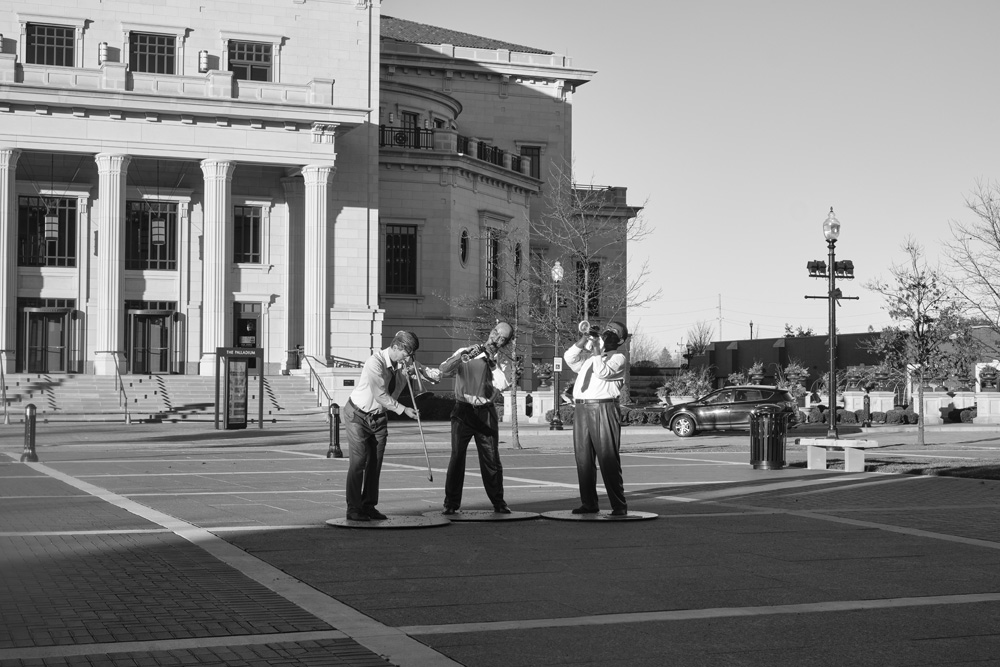
Acros Green Filter

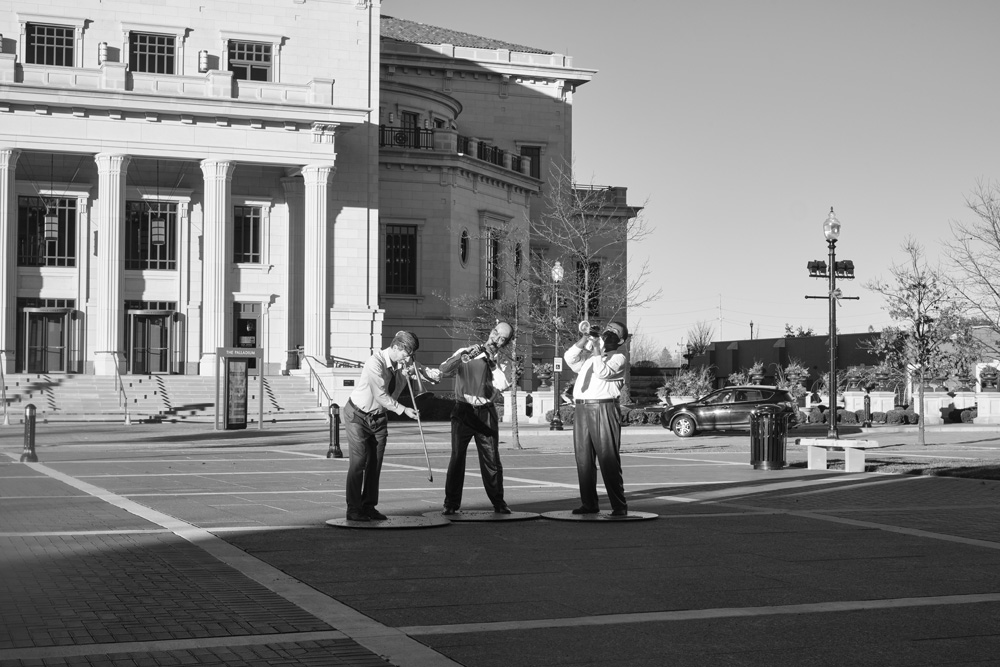
Acros Yellow
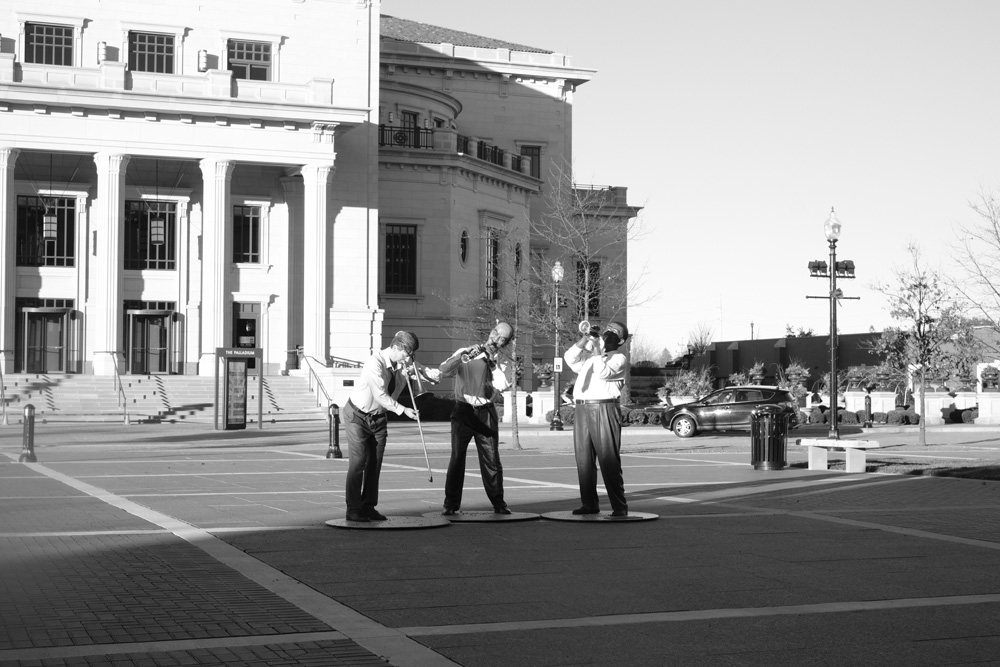

Acros Plain


Eterna

Classic Neg

Pro Neg

Pro Neg High
Classic Chrome

Velvia

Film Standard
Final Thoughts
Whatever version you use are your choice. I find that by using RAW files and making adjustments then choosing the Film simulation gave me results with more details, shadow details and highlight details. I hope the examples above help illustrate this for you. I did a few comparative examples making no adjustment ts and it was pretty amazing how close the uncorrected version from the RAW matched the JPEG straight out of the camera.
Kevin Raber
February 2021
Indianapolis, IN
Photography is my passion and has been for 50 plus years. My career in photography has allowed me to travel the world, meet some of the most interesting people on the planet and see things I could never have dreamed of. My goal is to share the passion of picture taking through photographs and teaching with as many people as I can, hoping it brings them as much joy and happiness as it has me. I do this through photoPXL.com, this site, as well as Rockhopper Workshops, and other projects, as well as teaching as Artist In Residence at the Indianapolis Art Center.