Folios For Sharing Larger Images
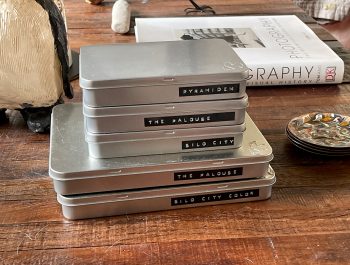
On November 17, I shared an article about how I use final art photo tins for photography projects. Today I will show you how I use folios to share and sell my work. For many of you, this may not be new.
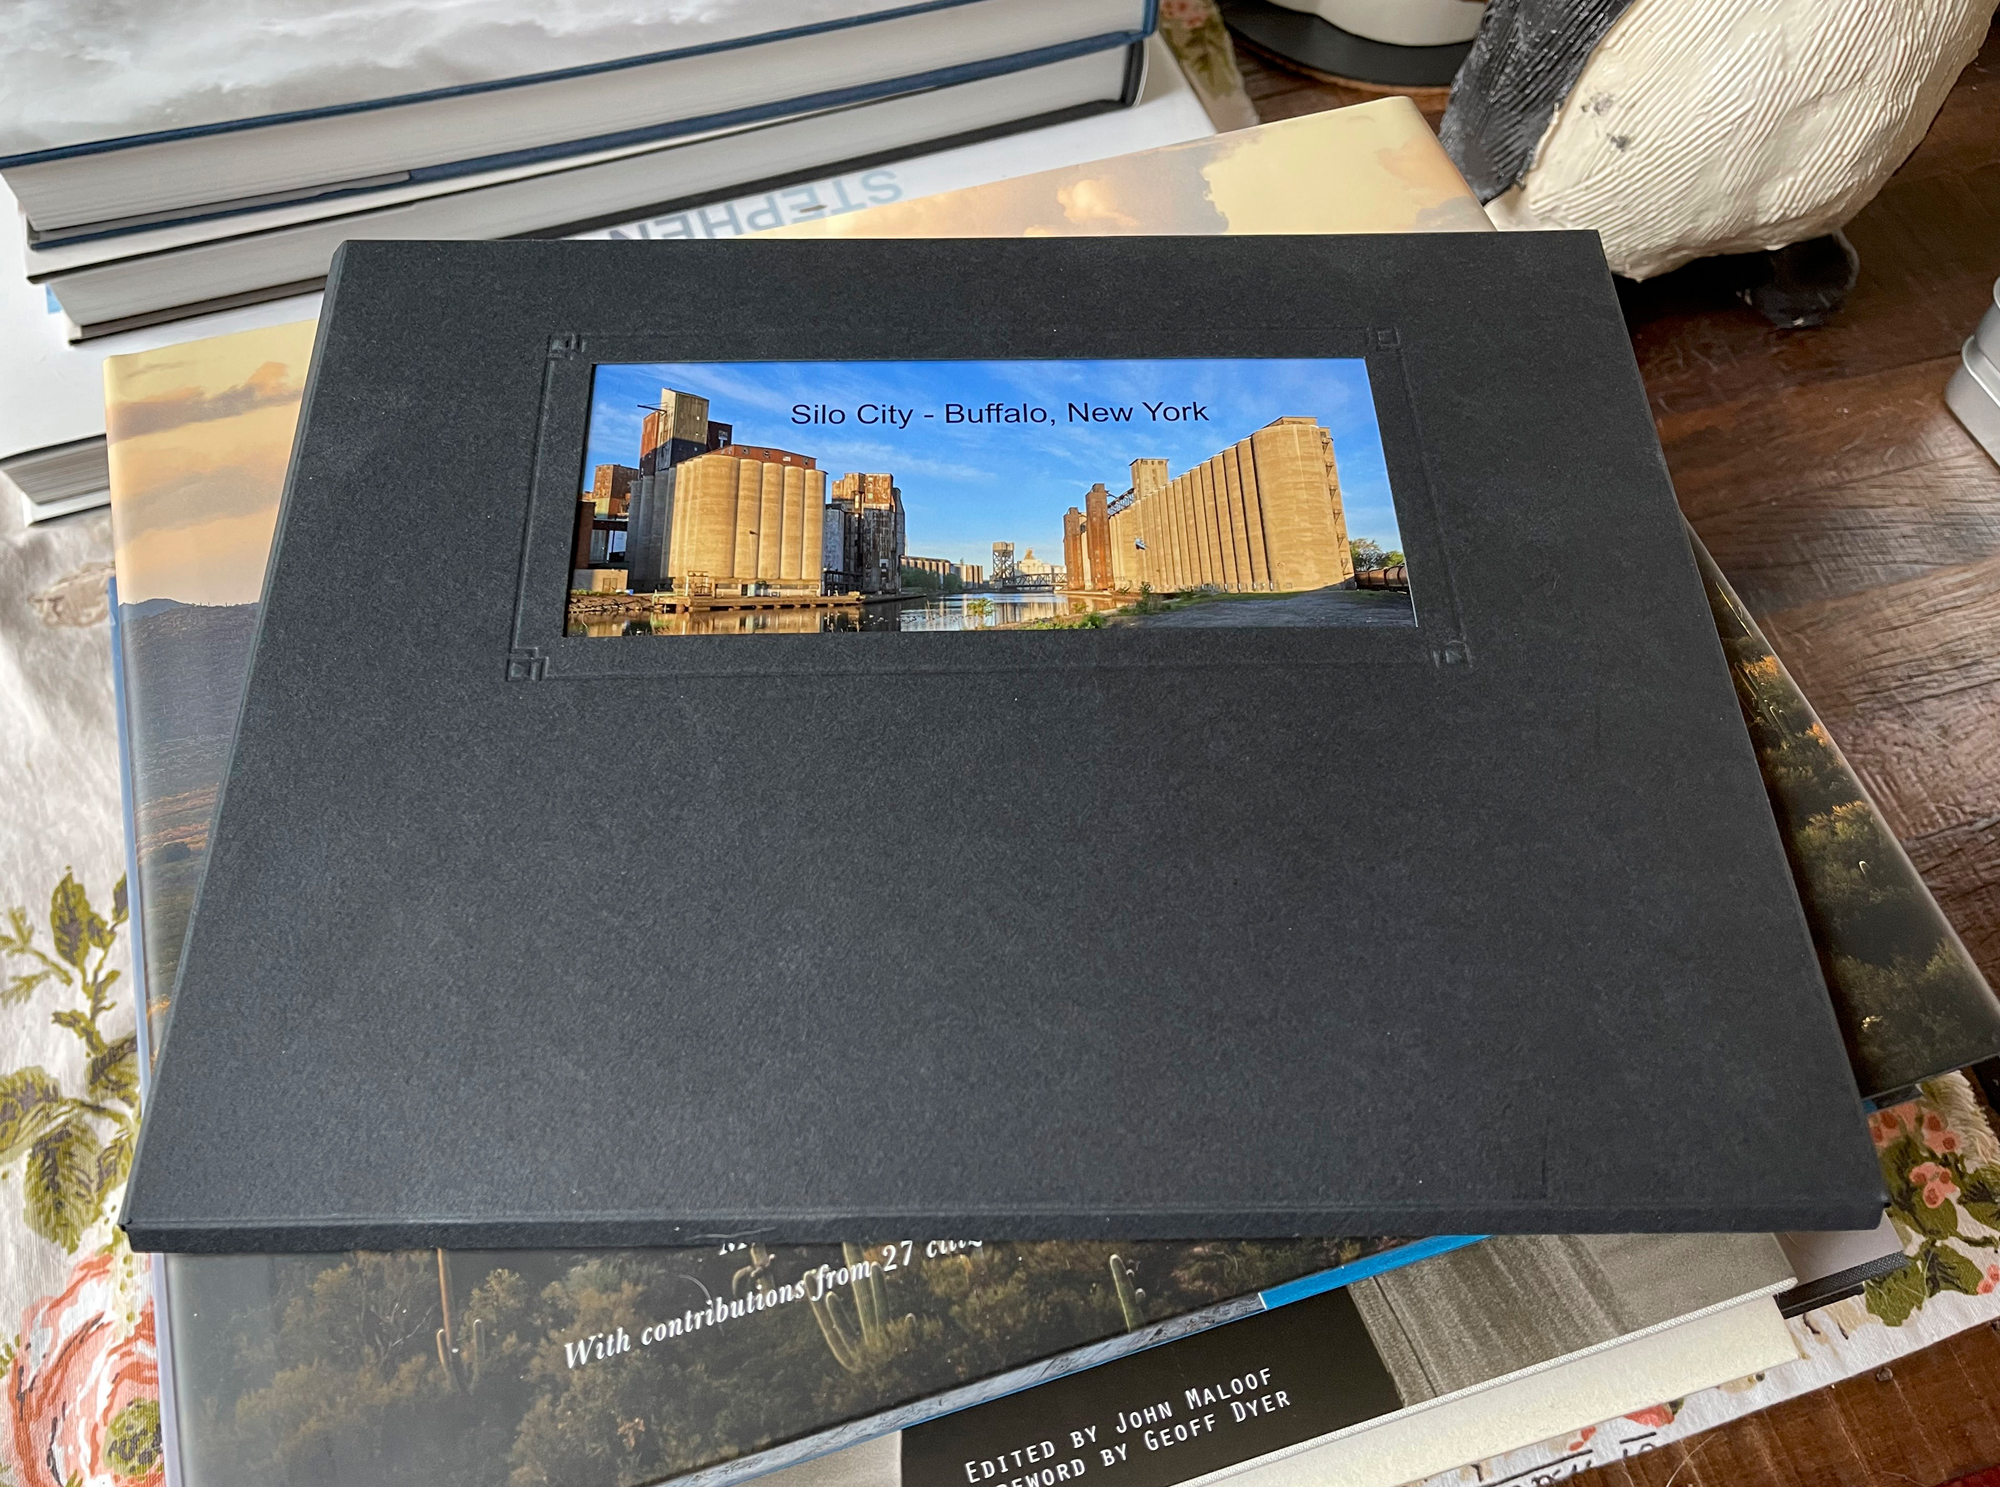
Back in my wedding photography days (in the 1970s and 80s), I learned that folios could be a great way to sell prints and convert a story about a wedding or event. Nowadays, I use folios to share projects like the one shown here, Silo City.
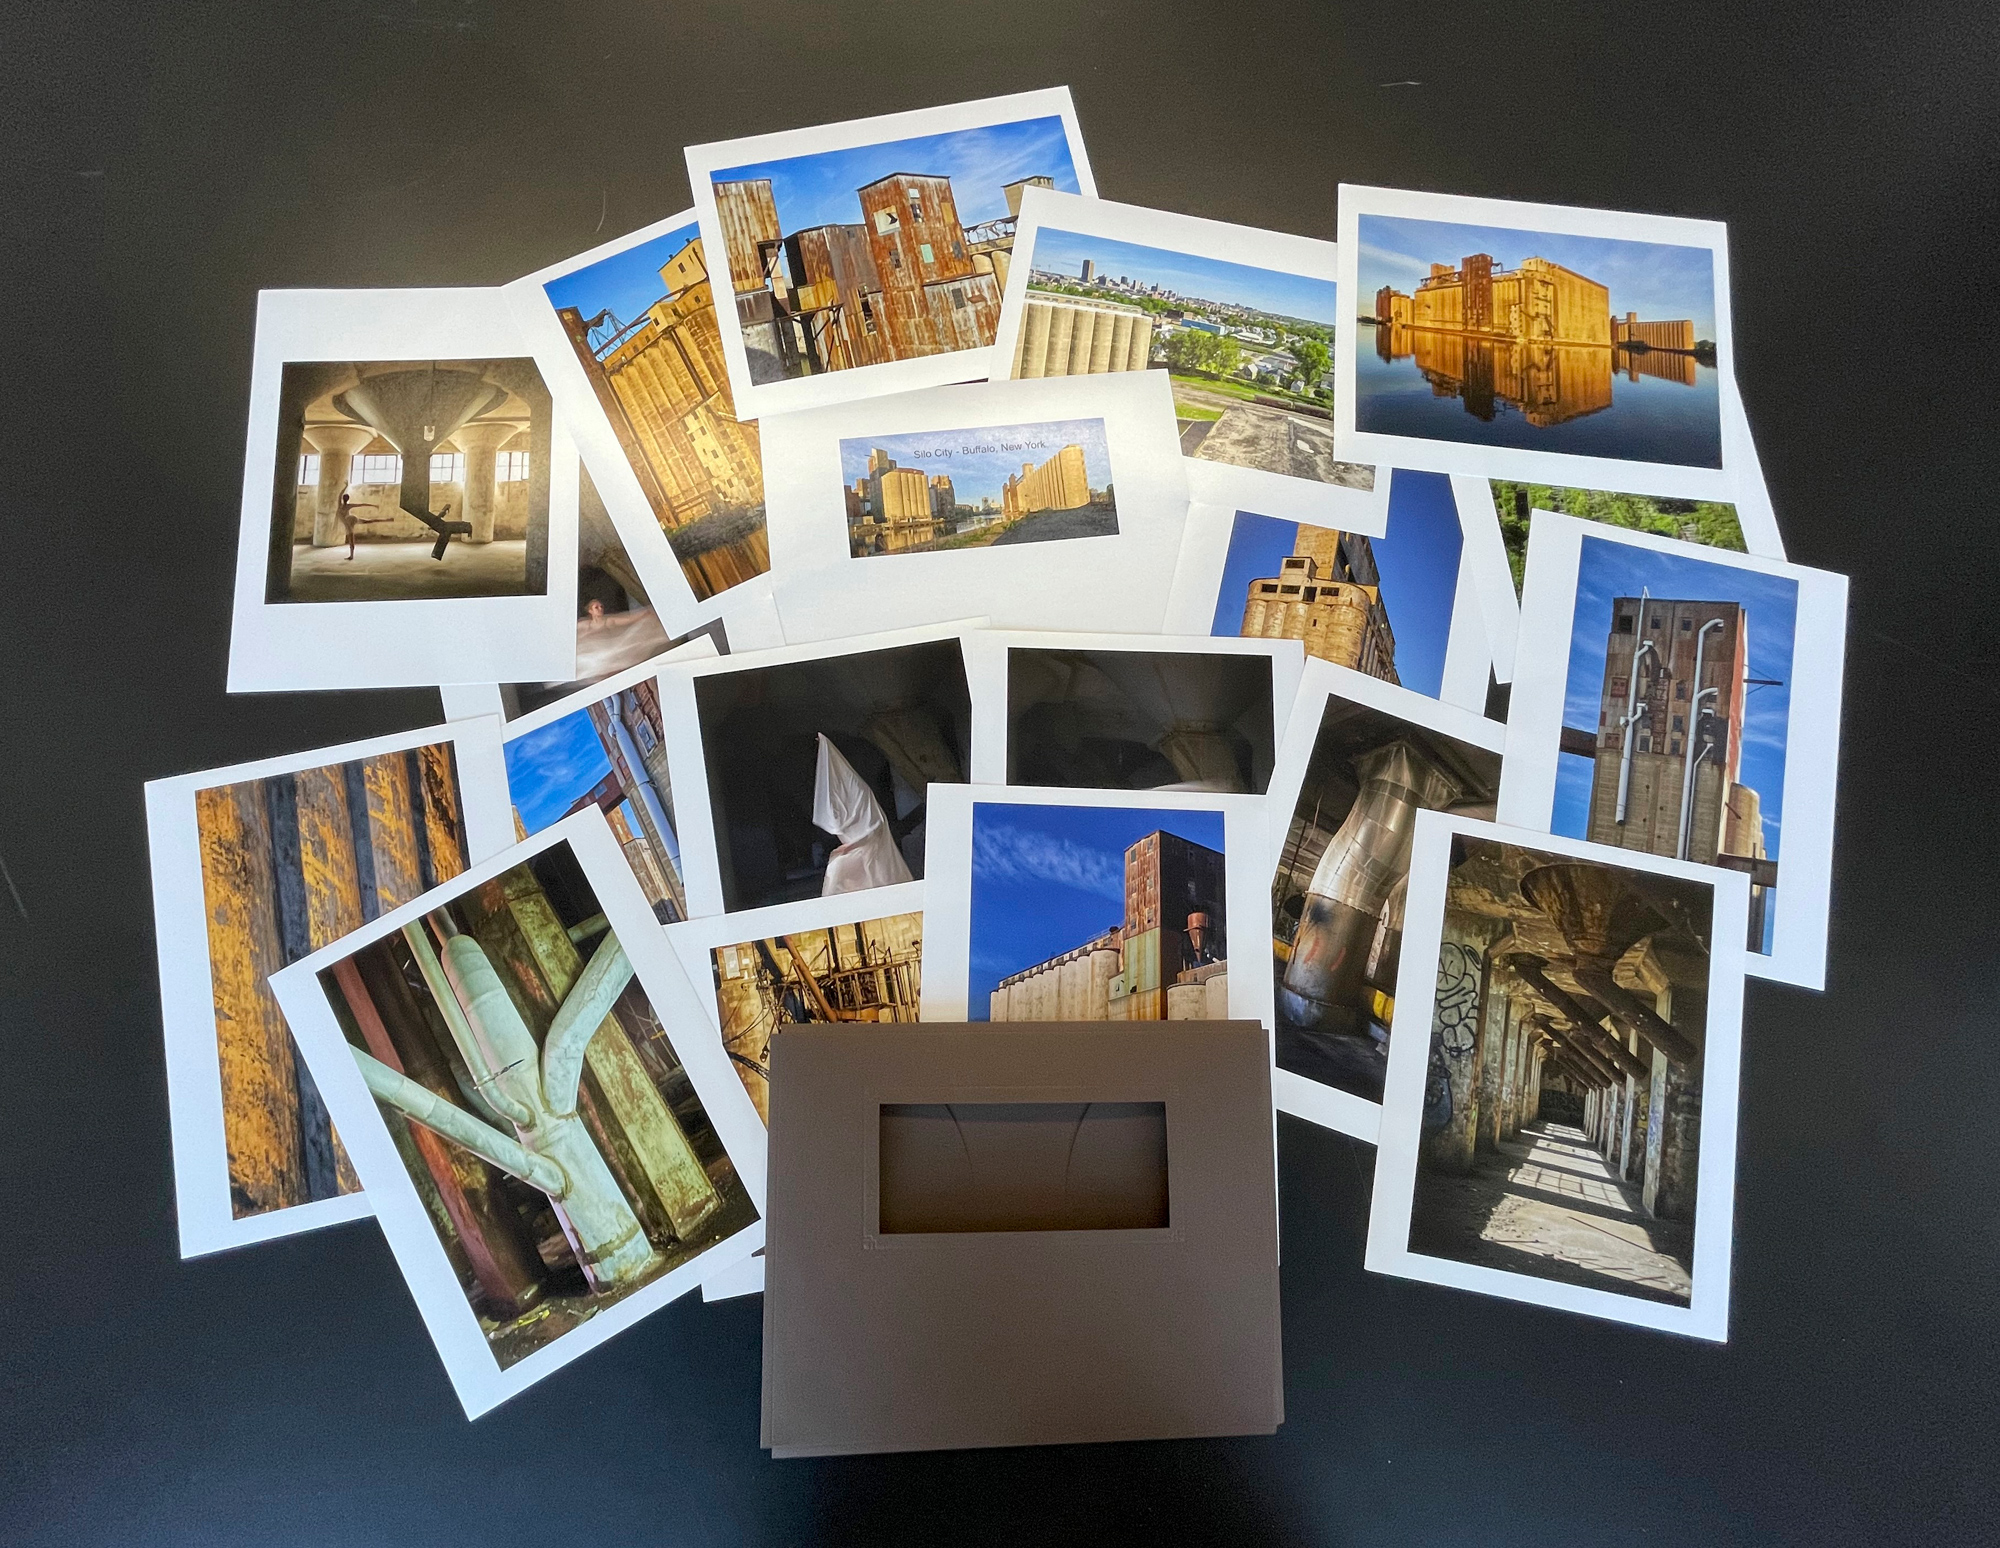
Silo City is an amazing place in Buffalo, NY. It’s a large complex of grain silos that were once used to load and unload grain destined for the mills on the east coast. Most of these silos are abandoned now, and a result are slowly deteriorating. However, once a year, Mark Maio through connections opens the complex up to a group of photographers, and we had the run of the complex to take photos. If you are into urban exploring, you would have found heaven. I visited Silo City for a number of years, adding to my body of work of this amazing location. I even hired models and photographed them there, trying to contrast the organic with the non-organic, having the models mimic the machines there.
In any case, as I shared with you in my previous article, I consider these photo projects special to me, and as such, I want to share and even offer for sale the collection I made from this remarkable place. The tins were great, as I could put 30 prints inside them — however, they were small. Thus, the concept of folios comes into play.
I first learned about folios from my friend, Brooks Jensen. He has a whole video series on folios and used to hold in-person classes where a photographer could assemble and make their own folios. I am considering doing something similar as part of our printing workshops in the new PXL Classroom.
Don’t forget if you are a Silver or Gold member you can click on any images to see larger and in more detail.
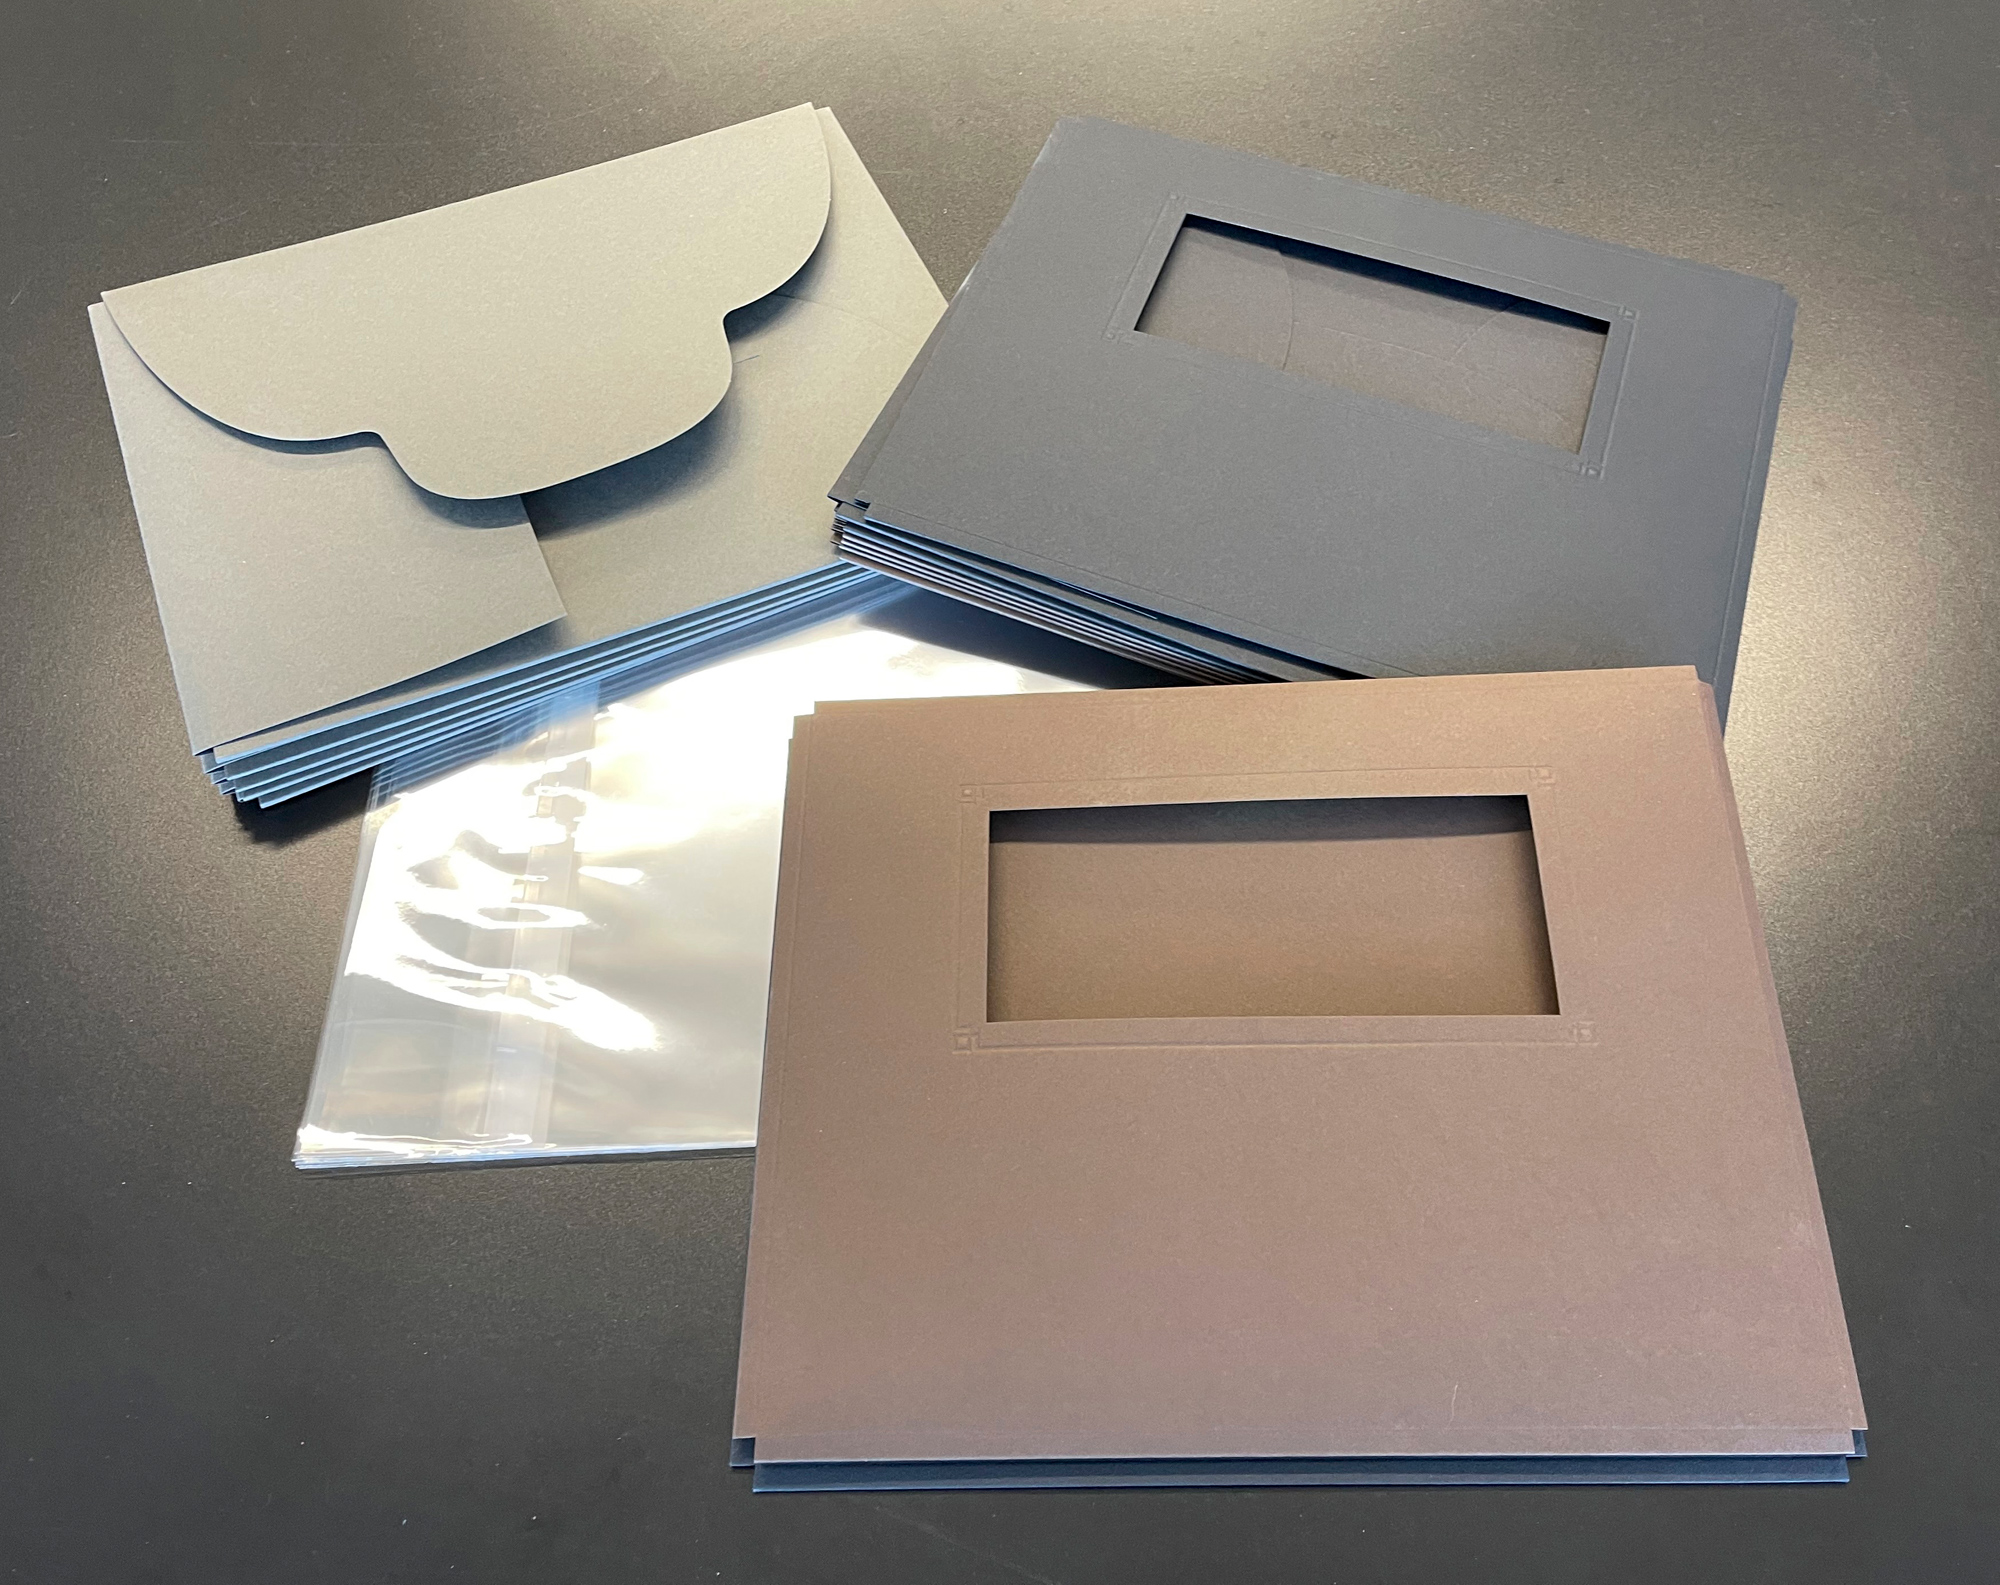
I sourced these folios from Dane Creek Folio Covers. I have been purchasing folio covers from Dane Creek for years. There are now two colors available, Charcoal and Chocolate Truffle. They cost $4.25 USD each. Ordering is simple and delivery is fast. You can download a cover opening template from the questions part of Dane’s site.
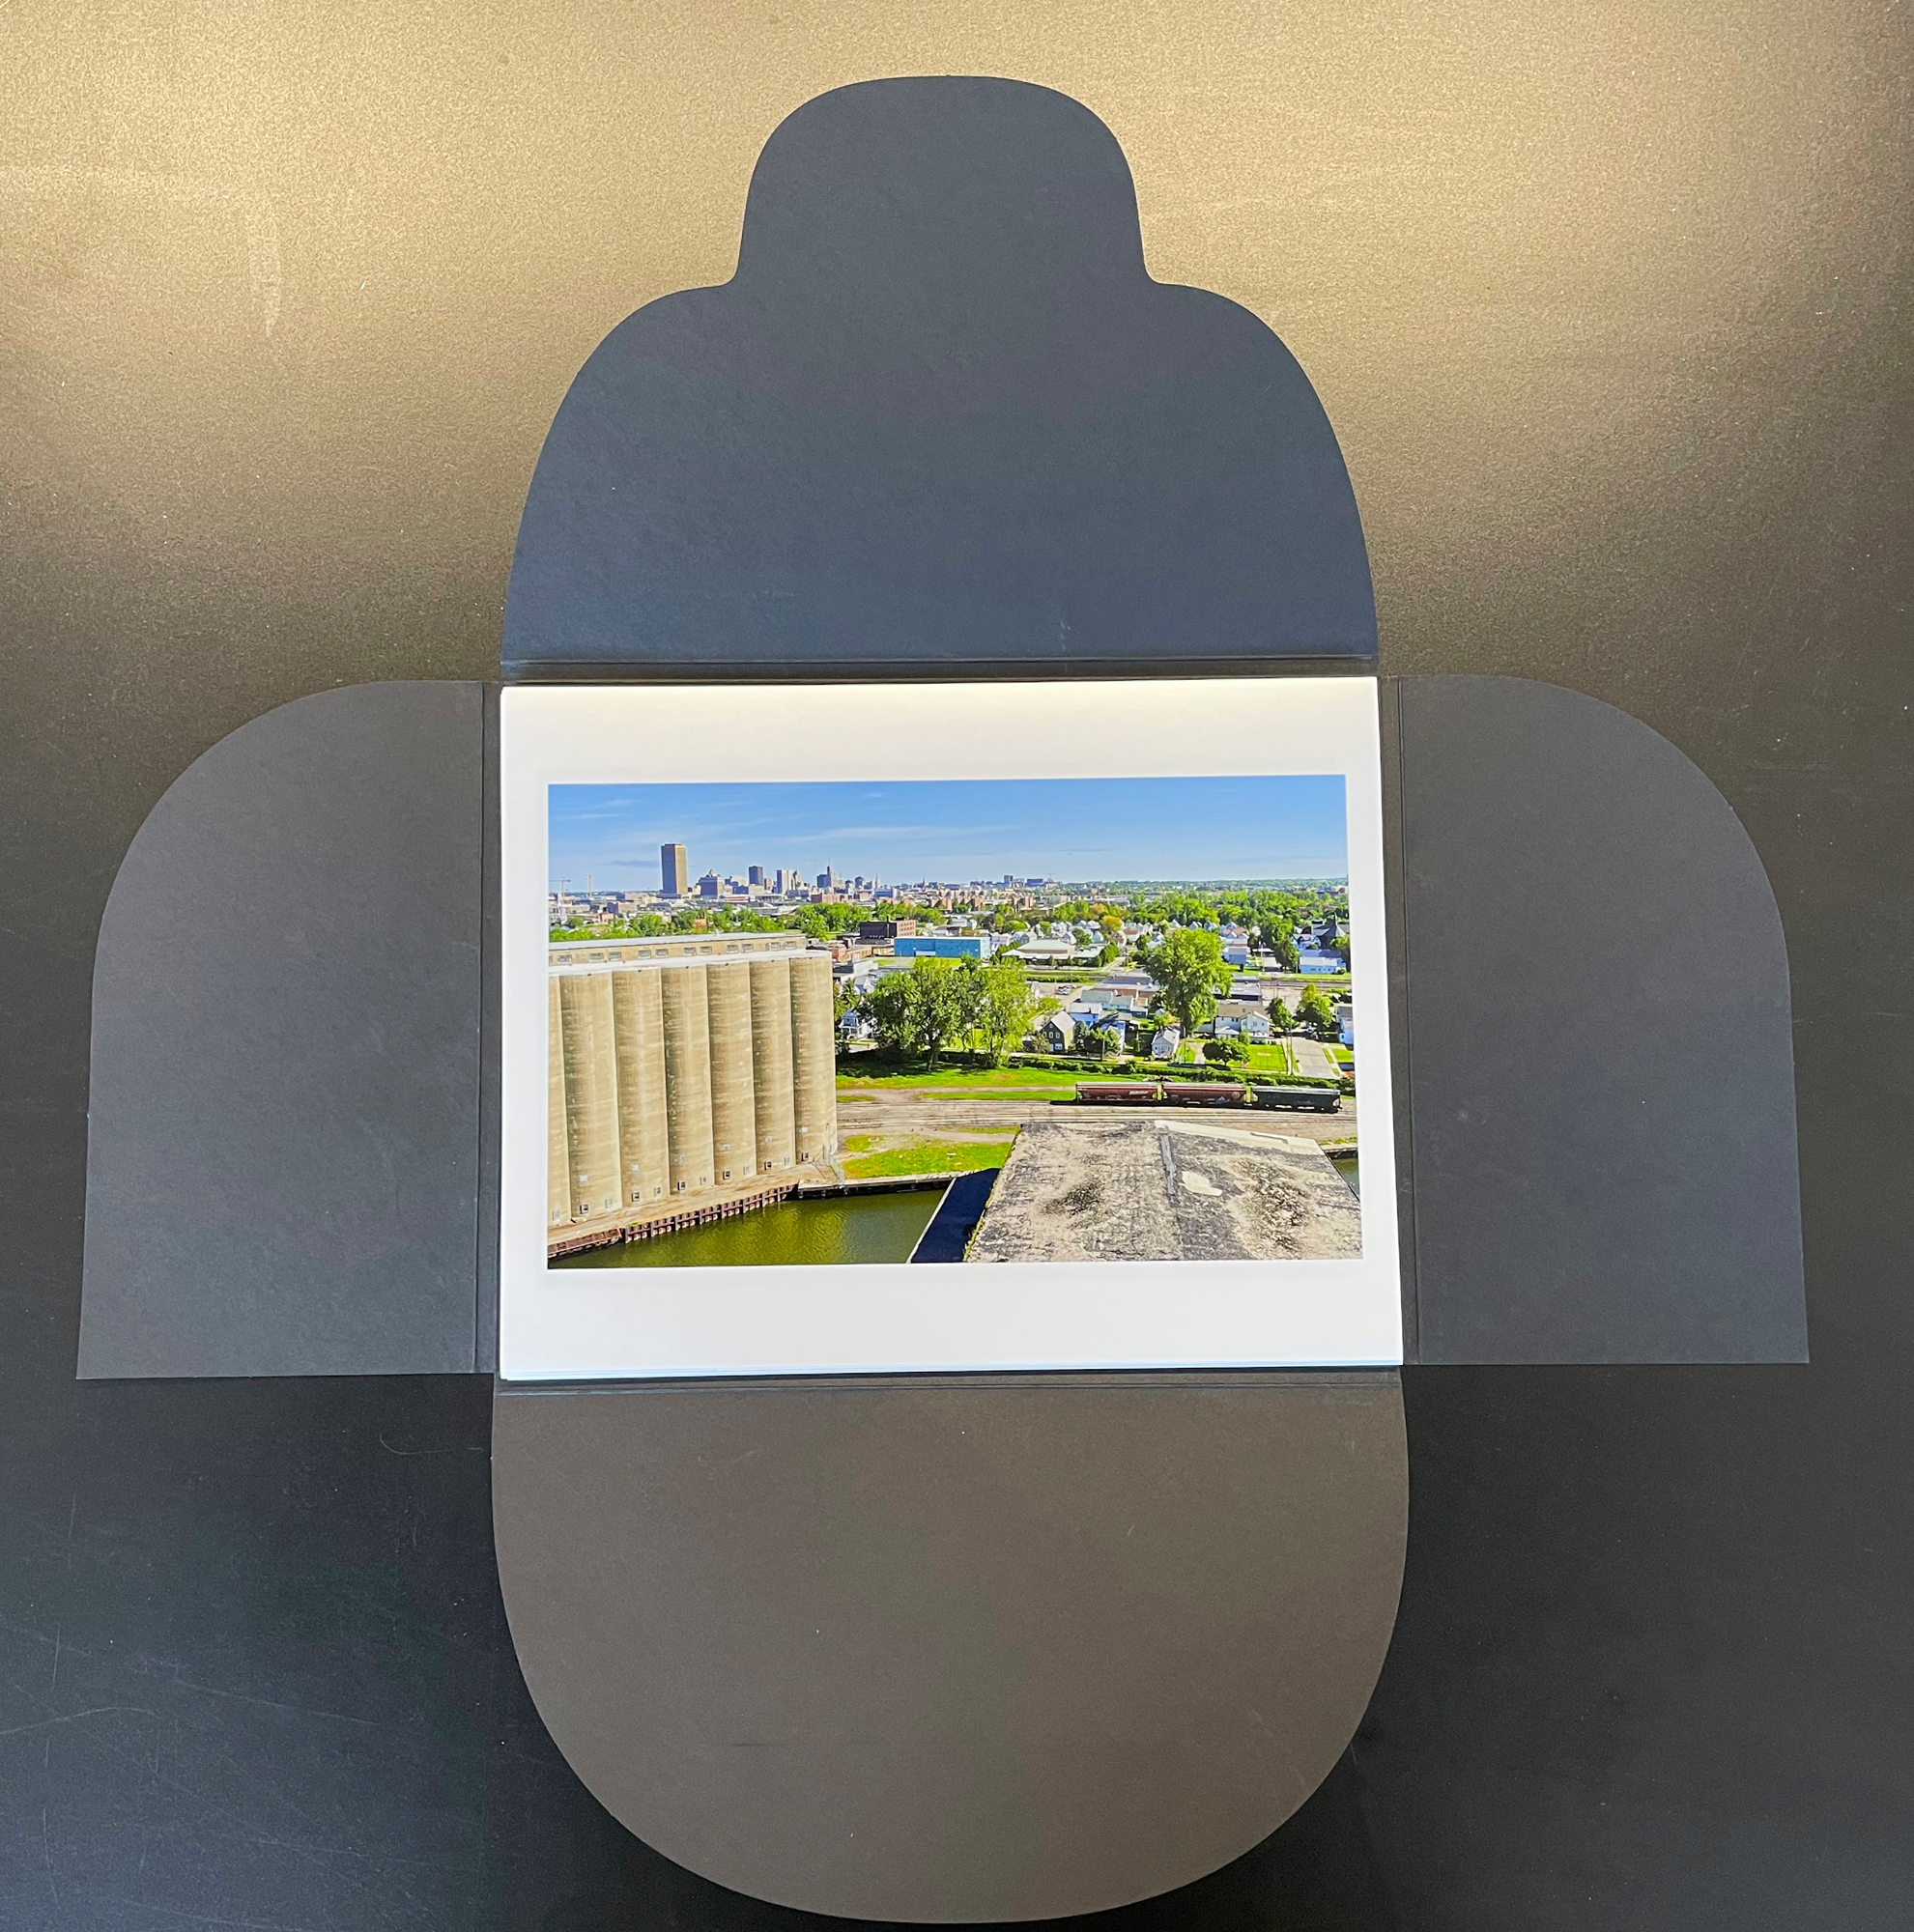
These folios arrive at your door pre-folded and ready to go. You can get a template on the Dane Creek website for fitting an image into the opening on the front of the folio.
These folios are designed for 10-15 images, depending on the paper type you make the prints on. The latest version of the folio I made from Silo City was printed on Epson Metallic Glossy and has 13 images. Also, most of the time I insert a description sheet into the folio that explains the images, where they were taken, and how.
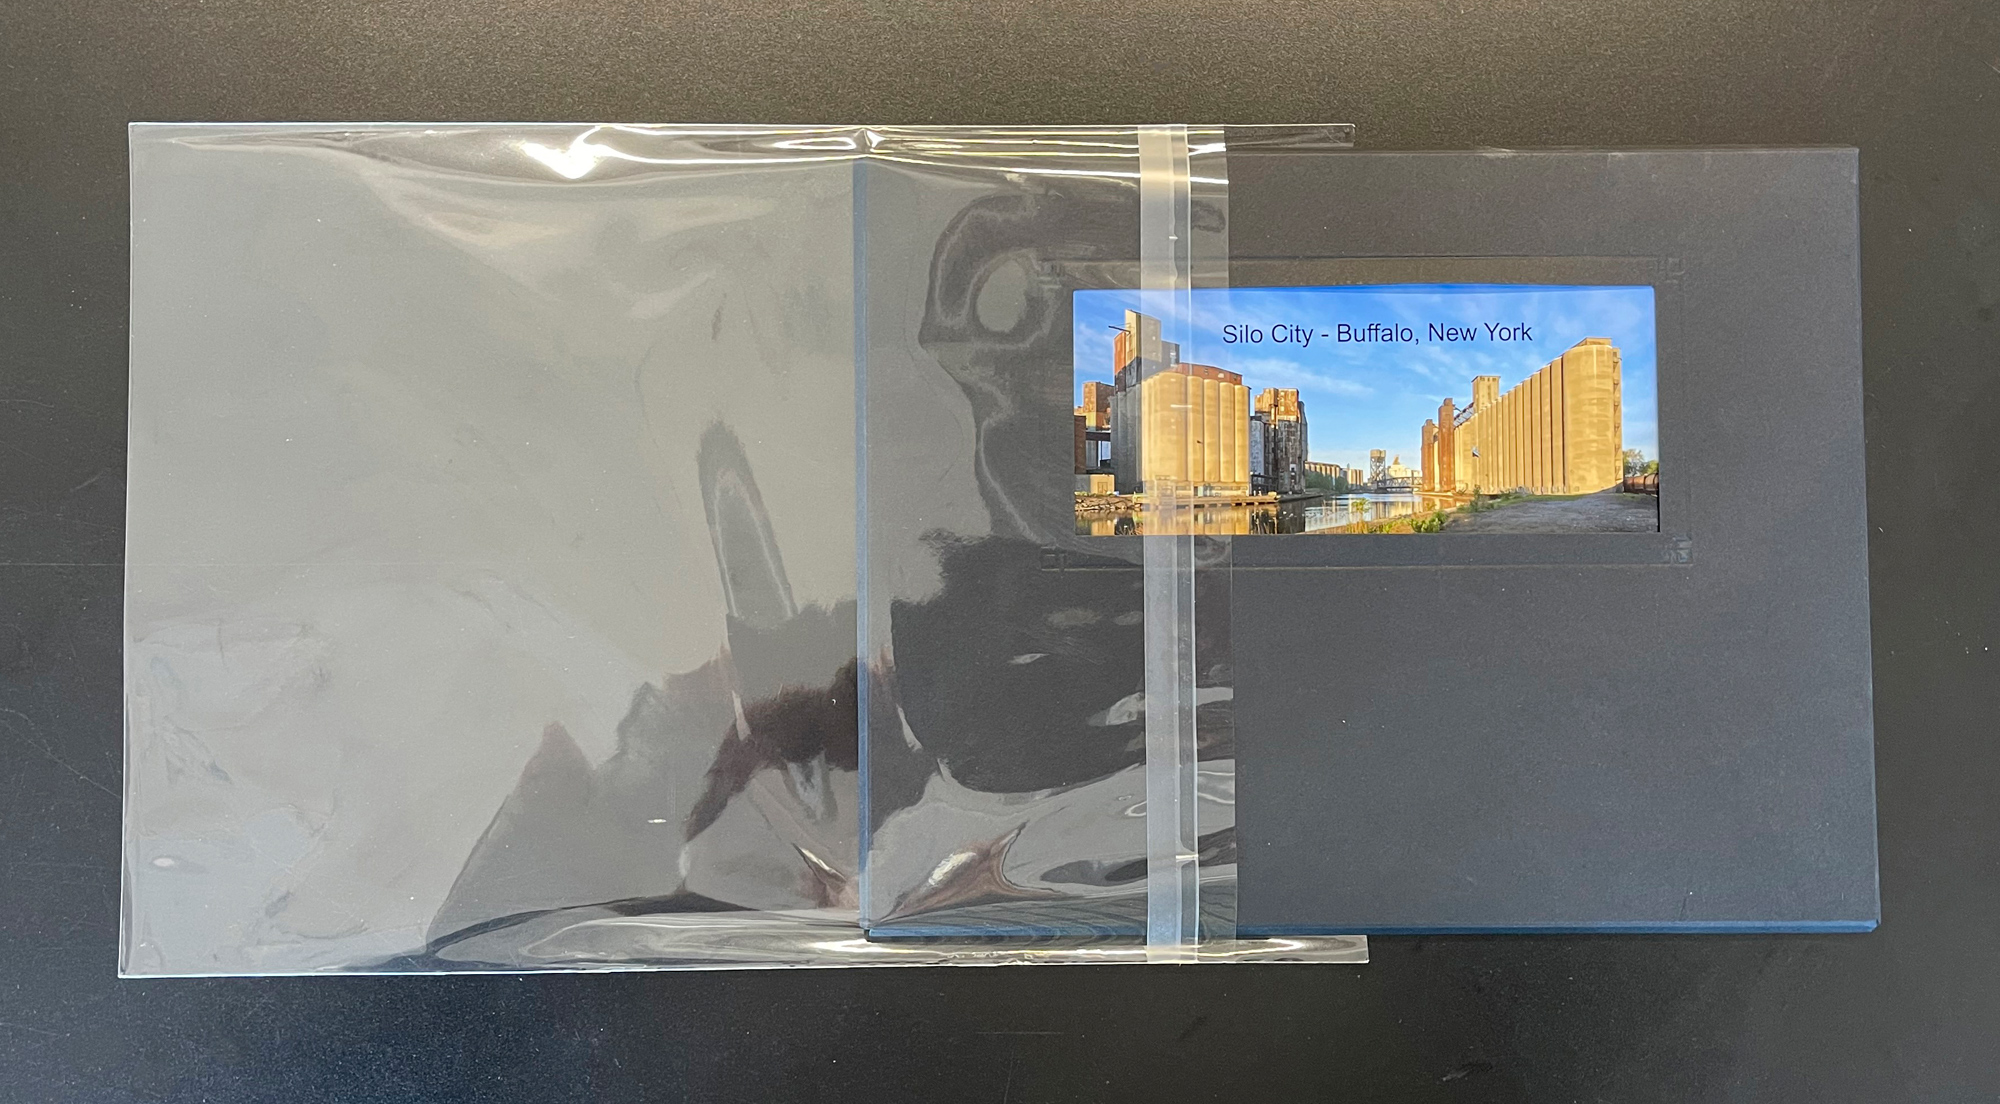
Each folio comes with an acetate sleeve, which is great for packaging the folios if you are going to sell them. I make a number of folios at one time, and take one home for the coffee table. Then I package up the others to offer for sale at our First Friday open houses. Inside the acetate package, on the backside of the folio, I insert my bio sheet.
Don’t forget if you are a Silver of Gold member you can click on any images to see larger and in more detail.
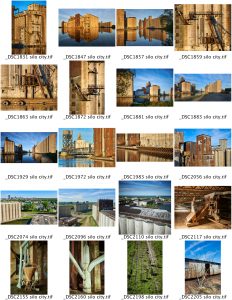
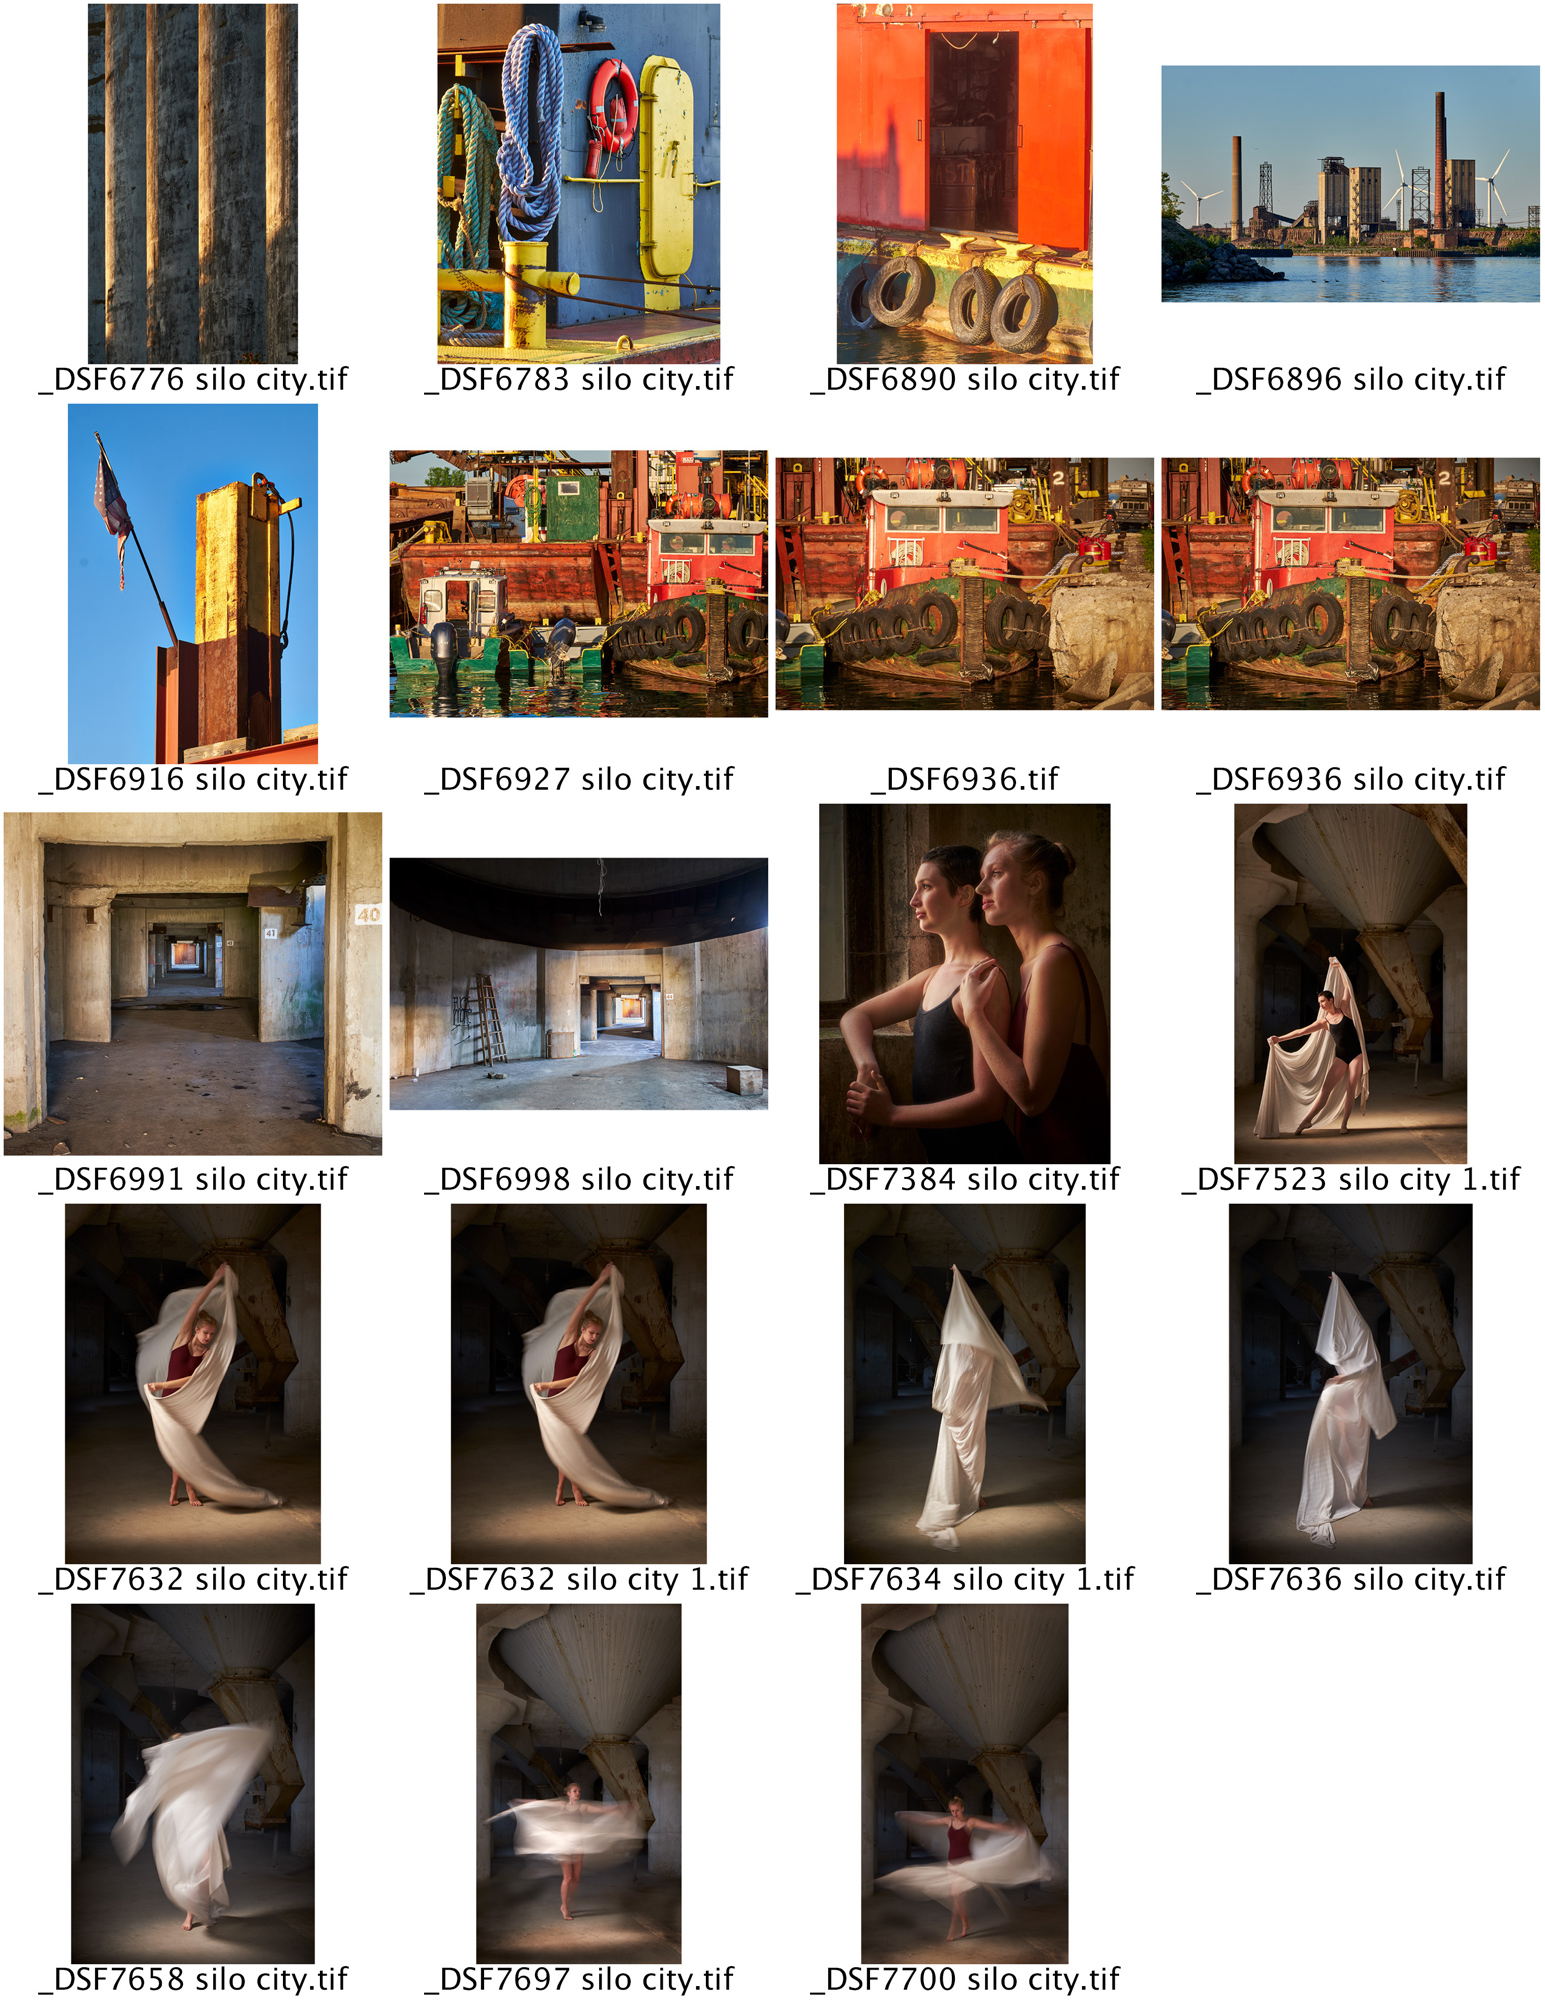
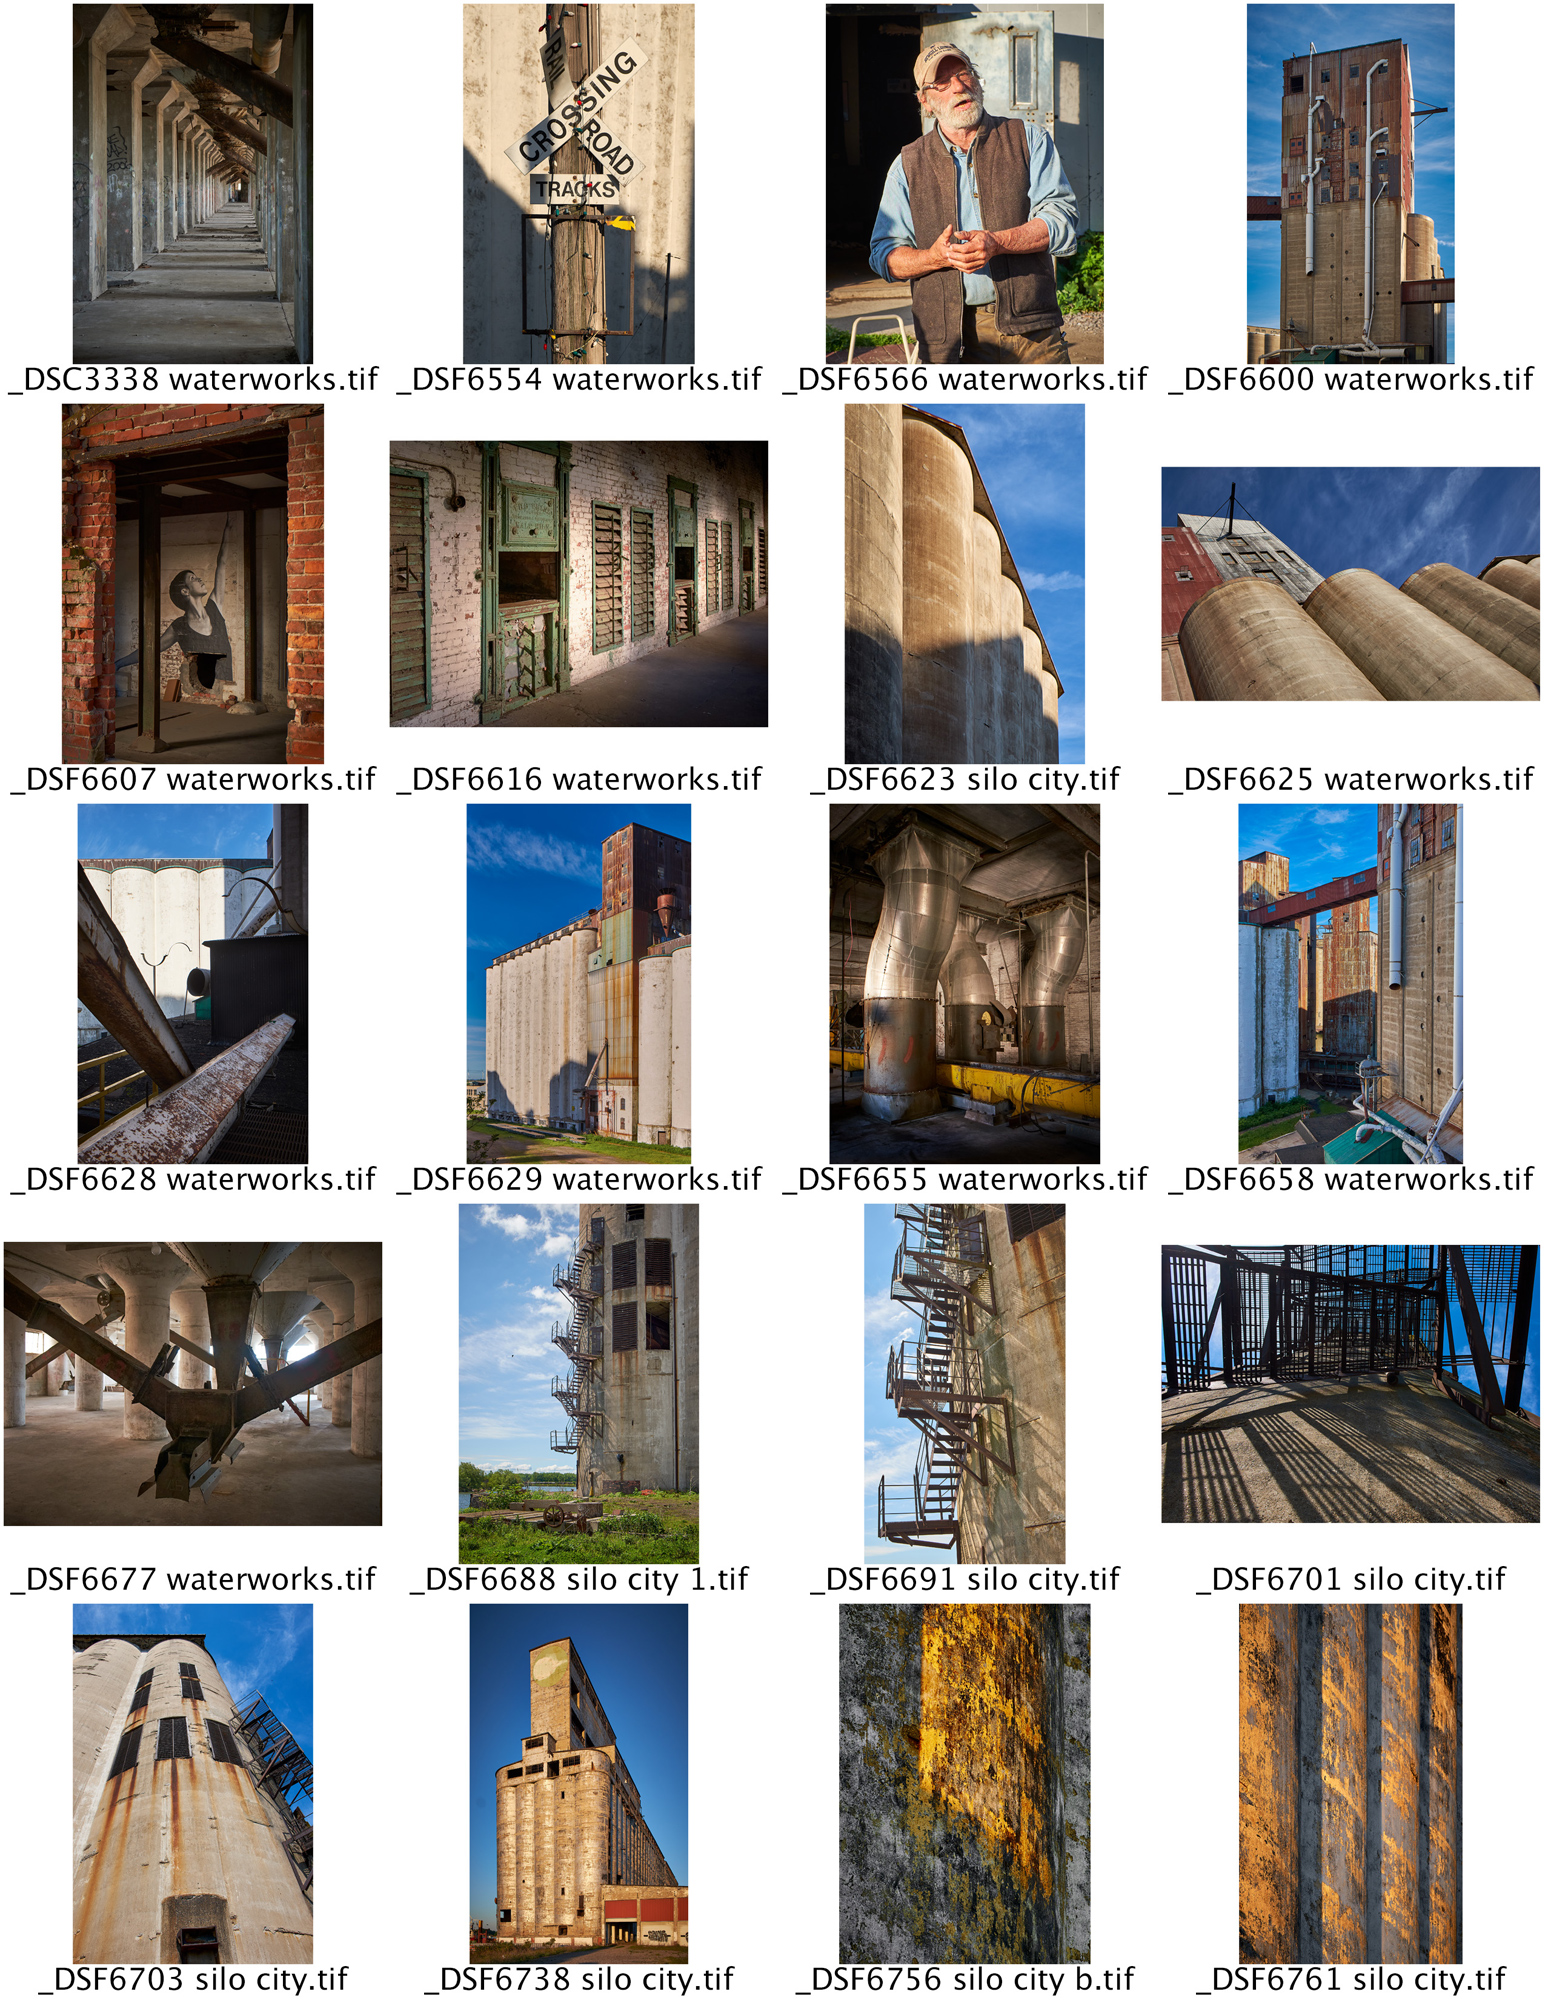
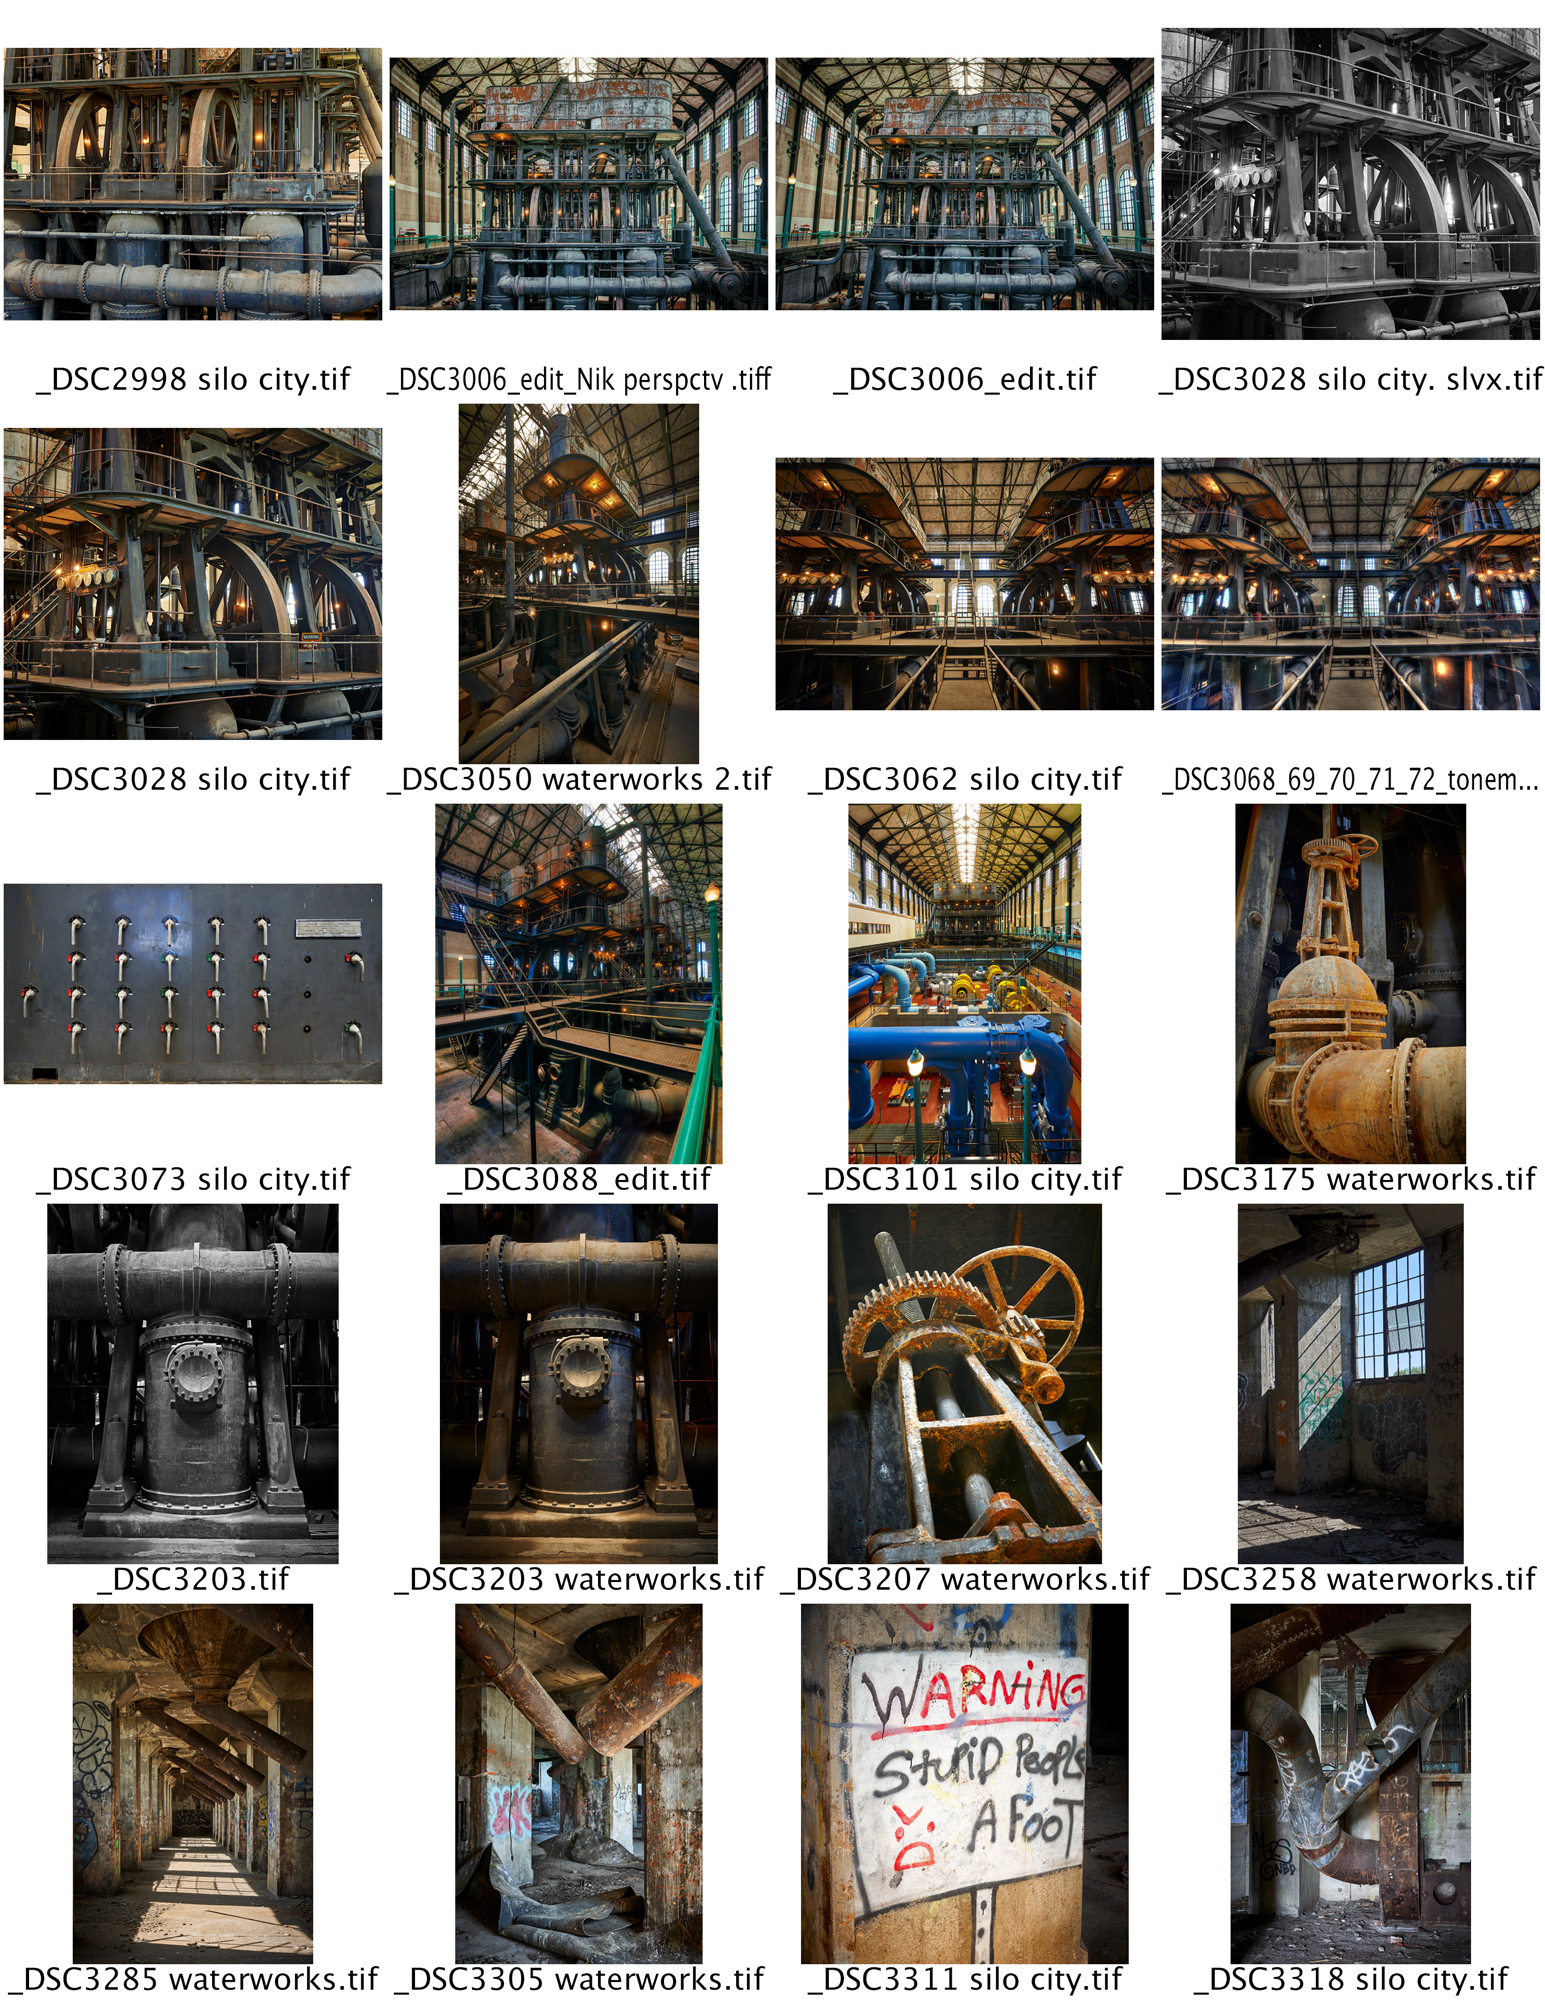
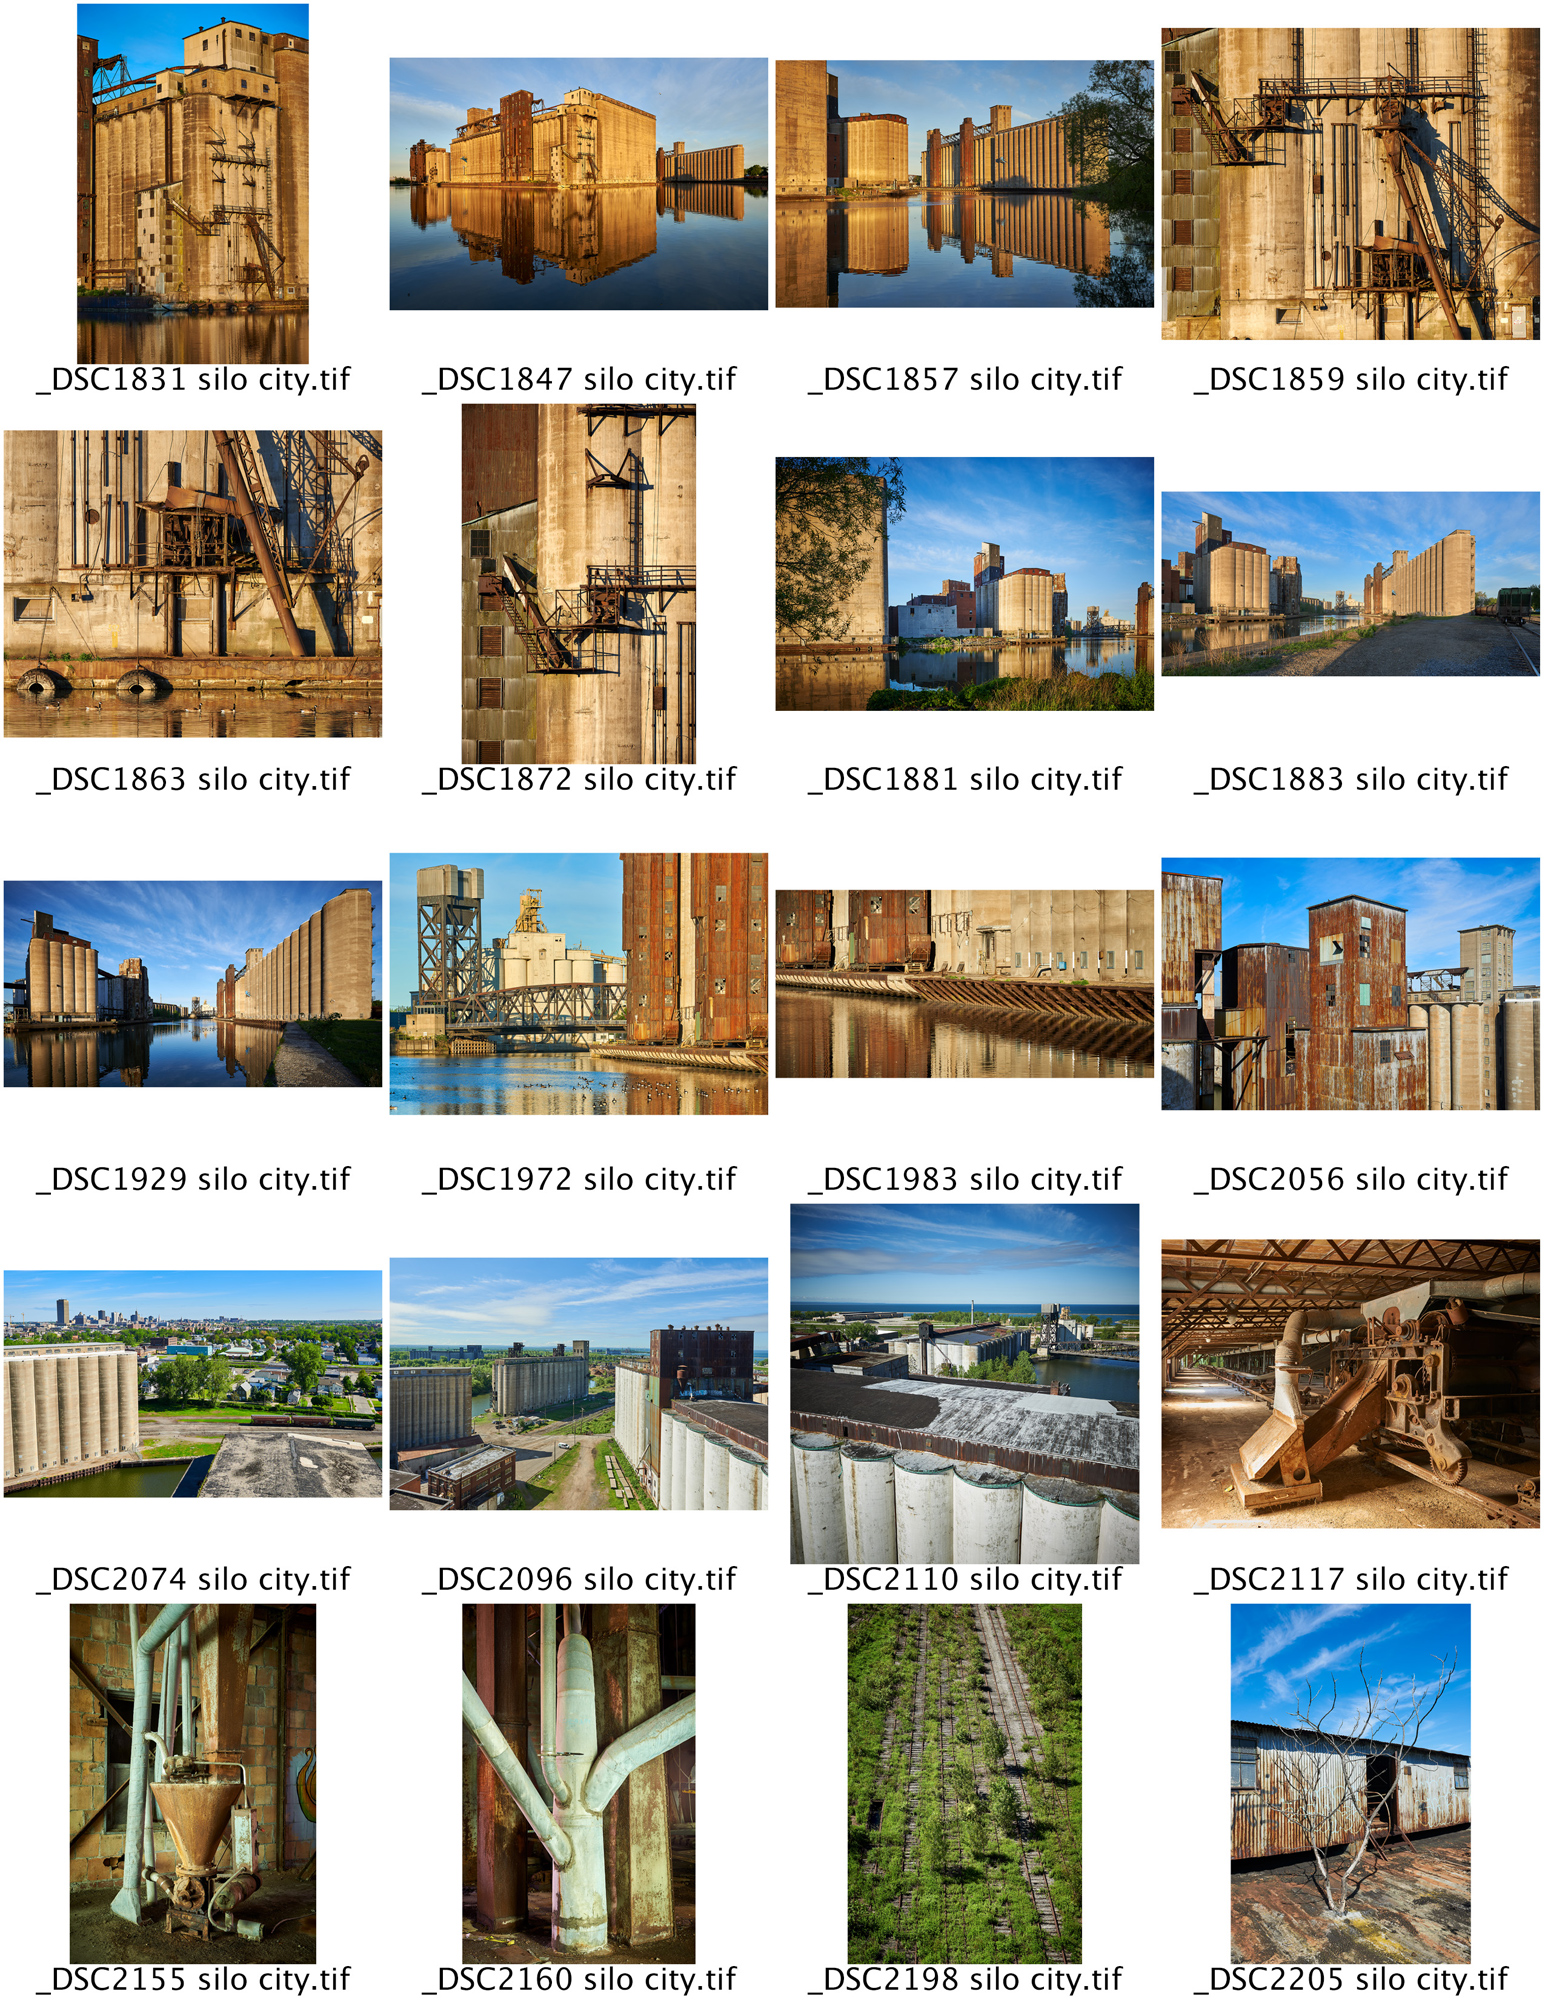
Selecting images for the folios is sometimes the hardest part, at least for me. I may have a collection of as many as 60 images I like that are part of a project; in this case, Silo City. How do I whittle down these images down to just 13? My method is to make a set of contact sheets using 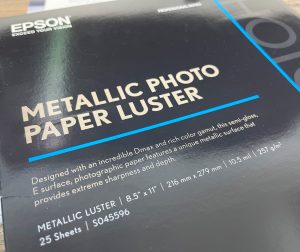 Photoshop. I usually set these contact sheets up as 4 columns by 5 rows. In the case of Silo City, I now have three sheets of images. I can now see everything side-by-side and using a magic marker, I start of by marking the ones I know that have to be in the folio. Then I put circles around my second choices. See the collection at the end of this article.
Then the hard part takes place, as I have to start making difficult decisions to get the images down to the final 13. Once I have the images selected, I go into the files folder and assign a color to the images as a tag. For example, red tags may be for the tin collection and green tags may be for the folio choice.
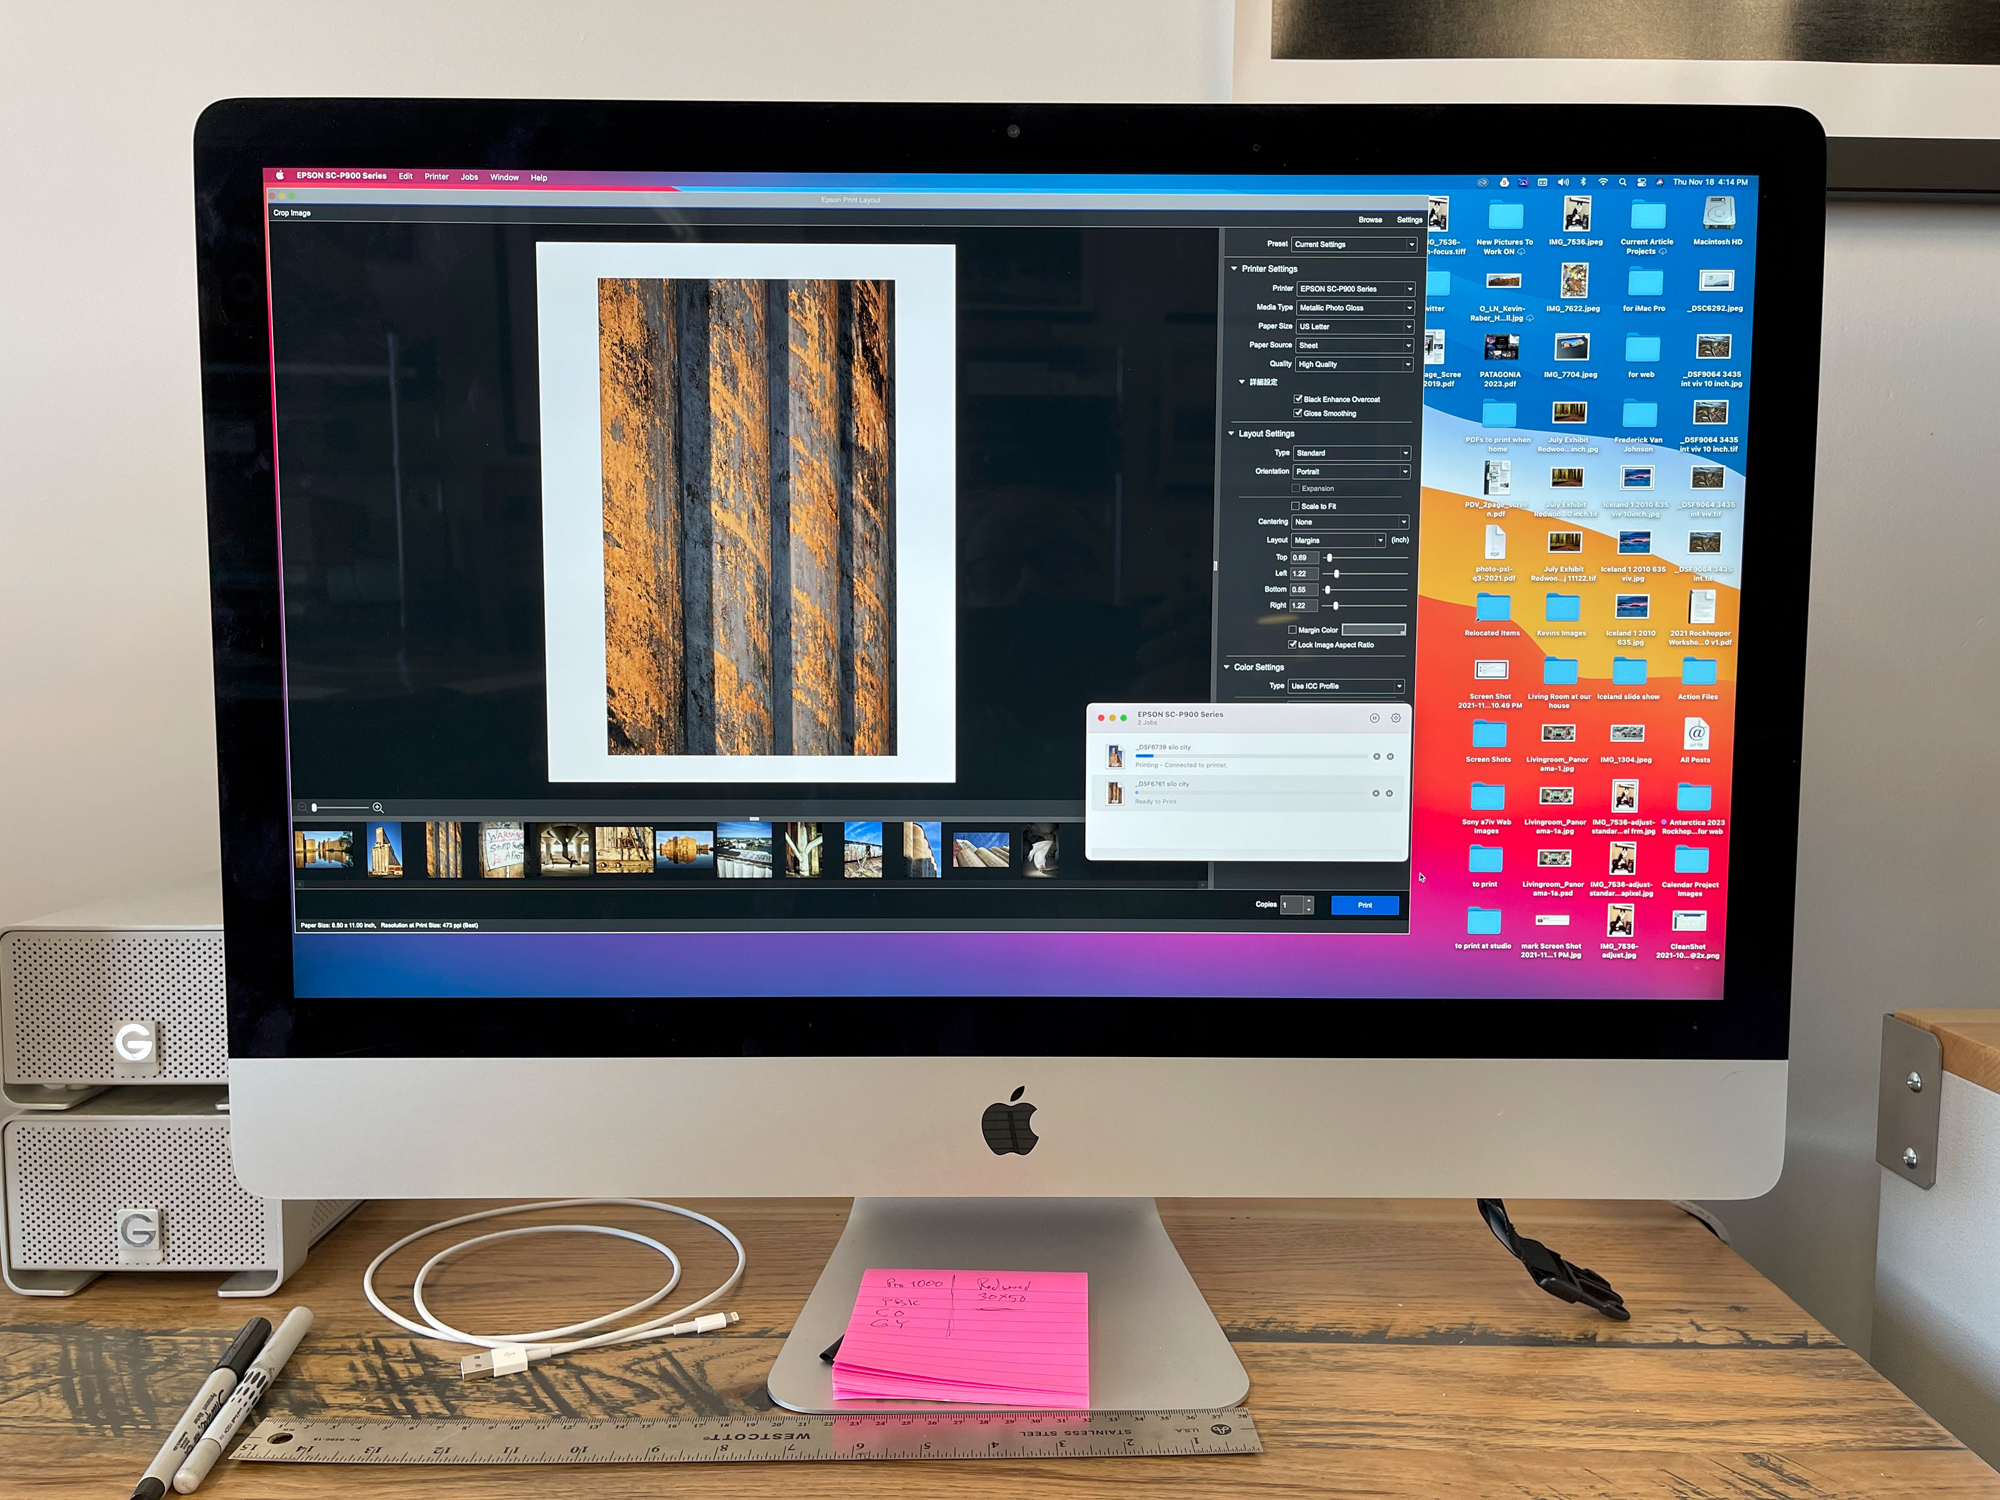
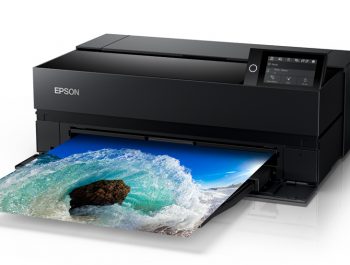
For these folios, I use Epson Print Layout (EPL) and drag the images to the strip at the bottom of EPL. I then make sure that each page is laid out the way I like. I usually set a long edge to a specific width. Once everything is right, I click the Print button. You need to select each image and click the Print button, as EPL won’t print the set as a batch. But once they are in the queue, you can sit back and wait for the images to come off the printer. I printed these on an Epson P900. I could have also done it from home, where I have an Epson P700.
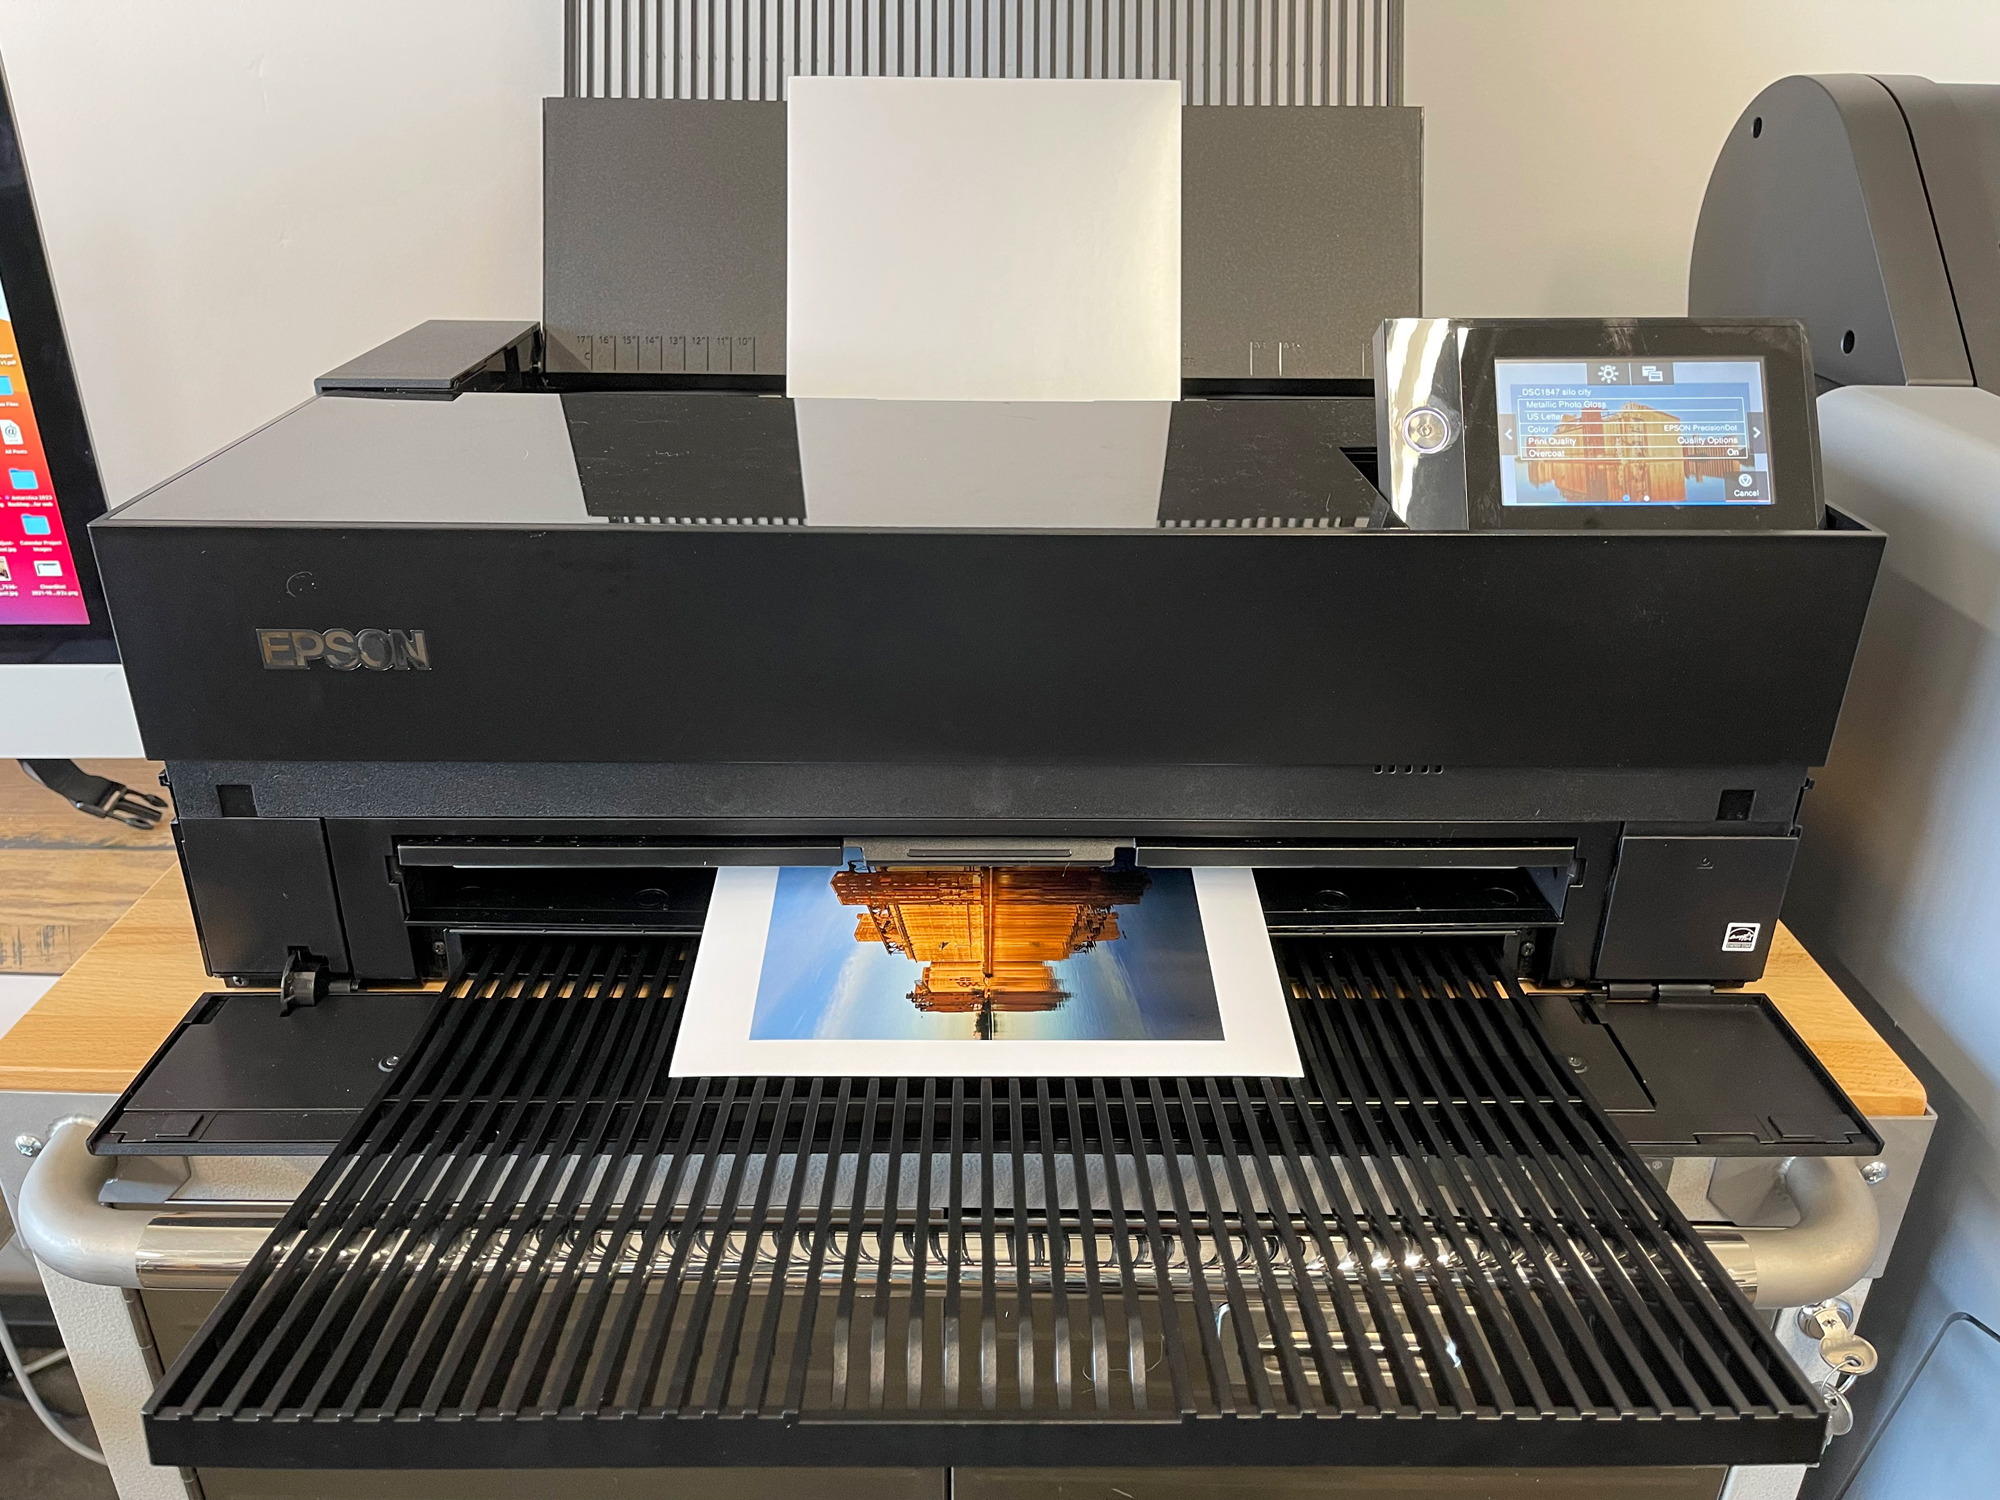
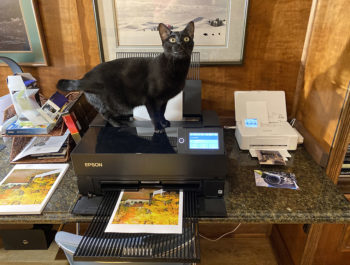
You can monitor the progress using the printer status window (on a Mac). On the printer, I can also see which image is being printed on the LCD screen.
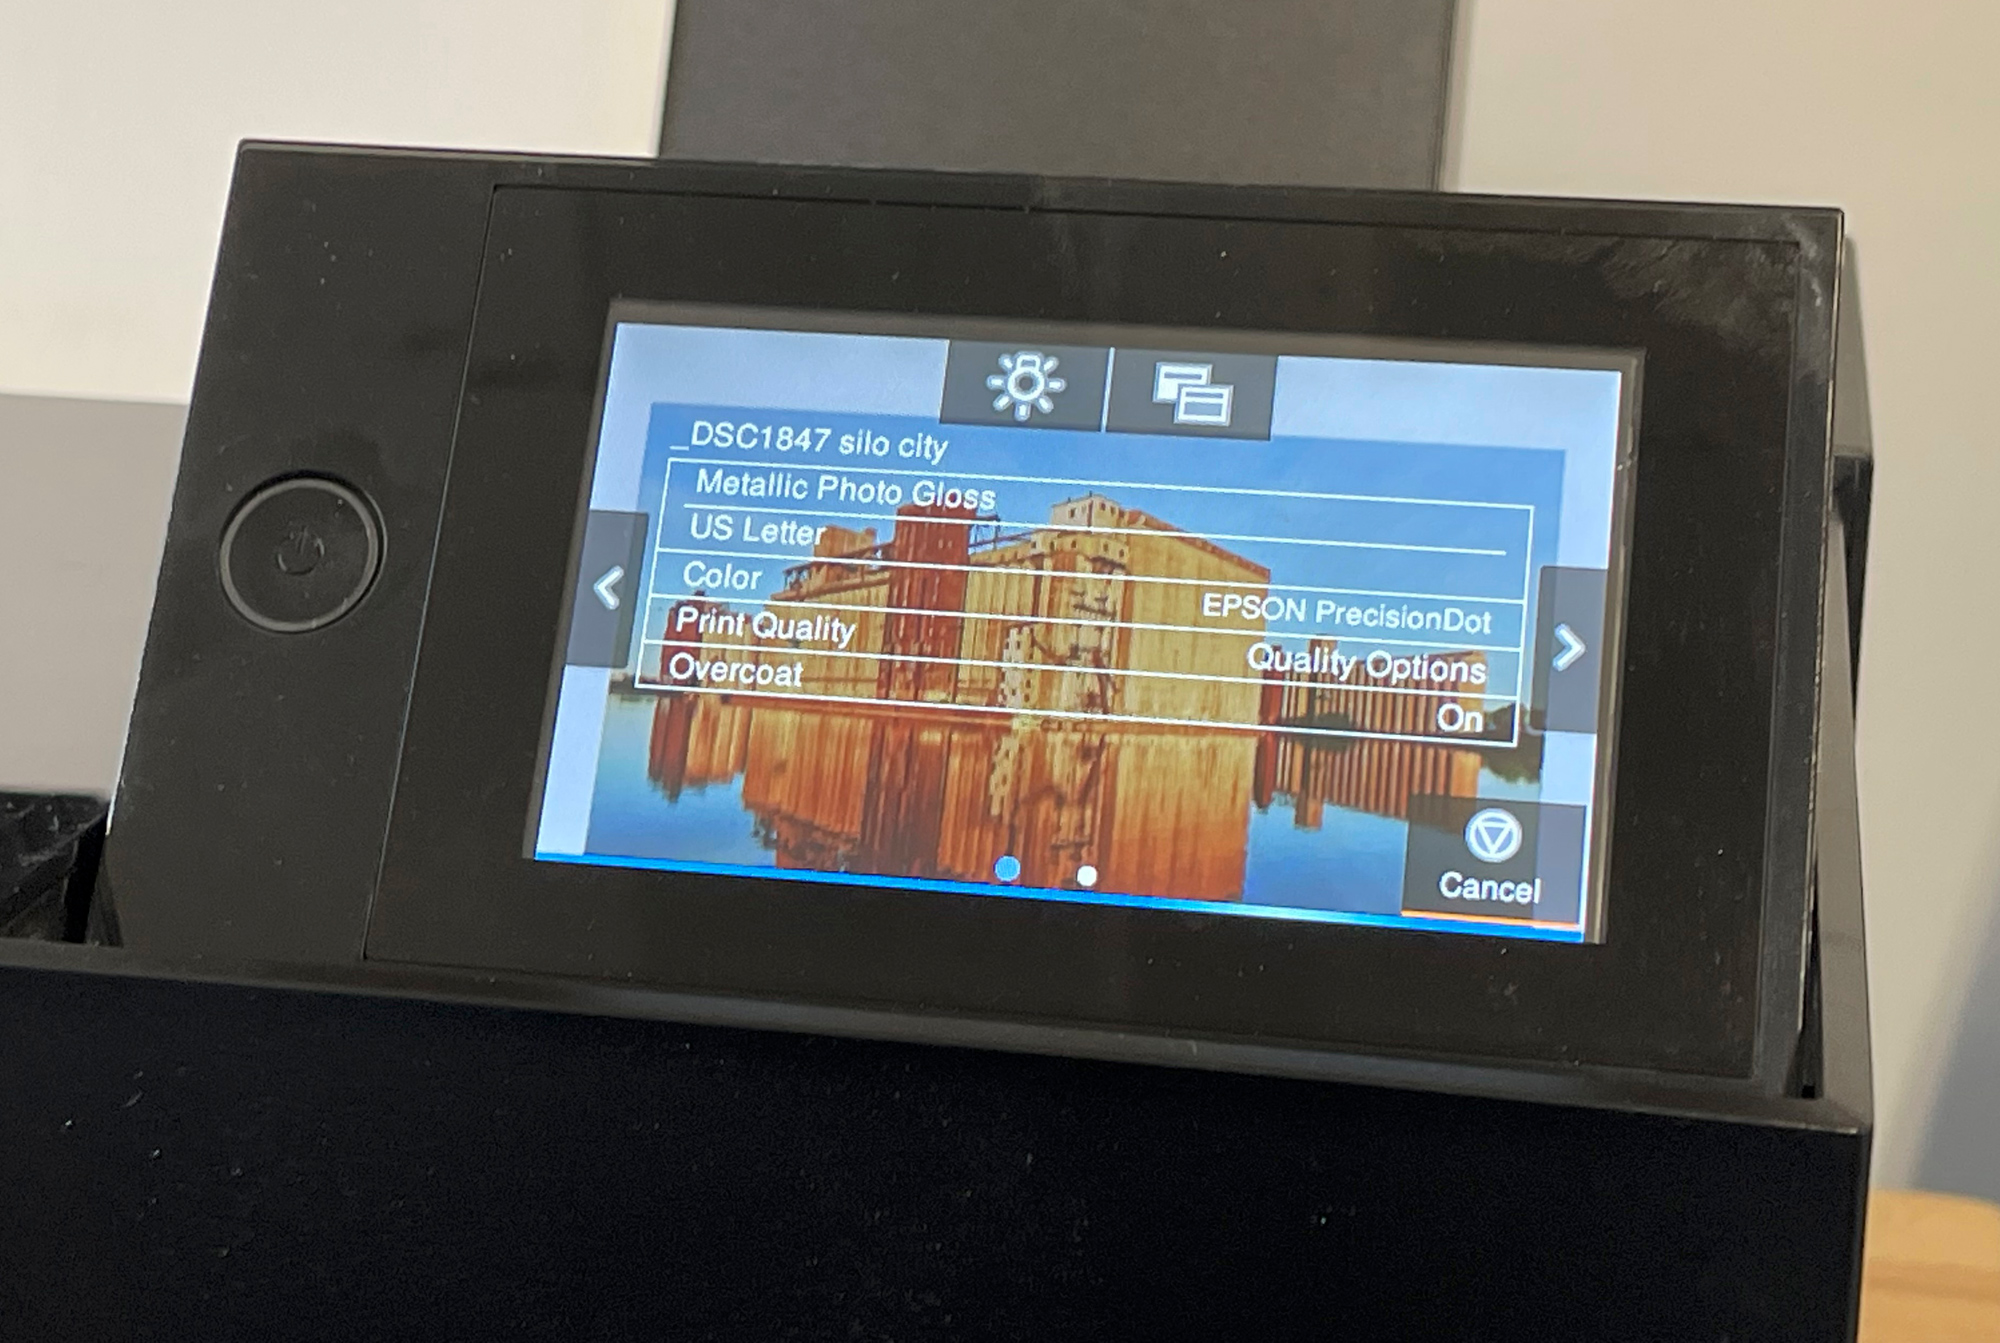
The beauty of this is that it is really simple. Using the Epson P900 in this case combined with EPL, all I had to do was select the paper, making printing these folios very simple. For this job, I used Epson Glossy Metallic paper, because it seemed to really set the mood well with this industrial type of landscape.
In an upcoming article, I’ll show how to print portfolio boxes in both 11×17 and 13×19 sizes. Having the ability to make my own prints and do projects like this extends a whole new meaning to the joy of photography. Plus, it’s a lot of fun.
This Projects Contact Sheets

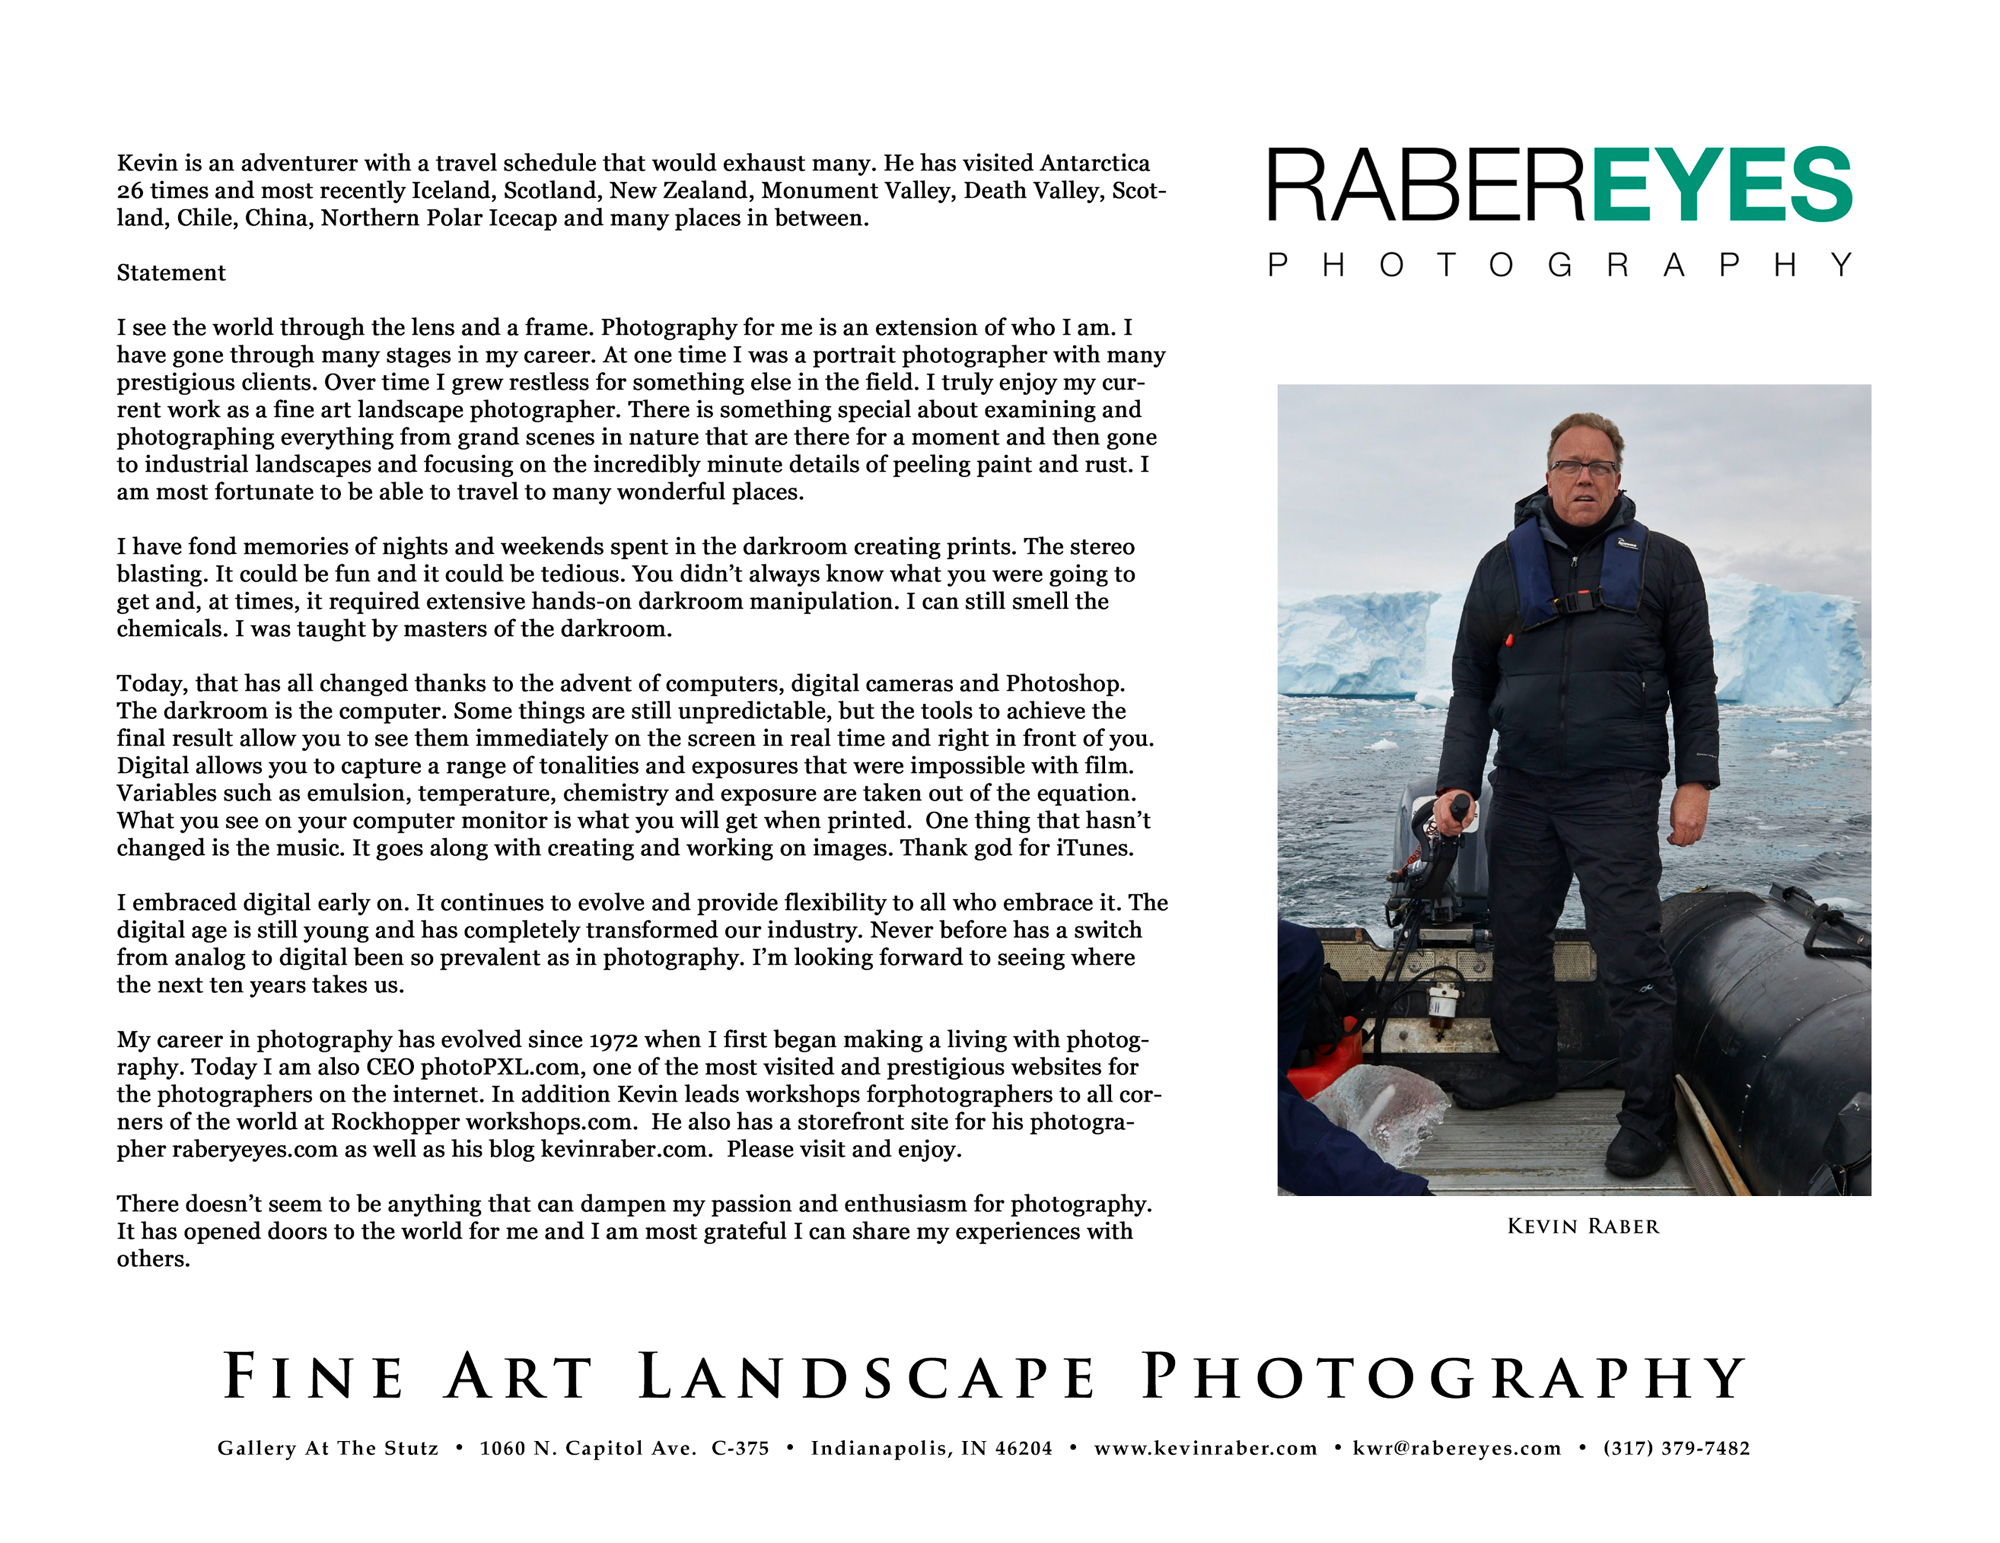
Kevin Raber
November 2021
Indianapolis, IN
Photography is my passion and has been for 50 plus years. My career in photography has allowed me to travel the world, meet some of the most interesting people on the planet and see things I could never have dreamed of. My goal is to share the passion of picture taking through photographs and teaching with as many people as I can, hoping it brings them as much joy and happiness as it has me. I do this through photoPXL.com, this site, as well as Rockhopper Workshops, and other projects, as well as teaching as Artist In Residence at the Indianapolis Art Center.