Mastering The Art Of Photographic Composition – Part Two
Change Your Compositional Viewpoint
Stronger compositions are often created just by making your photographs more interesting, and this is certainly the case with our camera’s viewpoint.
Many photographers reach a destination, step out of the car or coach and take the first scene they see. Sometimes the car stops in exactly the right position, but more often than not you can find a better angle somewhere else.
Or perhaps they are taking a portrait, so they stand up and shoot from a comfortable standing position.
Shooting from these viewpoints might be comfortable for us physically, but chances are they are also relatively boring.
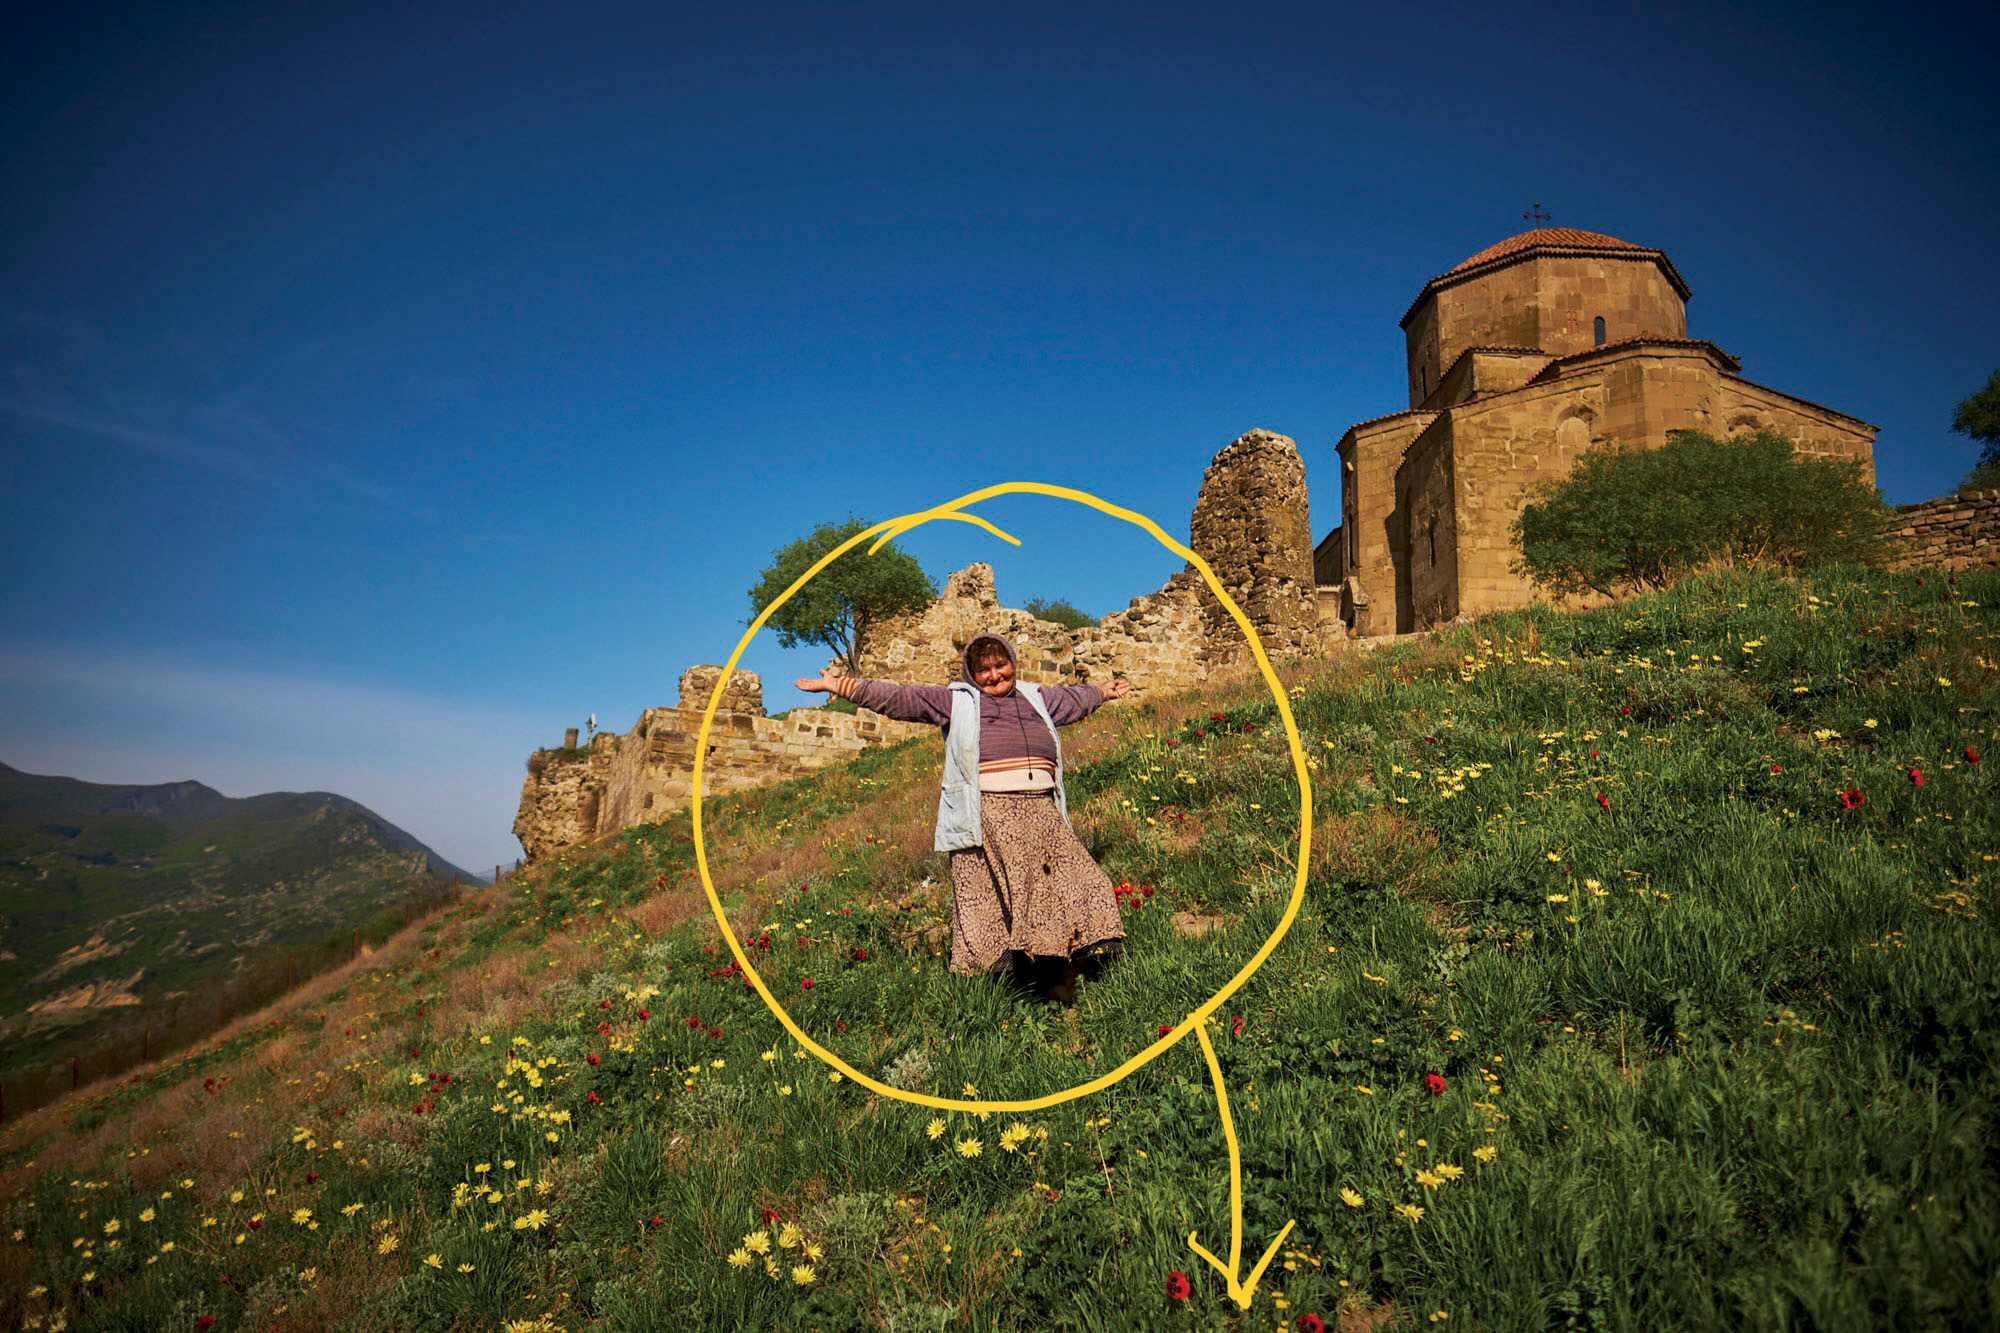
One of the easiest ways to find better viewpoints is to go exploring. When you reach a popular destination or a lookout, by all means take the ‘tourist’ photo, but then walk around. It’s amazing what you will find by simply going to the side, or stepping back, including some trees in the foreground, or shooting between two rocks.
Sometimes getting a better angle will involve a lot of extra effort. If the really good photos were that easy to take, they’d become the normal postcard shot and there’d be an escalator taking you up to the lookout! Some locations are exactly like this, and some locals at tourist spots also know that they make a good subject and charge to be photographed. Good luck to them!
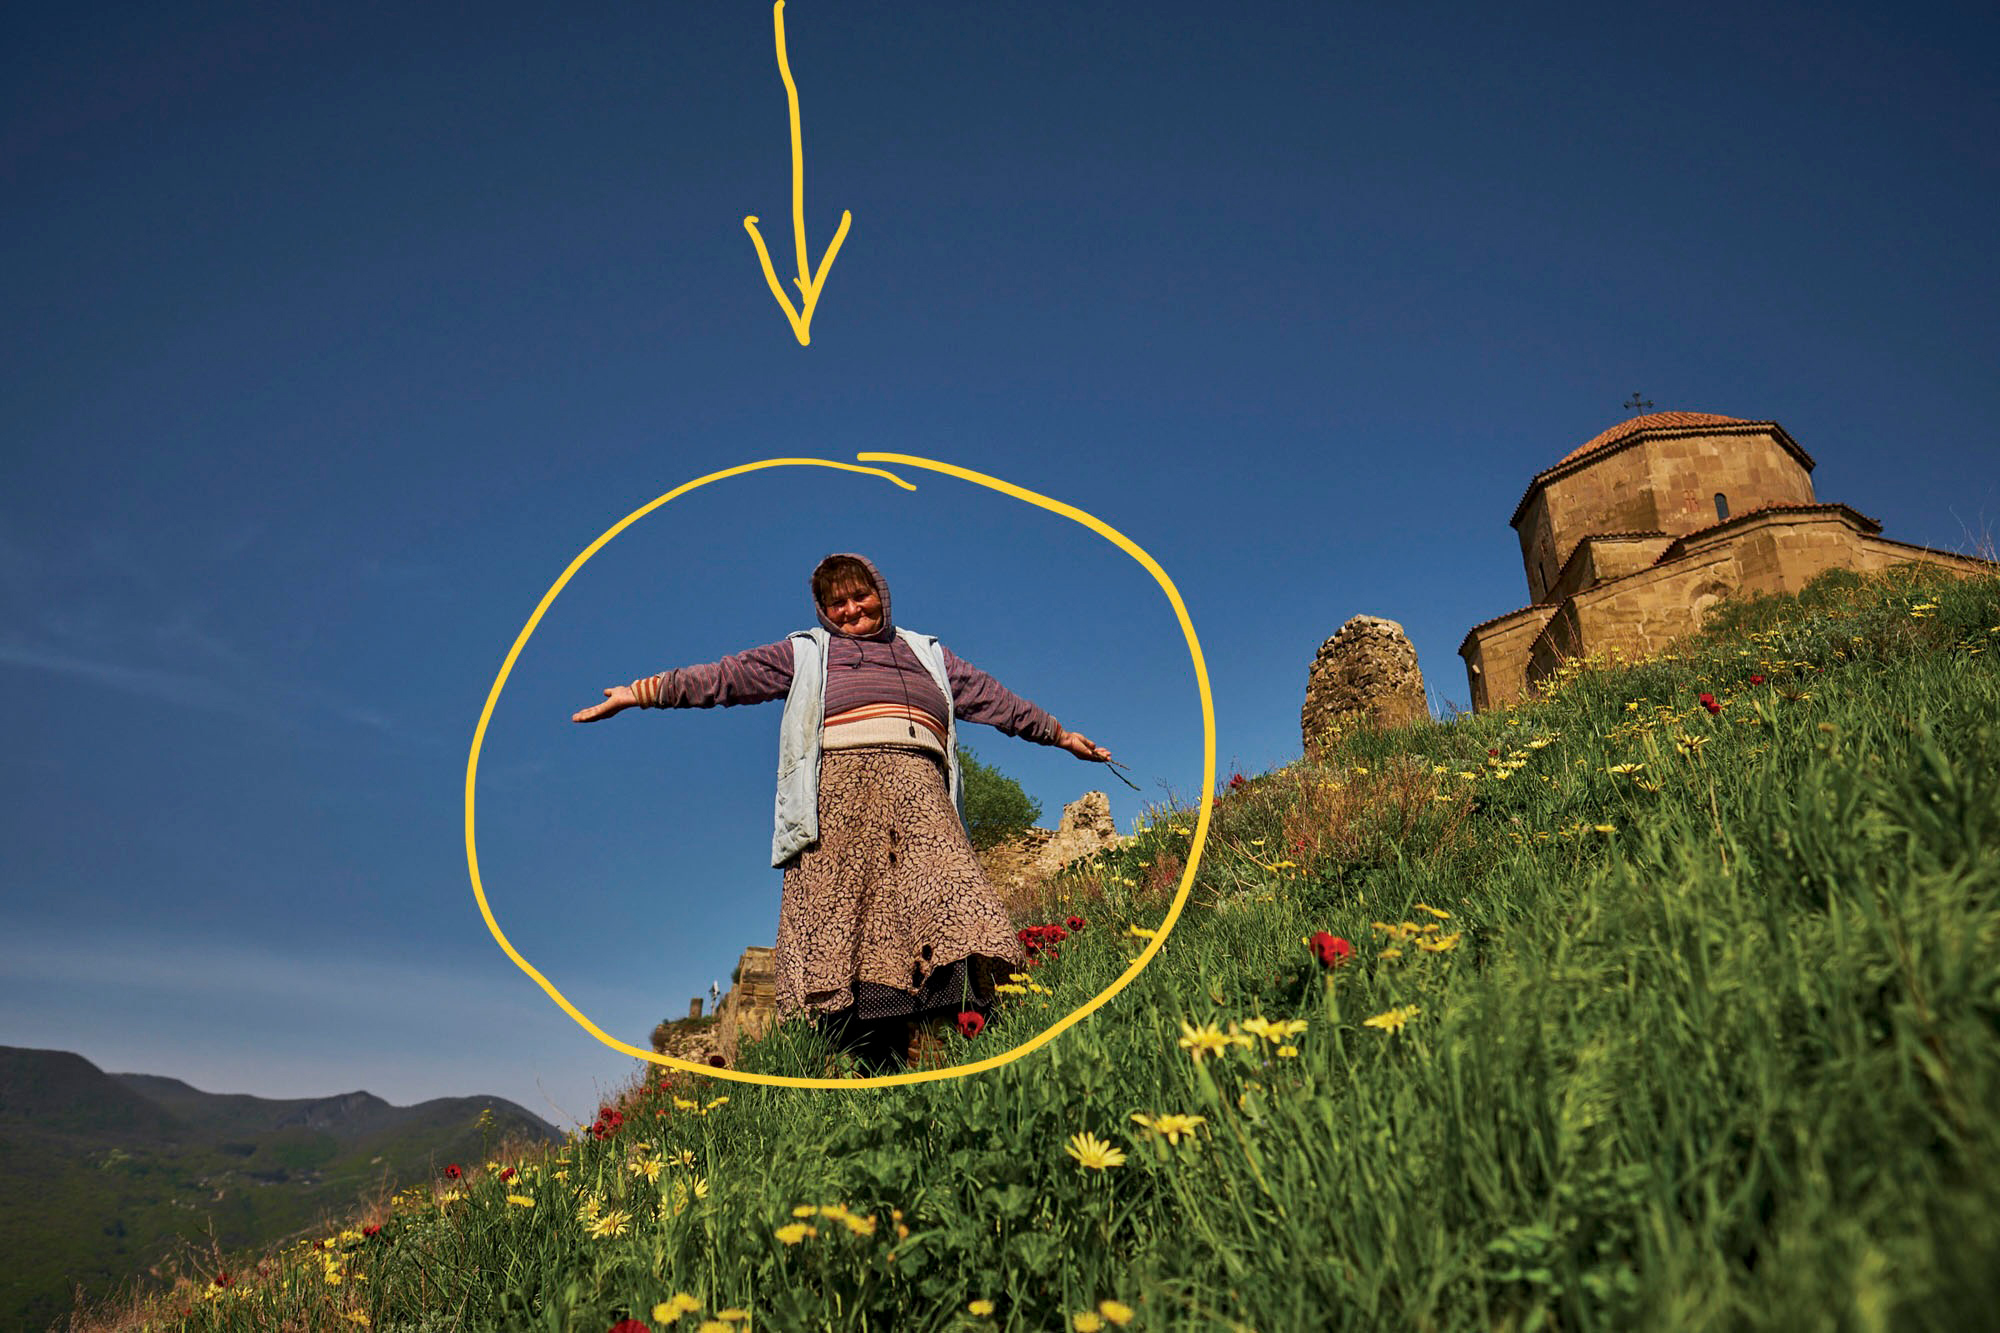
There are other things you can do to create an interesting viewpoint: shoot low and shoot high. Or shoot down or shoot up! Most humans look at life from one and a half to two metres above the ground and look out parallel to the ground. Most photographs are taken from the same height and angle.
Immediately you change the height or angle of your camera, you also create an image which looks different and potentially has more impact.
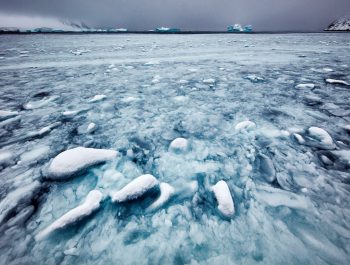
Getting down low is easy to do, but it only works if you have a foreground. If you’re shooting a landscape from the edge of a cliff, then whether you’re standing or crouching doesn’t make much of a difference.
However, if you are including the edge of the cliff in your frame, then a low angle will bring the rocks and grass on the cliff into view. They will appear larger in the frame (they are closer to the camera) and, if you’re using a wide-angle lens, the foreground can lead the eye into the distance.
There are many situations where getting down low can make quite a difference. If you have trees in the foreground, why not lie down on your back and look up, with the horizon low in the frame. Or place the horizon high in the frame and focus on the ground at your feet – the small pebbles can appear the size of boulders (this technique works best with a wide-angle lens).
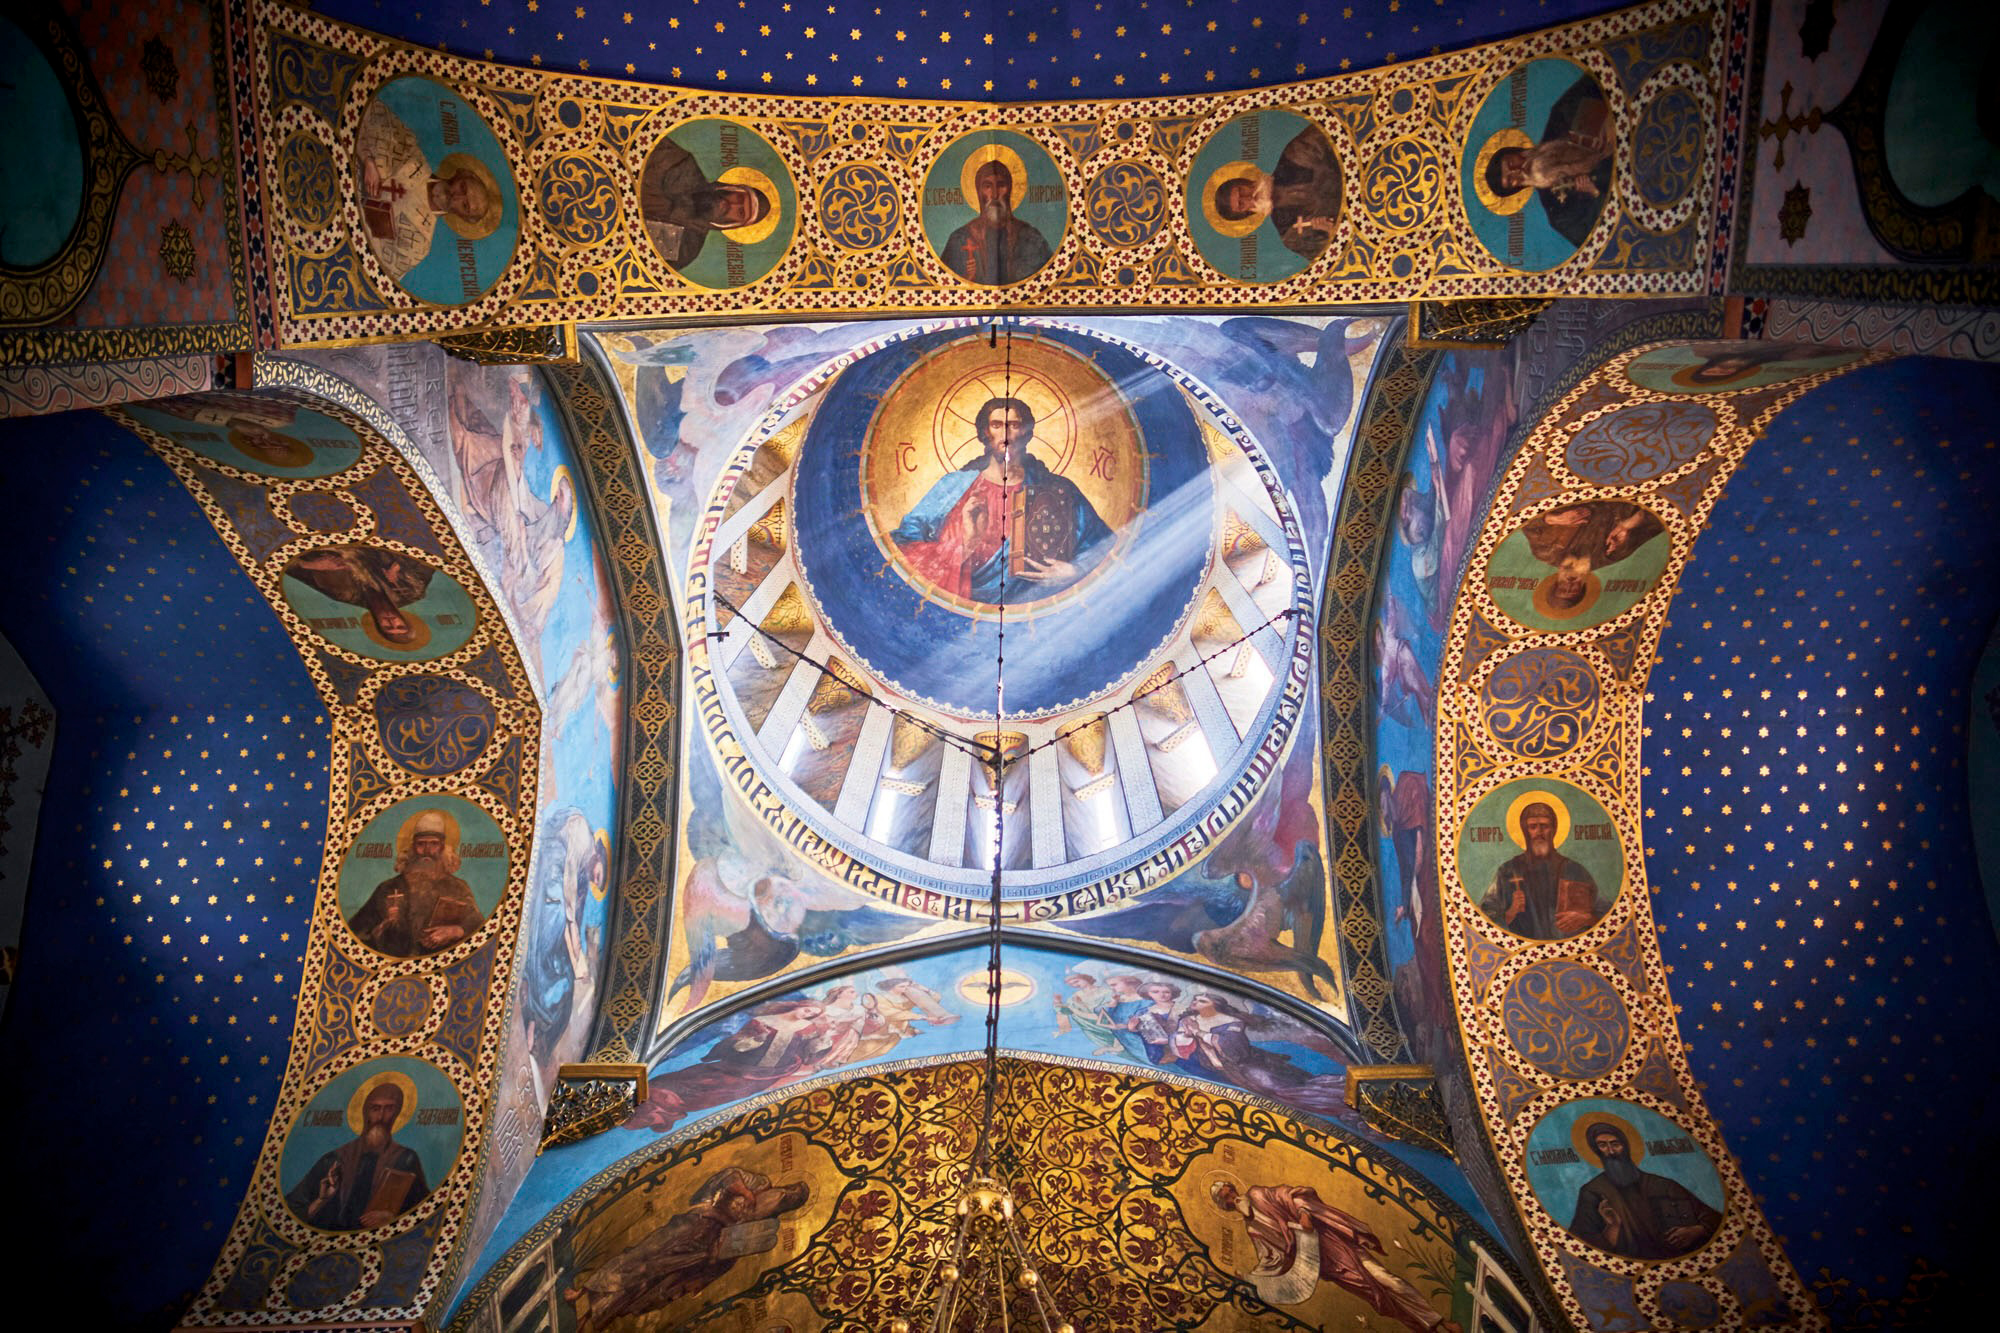
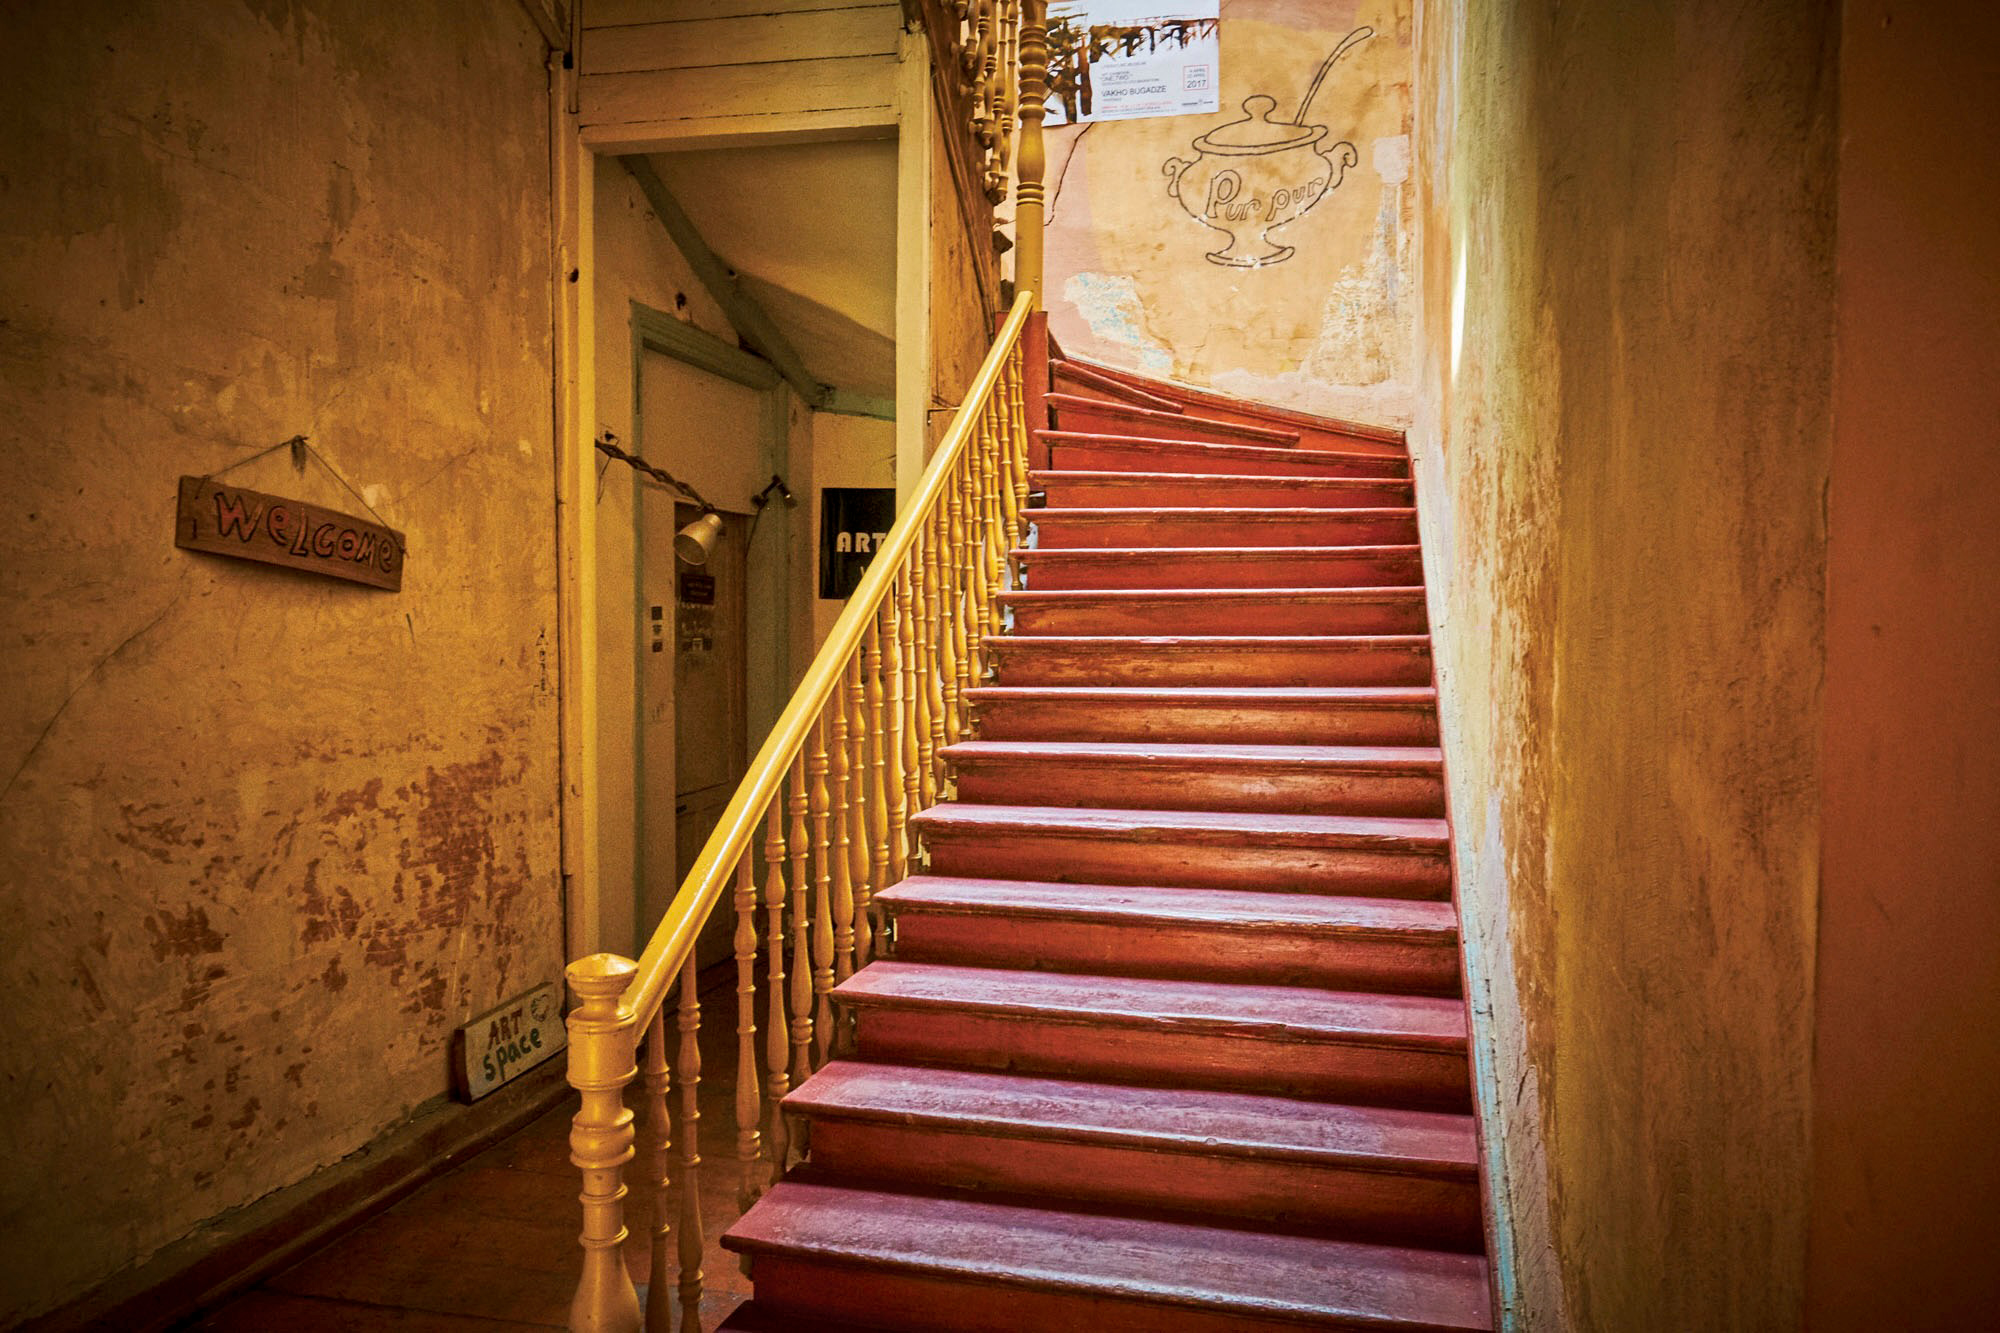
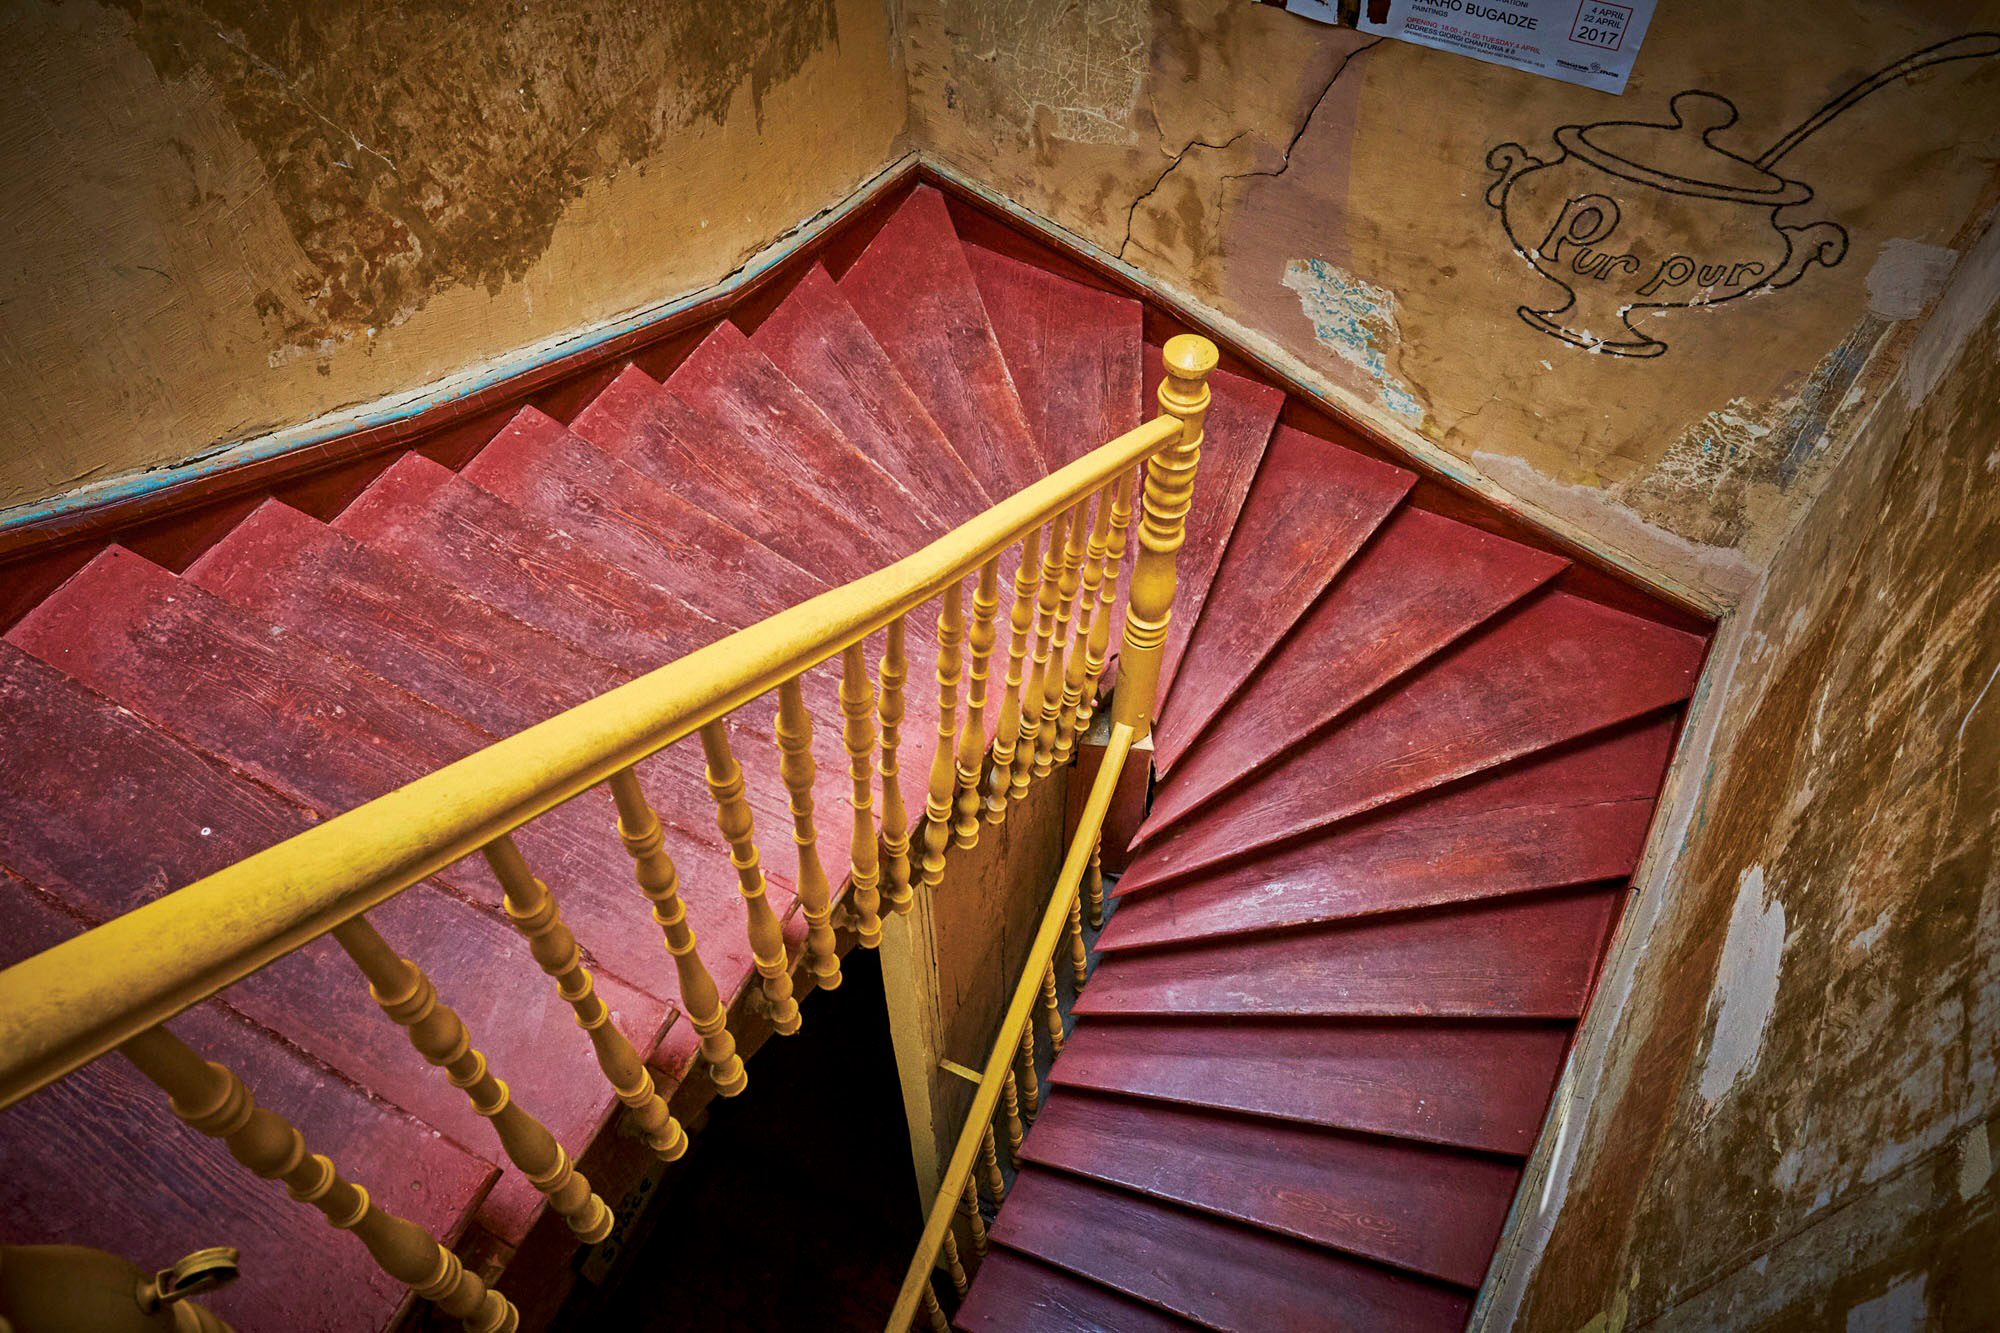
The second option is to gain a higher vantage point.
Some photographers use a very tall tripod and carry a ladder in the back of their car or van. It’s amazing how even an extra one or two metres altitude can change the perspective of a landscape.
Another possibility is to climb a nearby hill or mountain, or jump into an aeroplane, helicopter or balloon and take a true aerial perspective. It can be even simpler than this – climb the stairs and look out the window.
If you choose to shoot a photograph with a different viewpoint, do it in such a way that the viewpoint suits the subject.
Try not to use a high or a low viewpoint on a subject just because you read about it here – you will find some subjects work well while others are not so successful.
Choosing a high or a low viewpoint doesn’t mean you should never shoot from a standing position, rather you should think about your options.
Cropping For Impact

So far, we haven’t really stipulated any rules for good composition. So far, all we have done is become aware of how our subject appears within the photo frame.
But who designed the frame?
We are not restricted by the shape of the rectangle used by our camera to record the image.
Most cameras record a 3:2 ratio rectangle – the long side is 3 units to the short side’s 2 units. However, there are lots of other cameras with a 4:3 ratio, a 16:9 ratio and even 1:1 (square).
The point to note is that choosing the shape or ratio of your picture frame is up to you, and if you don’t want to use the one that comes with your camera, you can use Photoshop or Lightroom etc., to create a different frame simply by cropping the image afterwards. Be brave and try it!
You can also choose whether the image is to be vertical or horizontal. This is usually decided at the time of capture, but there’s nothing stopping you from turning a horizontal photo into a vertical, assuming you have enough pixels to play with (most modern cameras do).
The act of cropping an image means you’re removing some of the image area. Where you crop is important. Just as you needed to make decisions when framing your subject in camera, so you should make decisions when cropping your subject.
When you’re in the moment, capturing the photo, there can be lots of thoughts and activities all seemingly happening at once. There are two approaches you can take that will maximise your chances of getting the best composition.
The first is really simple: take lots of different shots. Use different lenses, different angles, different distances. Then you can spend some time after the shoot (and after all the excitement has died down) analysing which crop works the best. Of course, sometimes the nature of what you’re photographing means that there is only time for one shot.
Which leads to the second suggestion. It is easy enough to crop images, but very hard to add image area outside the frame, so if in doubt, shoot a little wider than you might be thinking at the time. You can easily crop into where you thought the best frame was at the time you took the photo, but there’s also some extra real estate floating around so that if you were to change your mind, it would still be possible. If you shoot your subject with a tight frame, a tight crop, then there’s not a lot you can do with the image in post-production afterwards. Generally, it’s too late, so shoot wider and crop later.
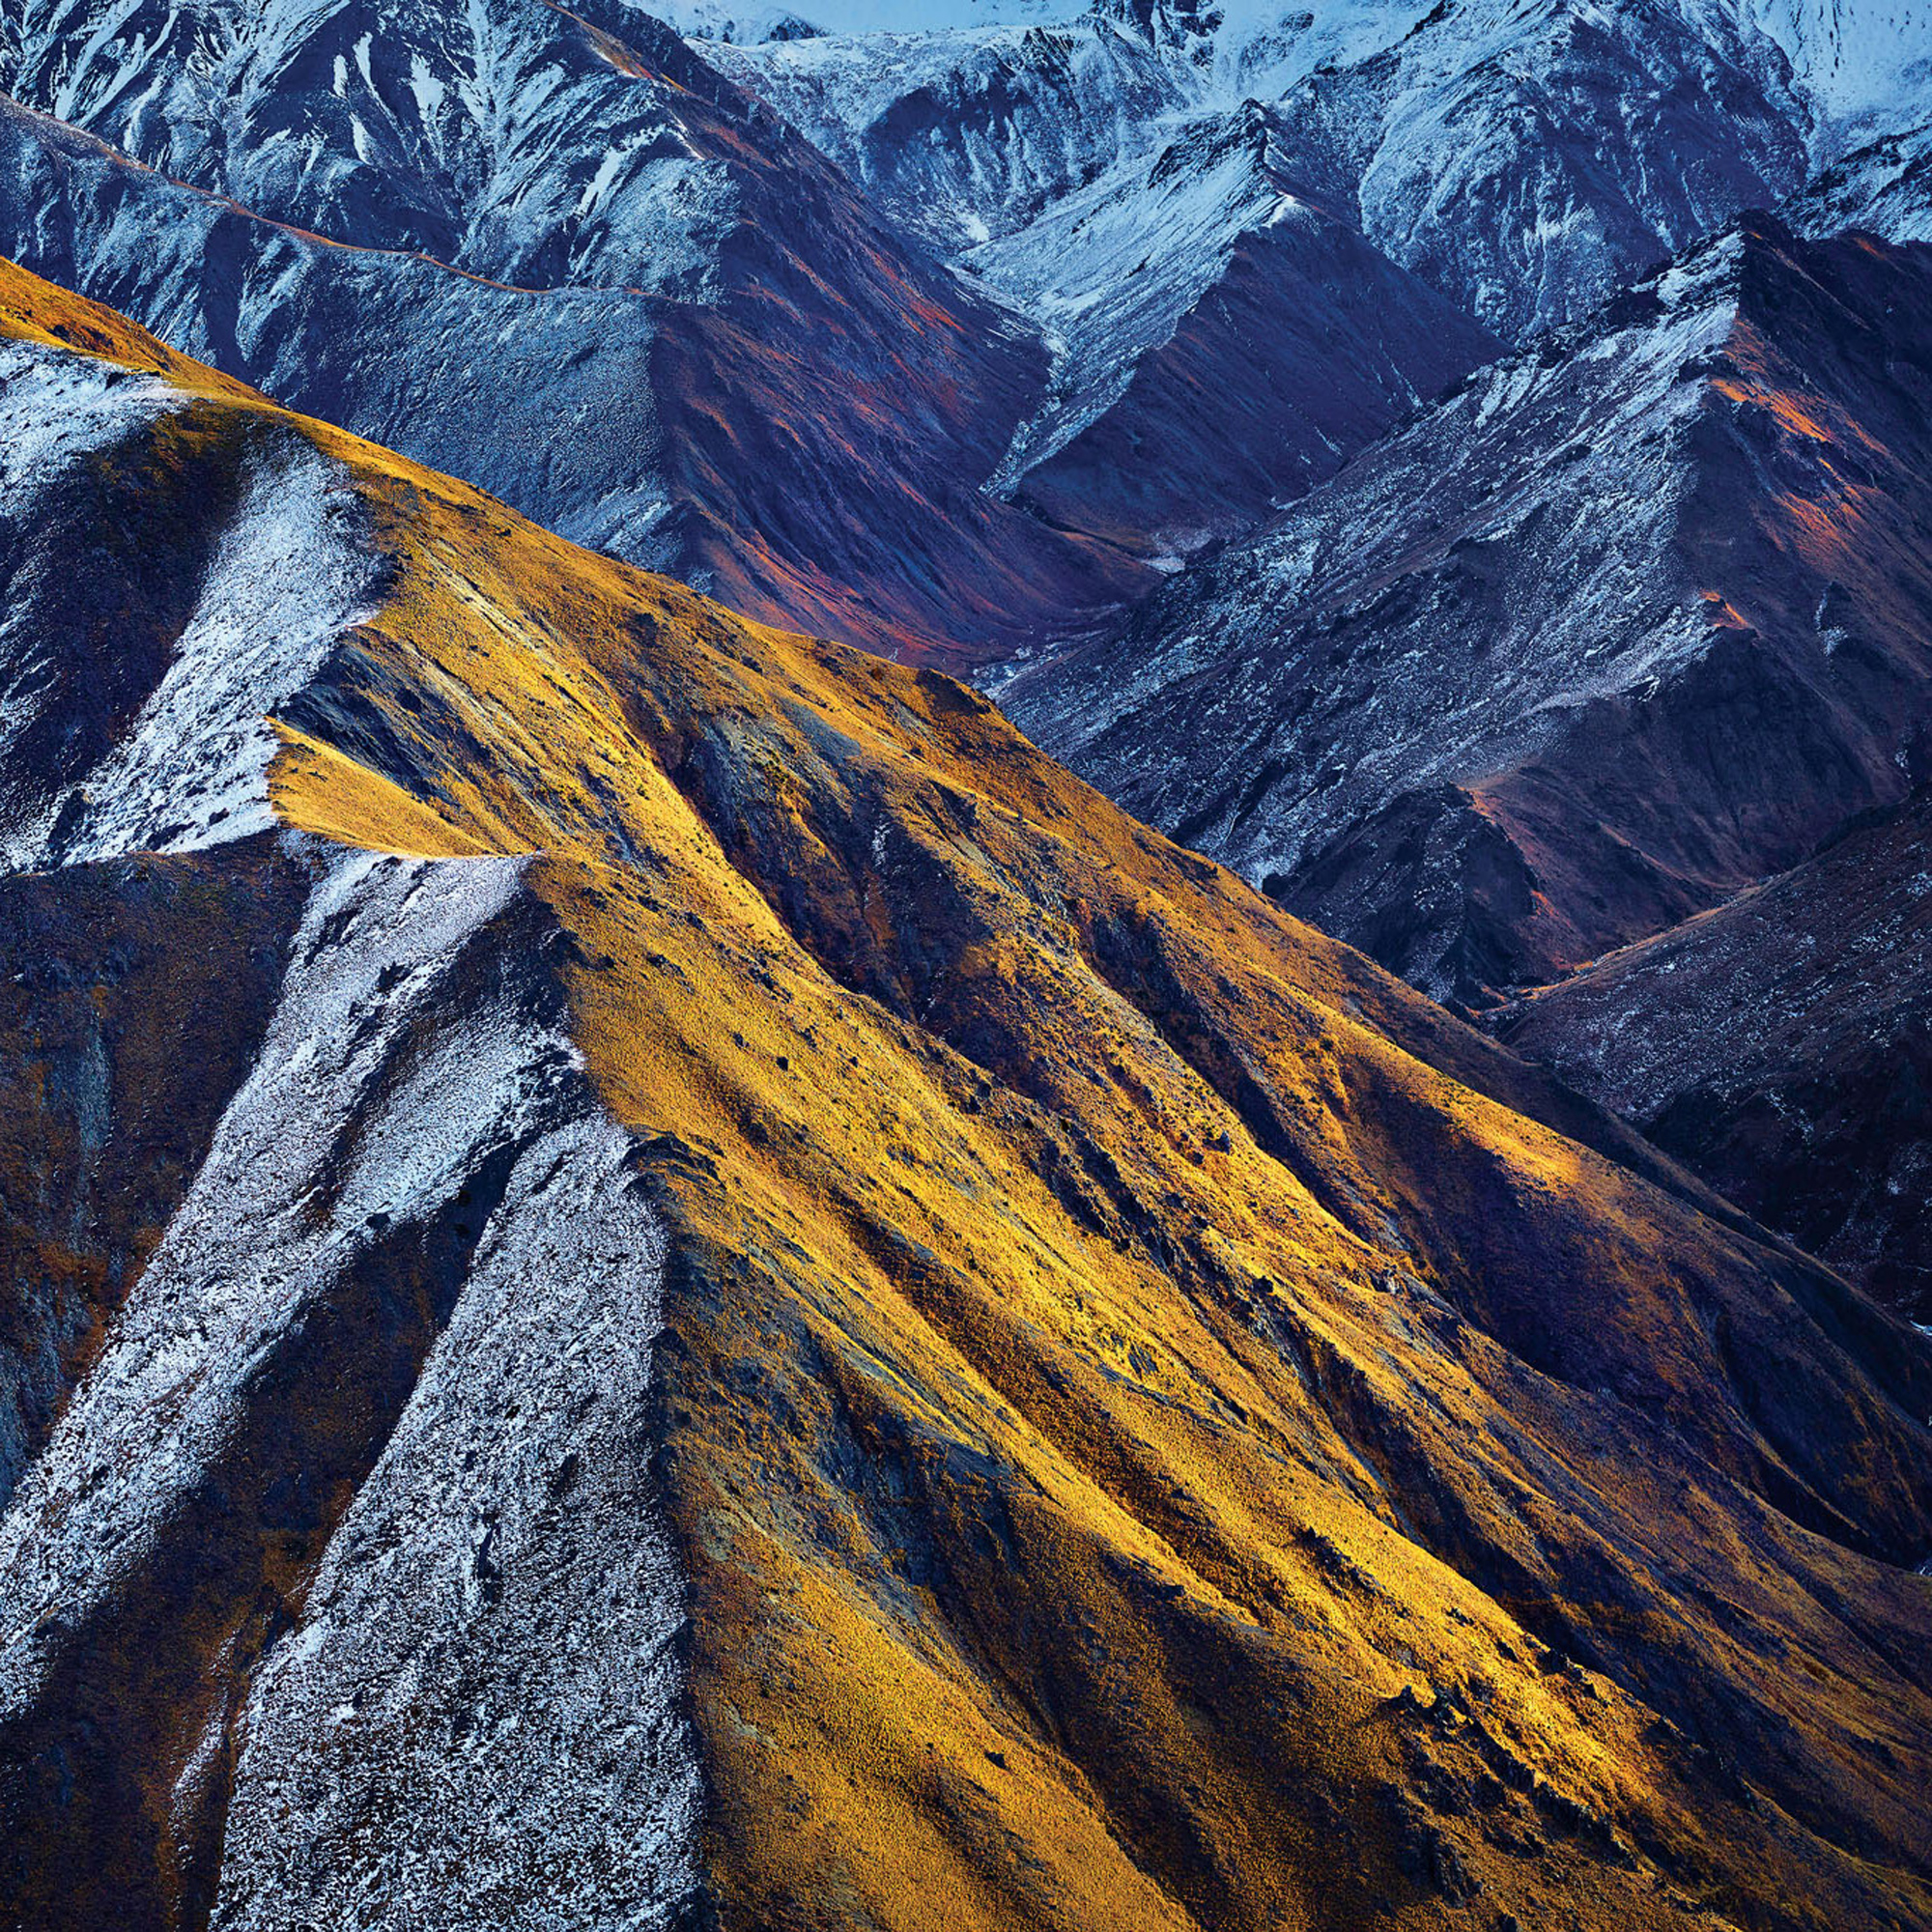
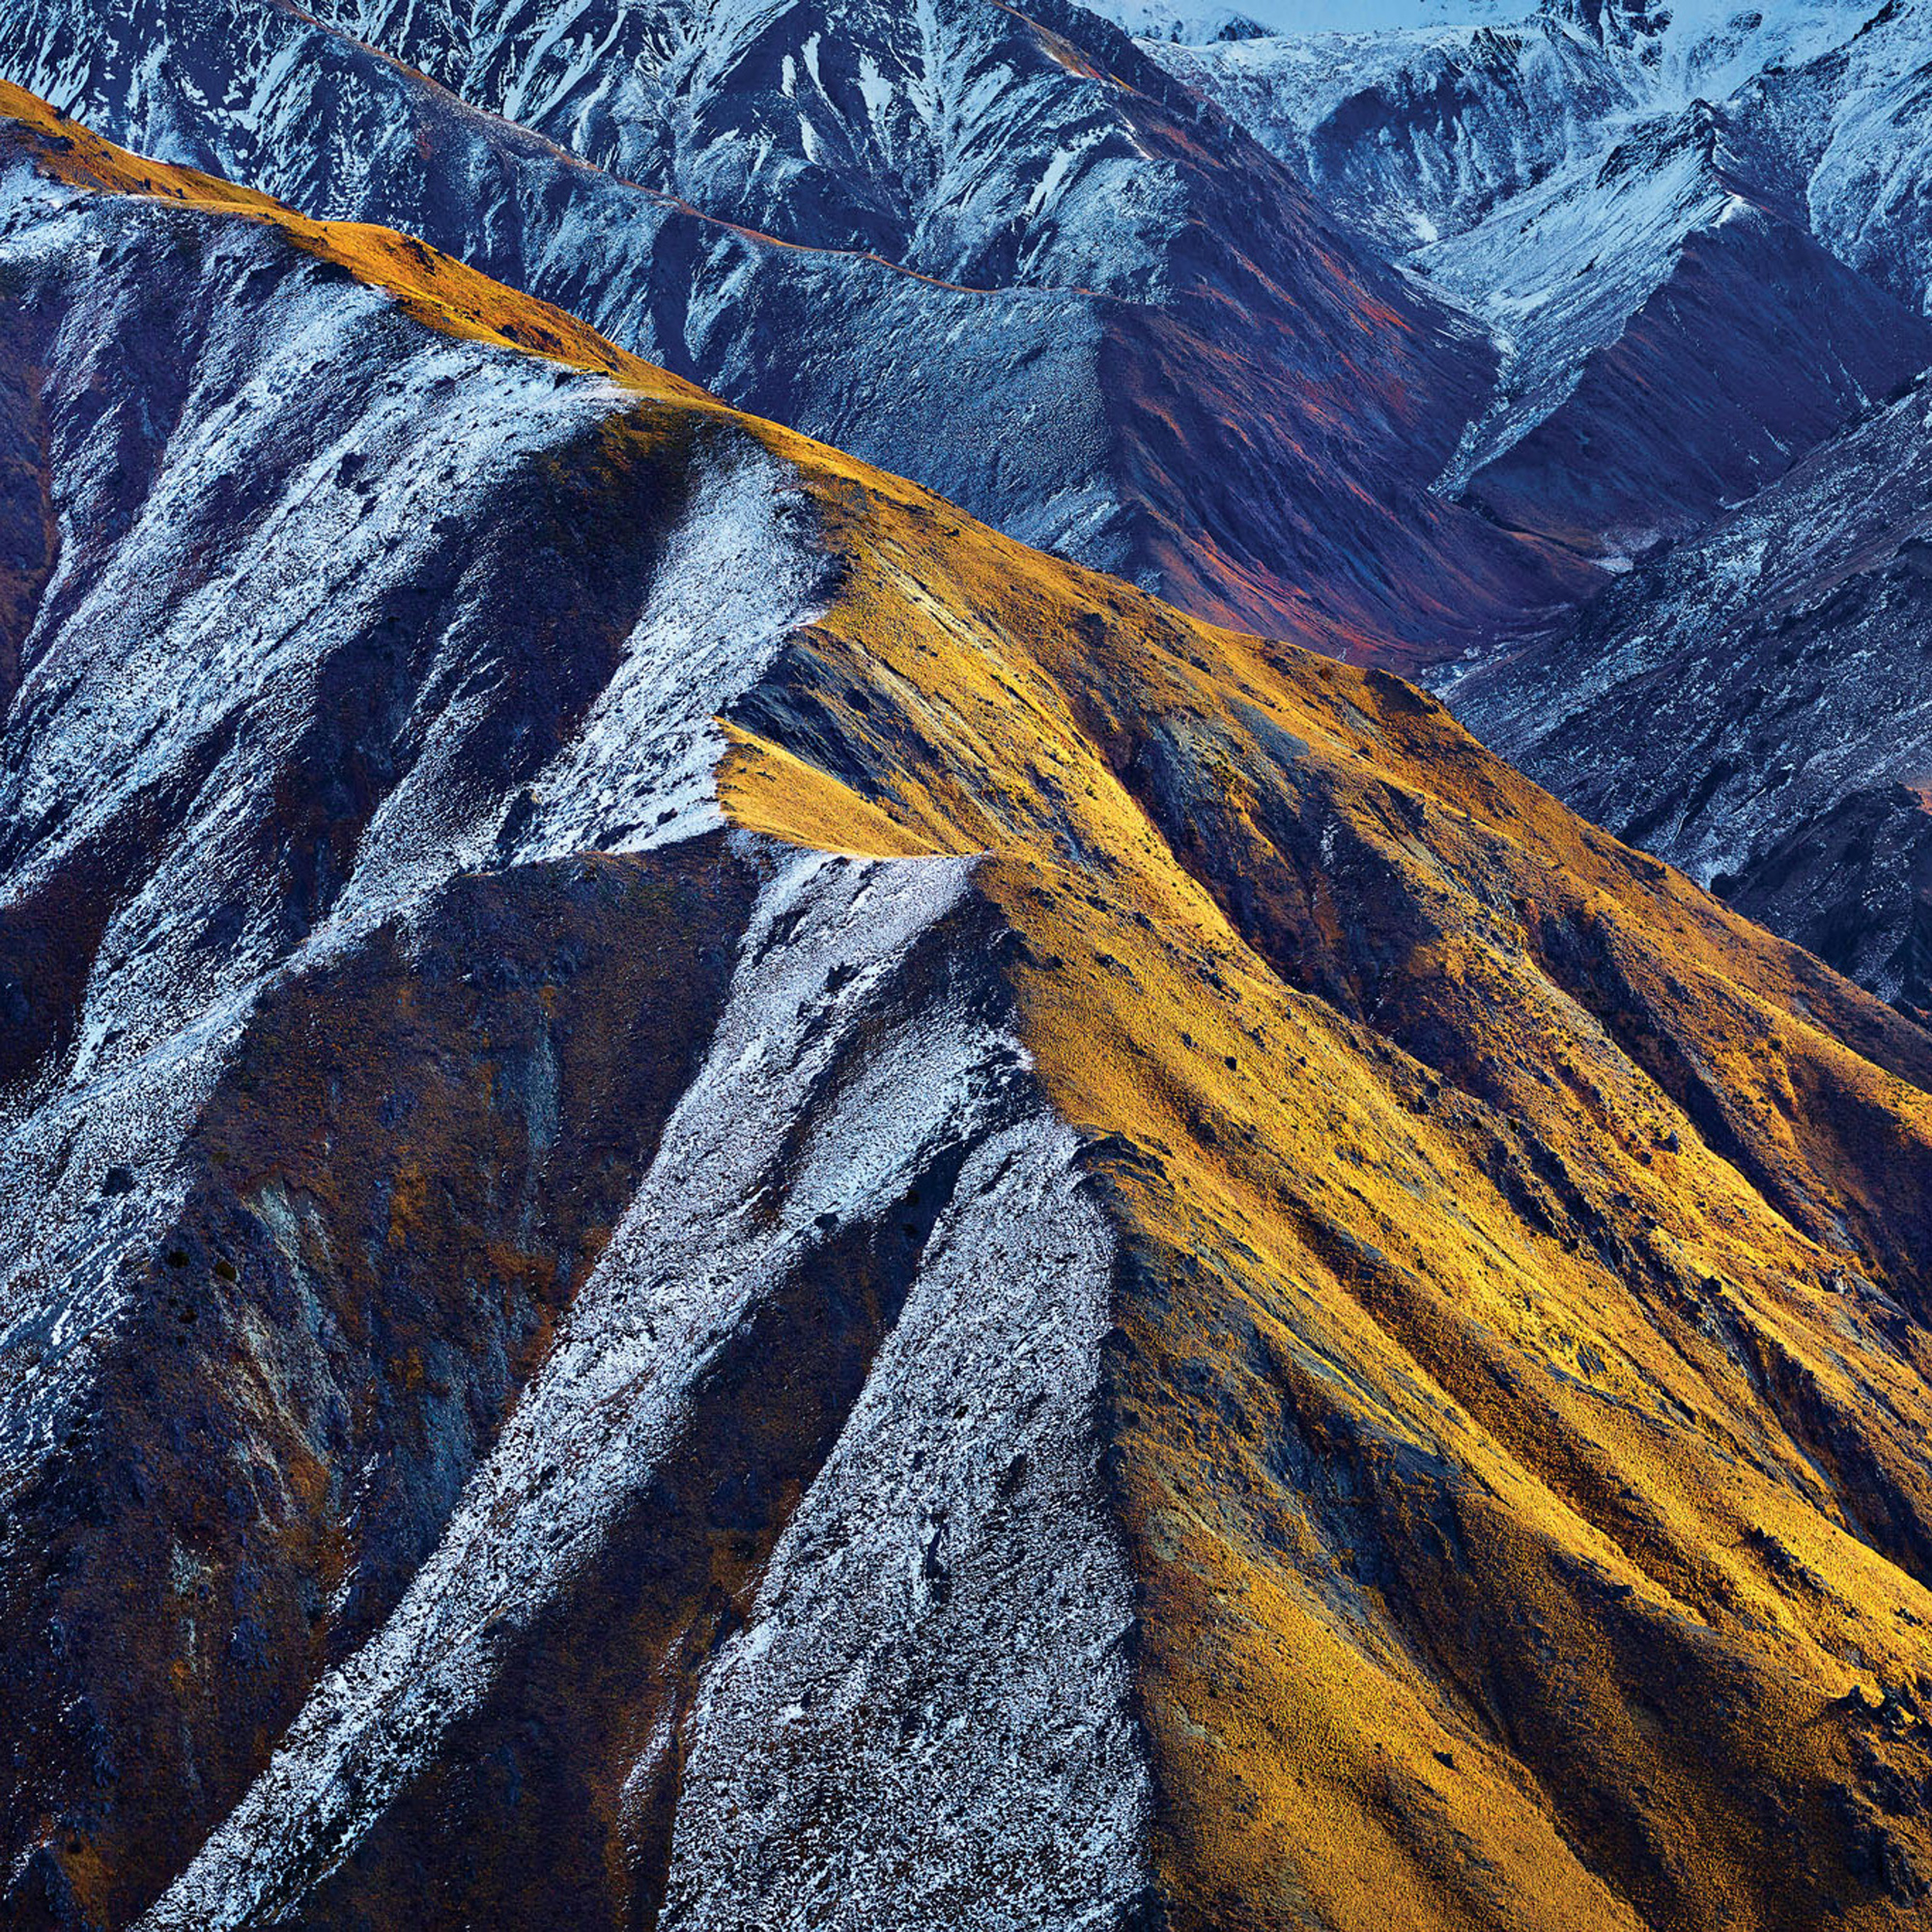
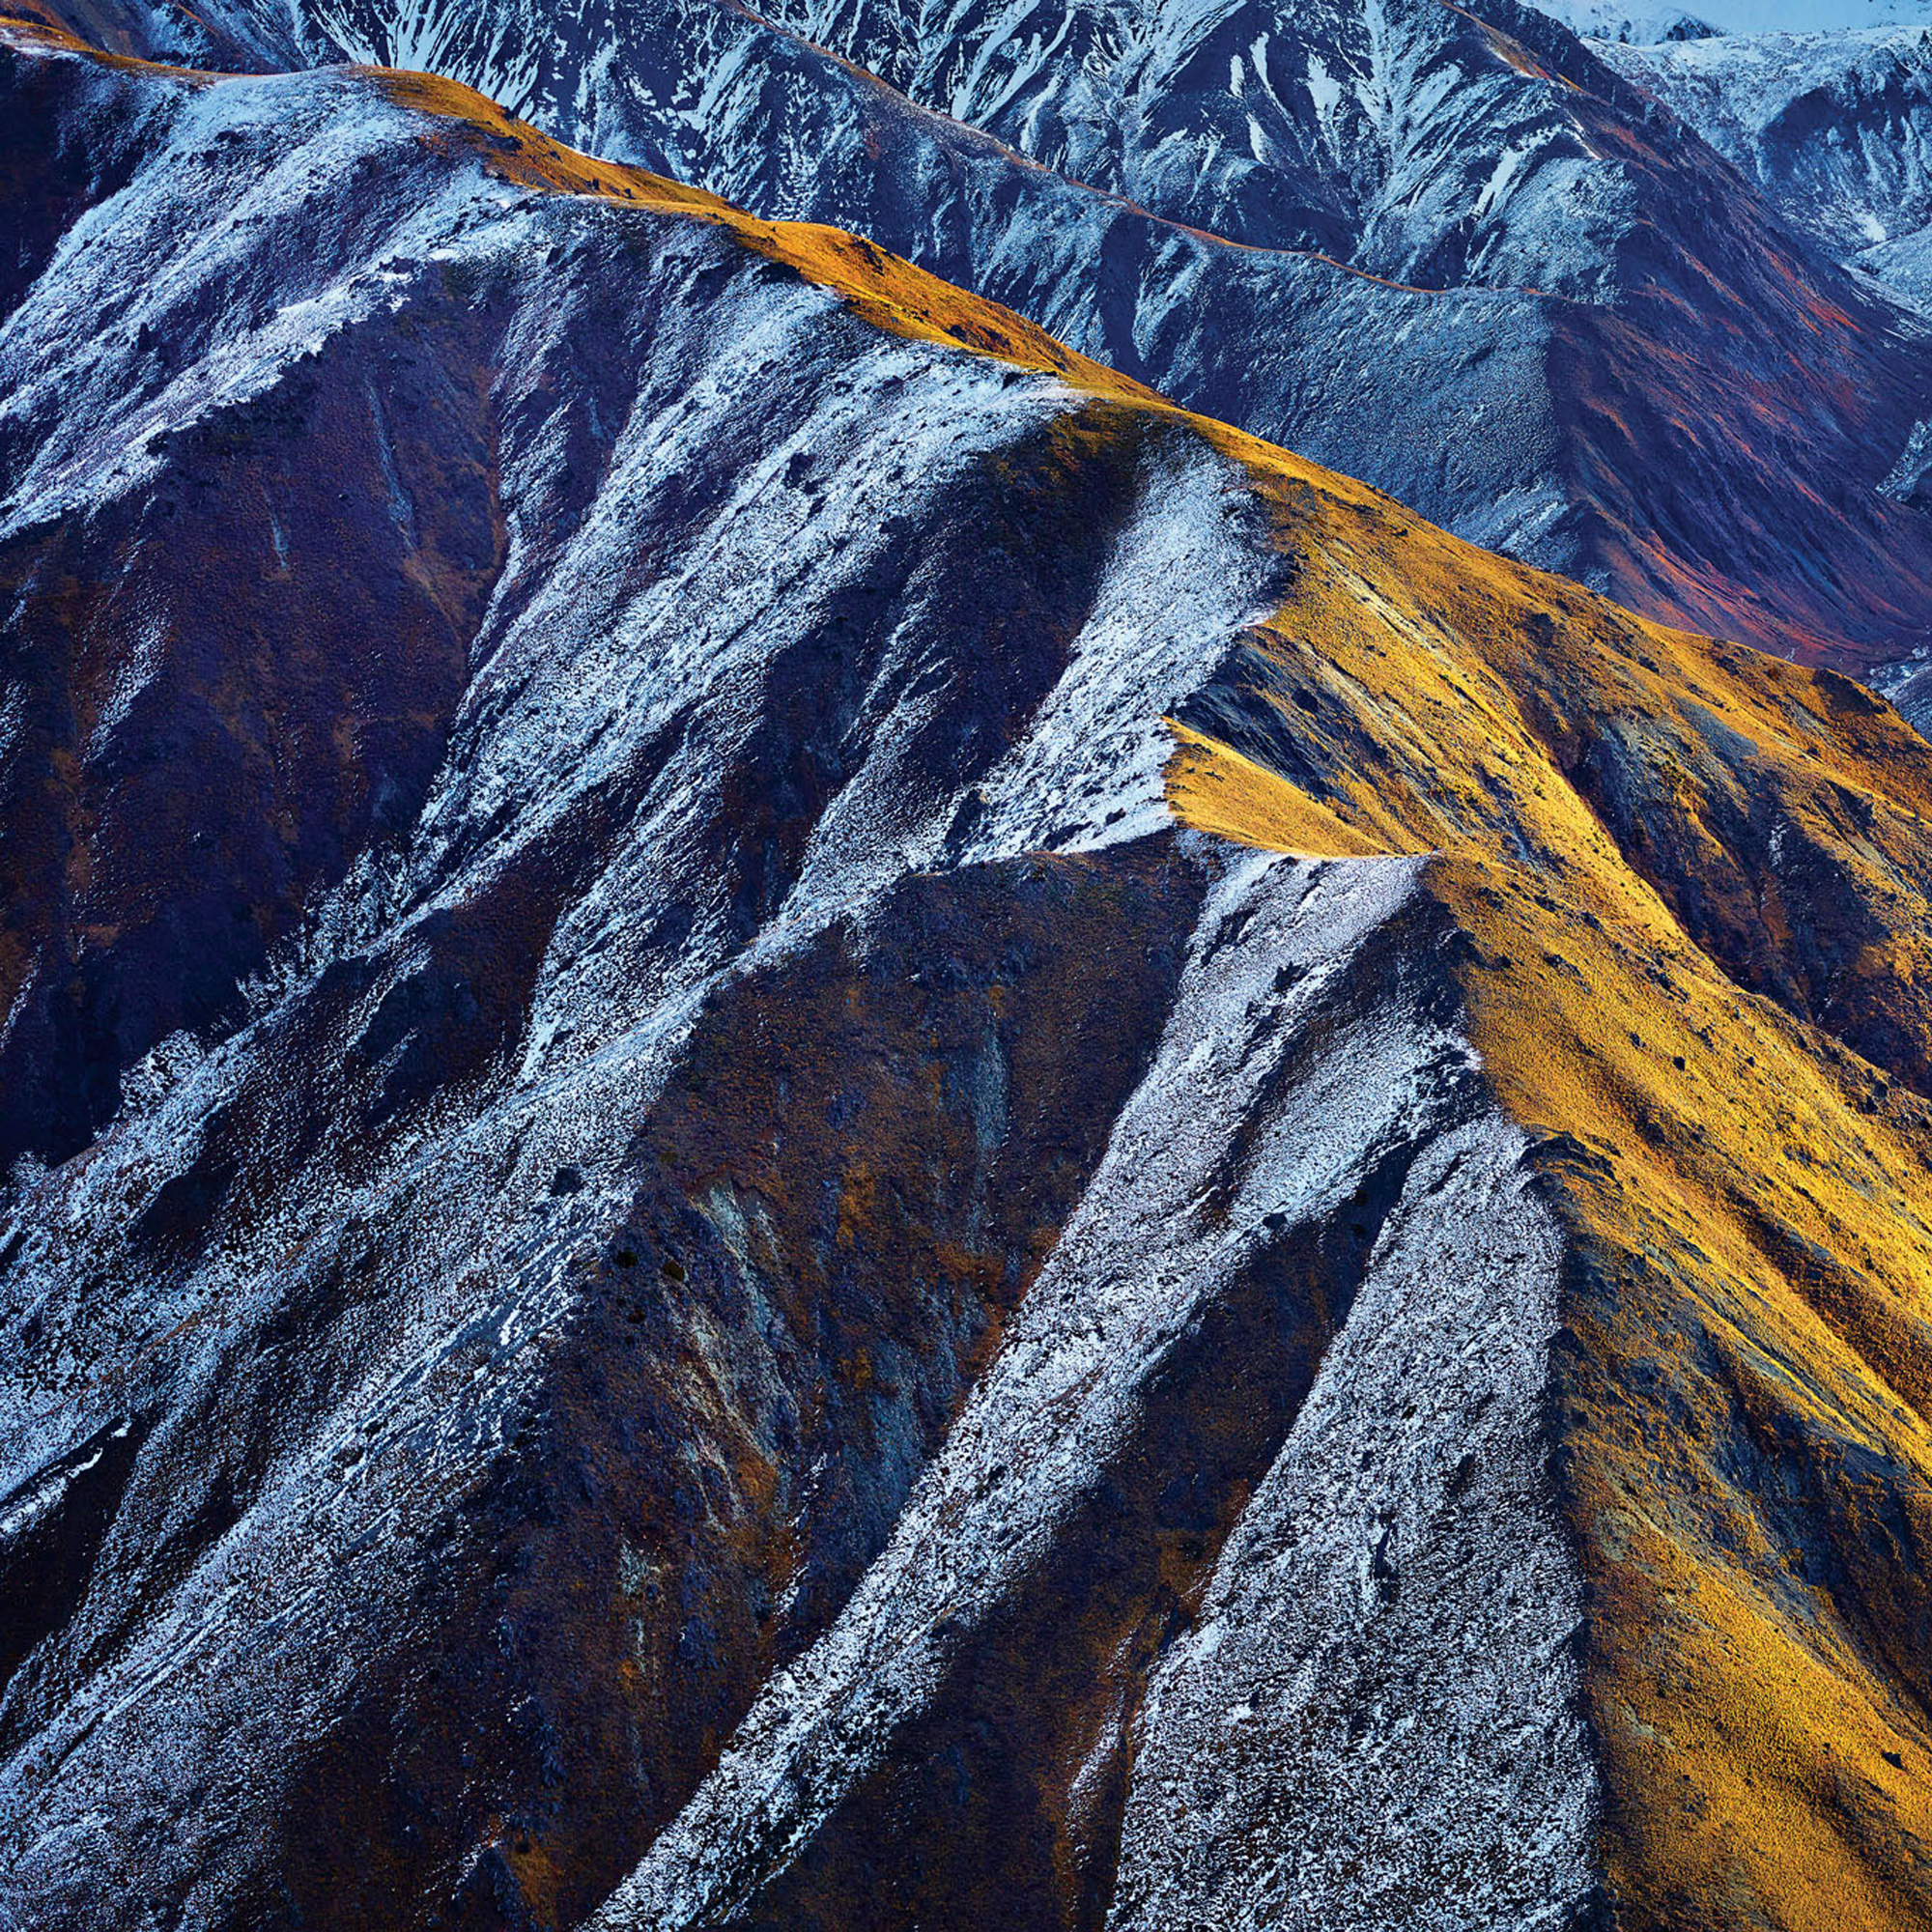
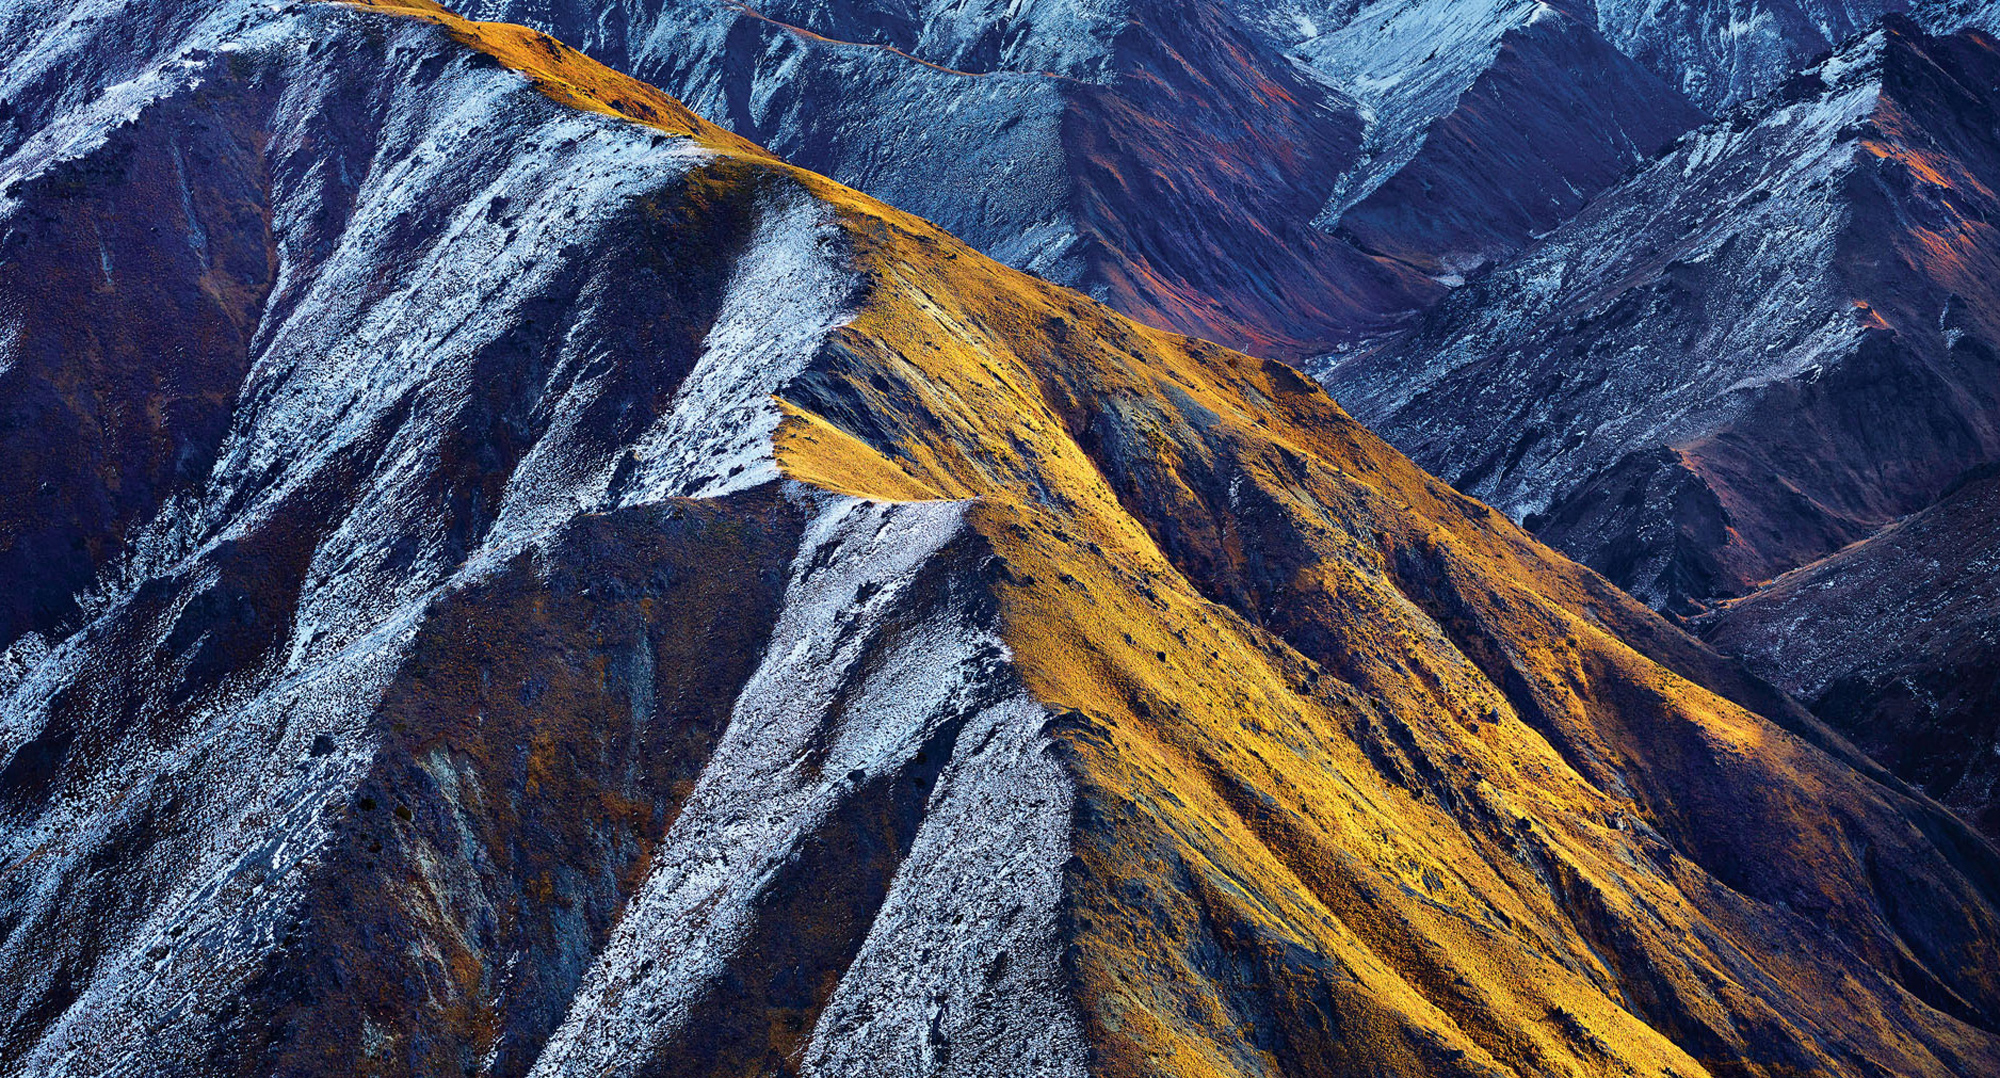
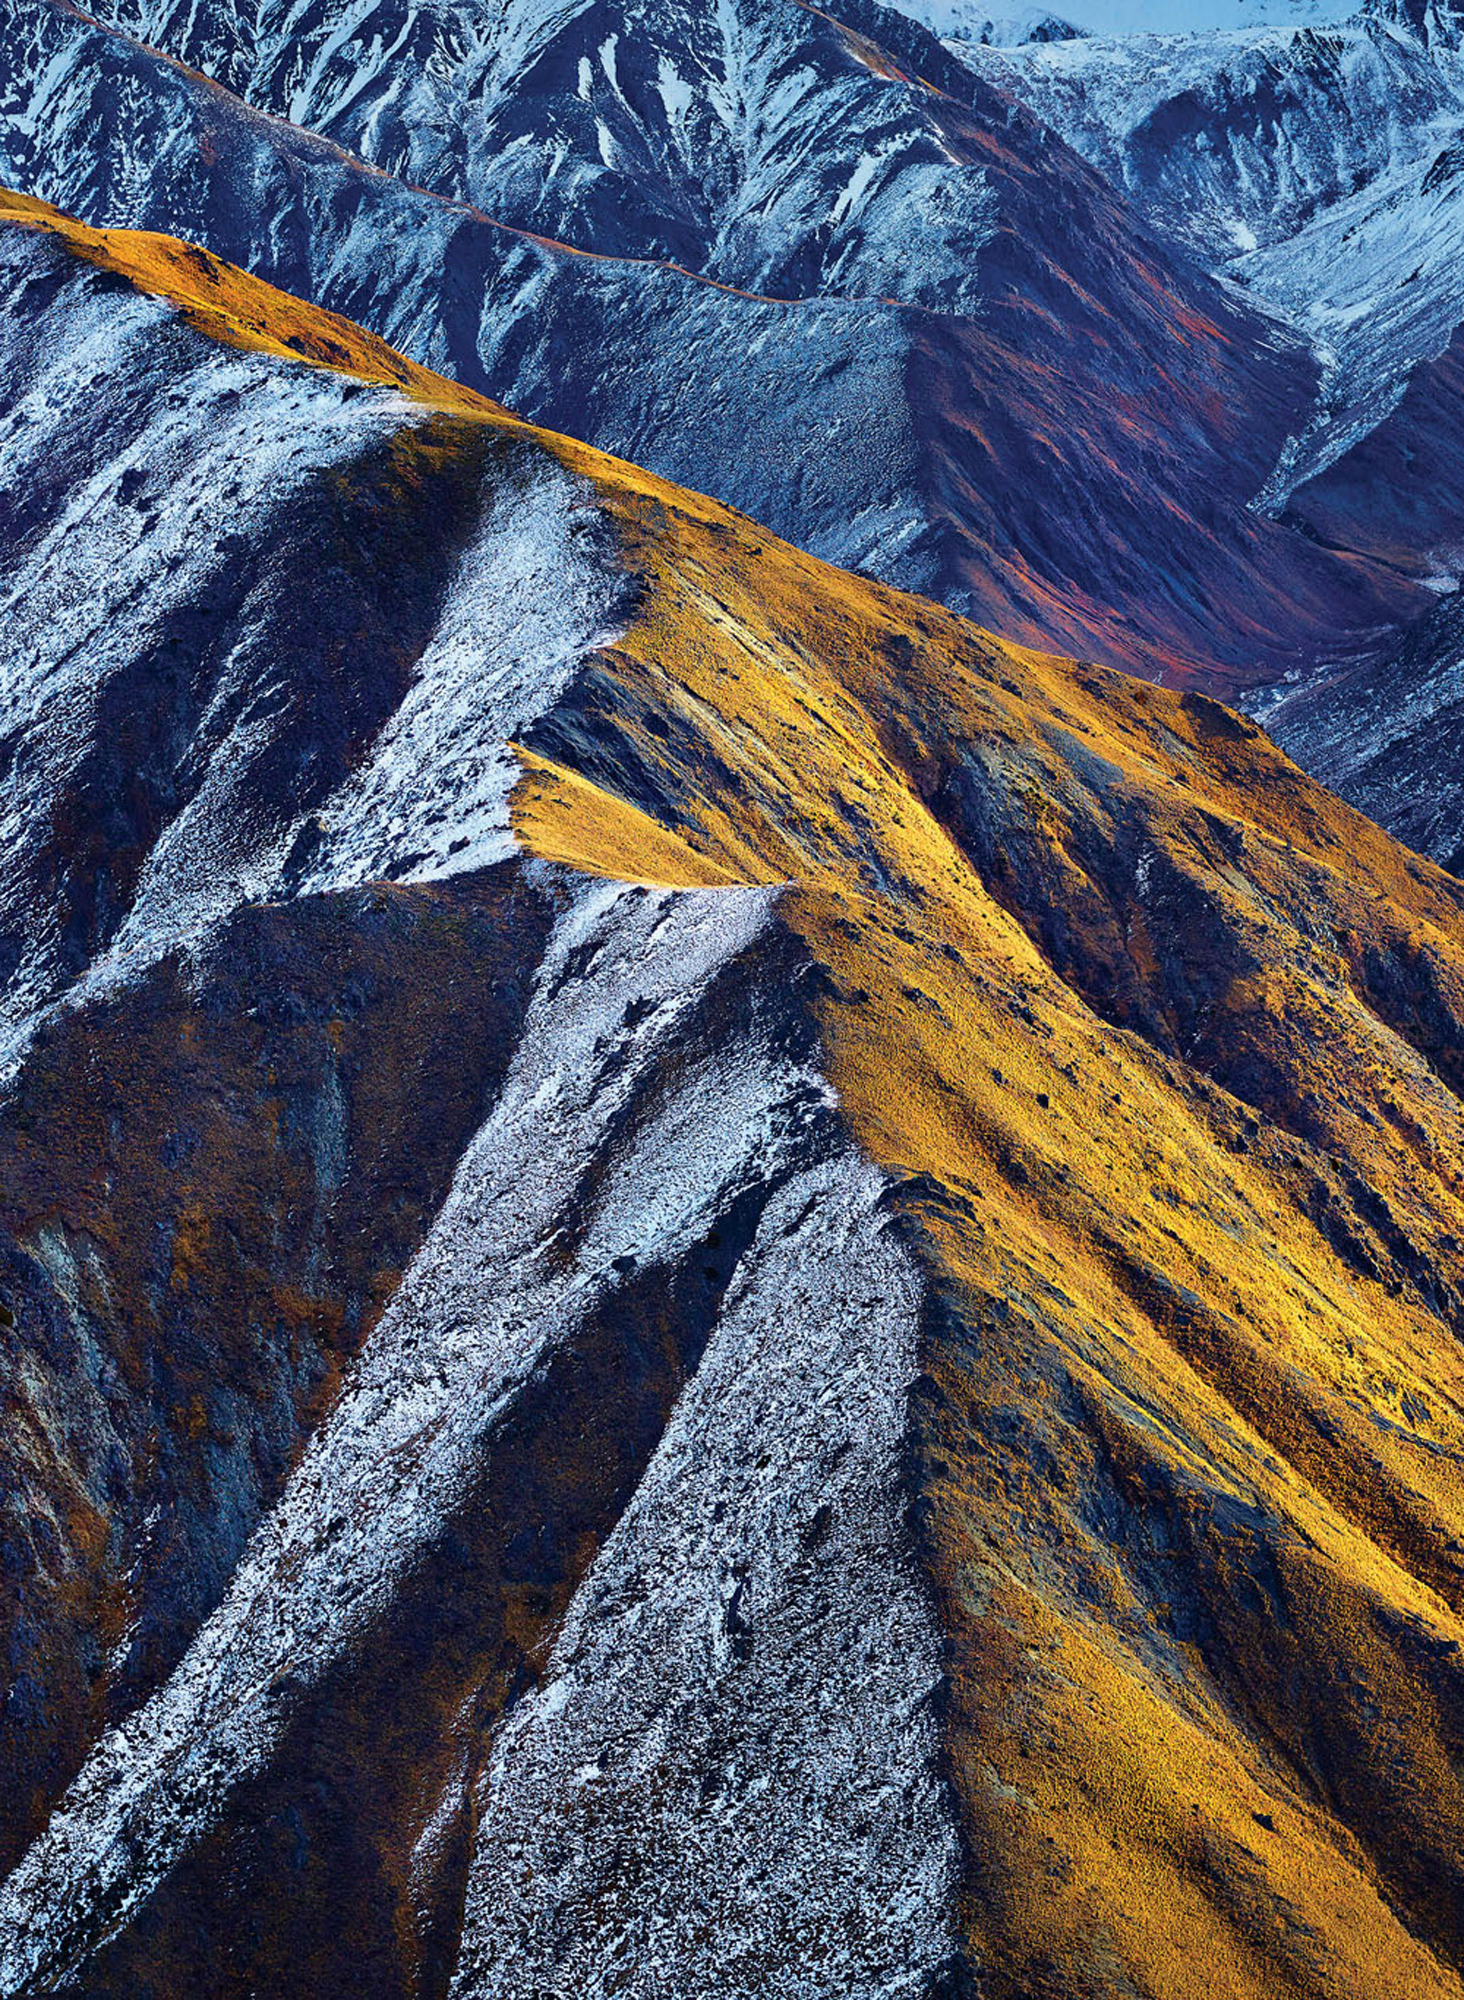
The photo presented on these pages was shot full-frame. However, look at the difference croppig can make to the shapes and balance within the frame. For the square format, cropping to the left, the right or the middle significantly changes the resulting photograph. Which do you prefer?
And when you crop the same image as a panorama or a vertical, there is a different flow to the shapes and the light within the image. Sometimes it’s not possible to weigh up all these factors at the time you’re taking a photo, so shoot a little wider and make the decision later on.
Peter Eastway
May 2022
Sydney, New South Wales
Peter Eastway is an Australian photographer known internationally for his landscape photography and creative use of post-production. He has been involved in photo magazine publishing for over 30 years, establishing his Australia's Better Photography Magazine, in 1995. As a result, Peter and his websites are a wealth of information on how to capture, edit and print, offering tutorials, videos and inspiration for amateur and professional photographers. Peter was the author of the Lonely Planet’s Guide to Landscape Photography. His photography has featured on the cover of the Lonely Planet’s guide to Australia, in articles in the Qantas inflight magazine, and in an international Apple television commercial. And he has worked with Phase One researching and promoting its high-end medium format cameras and Capture One raw processing software. He has also published The New Tradition, an anthology of 100 award winning images with accompanying techniques and discussions. He was one of the featured photographer in the first Tales By Light television series aired on the National Geographic Channel in Australia and produced in partnership with Canon Australia. It can currently be viewed on Netflix around the world. Peter Eastway is a Grand Master of Photography, a Fellow and an Honorary Fellow of the Australian Institute of Professional Photography, and a Master and Honorary Fellow of the New Zealand Institute of Professional Photography. He won the 1996 and 1998 AIPP Australian Professional Photographer of the Year Award. He is a WPPI Master of Photography. He was more recently the 2019 AIPP NSW Epson Professional Photographer of the Year (Australia). Peter is just over 60, rides a short surfboard, believes two skis are better than one, and in case you're buying him lunch, he is vegetarian.