Christmas in Bokehland

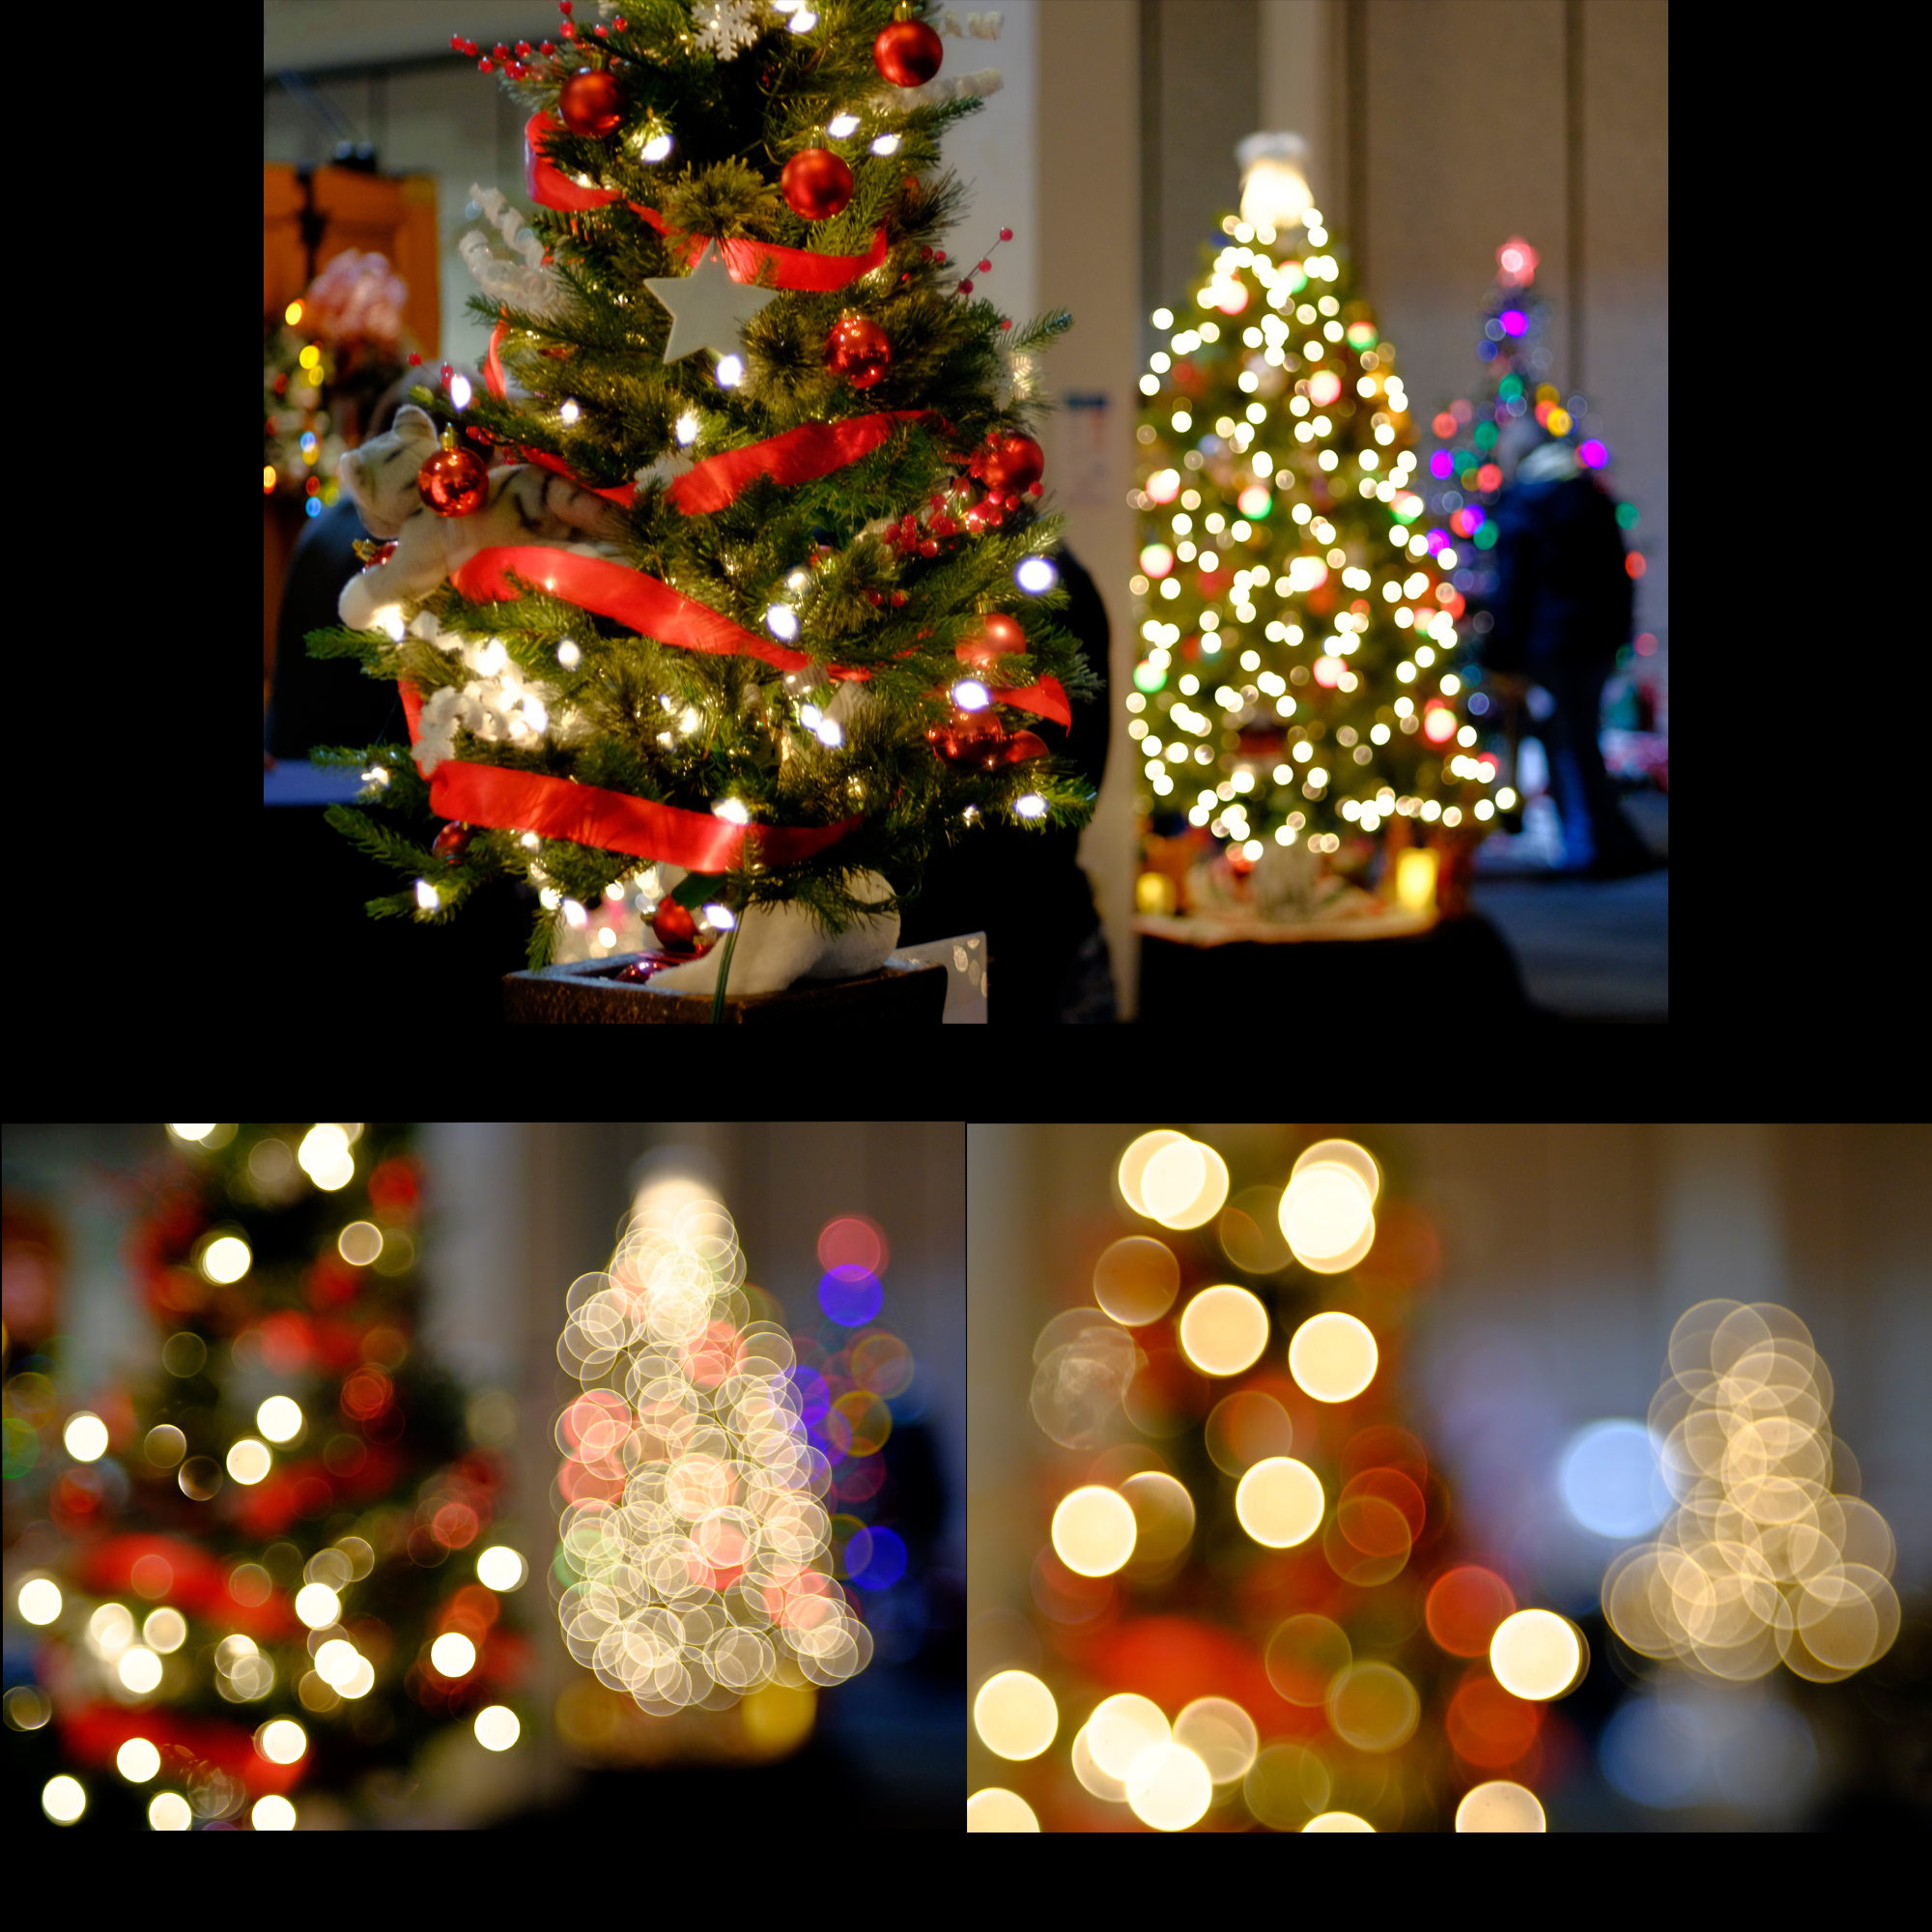
The mid-winter holidays offer a brief, once-a-year opportunity to take bokeh images of colorful Christmas decorations, twinkling lights, and reflective ornaments. Before heading out on your winter photo safari, check out these tips on capturing better Christmas bokeh images!
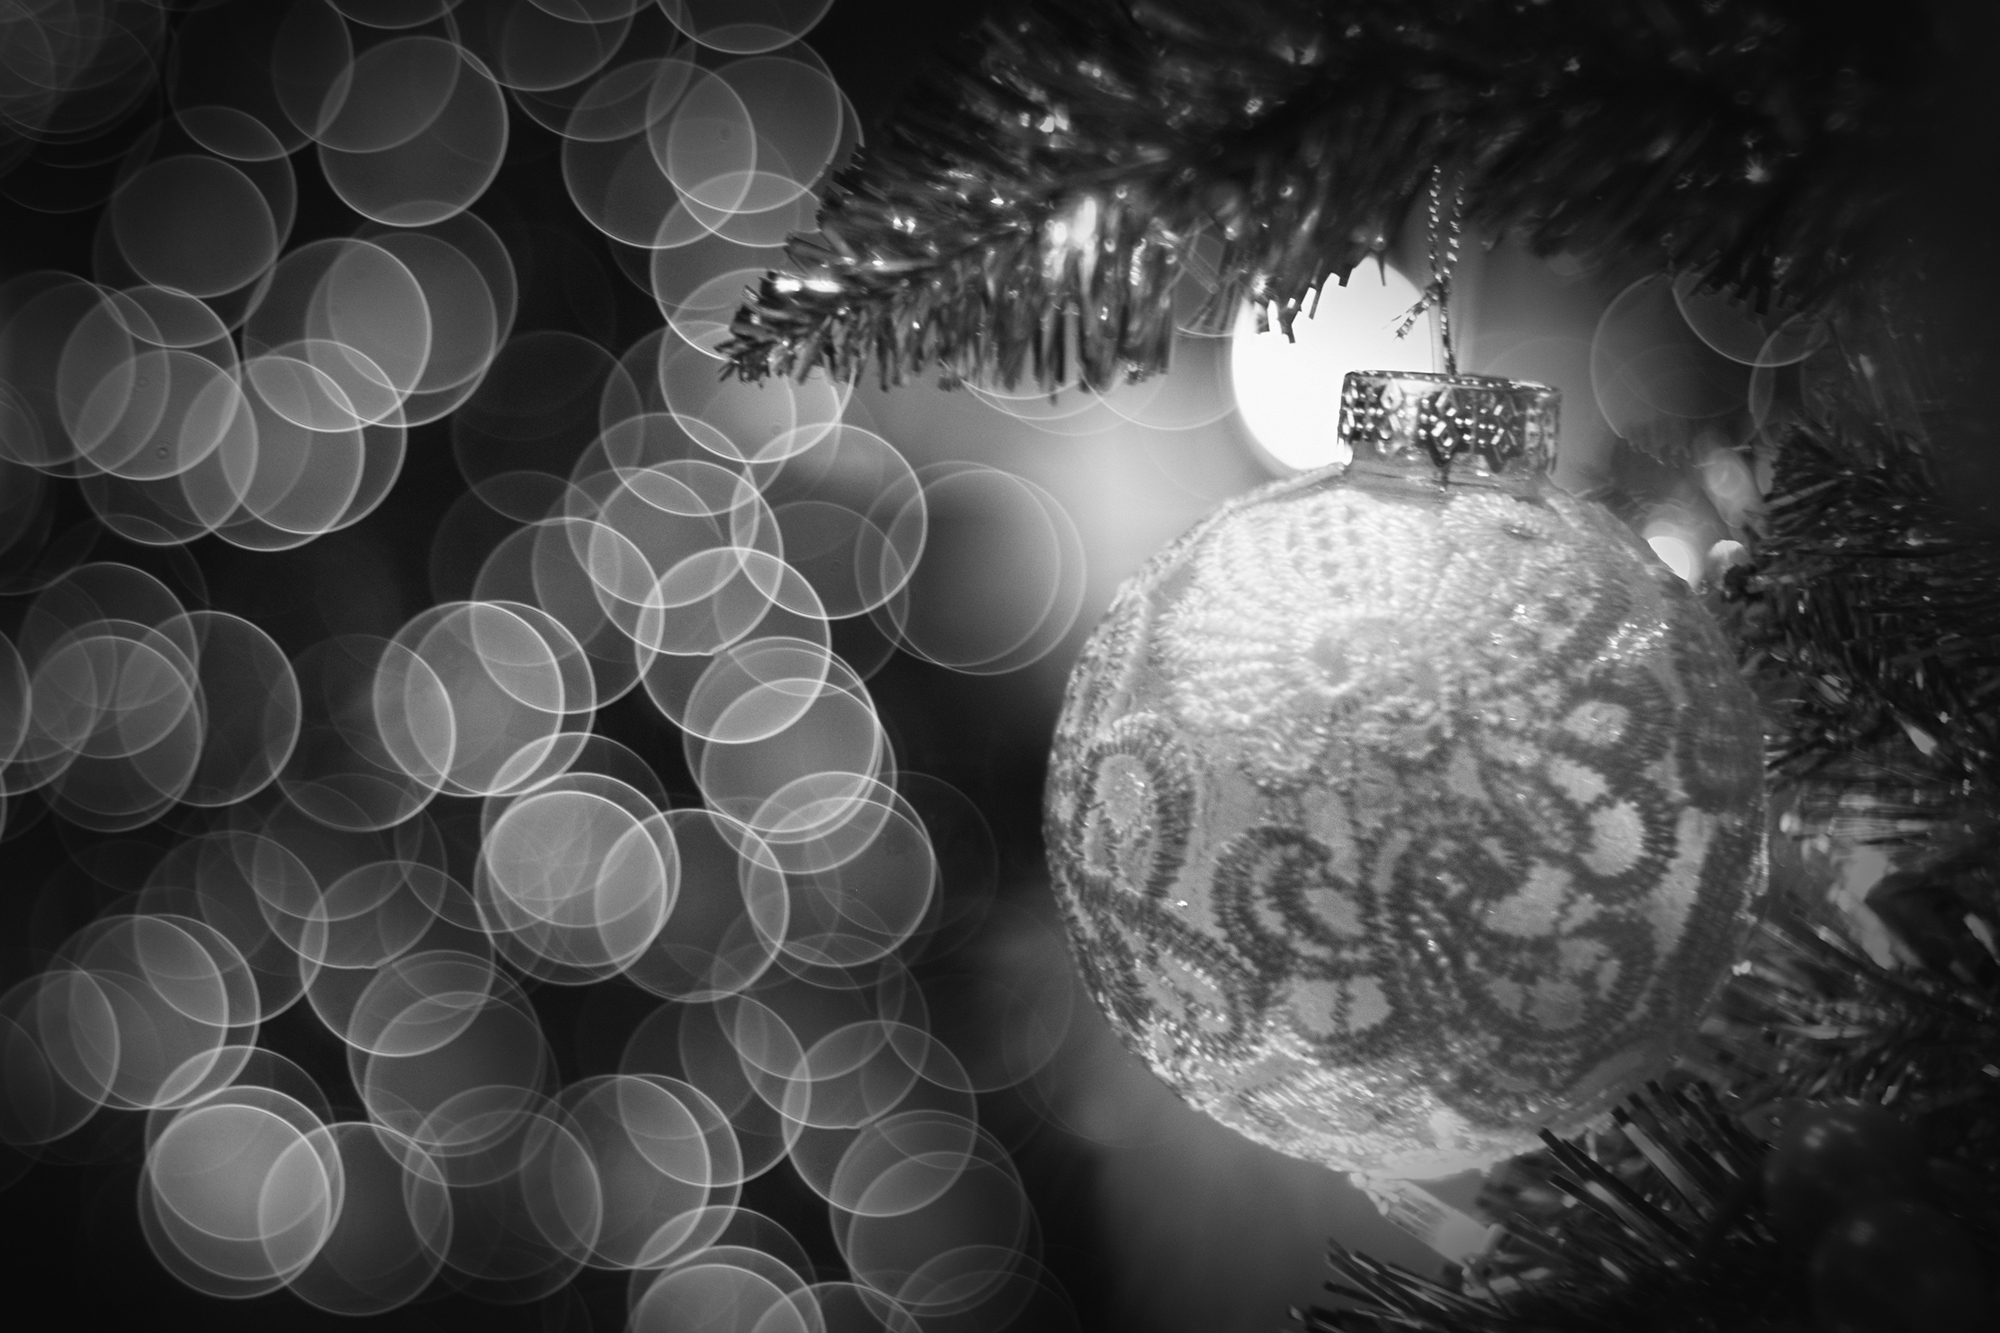
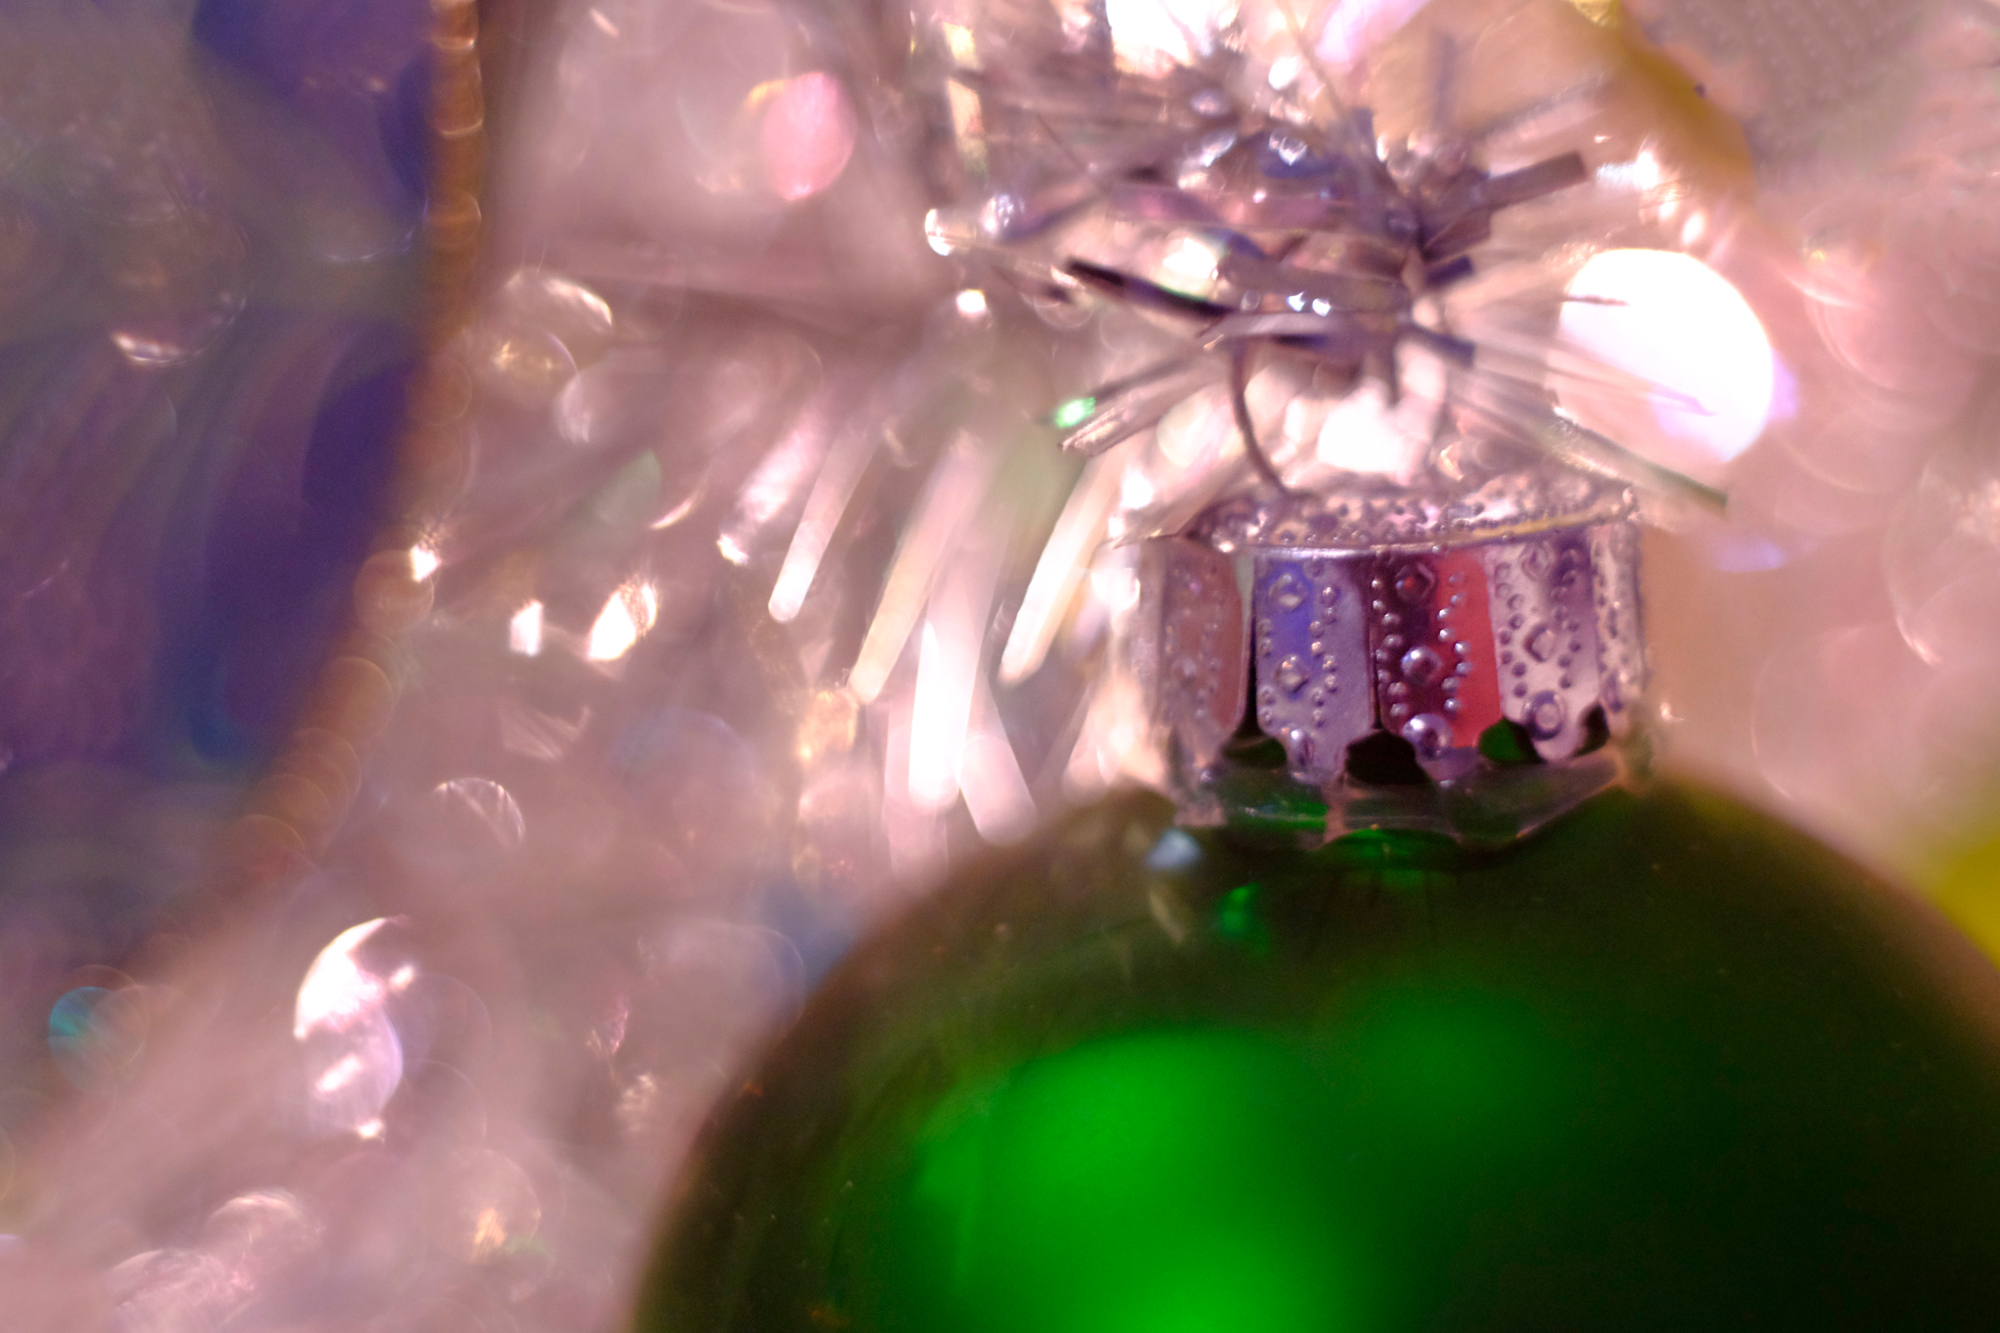
It’s All About The “Bokeh Balls”

There are two main components of bokeh – the out-of-focus background blur and the specular out-of-focus highlights (bokeh balls). In this article, we focus on how to make attractive bokeh balls using inexpensive digital cameras and vintage lenses.
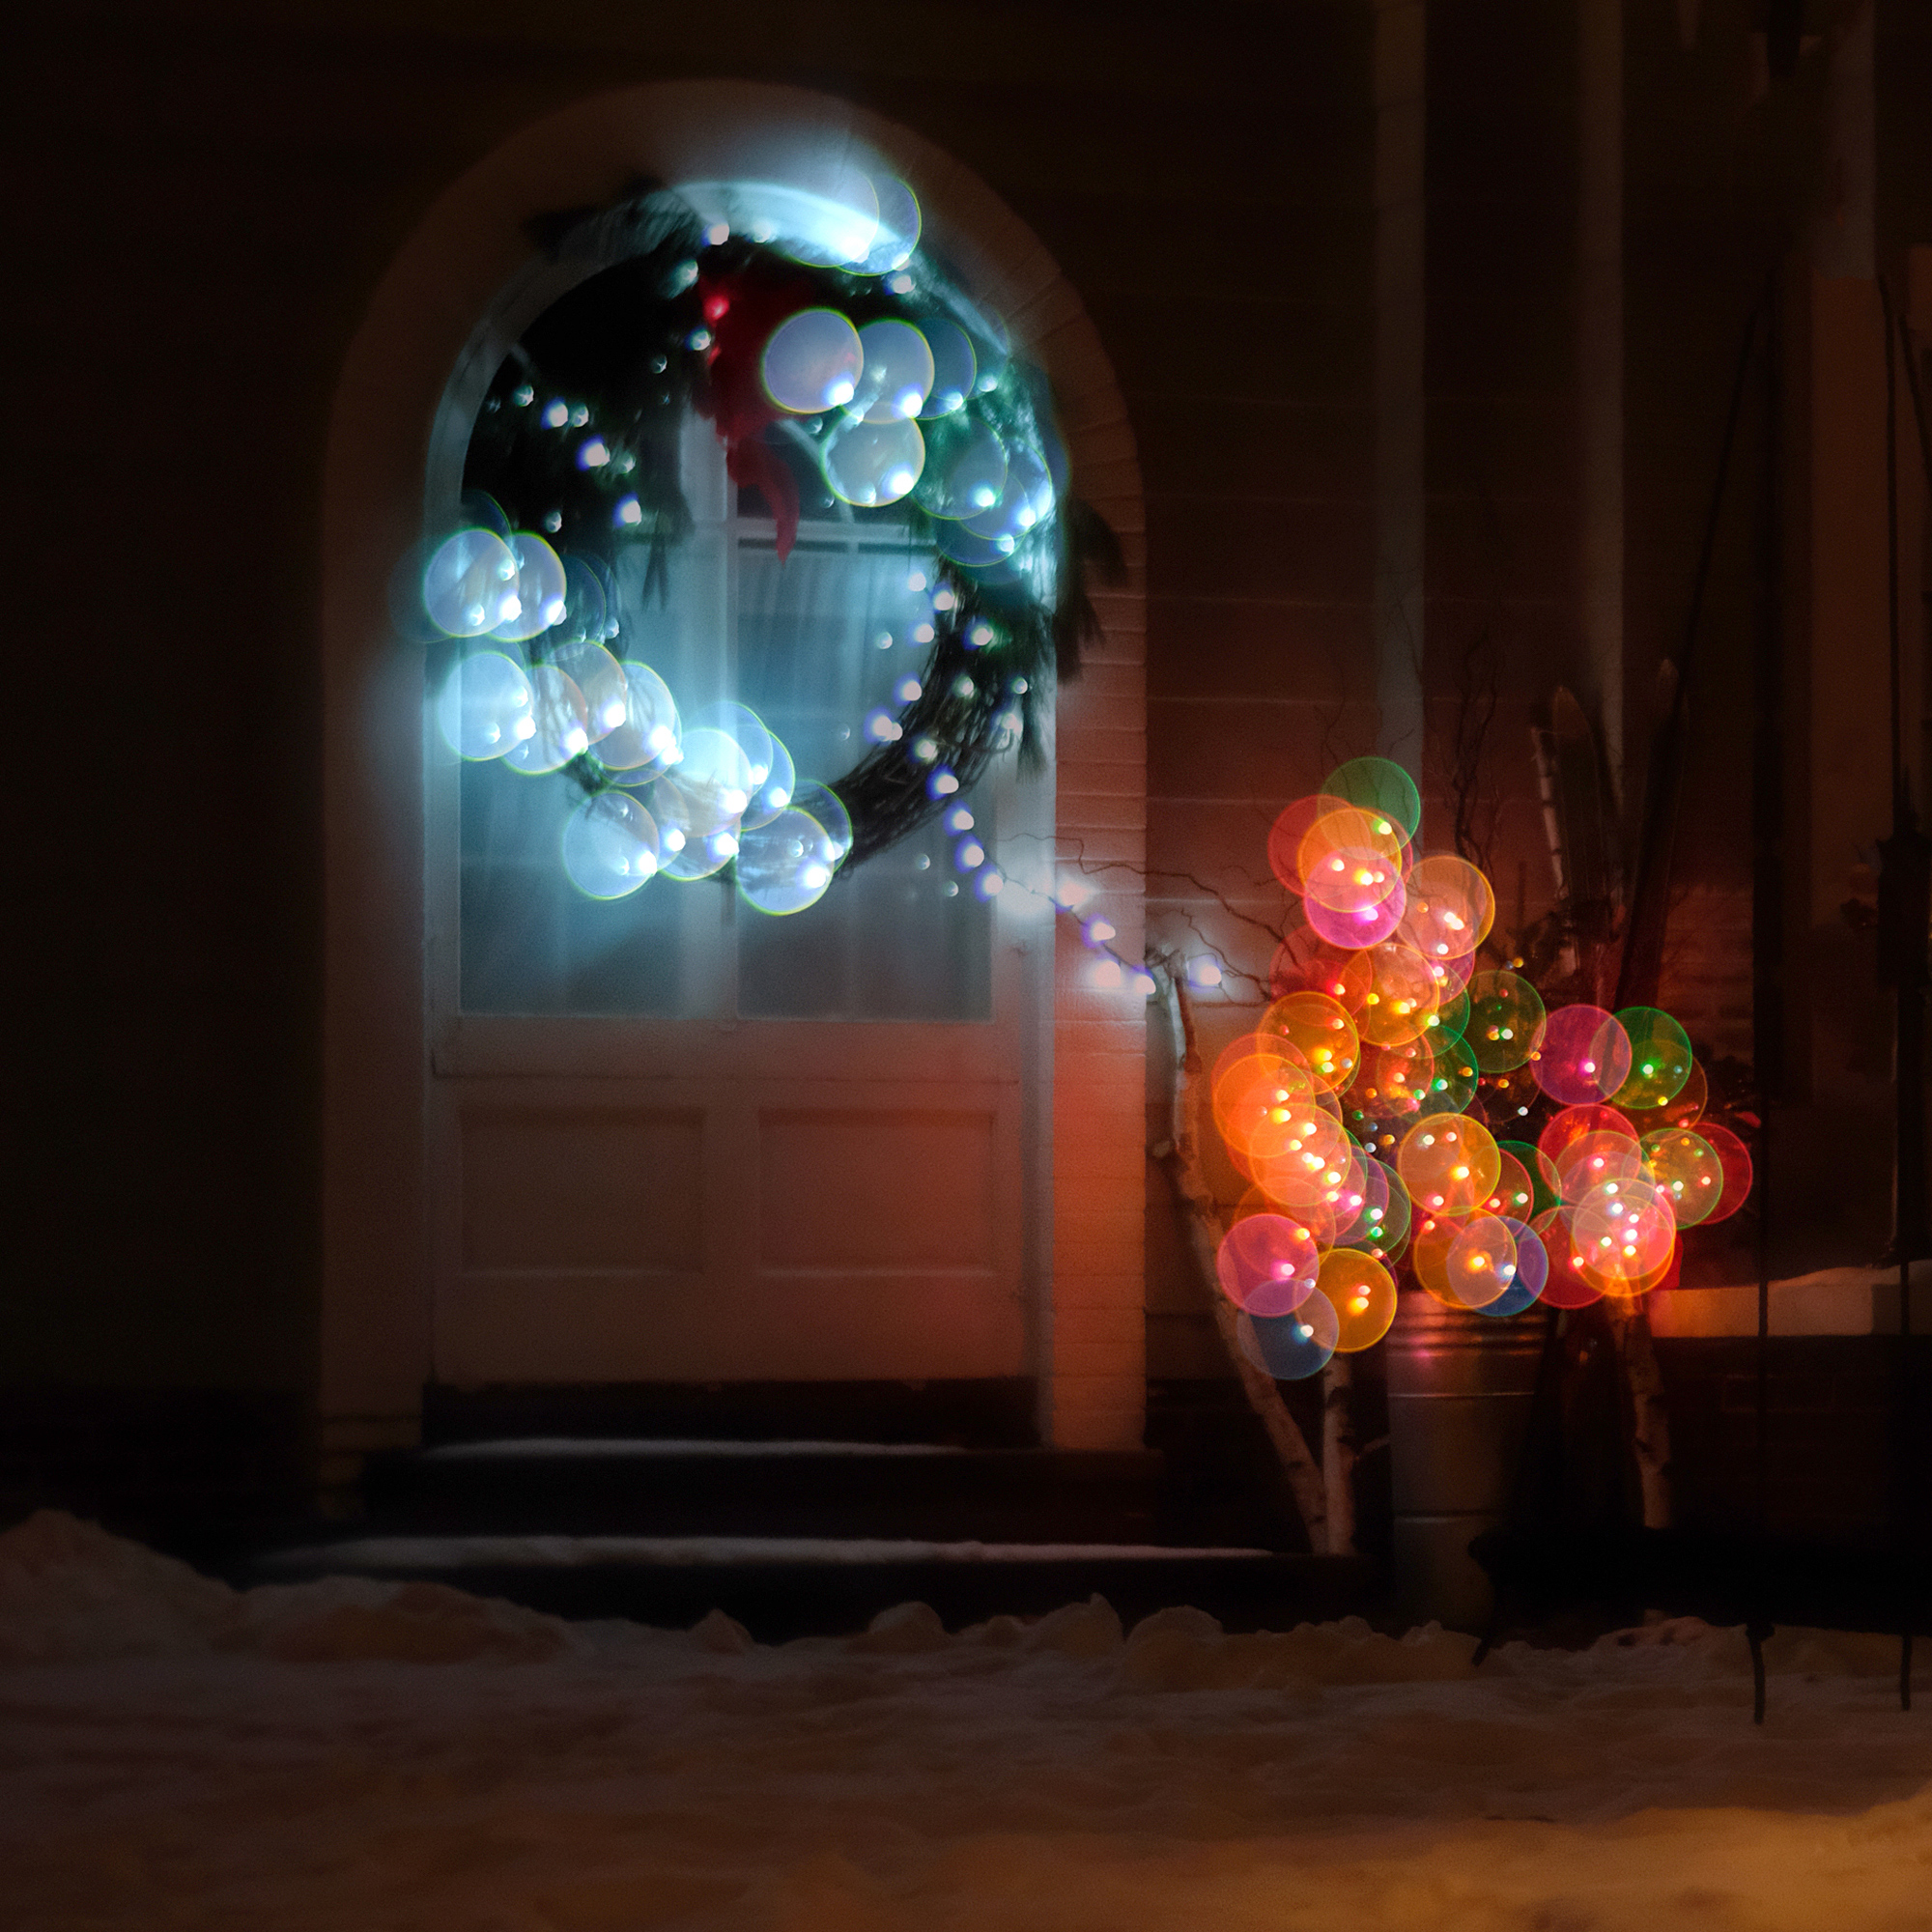
Bokeh balls come in a variety of flavors. There’s no best type of bokeh ball – everybody has their favorite style. Some prefer bokeh balls that are gentle, smooth, and have uniform brightness; others prefer bokeh balls with bright “soap-bubble” like rings on their perimeters and uneven luminosity.
There are a couple of lens defects you must watch out for that can produce ugly distractions in your bokeh balls.
Some lenses produce an onion-ring-like effect inside of their bokeh balls. This is often caused by poorly polished aspherical lens elements.

Lenses can have dust particles on their internal (or external) optical elements. It only takes one larger-sized particle of dust to leave a dark spot on every bokeh ball in your photos. Lenses used for bokeh ball photos must be free of visible dust particles on all glass surfaces.

Equipment & Gear
I used an inexpensive Fuji X-E2 16MP mirrorless digital camera to take the images seen in this article. I like this camera for my Christmas bokeh photos because:
It’s small, and nobody ever hassles me about being an undercover “pro” photographer when using it in a crowded venue.
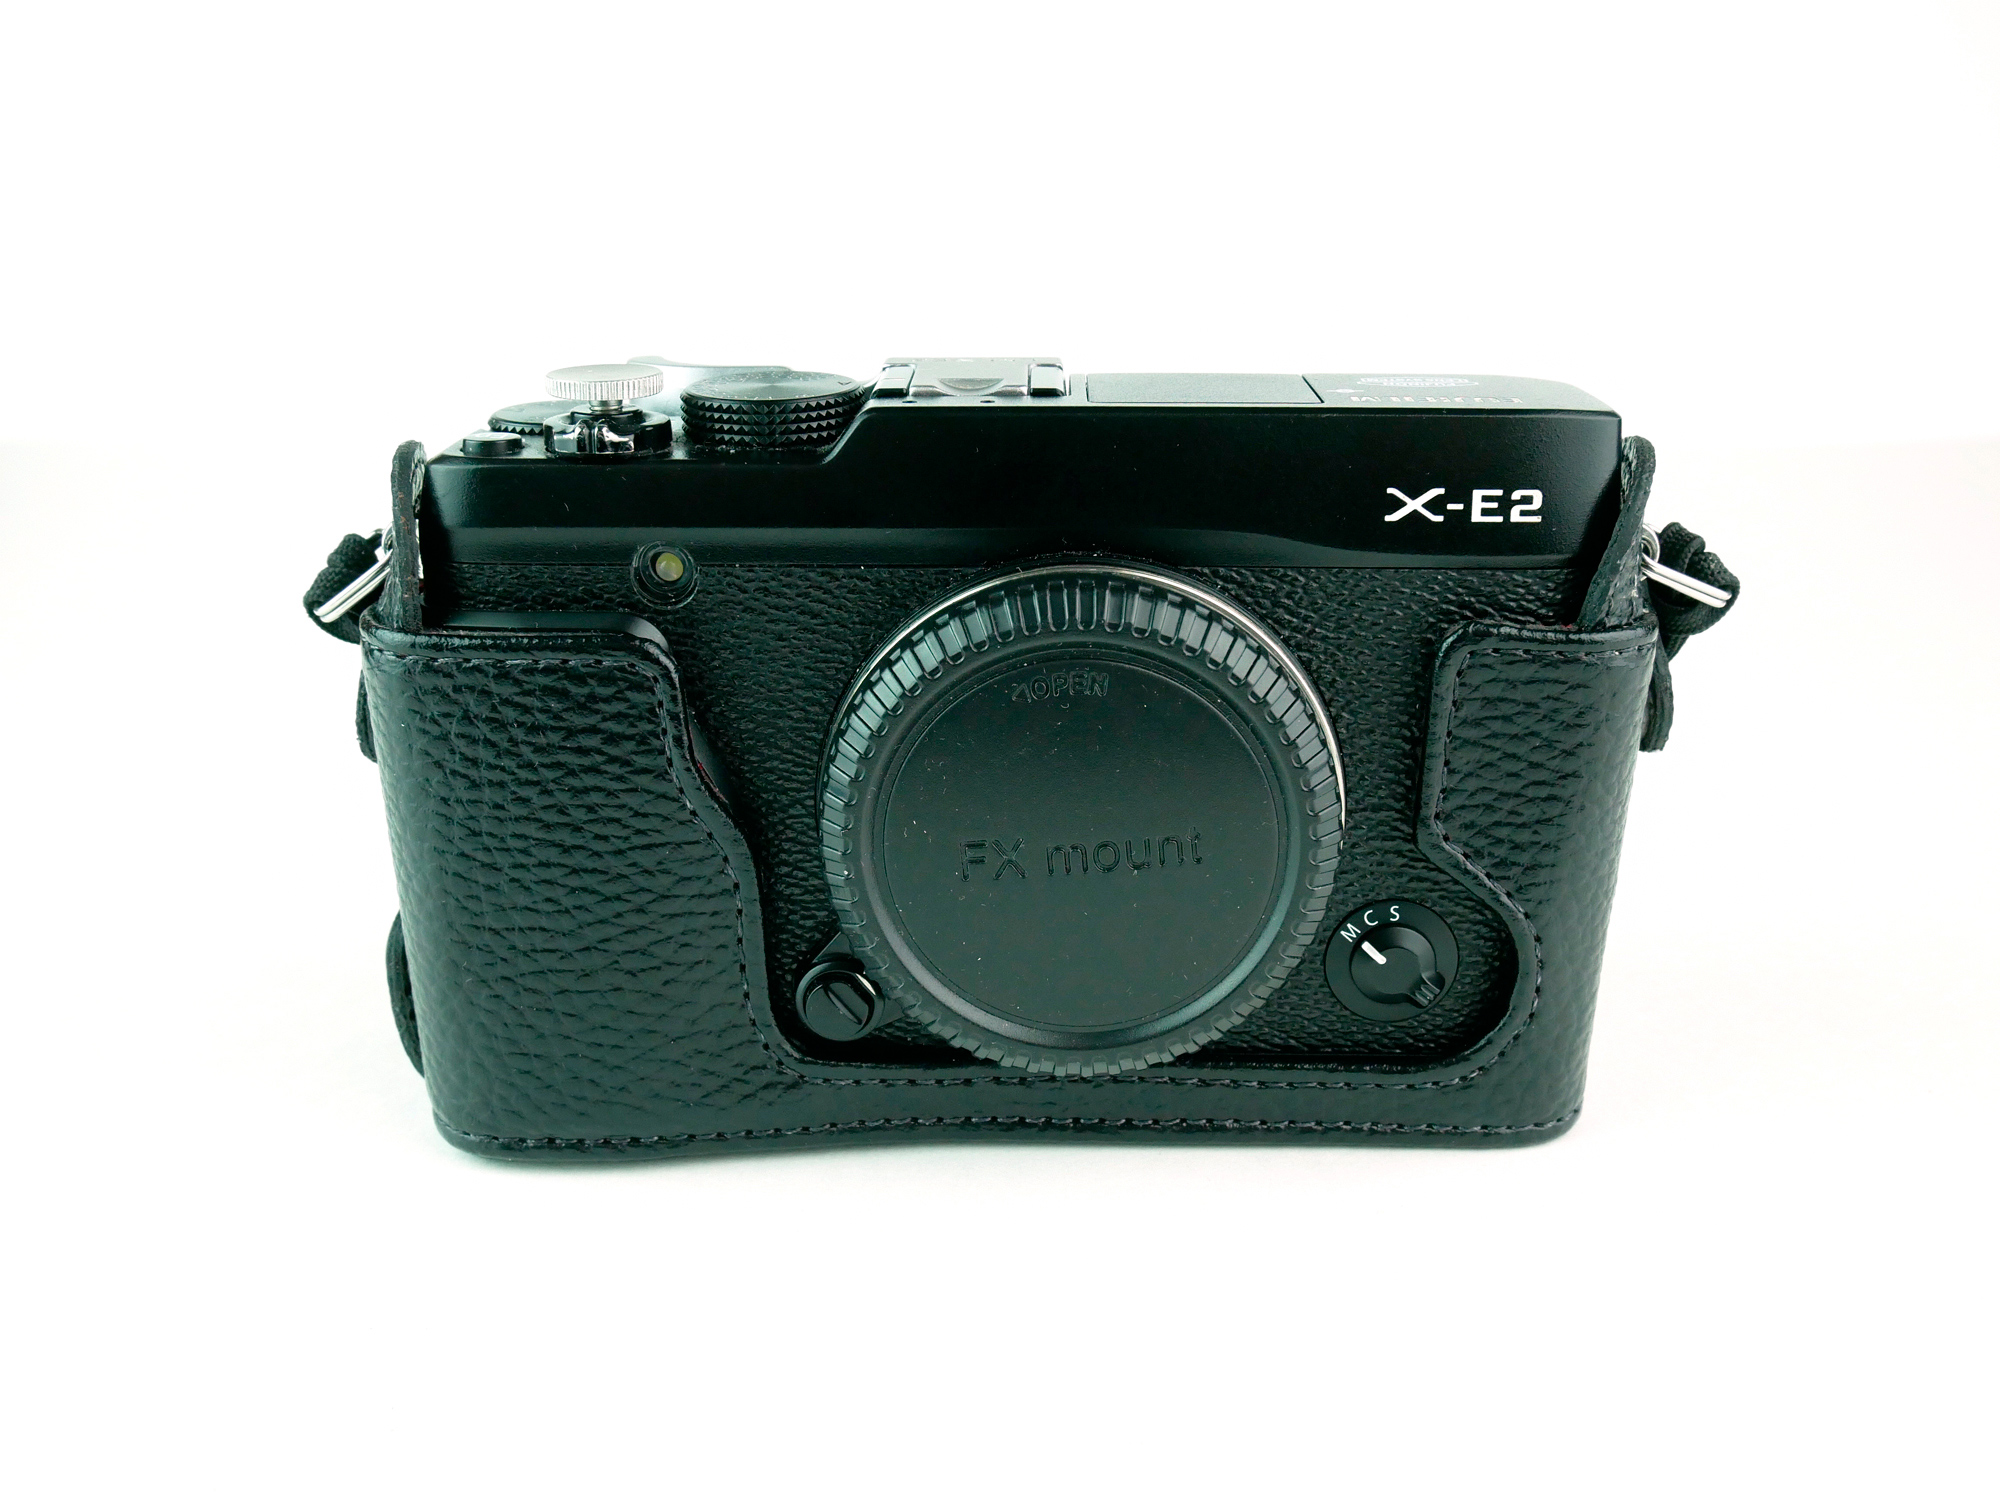
Fuji X digital CMOS cameras have exceptional color science. To my eye, only CCD sensors produce better Christmas colors.
Vintage M42 lenses in this shootout all produce an image circle that covers a full-frame sensor. The X-E2’s smaller APS-C sensor cuts off the weakest parts of the image circle – the edges and corners. Also, this helps to eliminate the cat’s eye bokeh in the corners.
Smaller image files from its lower resolution 16MP sensor do not overstress my 5-year-old computer when processing files.
Because many Christmas bokeh photos are often either low-angle or high-angle, it’s desirable to shoot with a camera that has a tilting LCD screen (unfortunately, this Fuji has a fixed screen).
I prefer using smaller, lighter prime lenses when shooting a small mirrorless body in crowded locations. Older film-era prime lenses are usually small and inexpensive. Vintage lenses often have design imperfections that produce unique bokeh balls that have character and a signature look. For this Christmas bokeh shootout, I used the following easily adaptable M42 mount lenses:
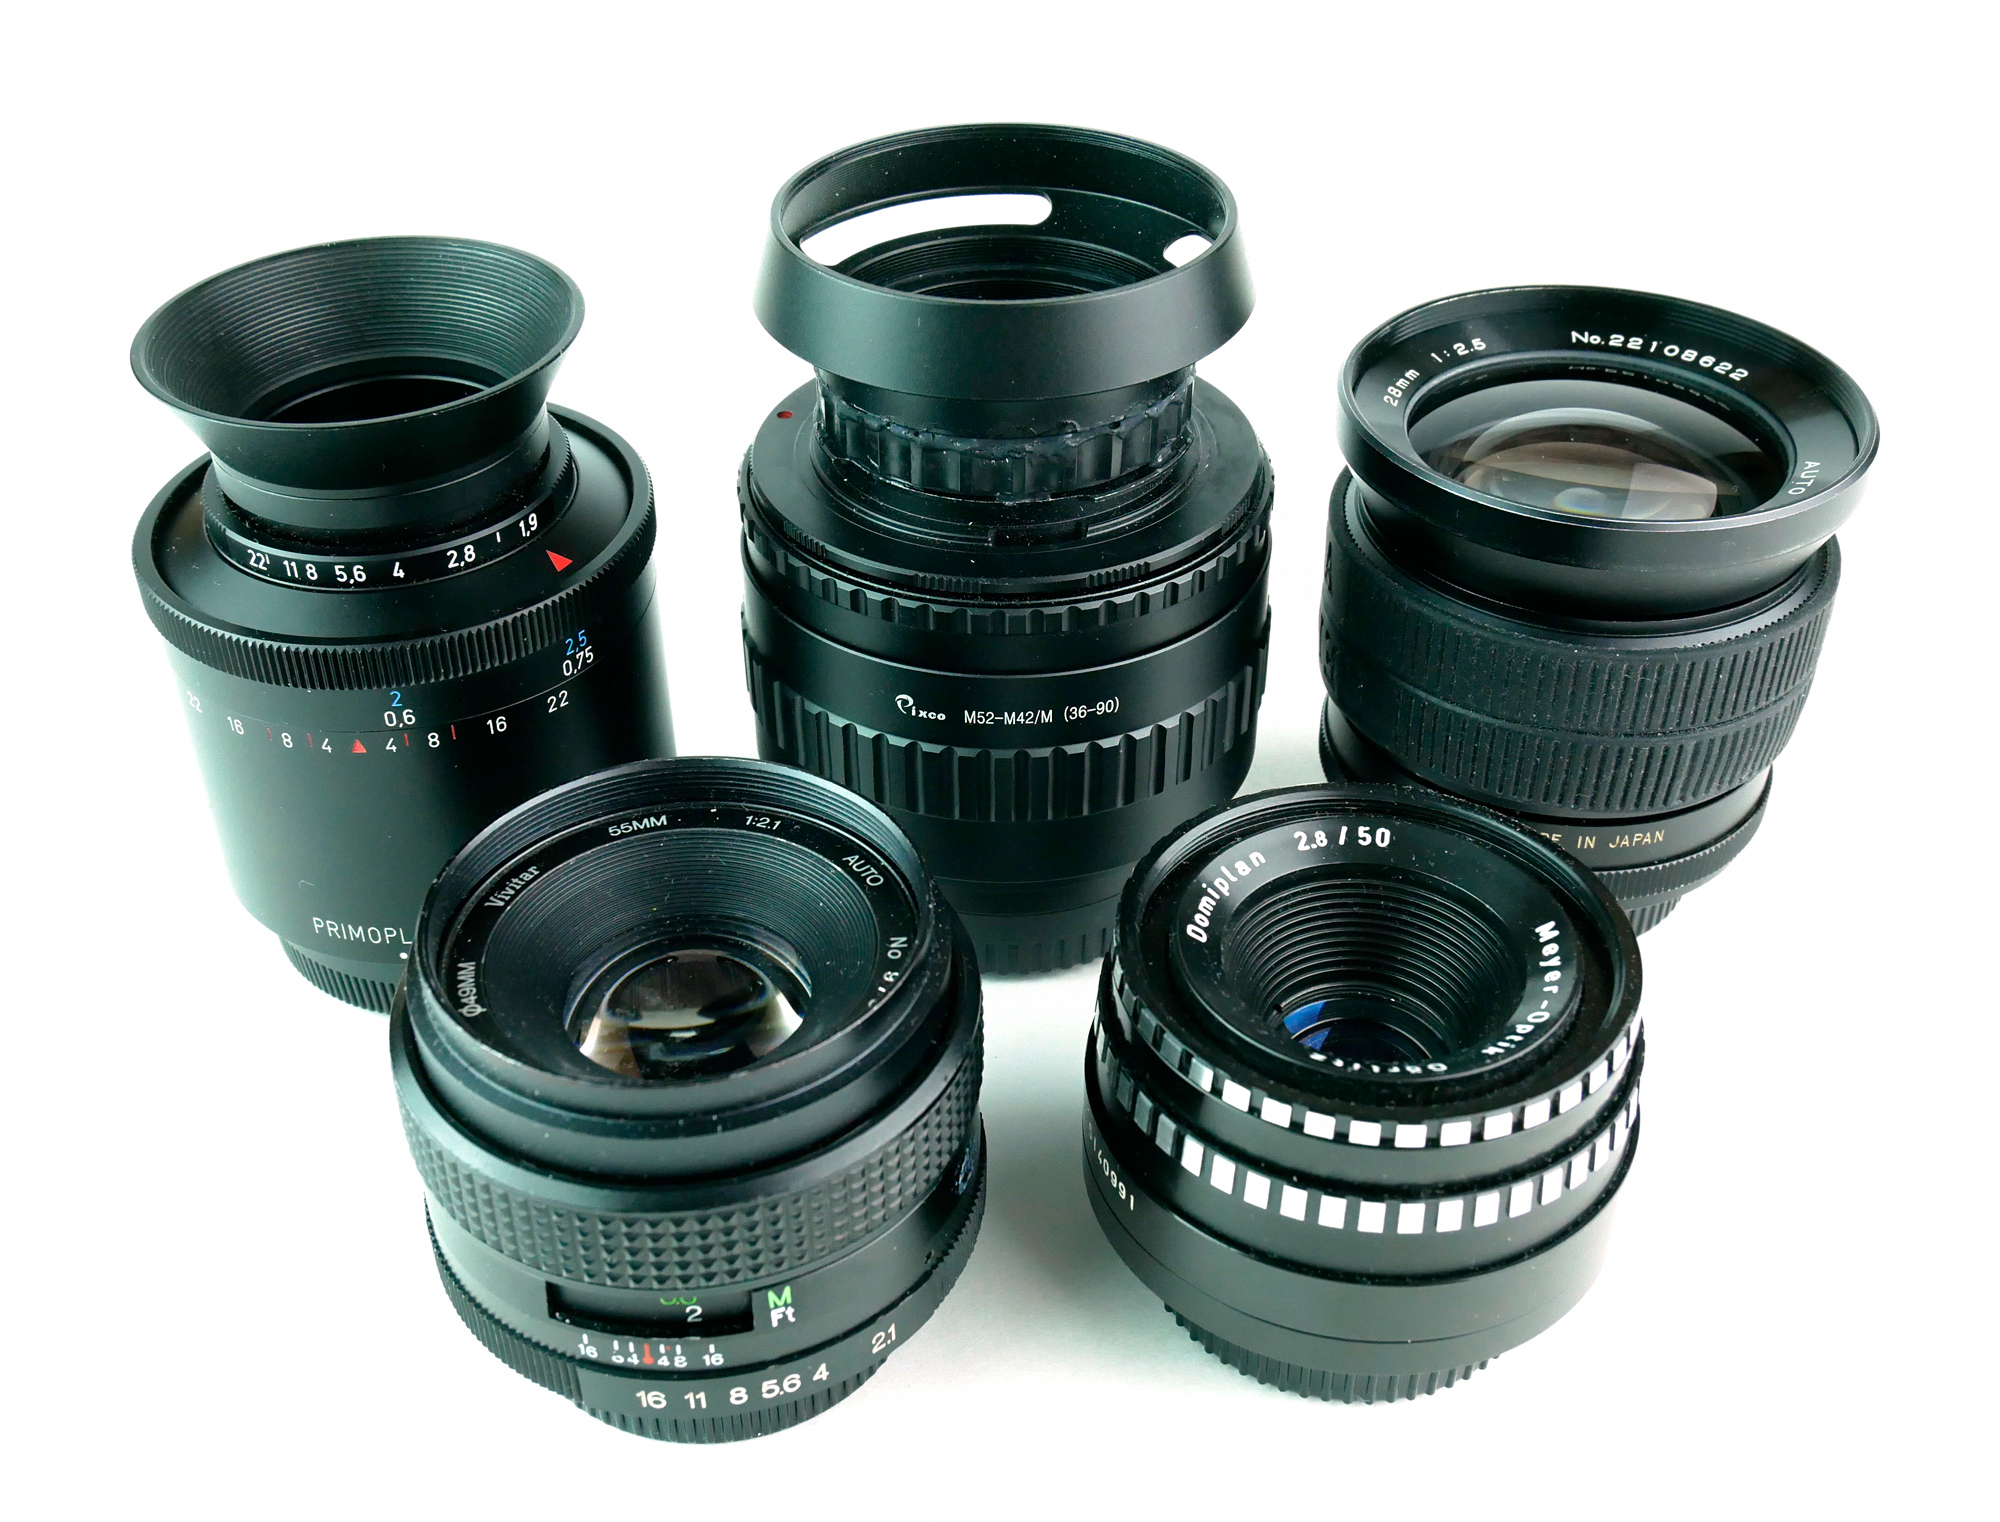
• Vivitar 28mm f/2.5
• Vivitar 55mm f/2.1
• Meyer Optik Gorlitz (MOG) 50mm f/2.8 Domiplan
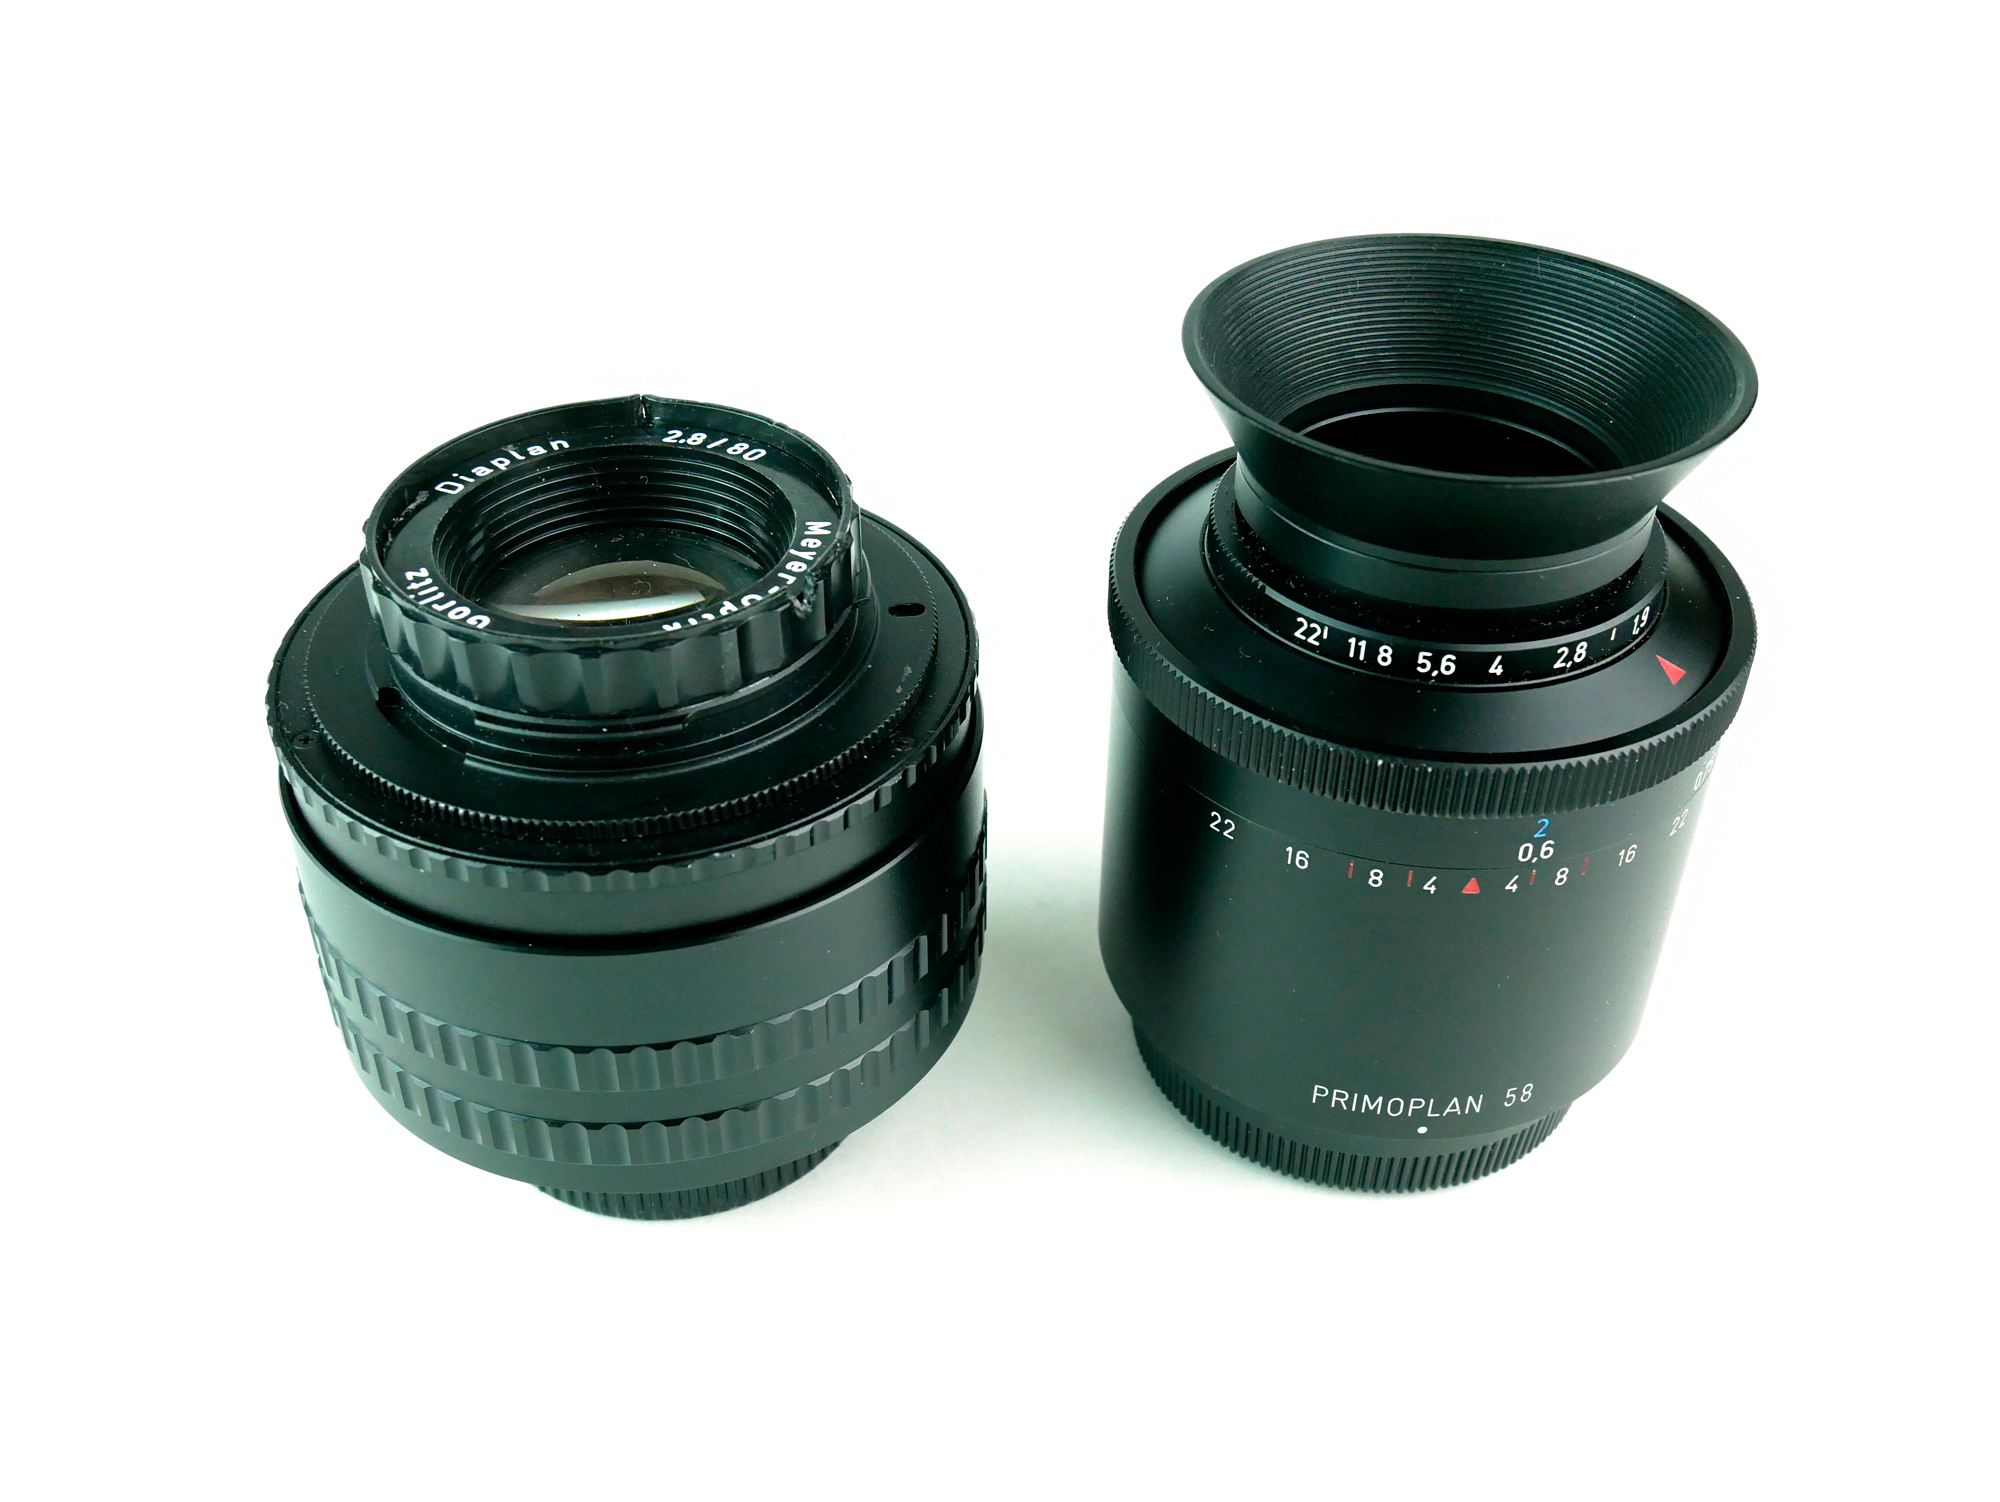
• Meyer Optik Gorlitz 58mm f/1.9 Primoplan (the newer version of an old classic)
• Meyer Optik Gorlitz 80mm f/2.8 Diaplan “slide projector” lens attached to a generic focusing helicoid (see my YouTube channel on how to adapt it)
To attach these M42 mount lenses to the Fuji X-E2, I used an inexpensive, generic M42 to FX adapter. Because these older lenses usually don’t focus very close, when I needed to focus closer, I attached a 10mm extension tube between the adapter and the camera body.
Camera & Lens Settings
Here are the settings I use when shooting Christmas bokeh photos:
Camera: Manual (or aperture) priority, shutter between 1/100 and 1/400, ISO 800 – 1600, underexpose .5 to 1.5 stops, average white balance, burst mode (or continuous low-speed shooting mode), “handheld” IBIS (in body image stabilization), electronic shutter (silent mode), focus peaking on. I focused using live view on the back LCD screen.
Lens: The aperture is wide open for the roundest bokeh balls, and most of the time, the manual focusing ring is set to at (or near) its closest setting.
Image Composition
When you’re in a target-rich environment with lots of Christmas decorations and lights, walk around the venue to select the best compositions. Keep your eye out for :
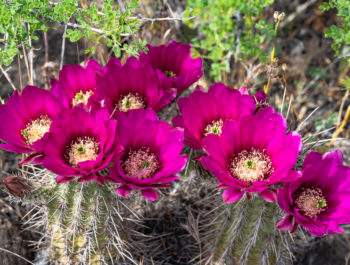
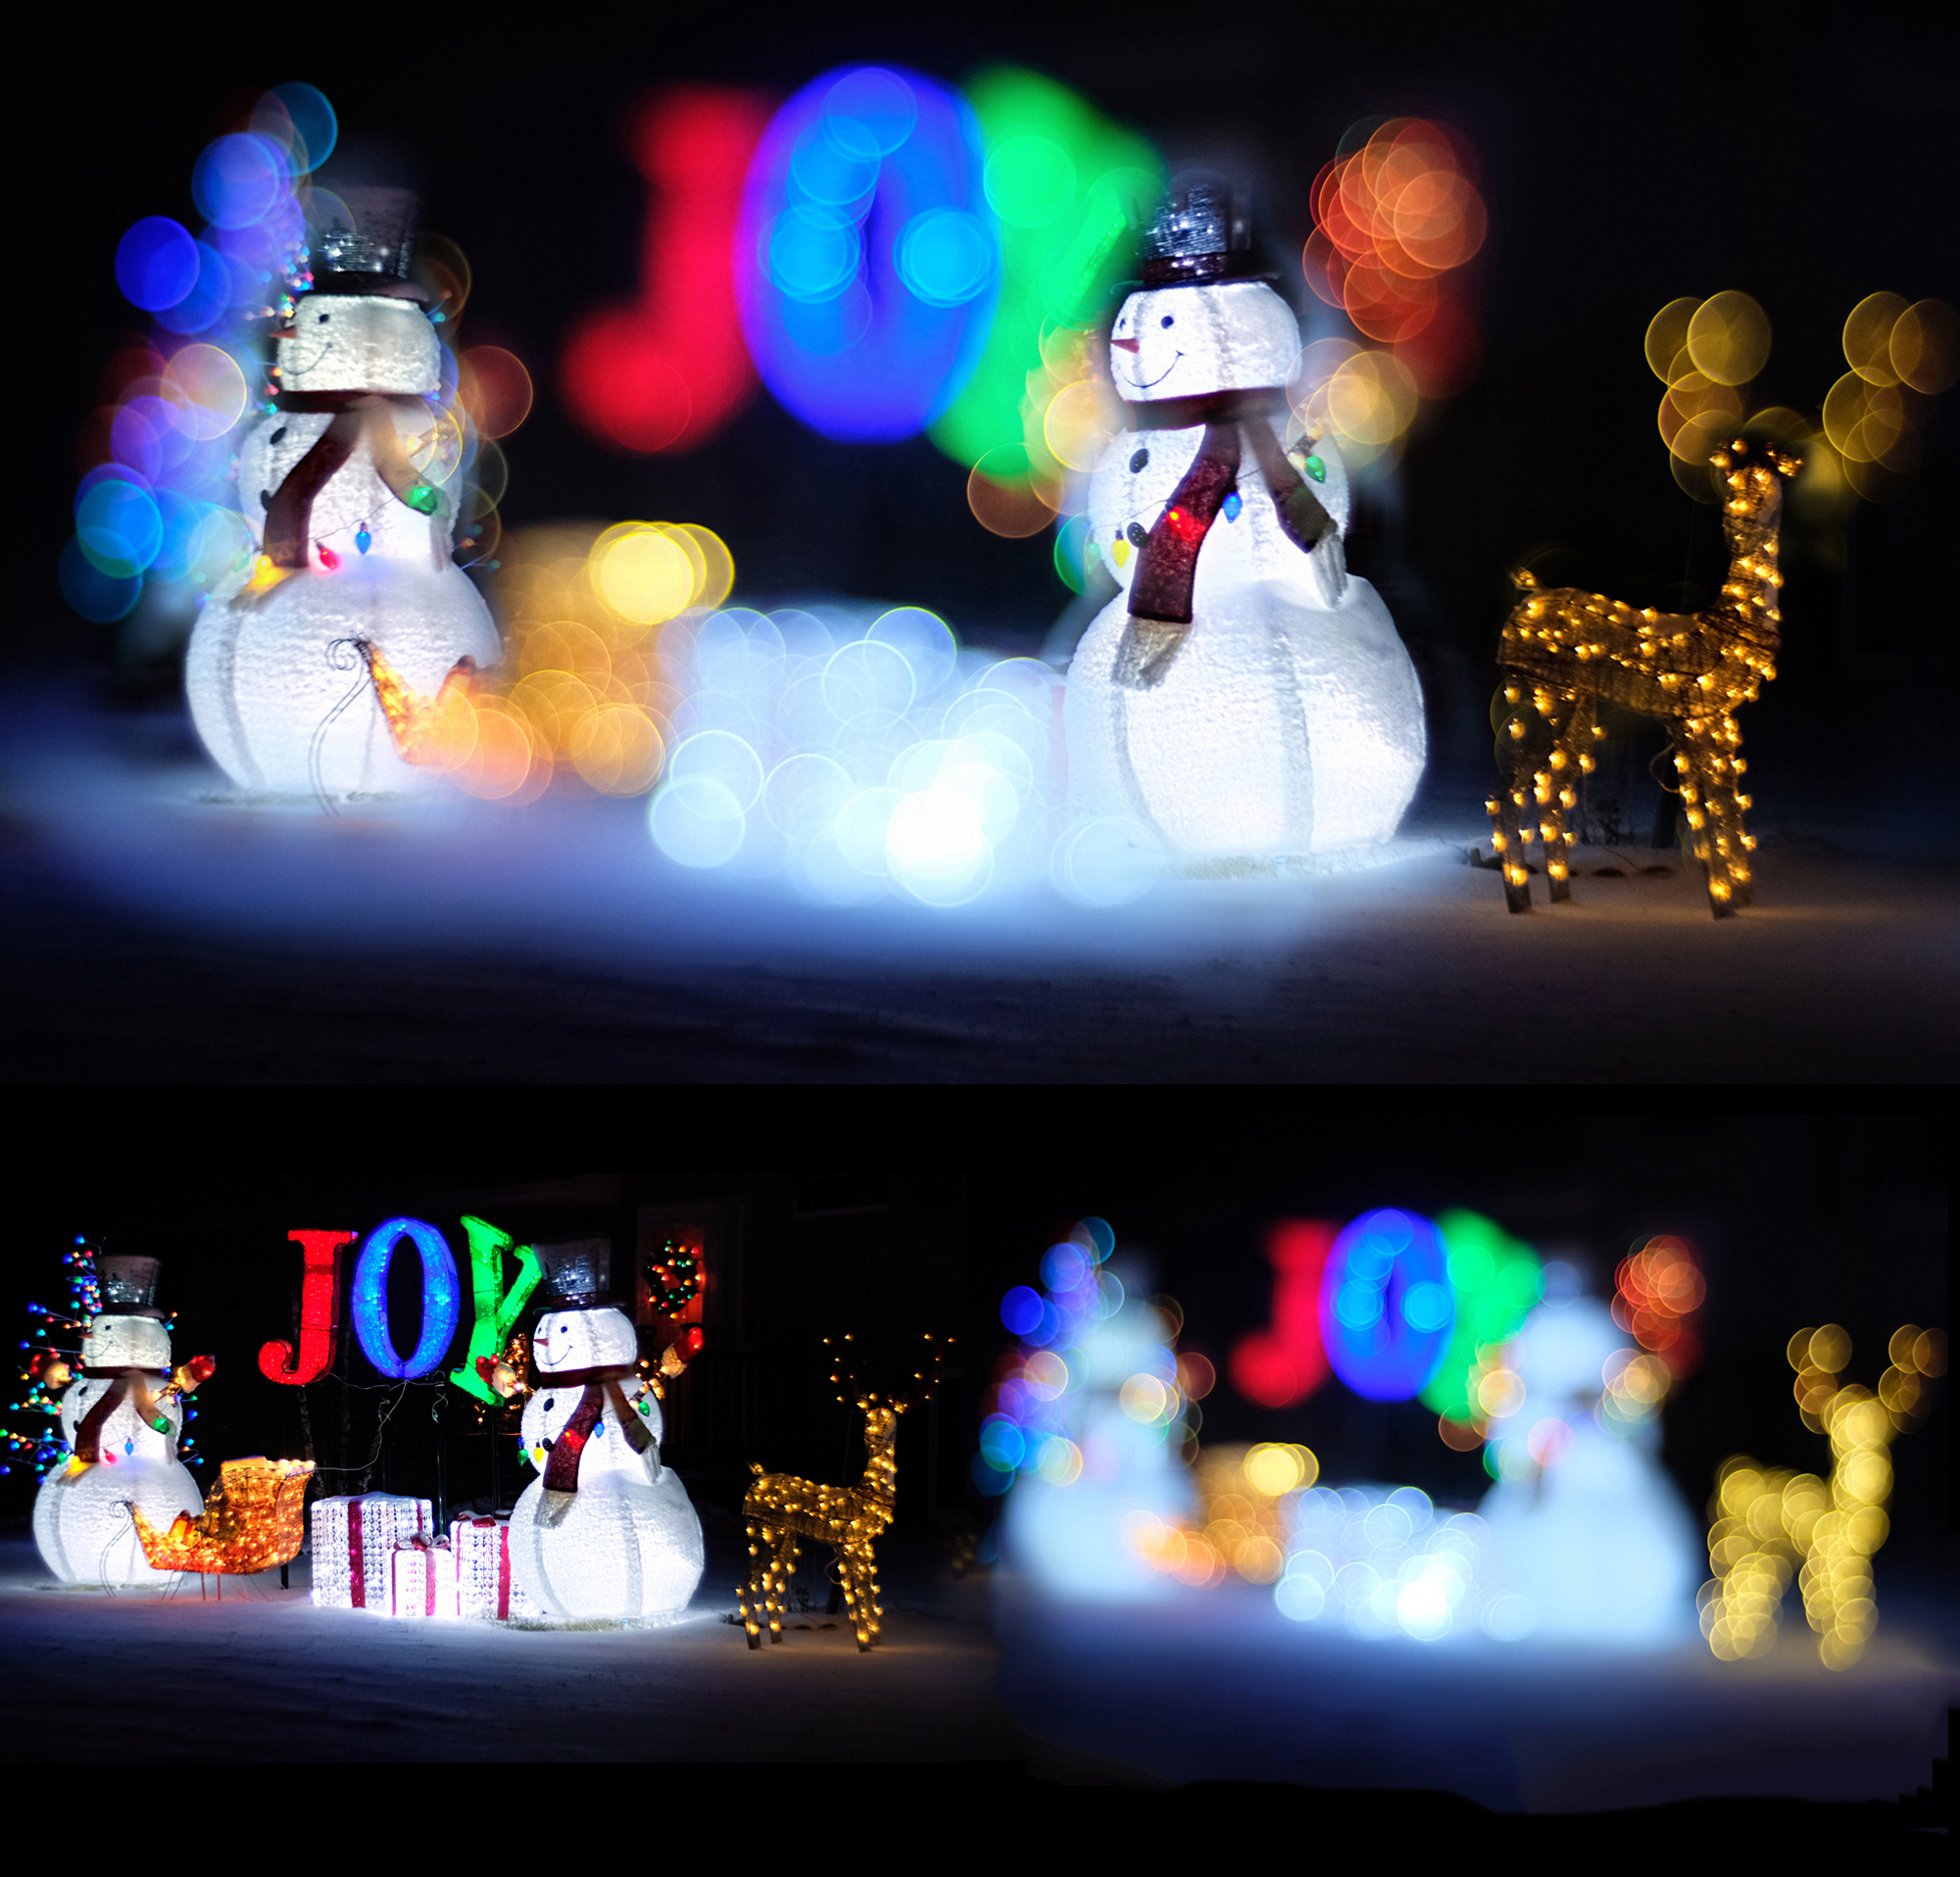
Bright and vivid Christmas colors (reds, greens, blues)

Distinct and simple foreground subjects

Plenty of light on your subject (don’t use a flash)
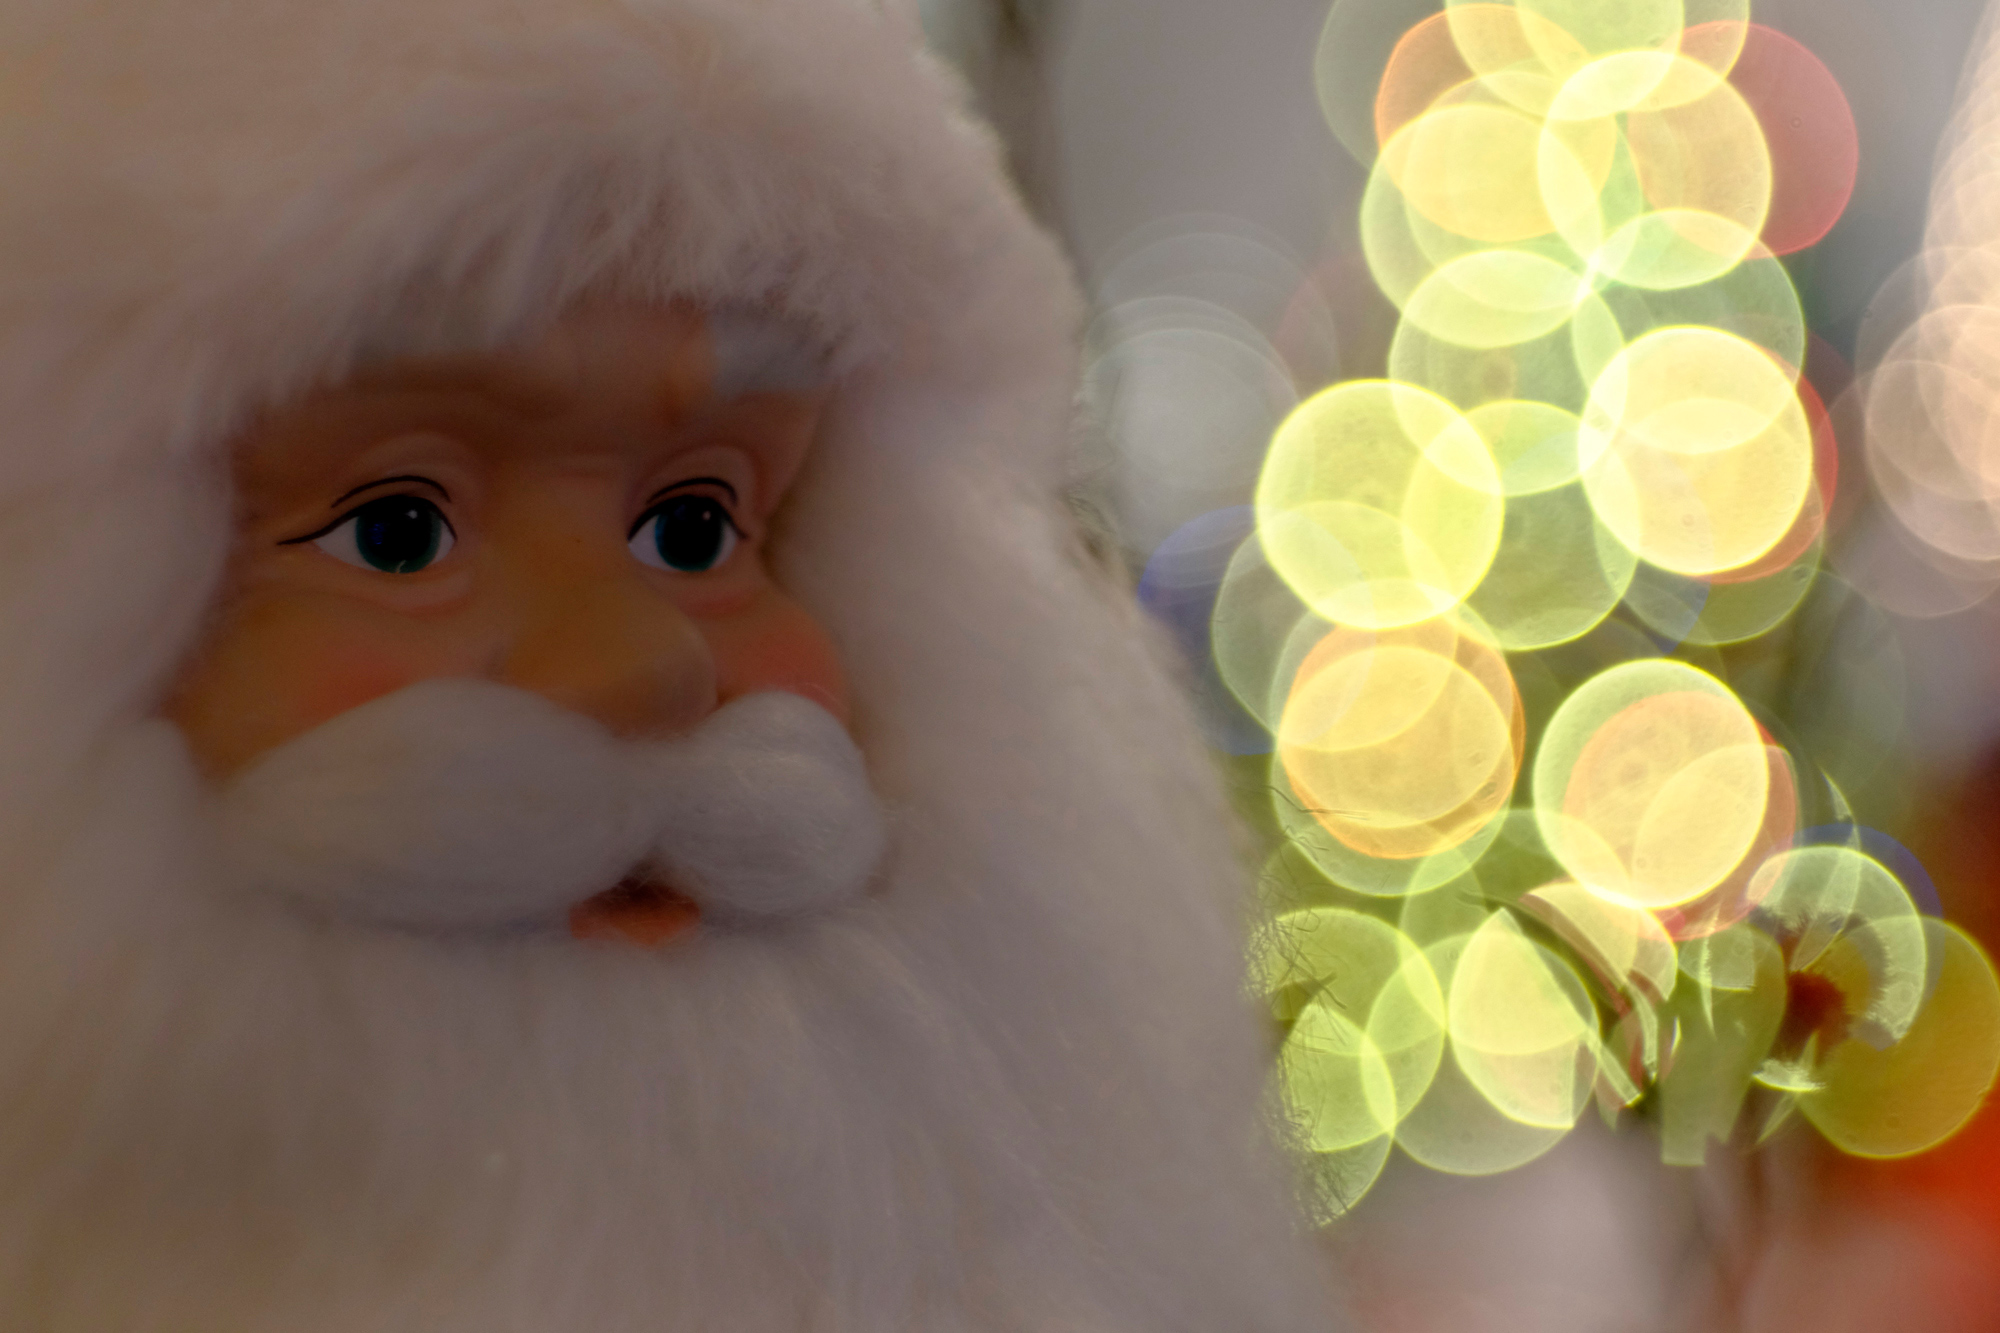
Smooth, shiny ornaments (they will show your reflection)

Image Capture Techniques
Over the years, I’ve developed Christmas bokeh shooting techniques that work well for me. Here’s an overview of my image capture methods:
Sometimes it’s bitter cold when shooting outside in the winter. Keep plenty of extra batteries in a warm pocket. Also, cameras and lenses get brittle in the cold and damage easily when dropped (ask me how I know). Be sure to use a neck or wrist strap on your camera.
Because the depth of field is so thin, gently rock back and forth a few millimeters while shooting a handheld burst. This will help to ensure at least one of the images in the series will be in critical focus.
Focus bracket each scene. Take a series of photos where the first image has the subject in focus; the last image has the subject at the extreme of out of focusness.
When handholding your camera take hundreds (or thousands) of images. You won’t know which ones are keepers until you see them enlarged on your monitor back home. So shoot, shoot, and then shoot some more.

If your lights are too close to the main subject, they will not turn into bokeh balls.

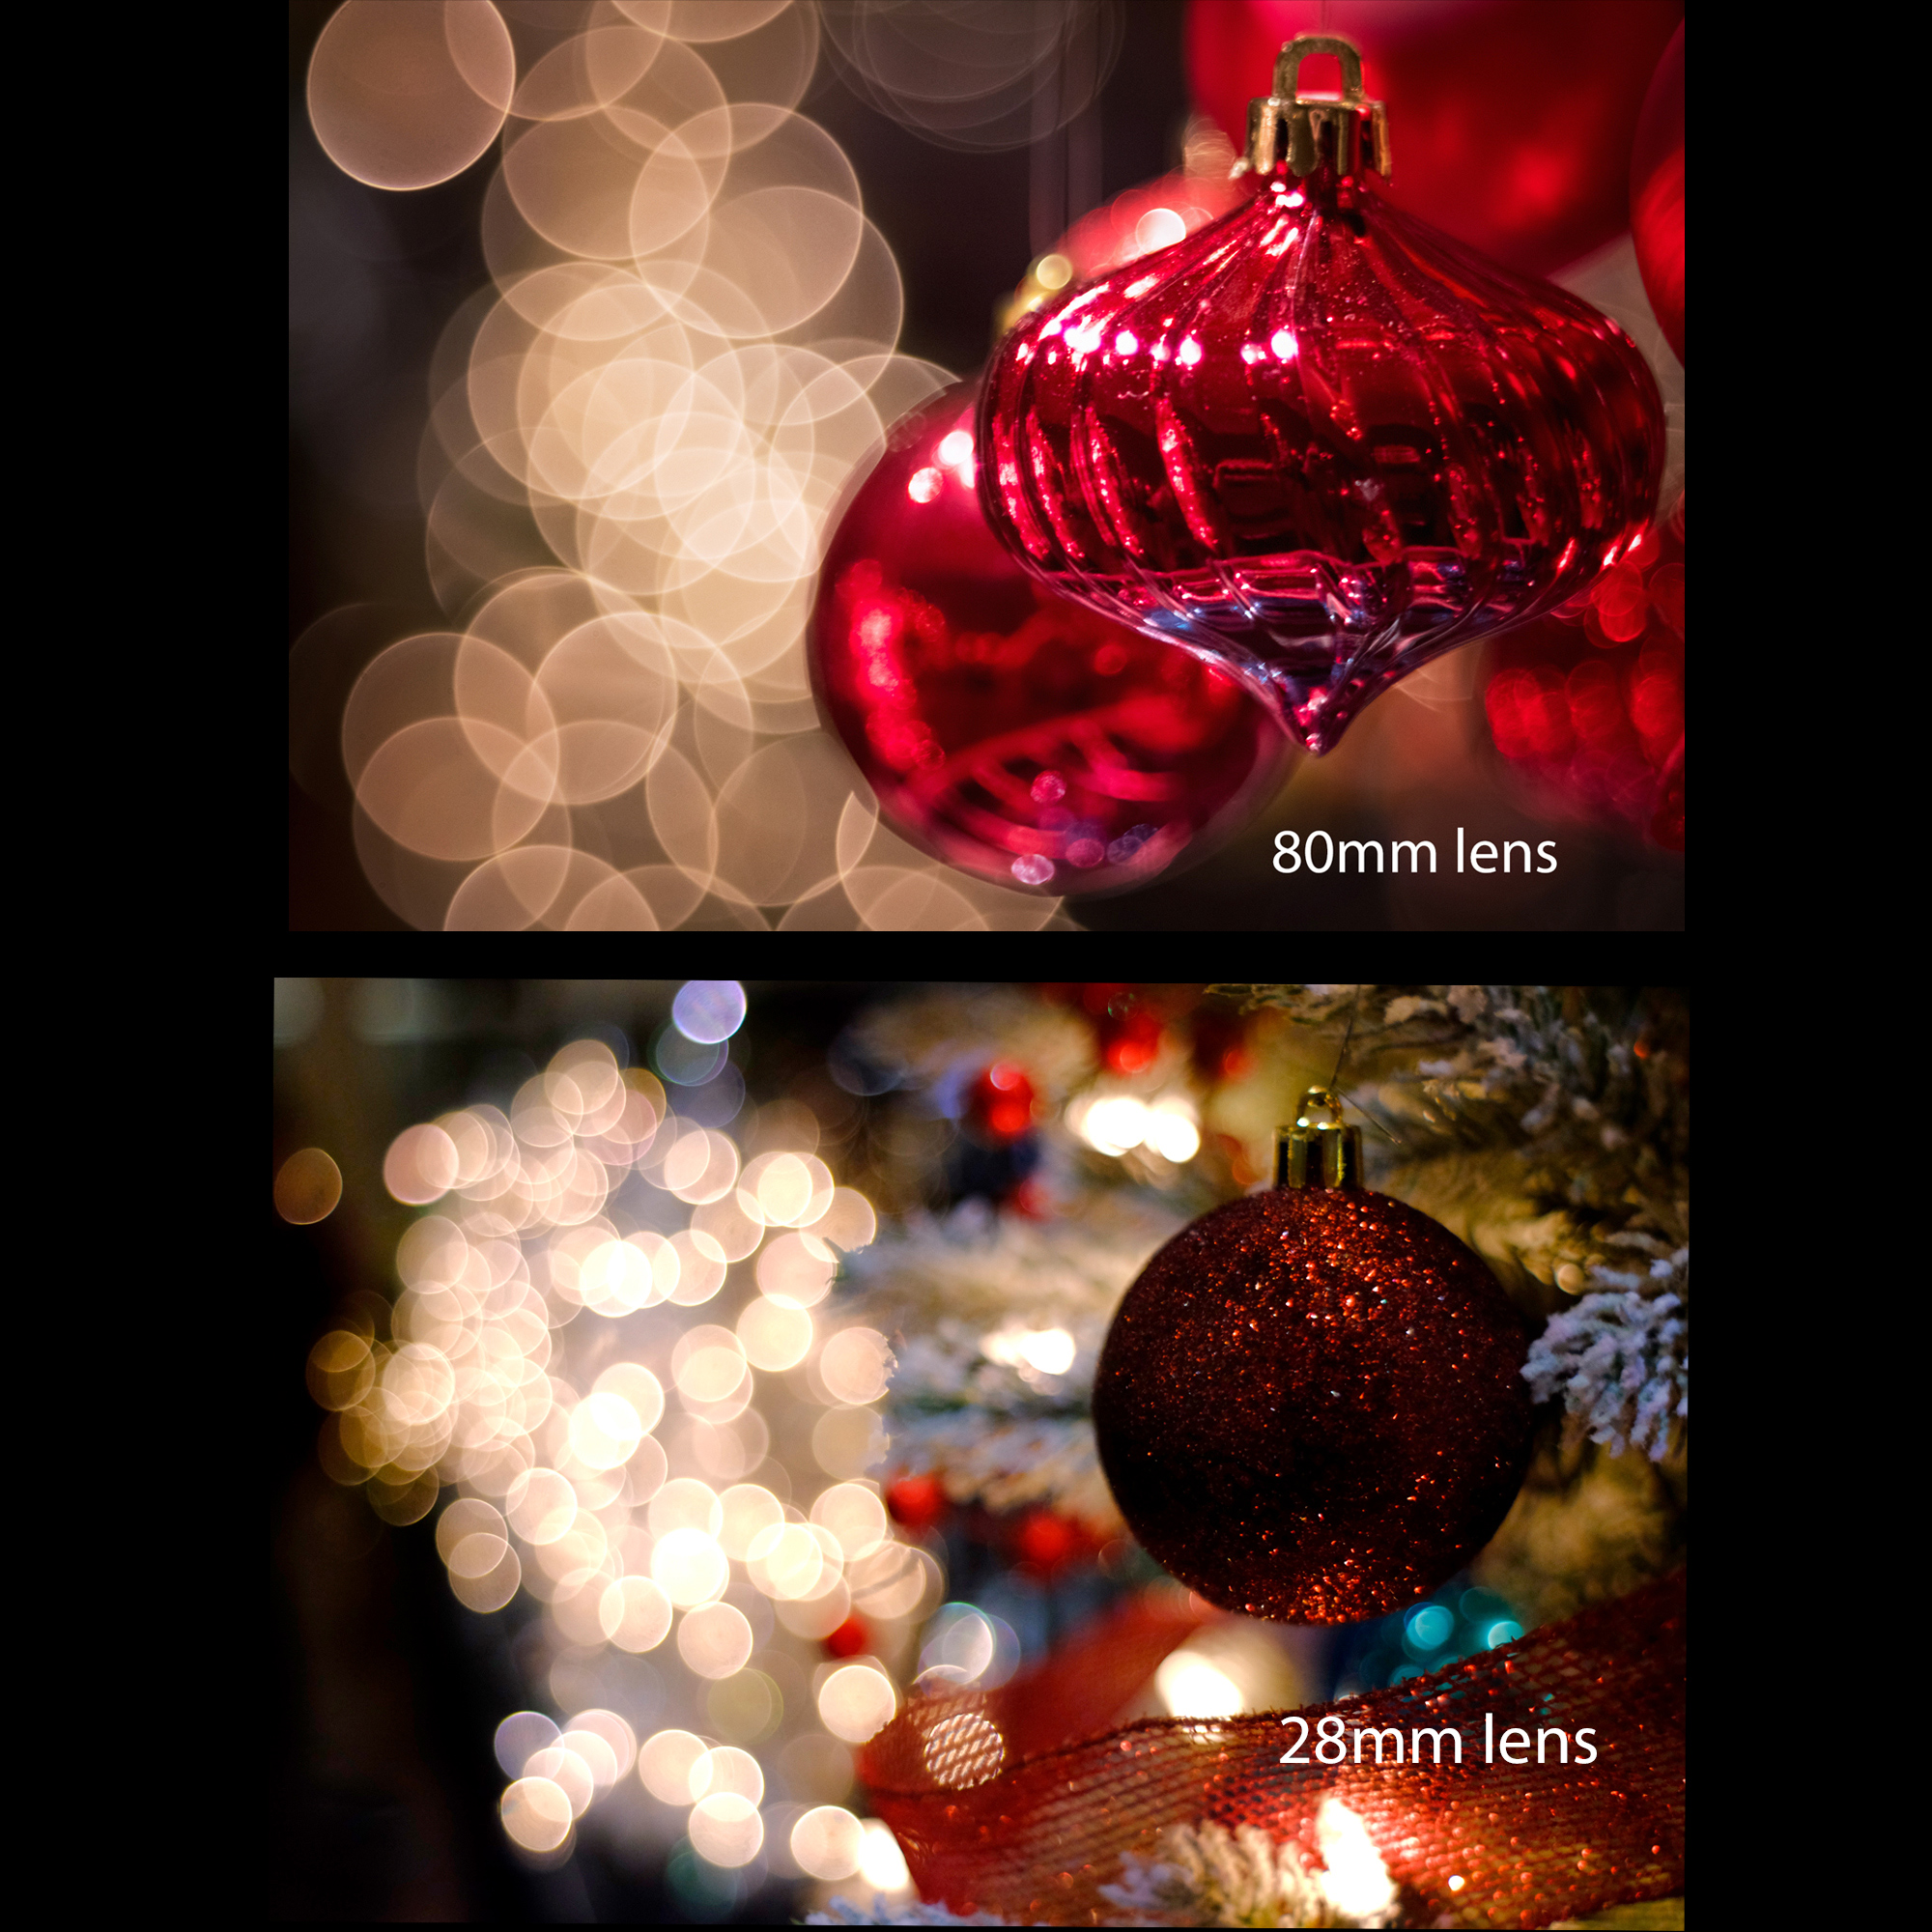
Everything else being the same, longer focal length lenses make bigger bokeh balls.
If you’re getting unsharp images, either use a faster shutter speed and/or check your focus before capture by magnifying the image’s main focus point at least 4X on your live view LCD screen.
Set your camera to take “double exposure” .jpg image files. Take one image in sharp focus. Defocus, and take the second image (completely blurred) from the same spot.
Put your camera on a tripod and take one image in focus. Take a second image out of focus from the same spot. Selectively blend the two images together with your image editing software. Make your main subject sharp and the point sources of light blurry.
The Results
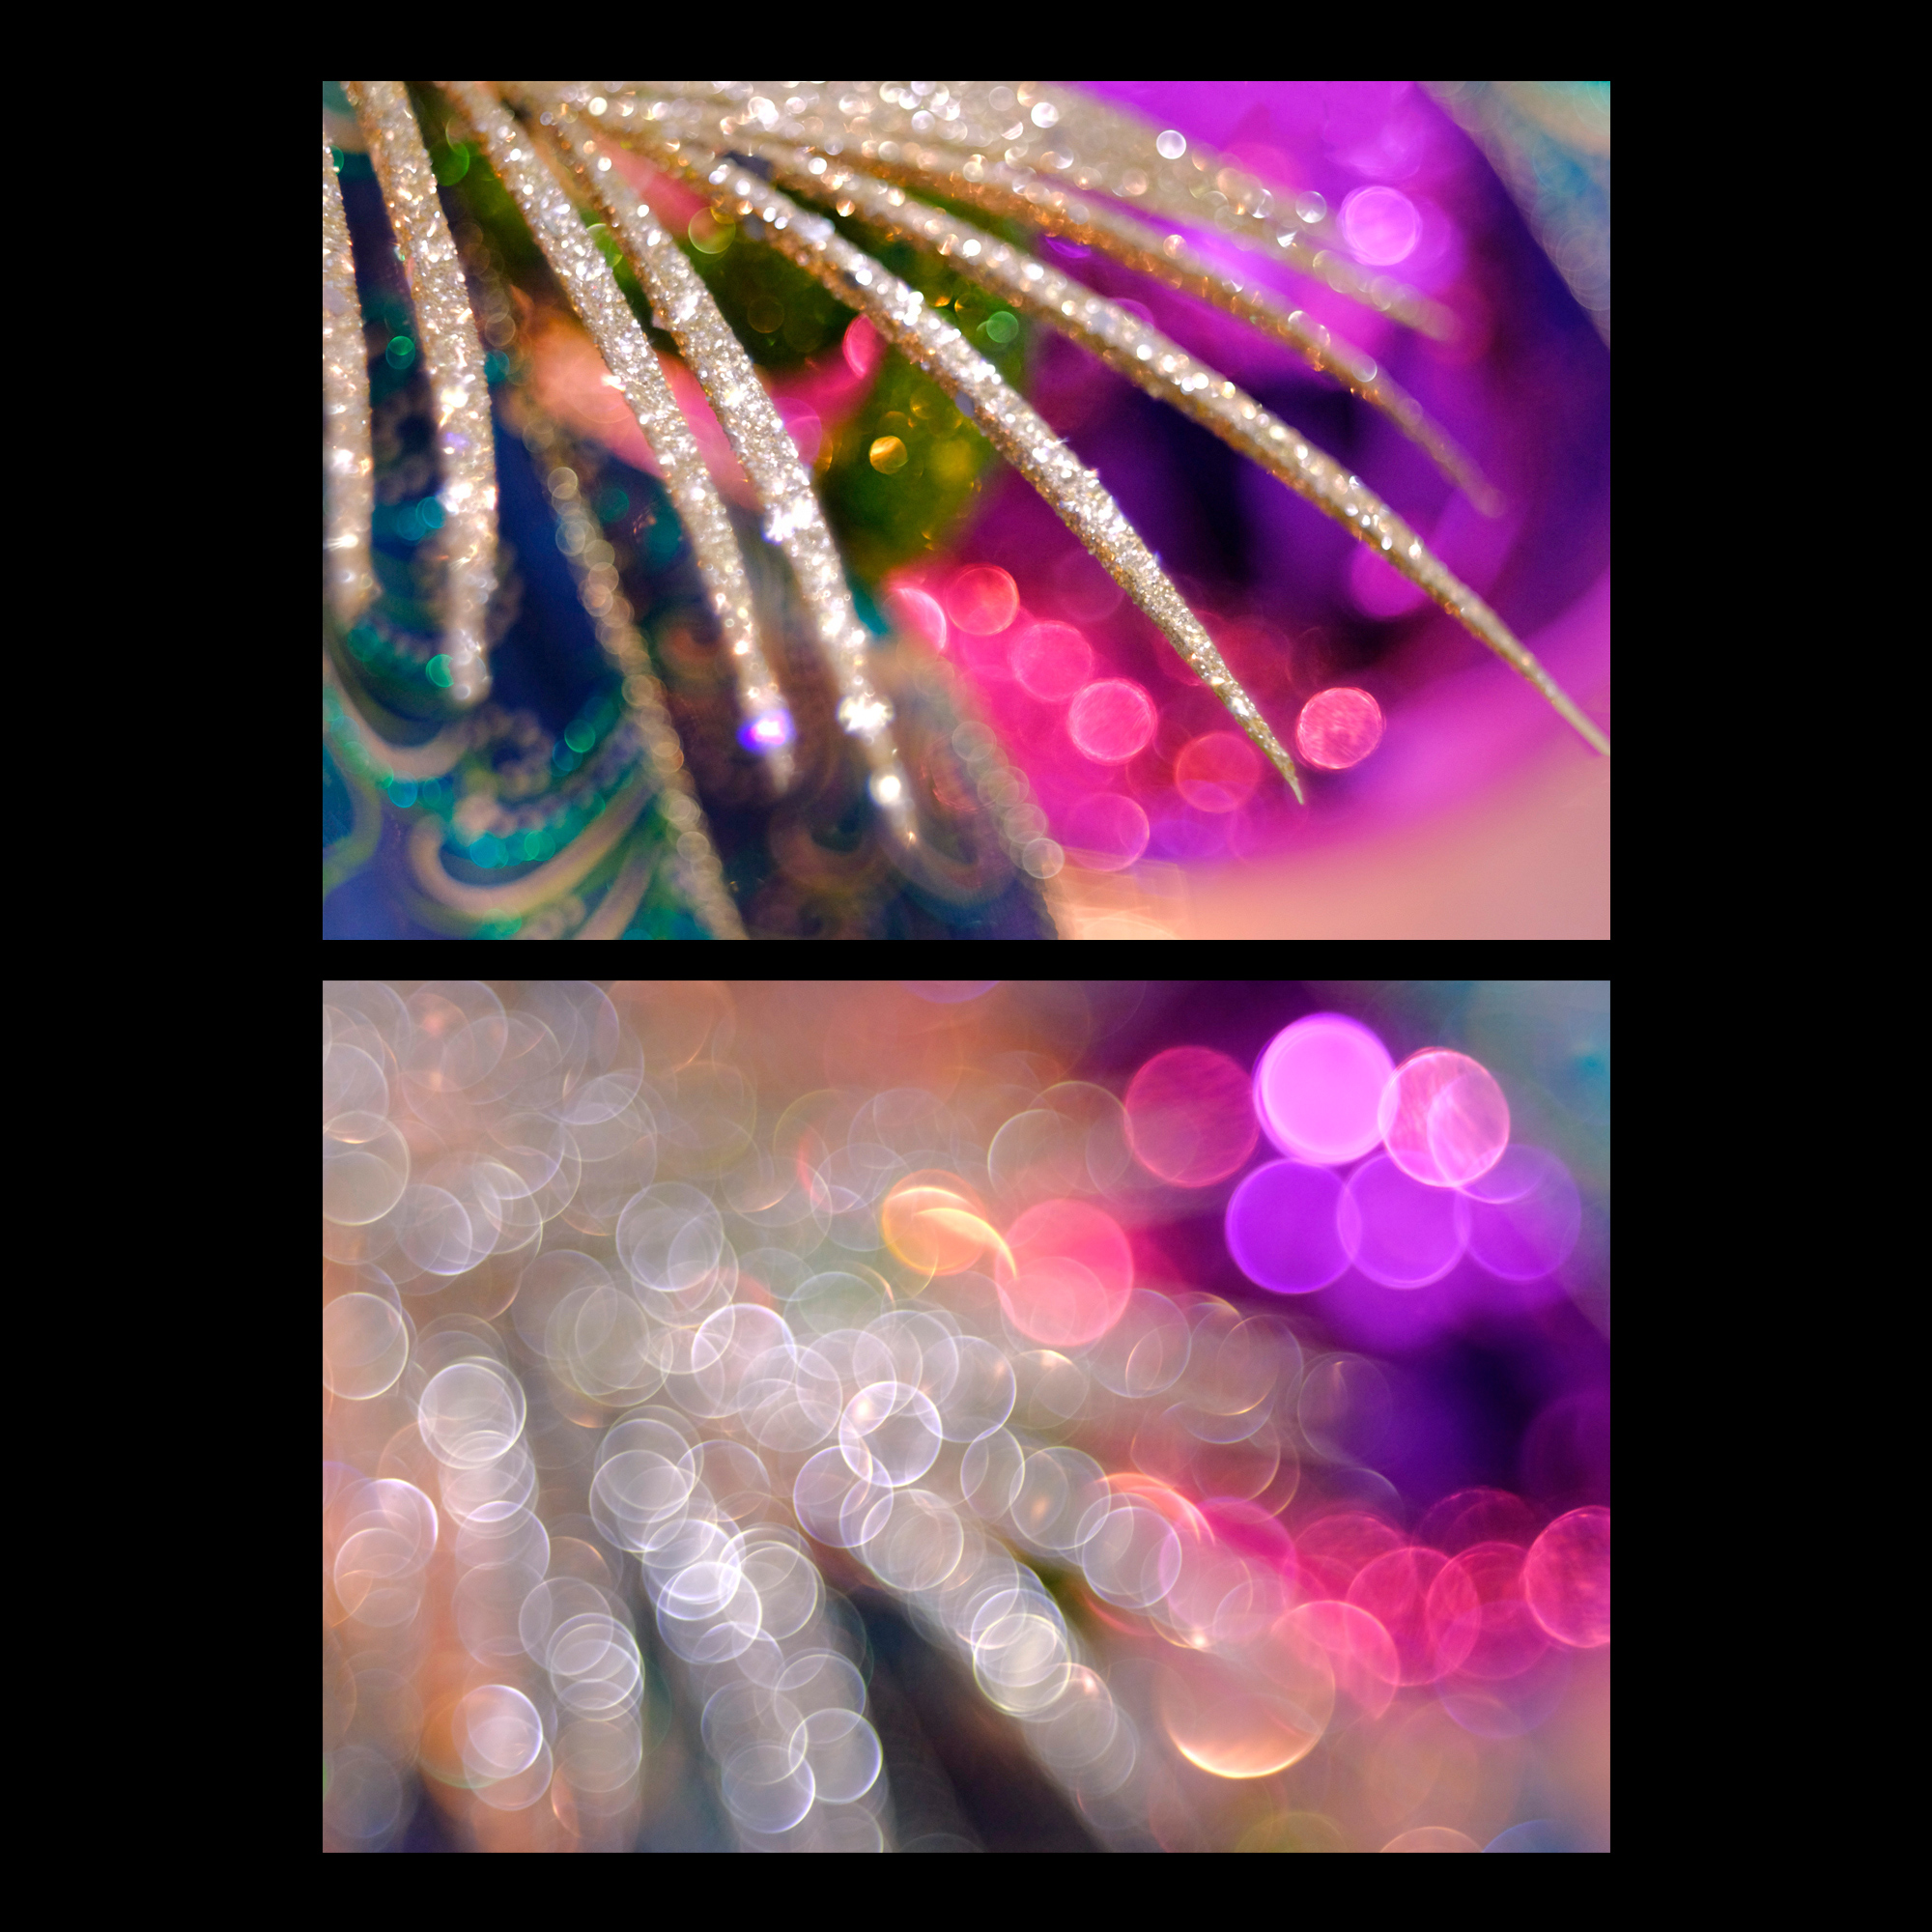
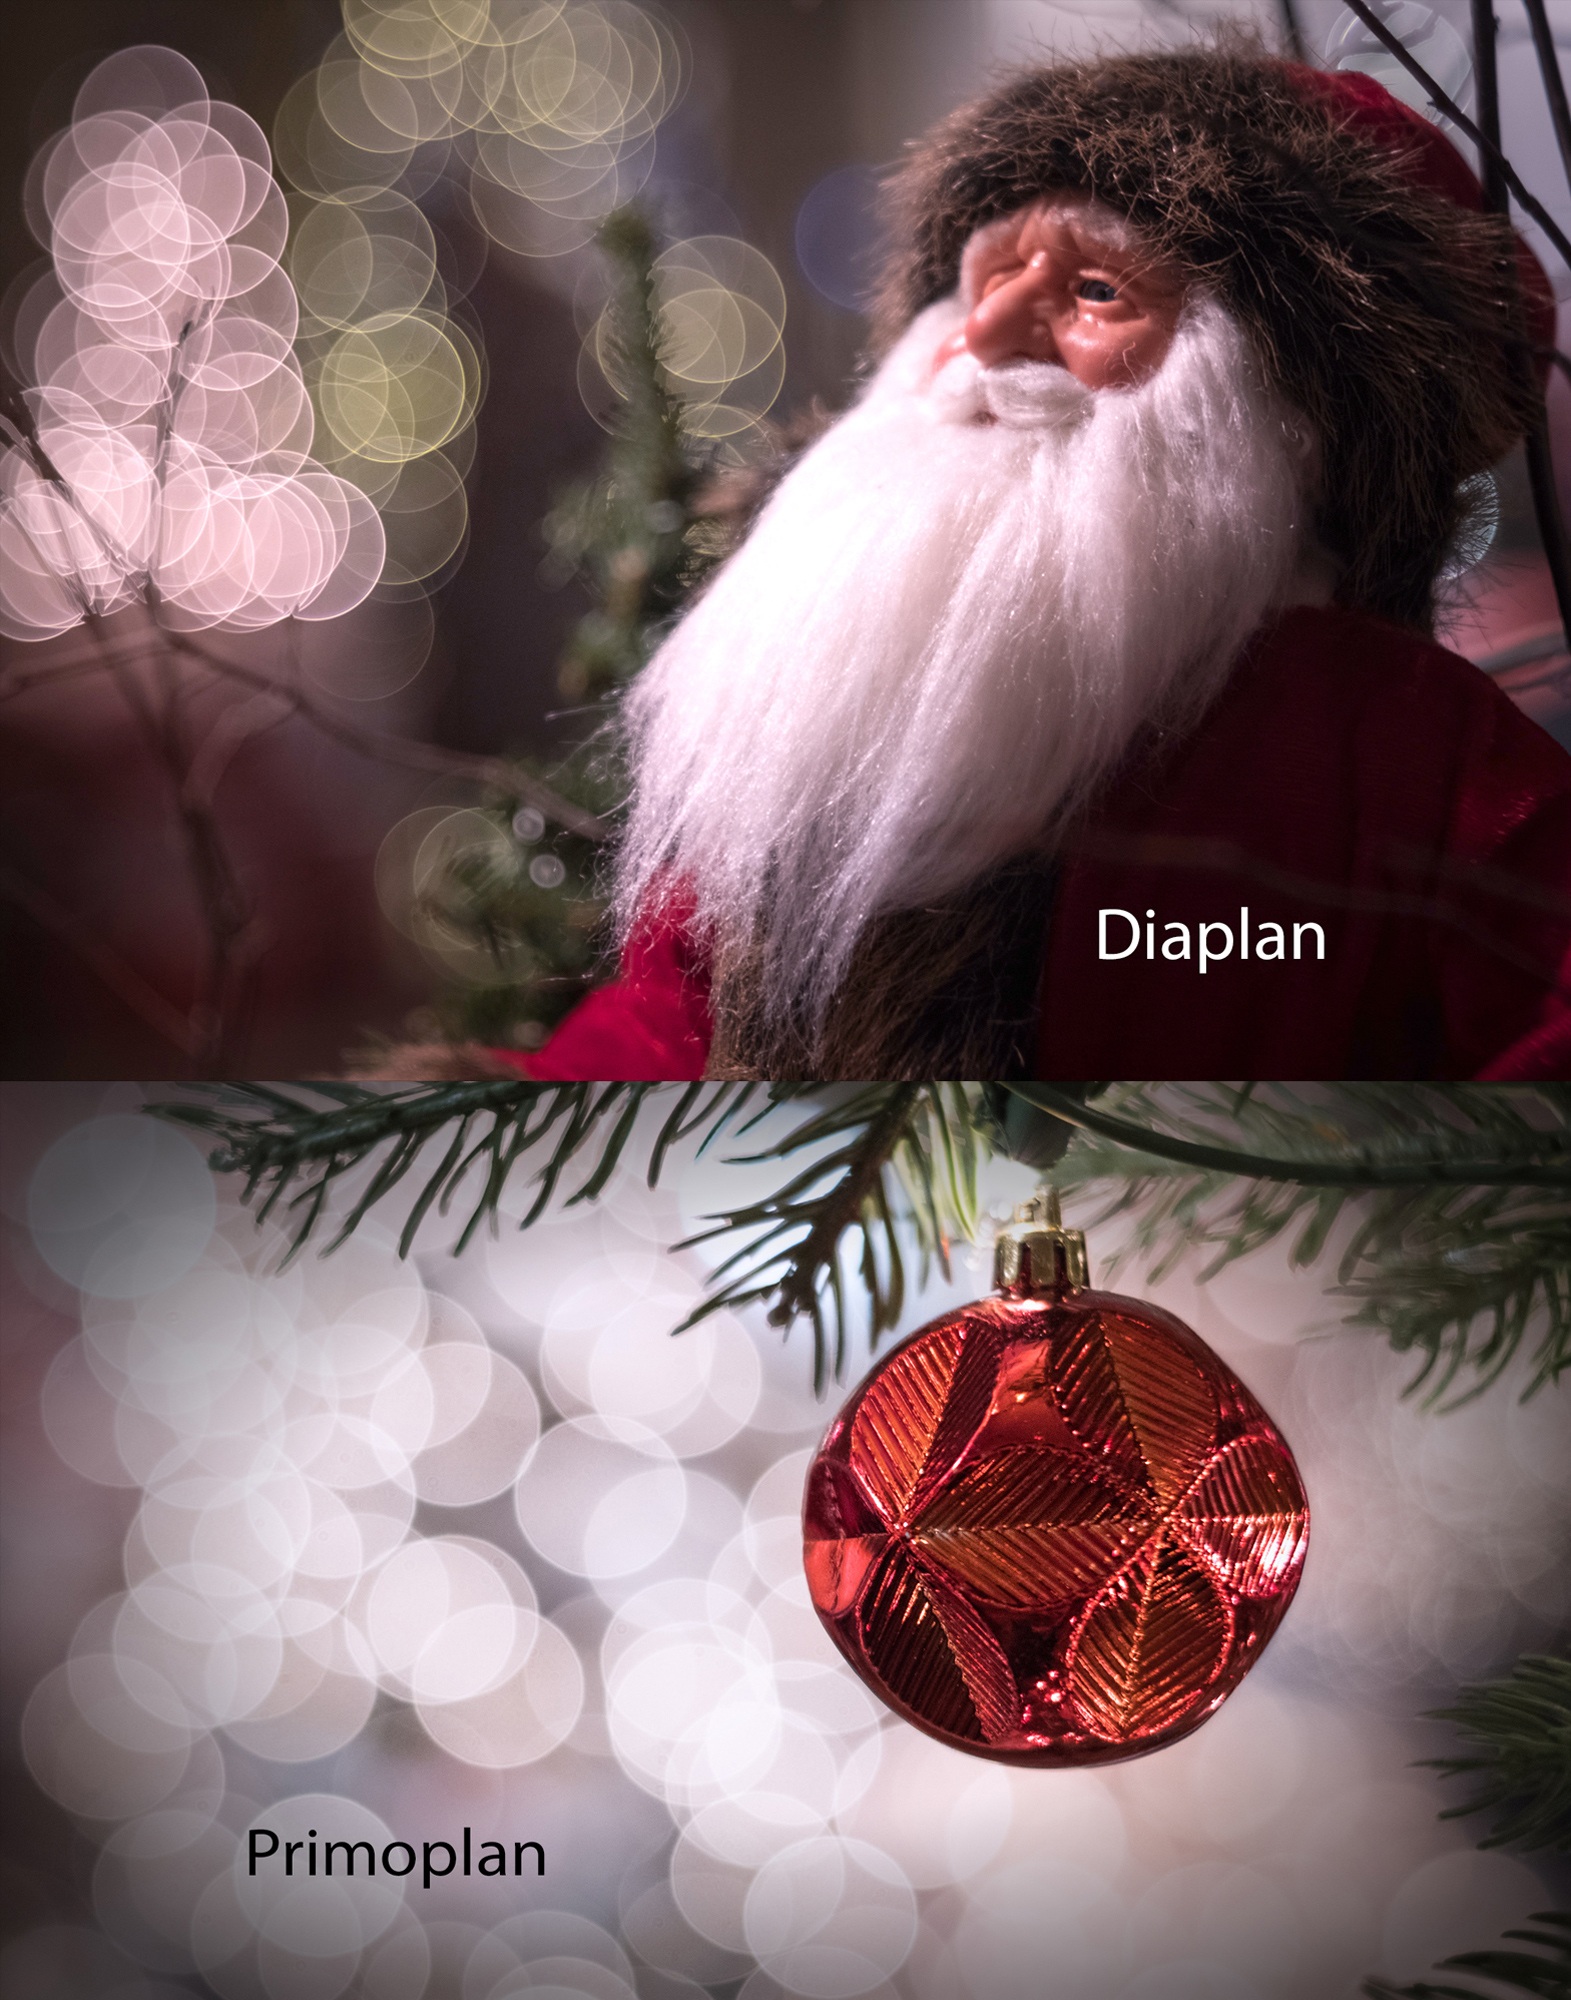
In this “Christmas in Bokehland” shootout, I took hundreds of images with the five little M42 lenses shown above. I got the most keepers from the Diaplan and Primoplan lenses. The results from the Vivitars and the Domiplan lenses were extremely disappointing (anyone want a cheap lens?).
Both the Diaplan and the Primoplan lenses produced images that are sharp and colorful. However, the Diaplan produces more aggressive soap-bubble type bokeh balls, while the Primoplan’s bokeh balls are gentle, subdued, and conventional. I require both of these different looks, so I’ll be keeping these two exceptional bokeh lenses.
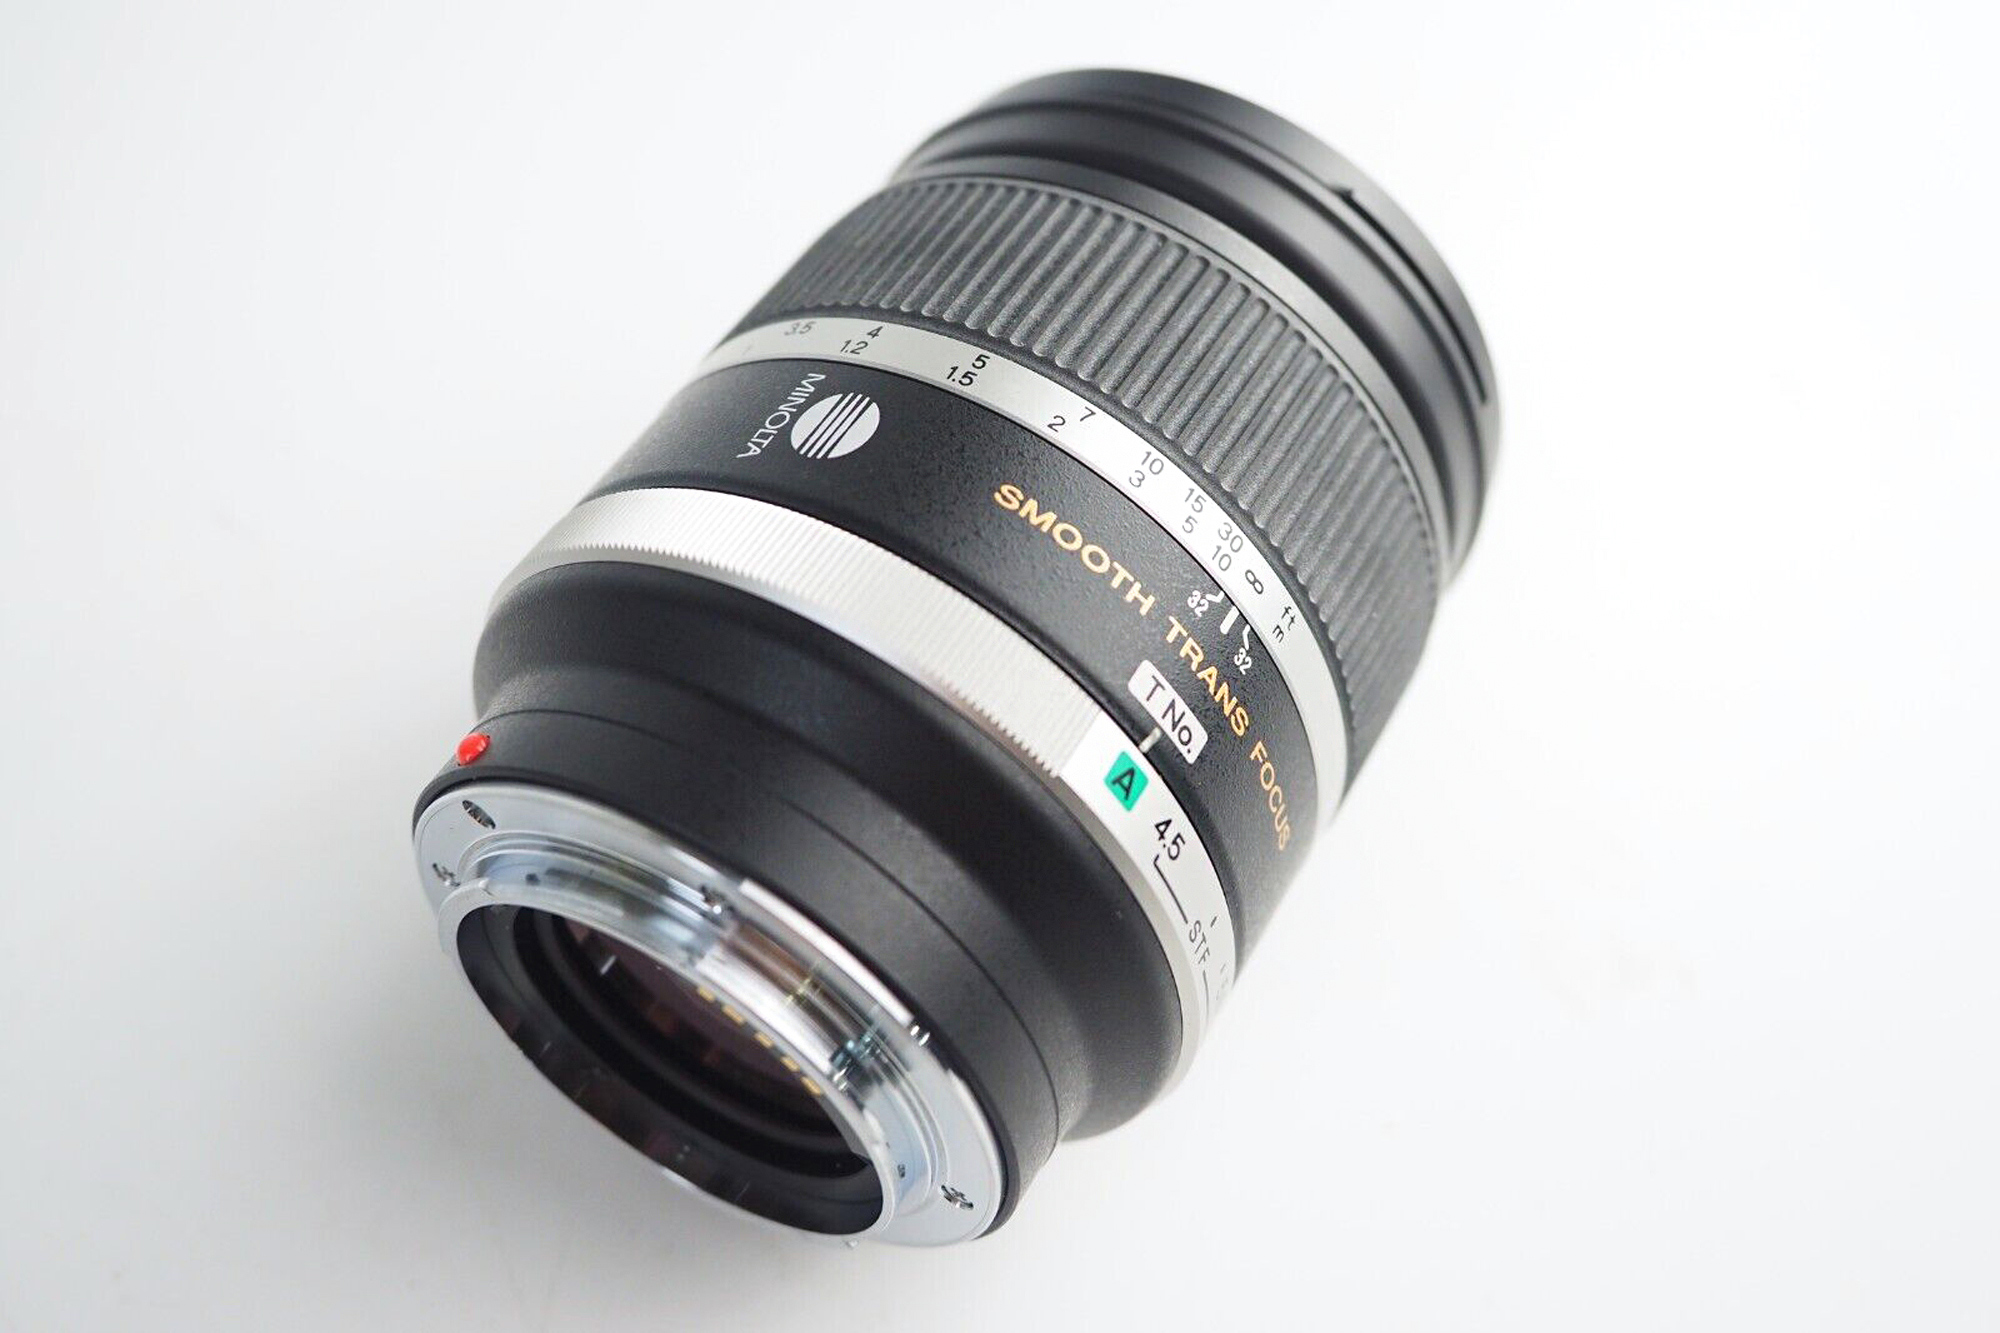
I just purchased my ultimate dream bokeh lens, a Minolta STF 135mm f2.8 manual focus beauty. If, like me, you’re a fan of smooth and creamy bokeh balls, then you might want to check out SFT (smooth trans focus) lenses. My next Christmas photo safari will feature this new lens on my Sony A350 14MP CCD camera. I expect that this pairing will be a match made in bokeh ball heaven!
I hope this article prompts you to go out and shoot some of your own Christmas bokeh photos. Have fun, and feel free to come back and share your results with us. Ho Ho Ho!
David Weber
December 2022
, WI
I'm Dave Weber, the "F/2 Guru". I've been a serious photographer and educator for a long time. As an engineer, I like to modify, repair, adapt, and test classic film-era lens. When bored, I'll take offbeat non-photographic lenses and make improvised camera lenses out of them. I'm camera brand agnostic and currently shoot just about every breed of camera. Photography is not only an art form, but for many, it is also emotional, spiritual and physical therapy. Photography's restorative and healing attributes should be accessible to all, regardless of income level. To that end, I've made over 30 videos on purchasing, adapting, and maintaining "affordable" camera gear. These FREE videos are available here - https://www.youtube.com/@AffordablePhotography