Camera with a Phone – iPhone 11 Pro Max
With the introduction of the NEW iPhone 11 Pro Max, photography took another turn. Many camera companies are suffering financially. Sony has overtaken Nikon to be the number two camera company worldwide, and there are rumors of other camera companies having financial worries. A lot of folks blame mobile phones for such a rapid decline in camera sales. Funny thing is, there are more pictures being taken than ever before. Mostly with mobile phones.

I have always enjoyed the camera on my iPhone. It serves its purpose of being able to take quick snaps of family events and other things going on around me. Once in a while, I have even made a good print with it. Well, as of the last few months, things have changed with the introduction of the iPhone 11 Pro MAX. I now have what I consider to be a camera with a phone and not a phone with a camera. The camera on this iPhone is so good that it redefines mobile photography as we have known it.
I am on the get-a-new-iPhone-every-year program with Apple. Essentially, I pay a monthly fee to use a phone, and after 12 months, I can trade it in and start over with a new phone. I must come clean and admit that I am an Apple user through and through. I own an iPhone, iPads, iMacs, and everything else you can think of. Apple has never let me down, although I have been frustrated with some of their designs over the last few years. More on that in an upcoming article.
When I saw the announcement for the new iPhone, I knew they had finally made a huge stride with their phones. These new phones have three lenses, a special low light capability that is really fantastic, and the ability to shoot surprisingly good 4K video with great sound. Add to that fantastic apps from Apple and others that allow you to take your images further and share them instantly in any number of ways with friends around the world.
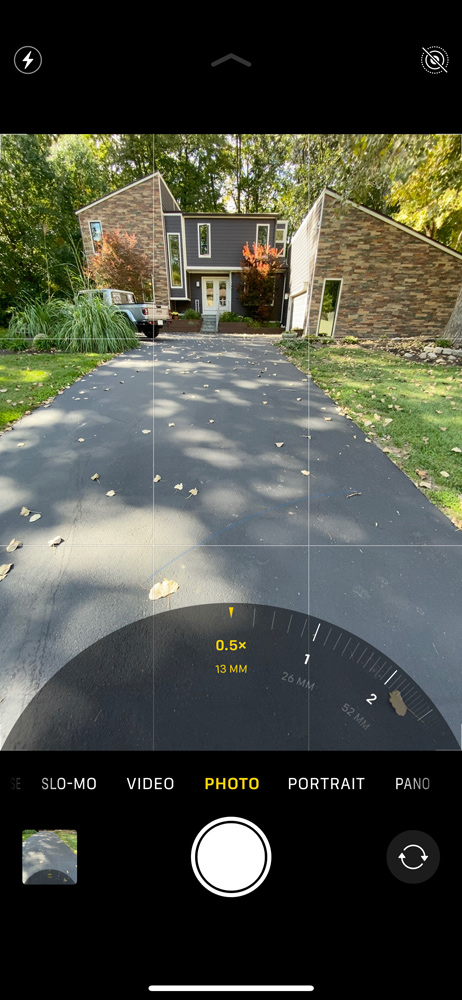
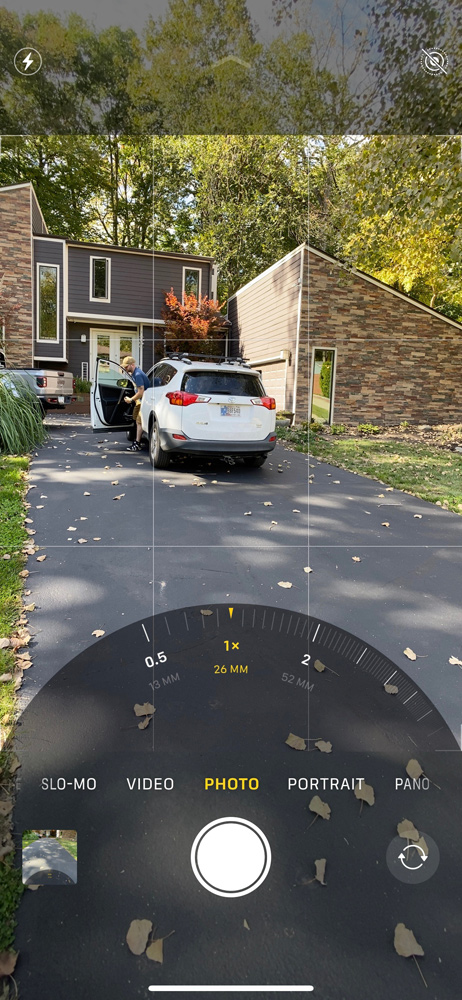
Before I get to my story of the last couple of months with this iPhone, I’ll share some of its specs. You can find all the specs on the Apple website. The phone has three lenses—an ultra-wide at 13mm f/2.4 focal length, giving a 120-degree field of view with a 12mp sensor; a 26mm f1.8 lens with a 12mp sensor; and finally a 52mm f2.0 lens with a 12mp sensor. All the lenses feature optical image stabilization, and the 52mm lens has a 2x optical zoom.

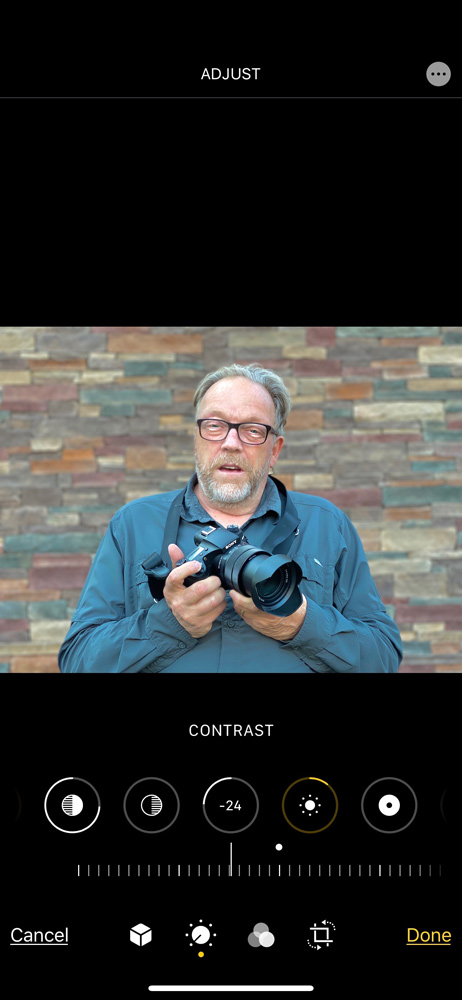
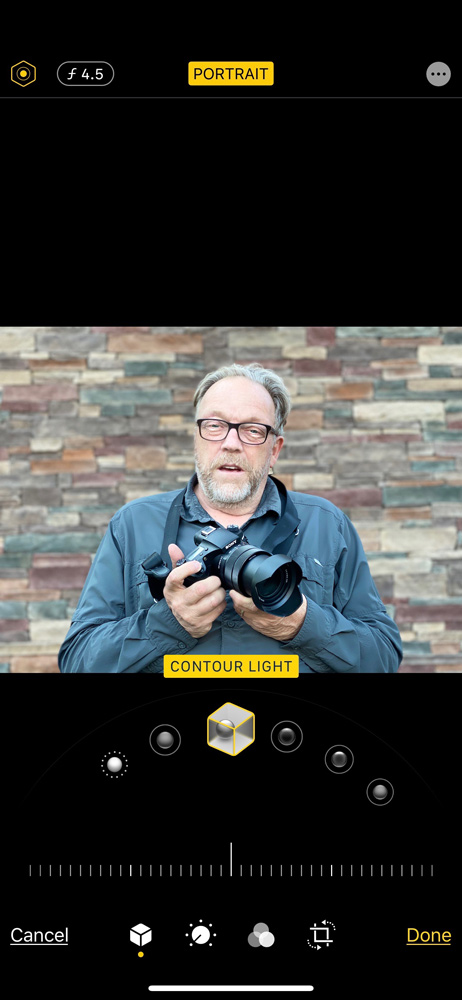
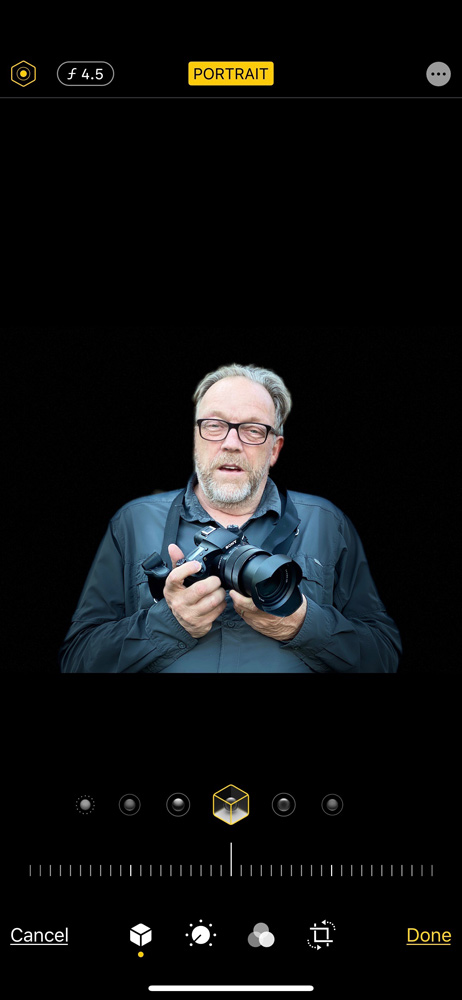
The camera has the ability to give you a wider view than what is being captured, so you can see what is outside the frame. The interface is very easy to use. You simply use a slider to determine what mode you want to use. The modes are time-lapse, slo-mo, video, photo (used most of the time), portrait, and pano. In portrait mode, you can select a number of different lighting modes that change the look of the portrait through computational imaging. You really have to try this to see it work.
Video can be captured at 4K with 60FPS with extended dynamic range and cinematic video stabilization. You can even edit the video on the iPhone using Apple’s own editor or any number of third-party apps. More on these apps in a future article.
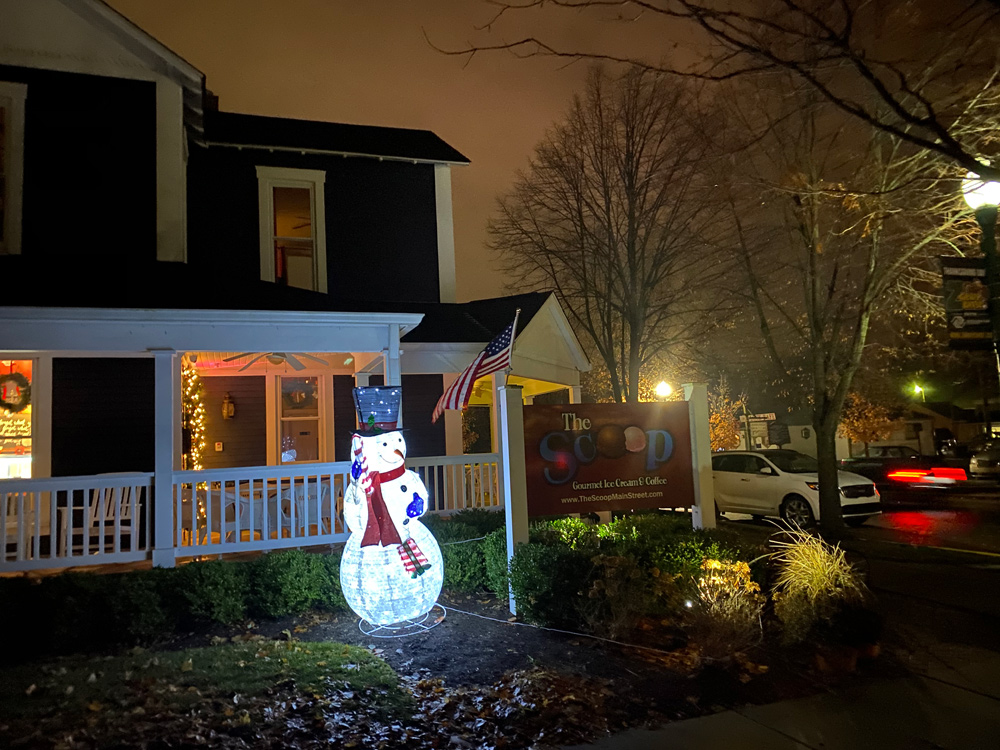
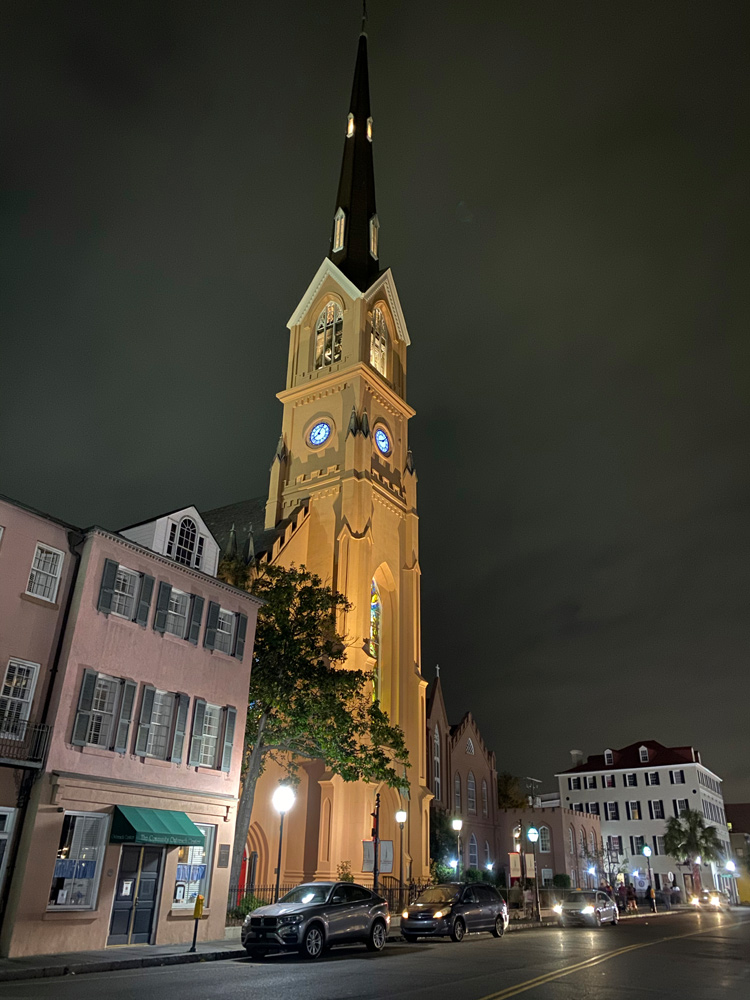
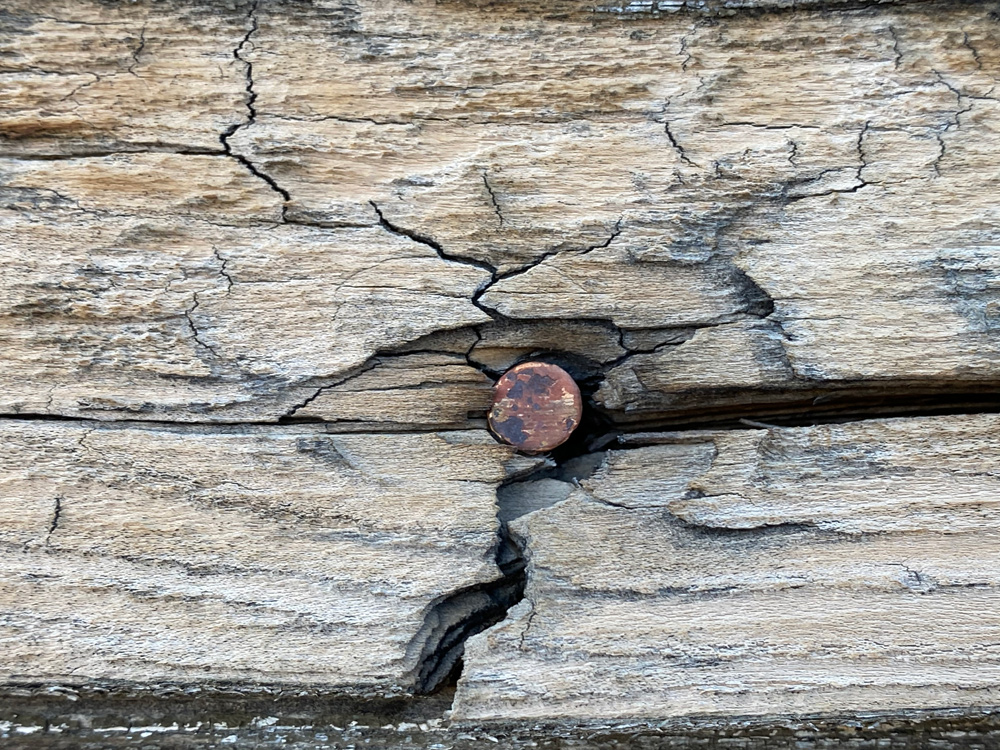
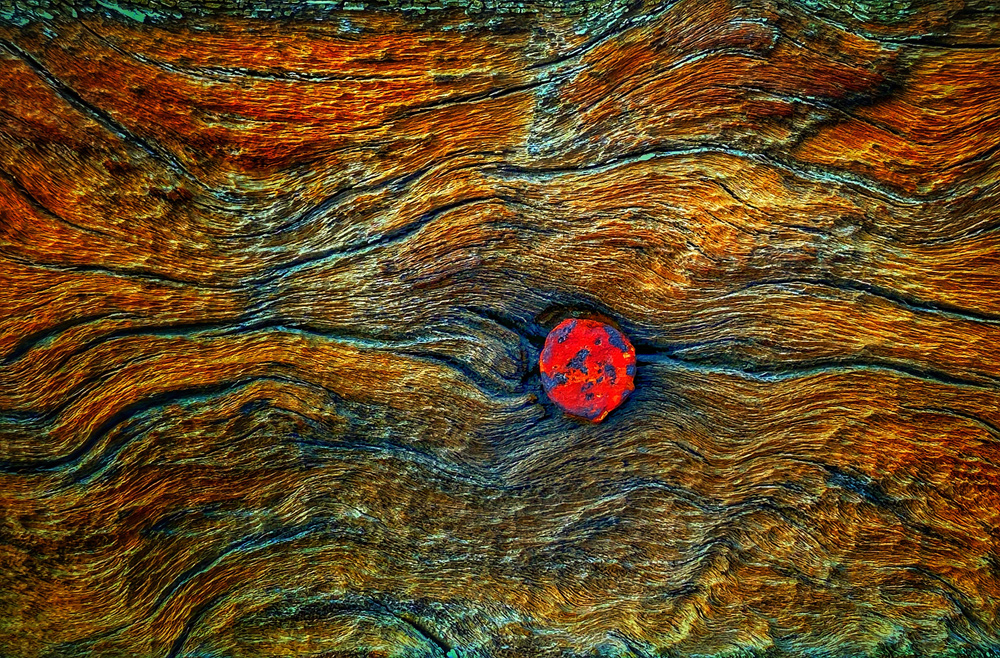
What’s really incredible is the camera’s ability to shoot great images in low light. This is done through the camera taking multiple images over a period of a few seconds and then blending them together. It’s really pretty cool to see. I have included some images below as examples. You can also revisit an article I published a short time ago: “Kevin and Jeff’s Adventure – iPhone Portrait Fun” .

Then there is the smart HDR that looks at an image and creates an HDR image if it has contrast, shadow, and highlight issues. It does a great job giving a real natural look and not one of those outrageous gritty HDR images. There is a preference where you can keep the original image so you can see the difference between them. A cool power user feature is built-in, too. Say you are taking a still shot and what you are shooting is worthy of a video. Just keep your finger pressed on the release button, and the video automatically starts.
The iPhone is perfect for selfies with a 12mp rear-facing camera capable of 120 fps (at 1080) or 4K videos at 60fps. It even switches focal length lenses to super-wide when you rotate the camera to a horizontal position. The screen itself is just gorgeous. It can be super bright when out in the sun and go even brighter when viewing extreme dynamic range content. Color is so lifelike when you use it that it’s hard to believe you are looking at a phone display.
The iPhone also has a cool portrait mode feature wherein it uses computational photography to vary the depth of field of a portrait as well as change the lighting type. This is a lot of fun to use and play with.
On top of all of this, you get five more hours of battery life compared to previous iPhones. The iPhone is supposed to be waterproof to a depth of four meters for 30 minutes, too. So why not take it for a dip next time you go for a swim? Face ID unlocks your phone super fast and in bad light. I’m very impressed with this. You can even have Face ID serve as a password for opening various apps and web pages. The Wi-Fi is supposed to be faster and seems to be in my use. The phone can charge to 50% in about half an hour, much quicker than previous versions. Oh, did I mention it can do augmented reality too?
I purchased a green silicone case with my iPhone as well as the latest AirPods Pro. These new AirPods finally stay in my ear and have super good noise canceling. I love these new AirPods. Well worth the investment.
Okay, now that we got all this spec stuff out of the way, let’s get down to the business of using this iPhone for what I use it for the most, the camera.
A Short Video Overview
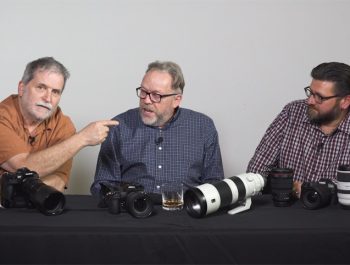
Kevin’s iPhone Camera Experience
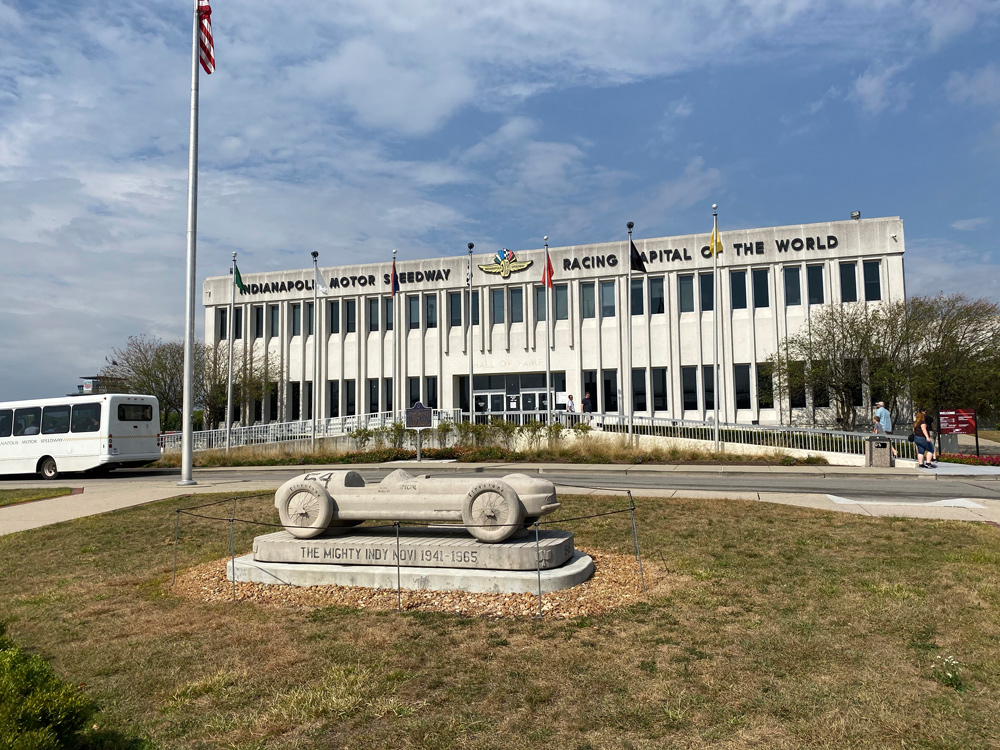
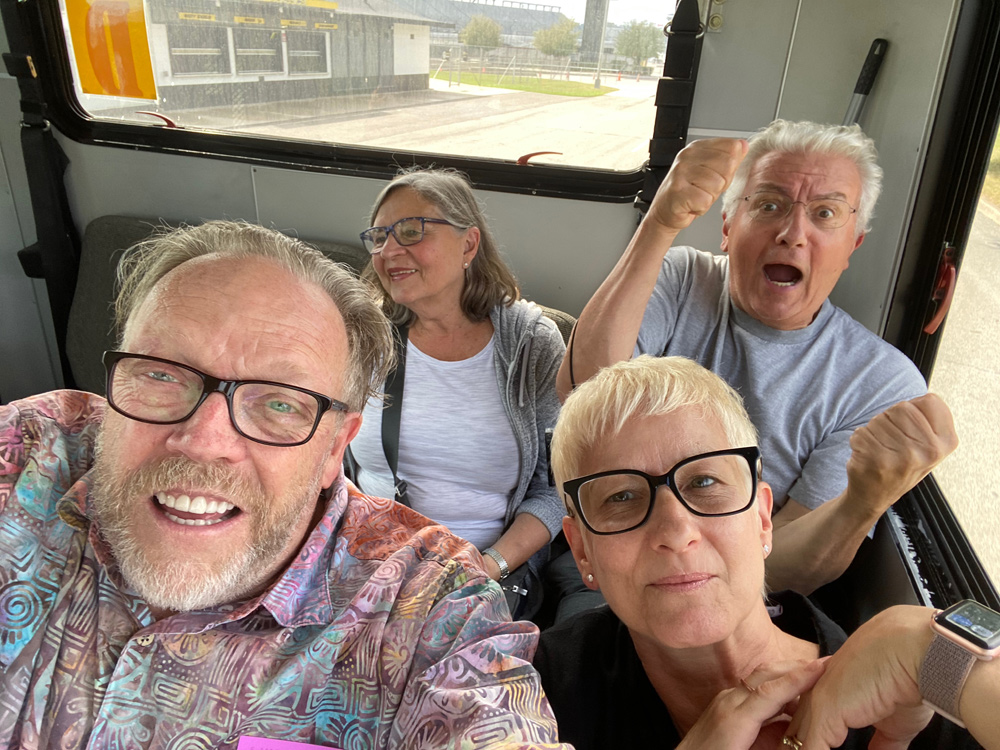
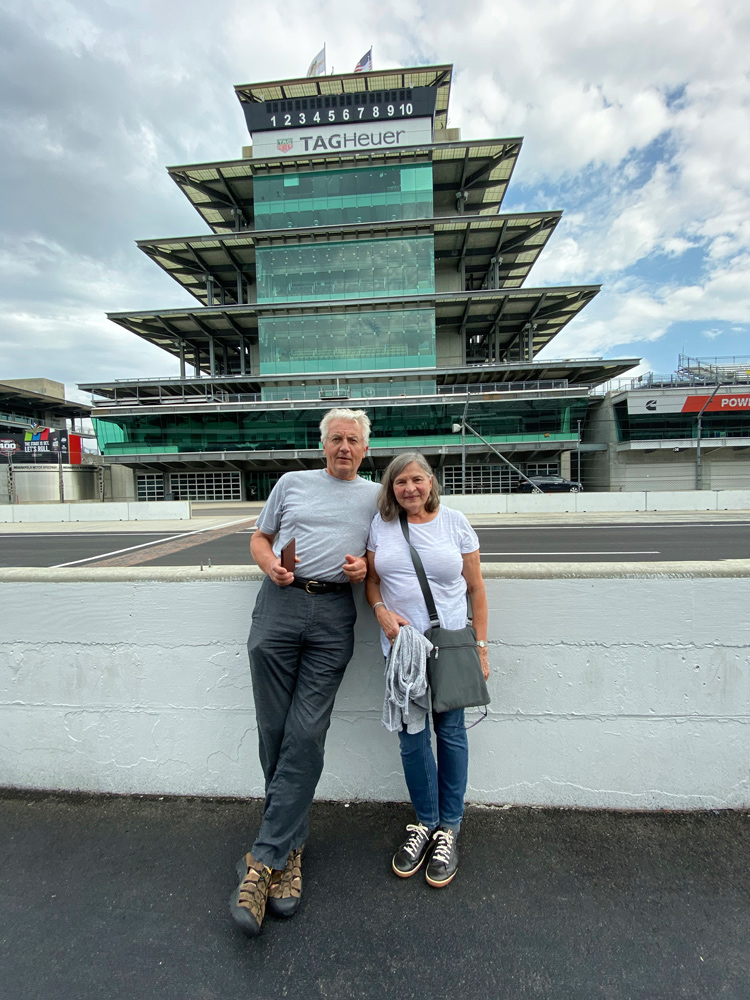
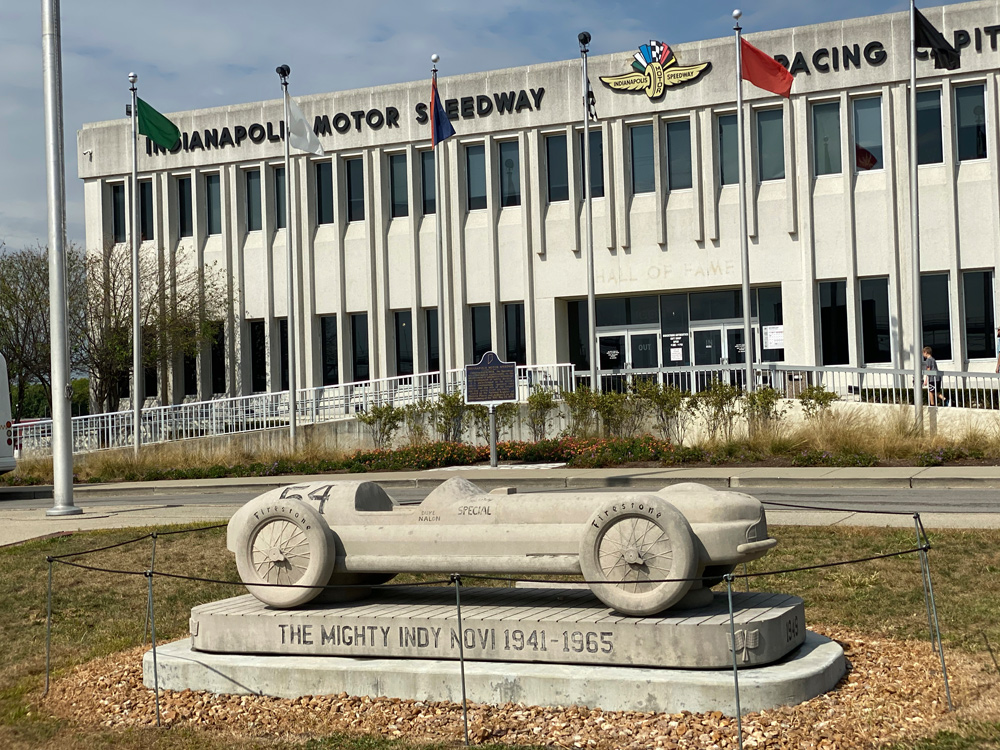
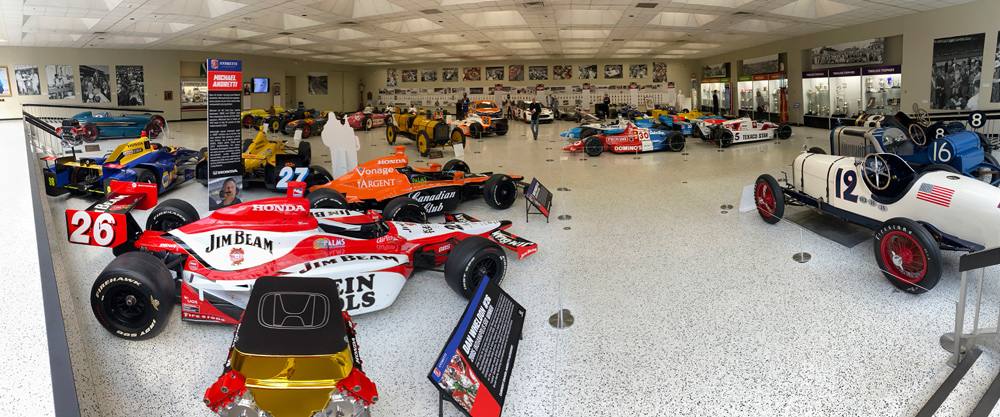
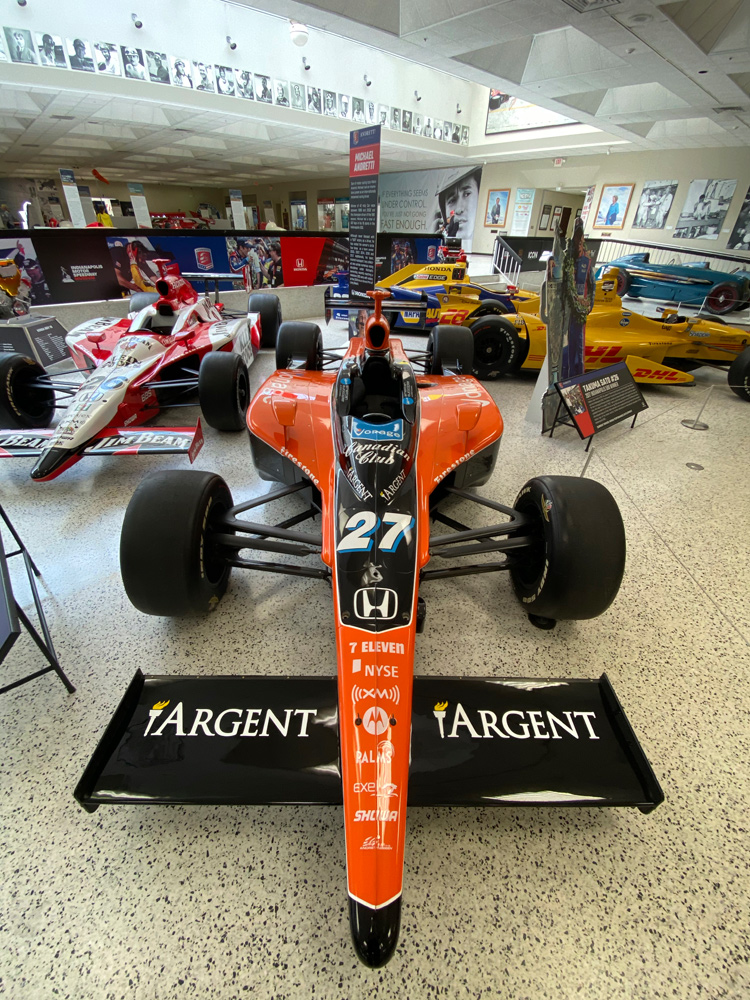
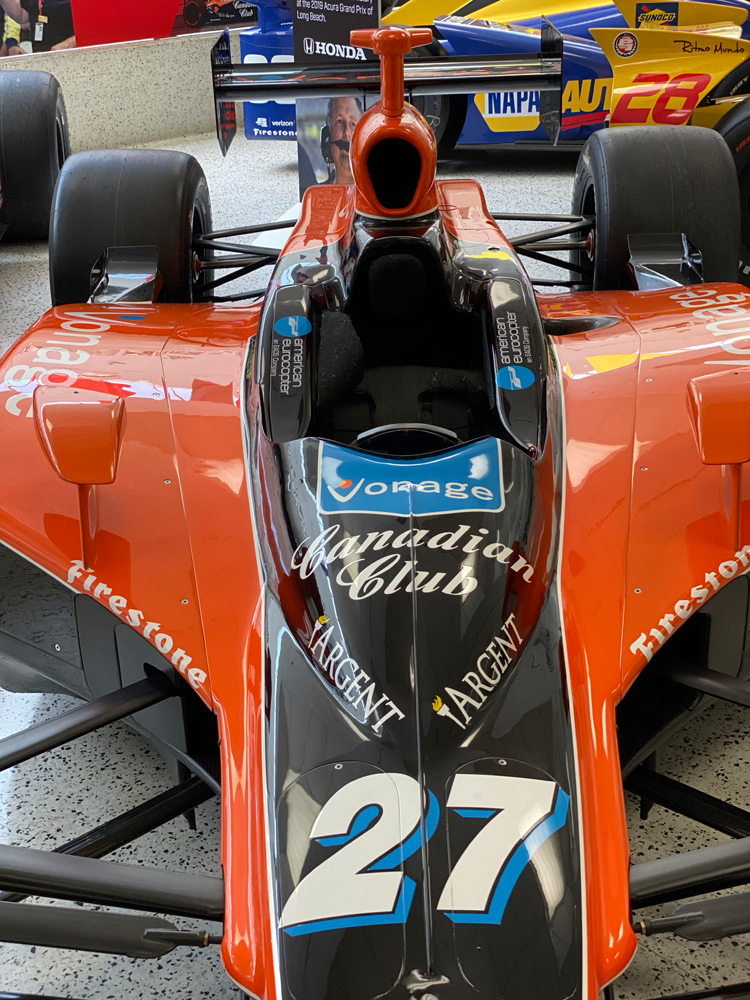
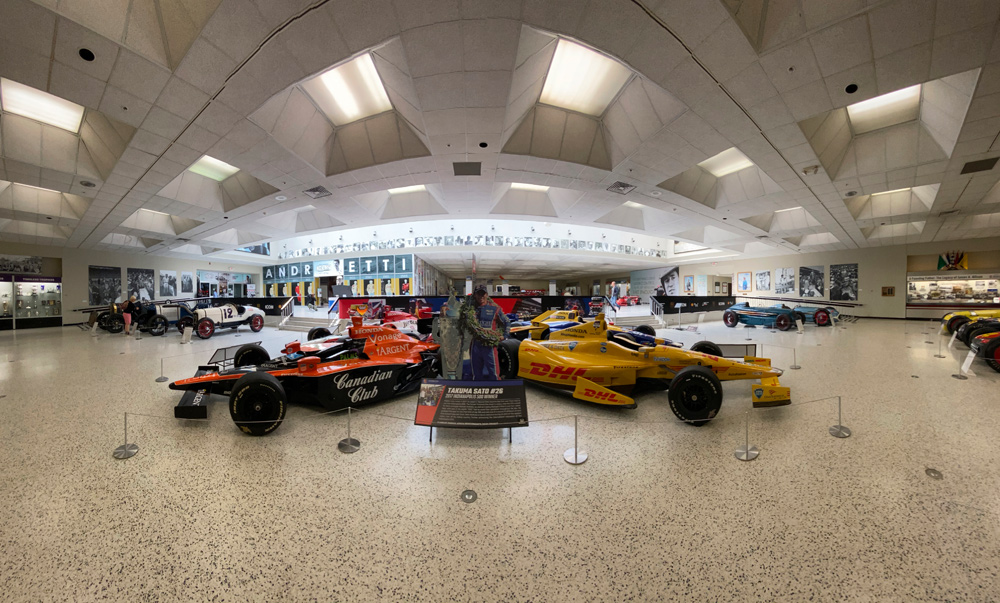
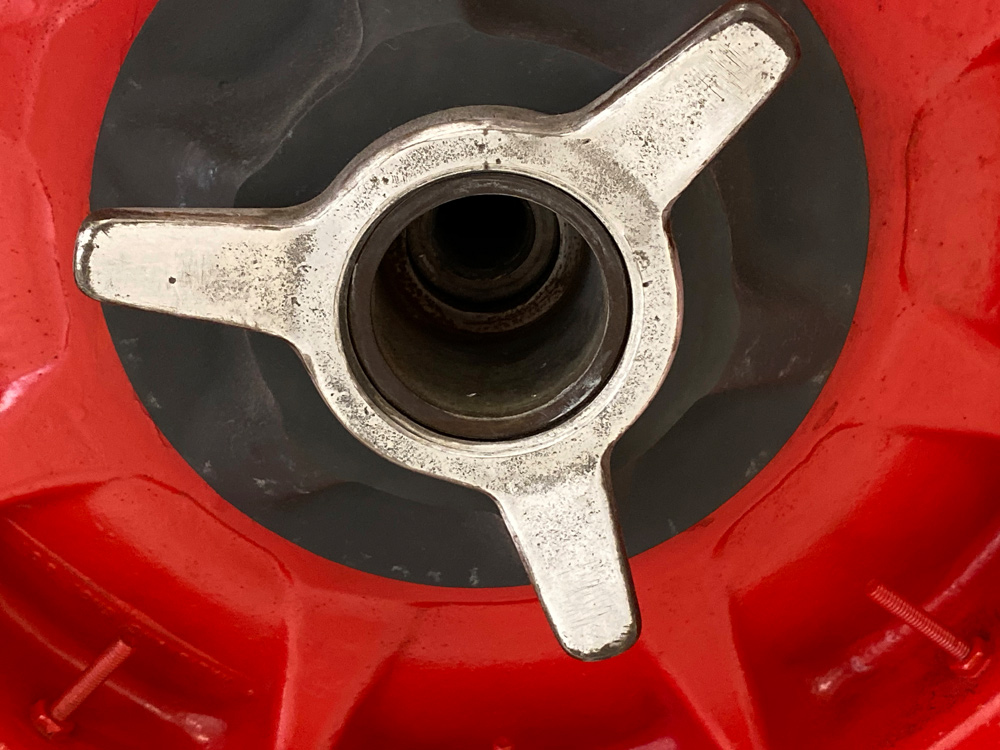
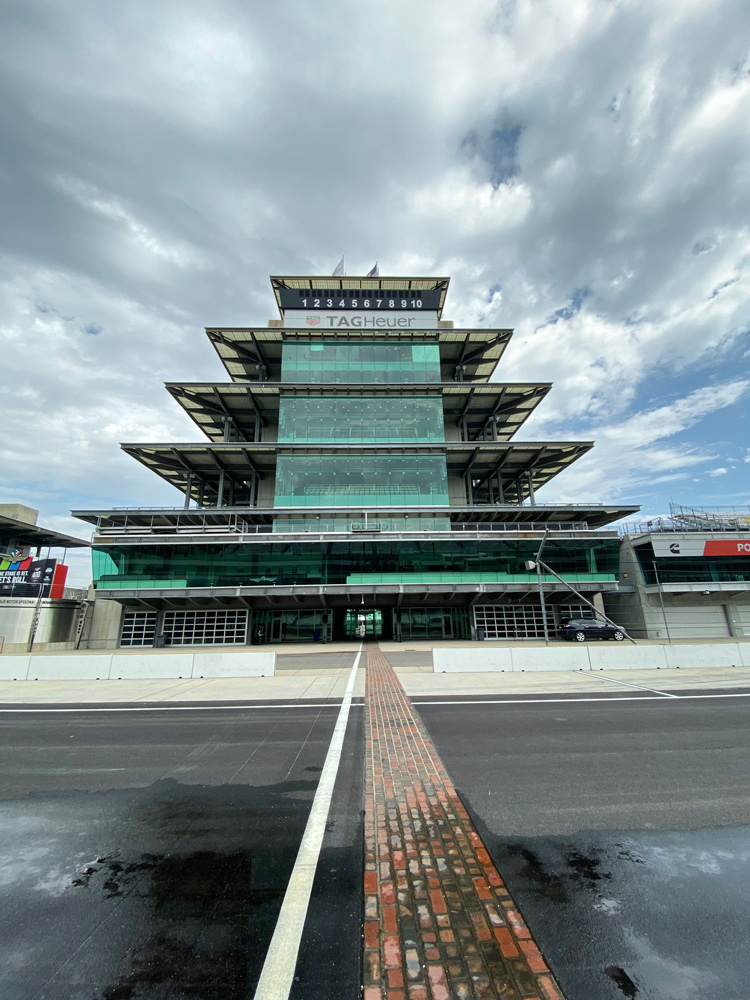
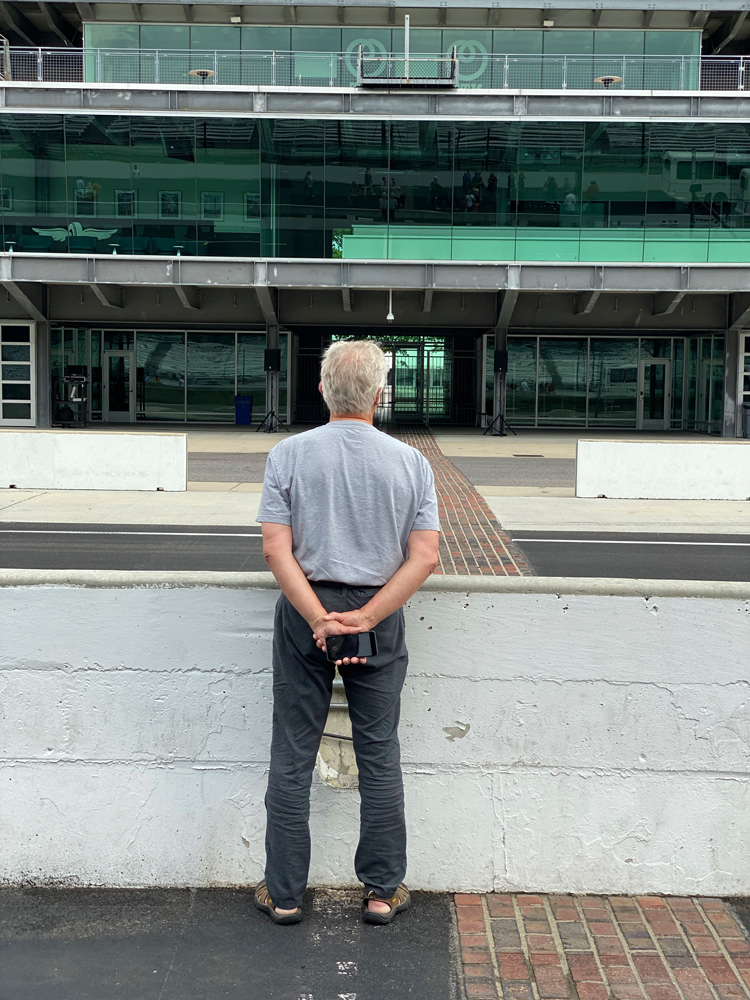
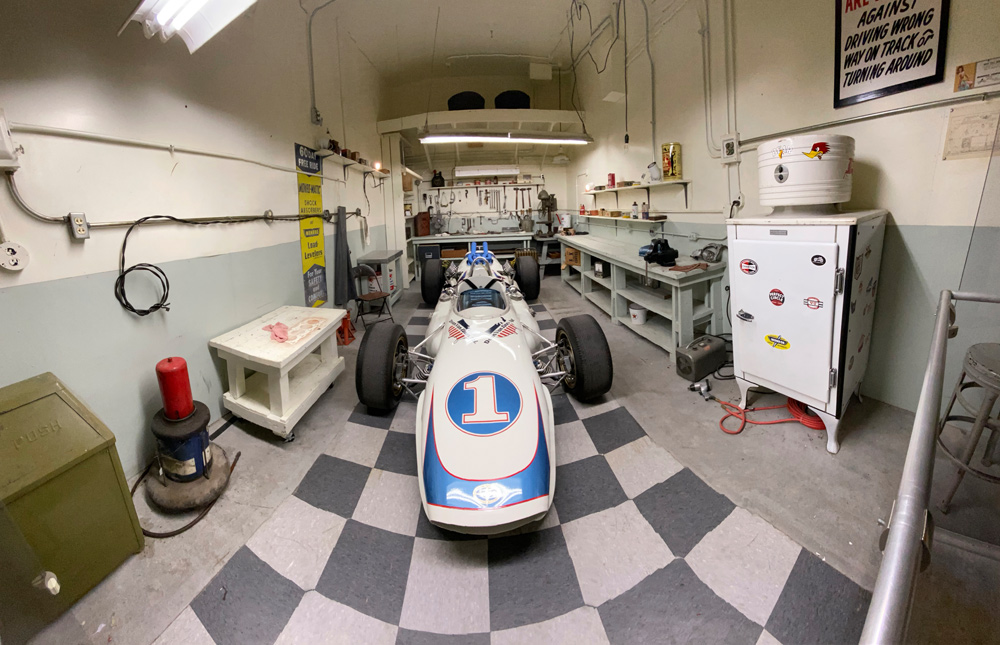
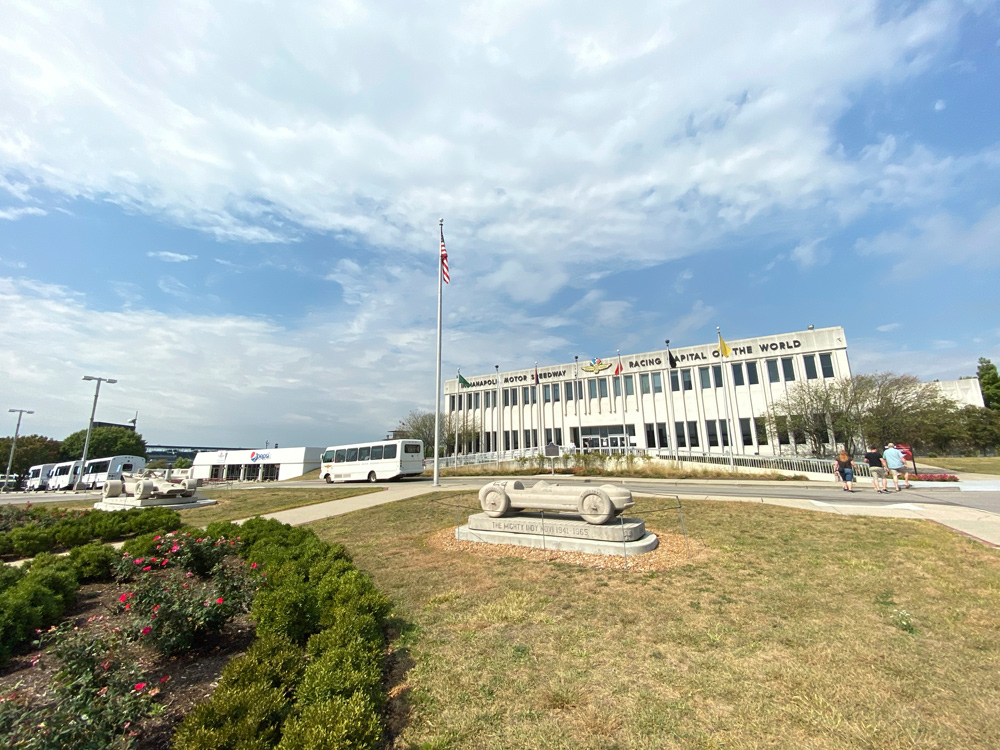
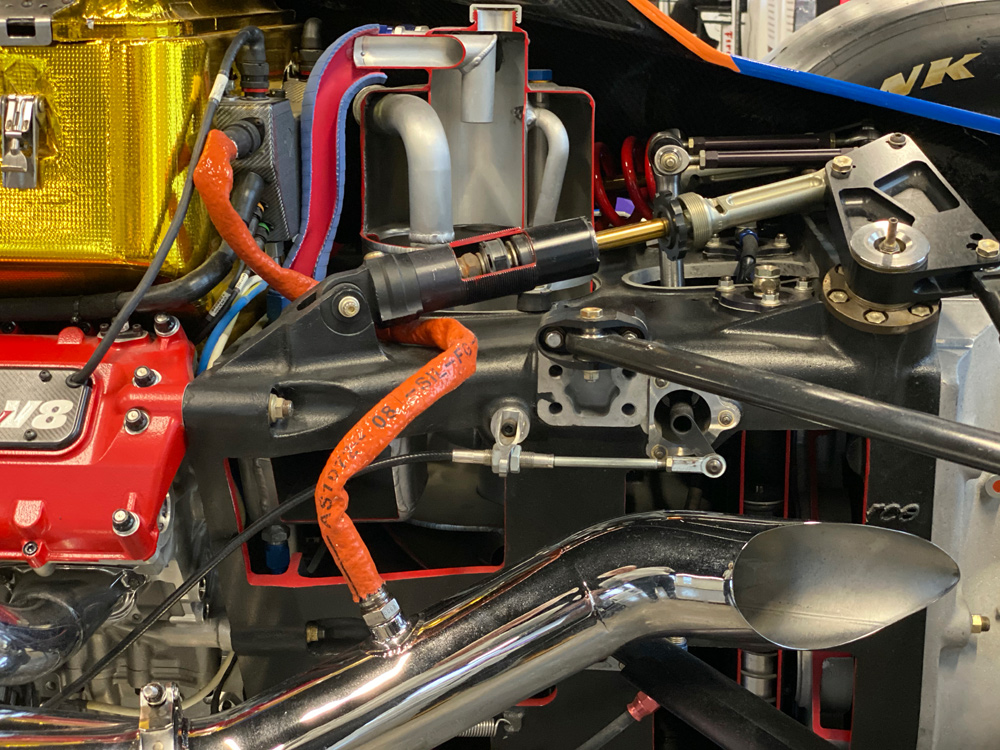
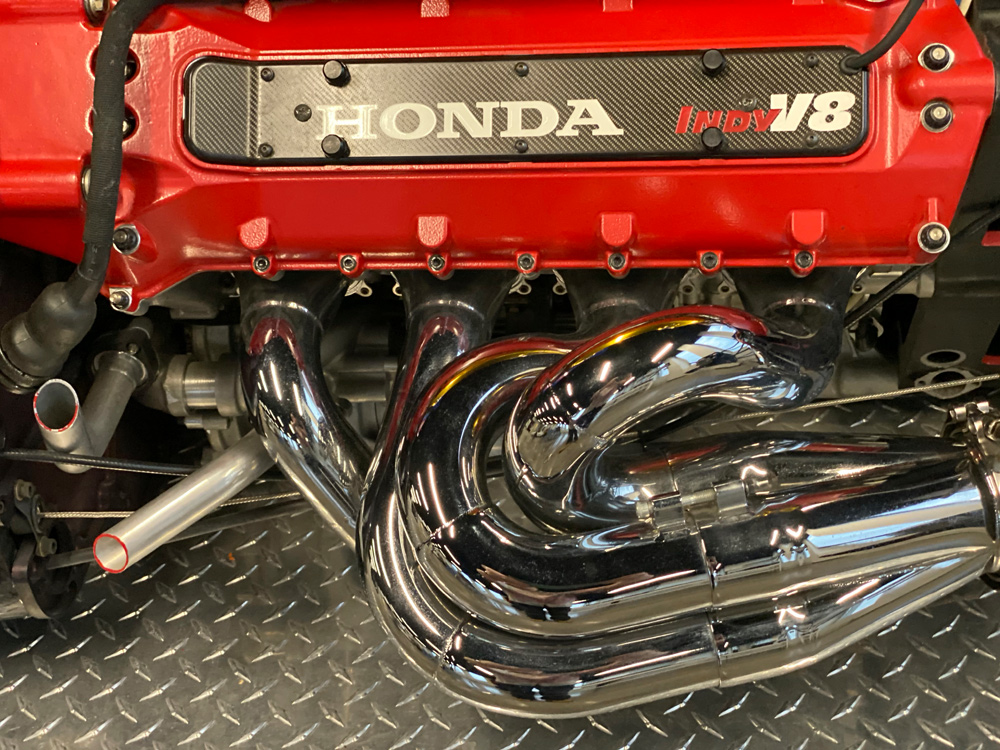
I received my new iPhone 11 Pro Max a few days before Chris Sanderson and his wife Charlene made a visit. While they were here, we were going to go sightseeing around Indianapolis, and I decided I would shoot the whole weekend only with an iPhone. It was a lot of fun, and I did most of my photography at the Indianapolis Speedway and the museum and tour there.
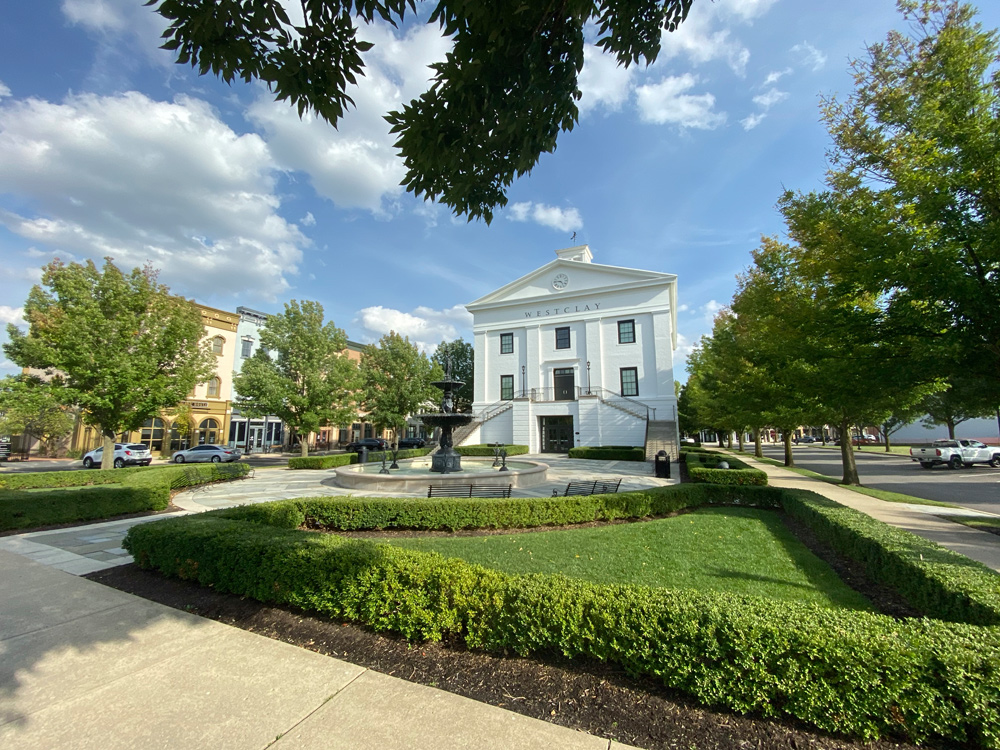
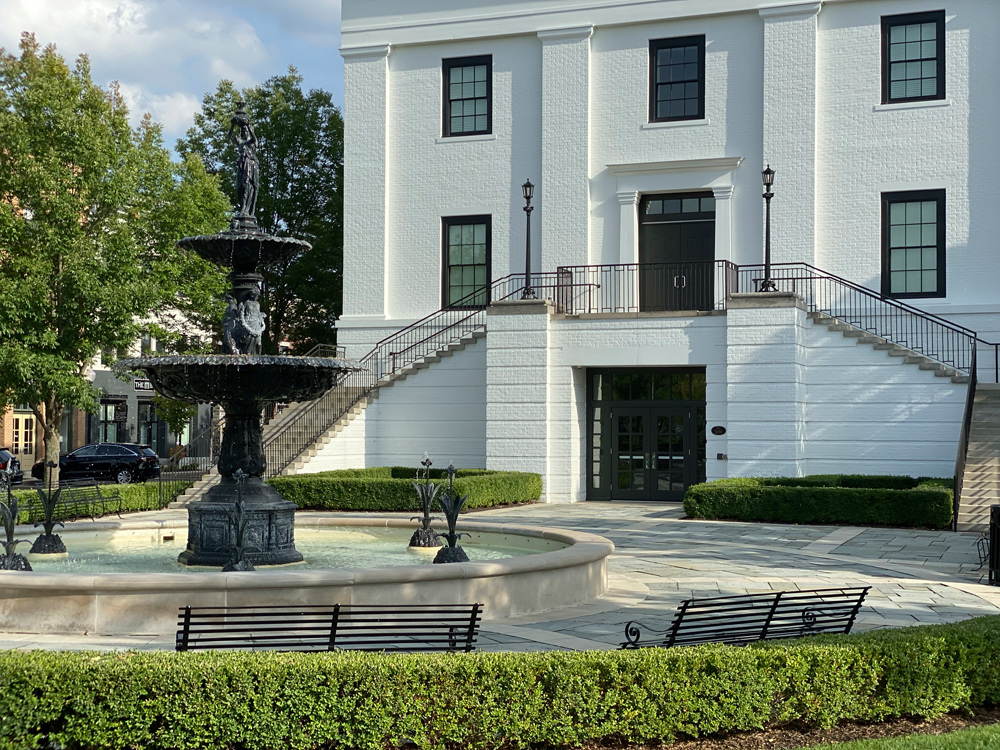
It took only a few minutes to get used to having three views on the iPhone vs. just one from the previous versions. Also, I noticed a remarkably different quality to the image. I’m not sure whether the camera was doing a better job processing the image or if it was the new screen. Either way, the photos were super nice and needed no work.
Please see the images and the gallery below for an idea of what can be accomplished.


My Workflow
To maximize the full potential of the iPhone, I use Apple’s iCloud and live within the Apple ecosystem (for lack of a better term). I know many people don’t like the Apple ecosystem, but for me, it works and works well. I will share how this works for the Photos app. Apple iCloud also works with many other Apple and third-party applications.
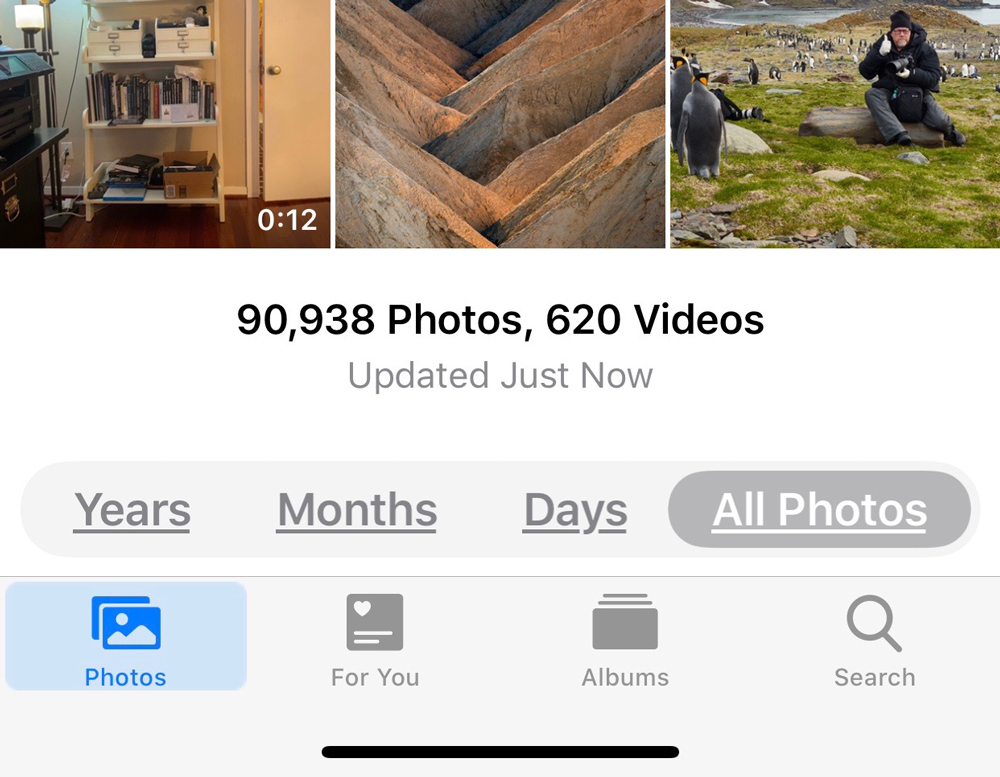
Starting with the iPhone, I take a picture. I can use any of several different camera apps that I have. The photos go to the Photos app. I have over 91,000 photos and 650-plus videos in the app. I have my phone set to store images on the iPhone until I get to a Wi-Fi connection. Once Wi-Fi is detected, the images I just made are uploaded to iCloud. As soon as they hit the cloud, they are synced with my other devices. These include every Apple product I own, including several iPads and iMacs and laptops. I store all images full-size on one of my iPads, the iPhone, and one iMac. All the others use an optimize size feature and store proxies of all the images to save space. When doing this, if you want to see a larger image, it needs to be downloaded from iCloud.
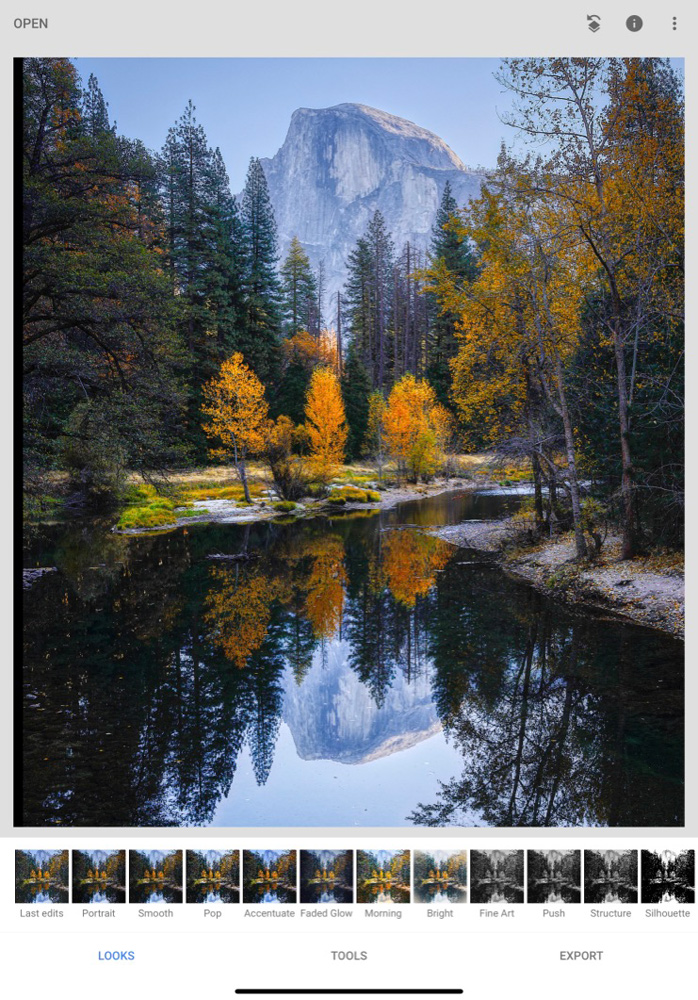
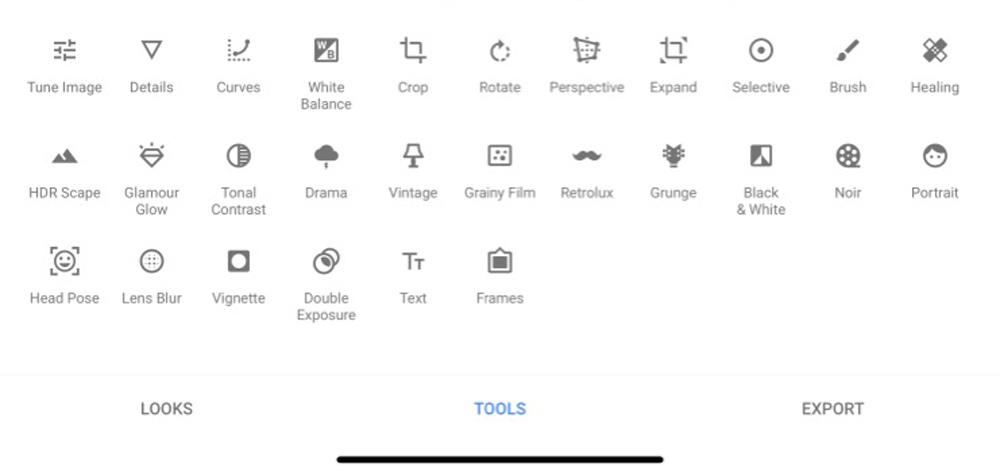
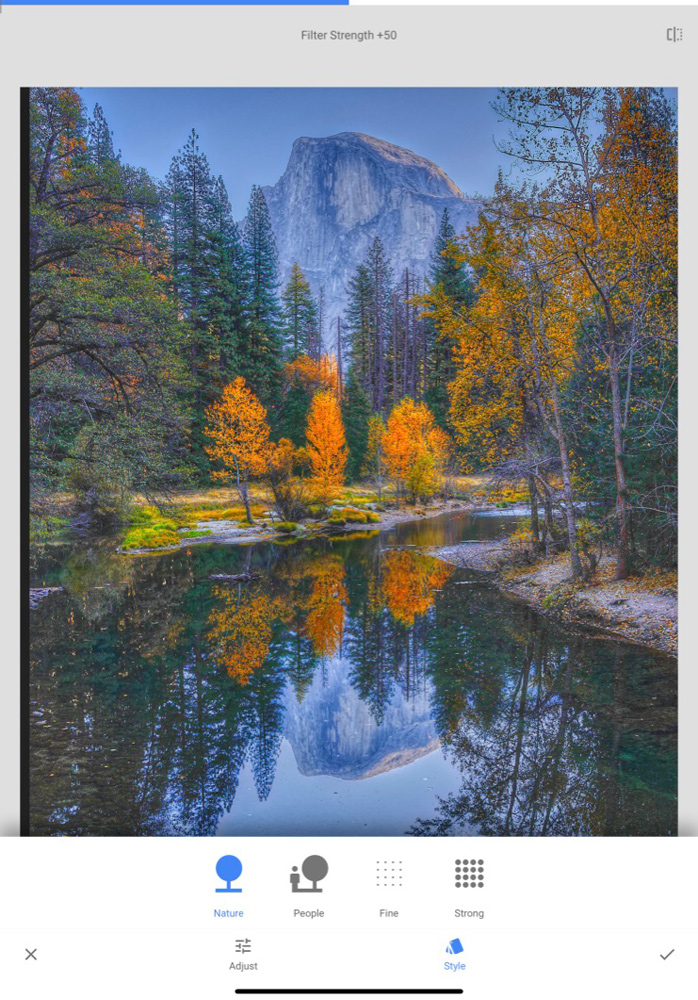
I do most of my editing of these images on my iPad. I like the larger screen real estate. I mainly use Snapseed, one of the best-selling editing apps available. It’s very simple and intuitive to use. I have a lot of other apps too, and they all do something special. Once I save the edited images, the whole trip to iCloud begins again. Within seconds, all my apps are synced.
It’s all pretty cool to see work. I also share to social media (my Instagram and Facebook) from any of my devices. I select images I like and favorite them by simply clicking the heart. These now appear in the favorites folder. I have also created numerous other folders to store images from different events and trips. With 91,000 images, it helps me locate those that are of interest.
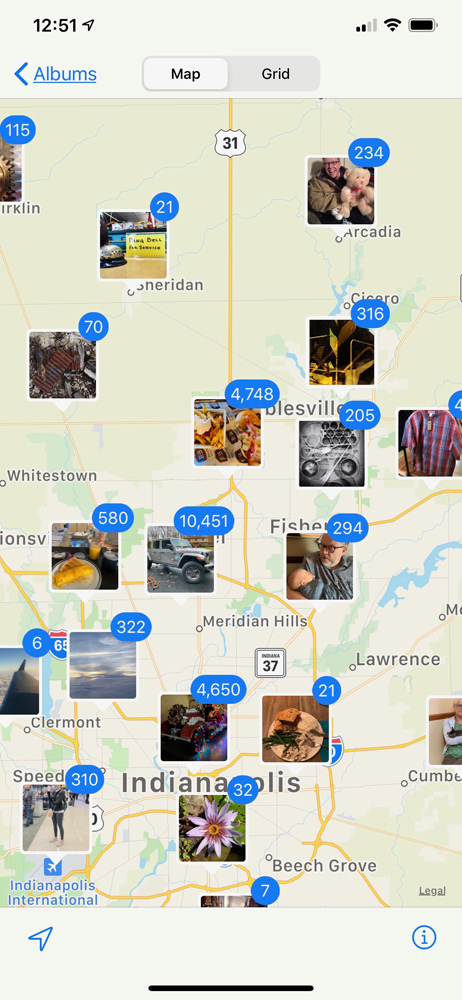
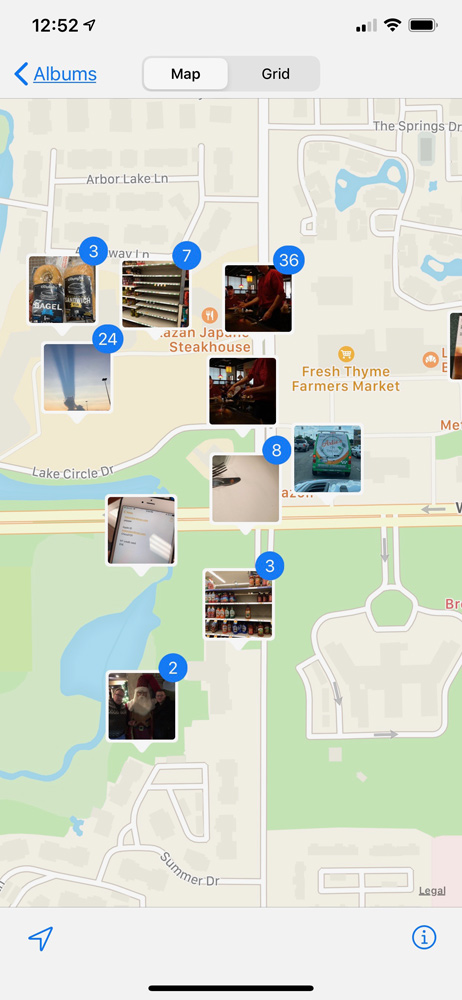
But wait, there is more. Images are sorted by date and geotagging. You can use the Places album to see all your stored images on the map. The more you pinch out (zoom in), the more detailed the locations become. You can do this right down to the street level. This feature alone is worth the price of admission for a photographer. You can click on any of the photos to get driving directions to that location.
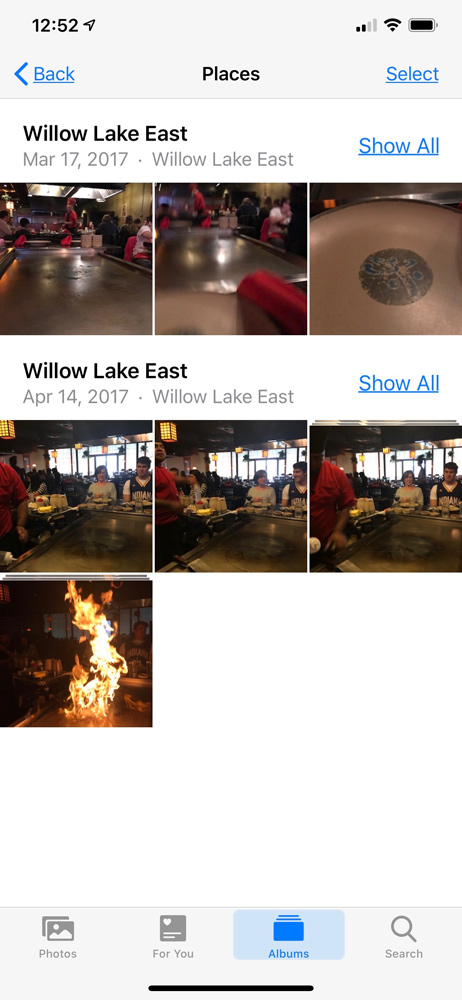
You can also see all of your images sorted by date in months, days, and years. And that’s not all. I can also type words into the search field, and the Photos app magically knows what you are looking for. I type the word “Jeep” in, and it finds all the pictures of Jeeps. I can do the same thing for “cat,” “dog,” “red shirt,” “fire truck,” etc. It’s really cool to do.
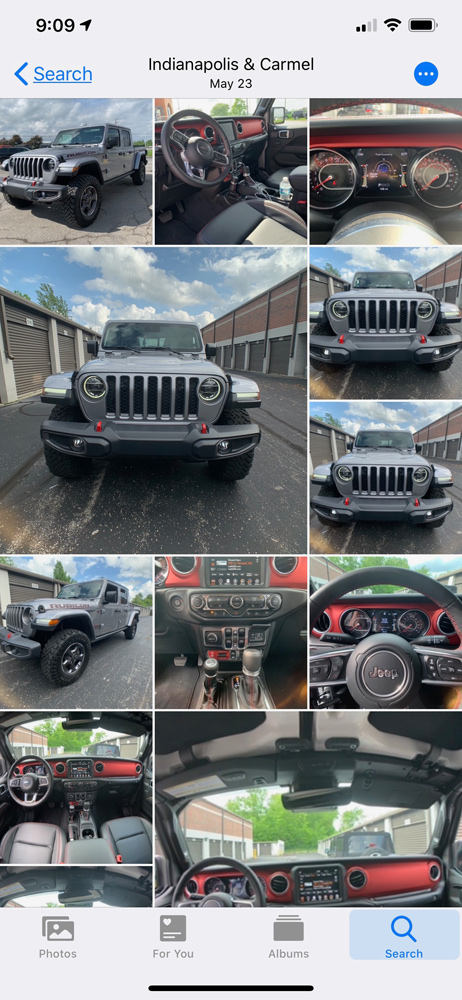
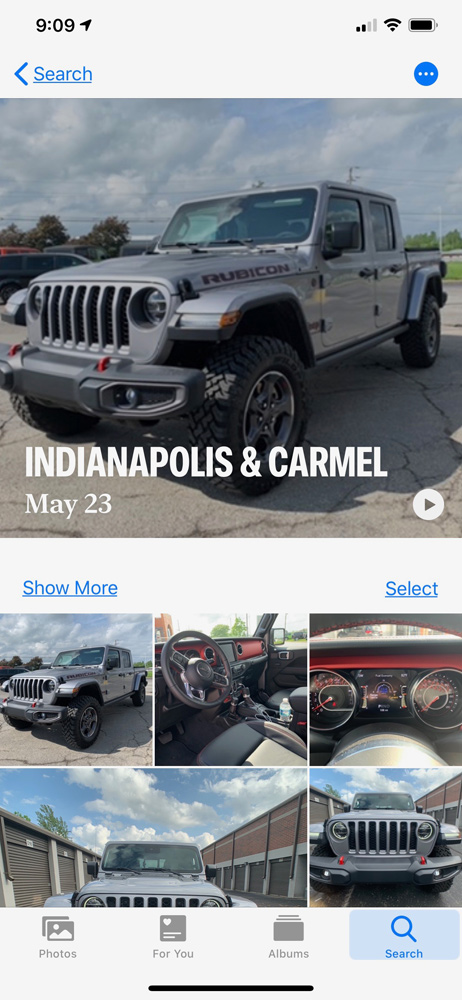
It’s because of this feature that I take an iPhone photo no matter where I am. If it’s a restaurant I like or an overlook on top of a glacier, I snap an iPhone photo. That way, I can always find it again. I can also sort these in folders such as “Places to Return To,” “The Palouse,” “Iceland,” etc.
Sharing

I can share any image on my iPhone by a number of different methods. If the person I want to share with is close by, I can simply AirDrop the image(s). I click on the share icon (a square box with an up arrow) and then click the AirDrop icon. Depending on how I have my device set up, those that are close by will show on the screen. I simply click on whom I want to share with, and the images are sent to them. All they have to do is confirm, and the images are downloaded onto their device. I can also share by email and/or instant message.
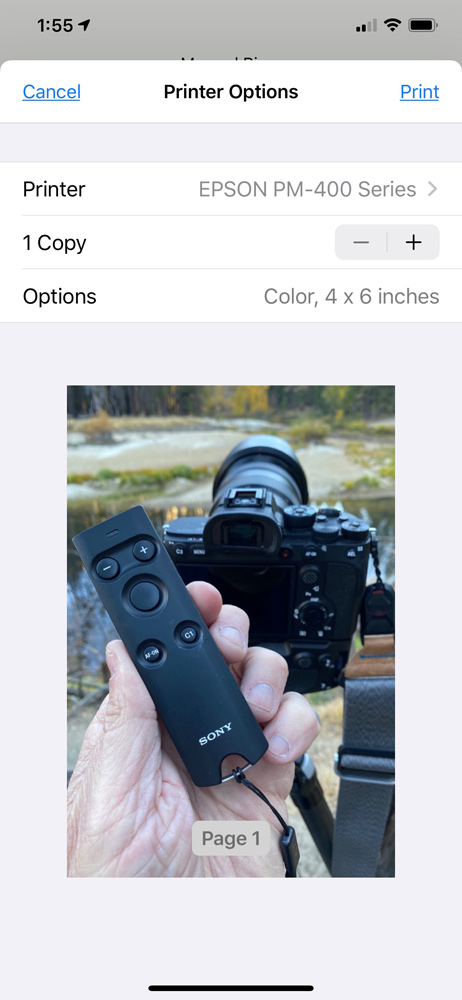
This same share button will also display a number of applications I can share the file with, such as Facebook, Instagram, and many others that are set up to use sharing. You can also scroll down the window and find a print dialog box. This now allows you to print to any printer on the Wi-Fi network. I can print to my Epson Desktop office printer as well as my photo printer, an Epson PM 400. This printer is loaded with 4×6 glossy paper and allows us to print right to it at any time so we can share small prints with friends or use them around the house: PictureMate PM 400.
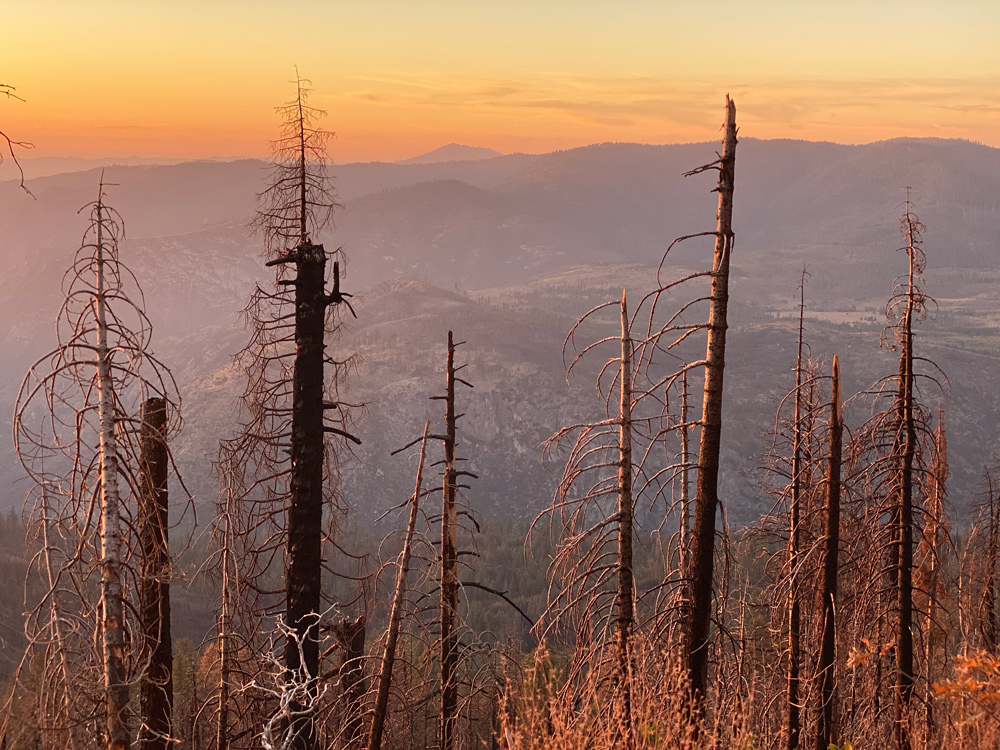
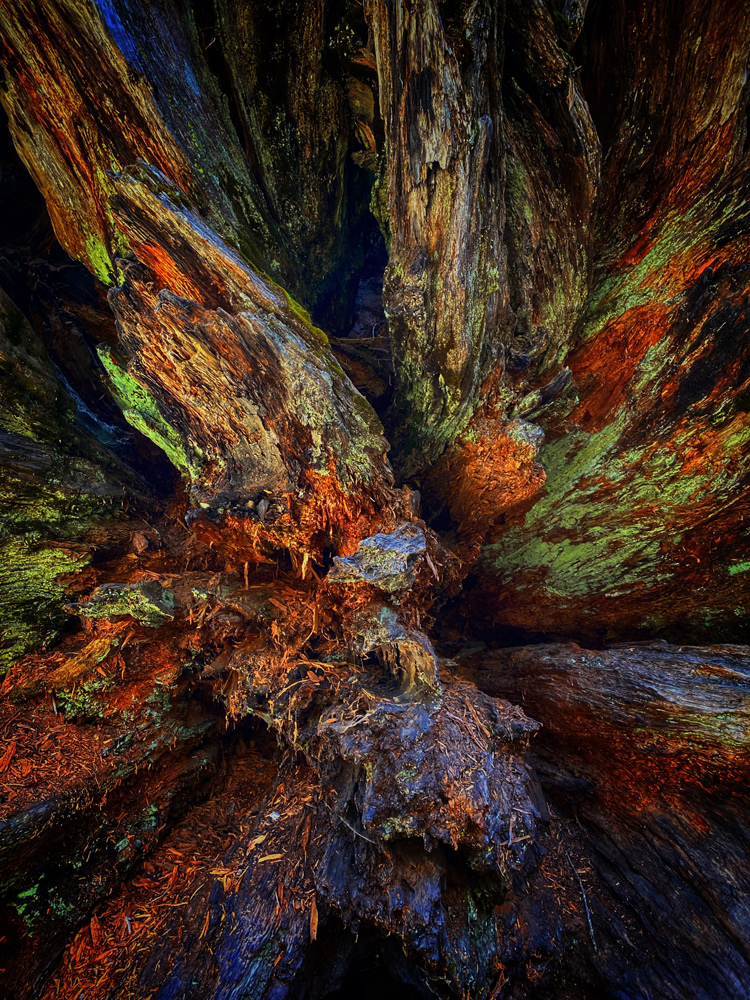
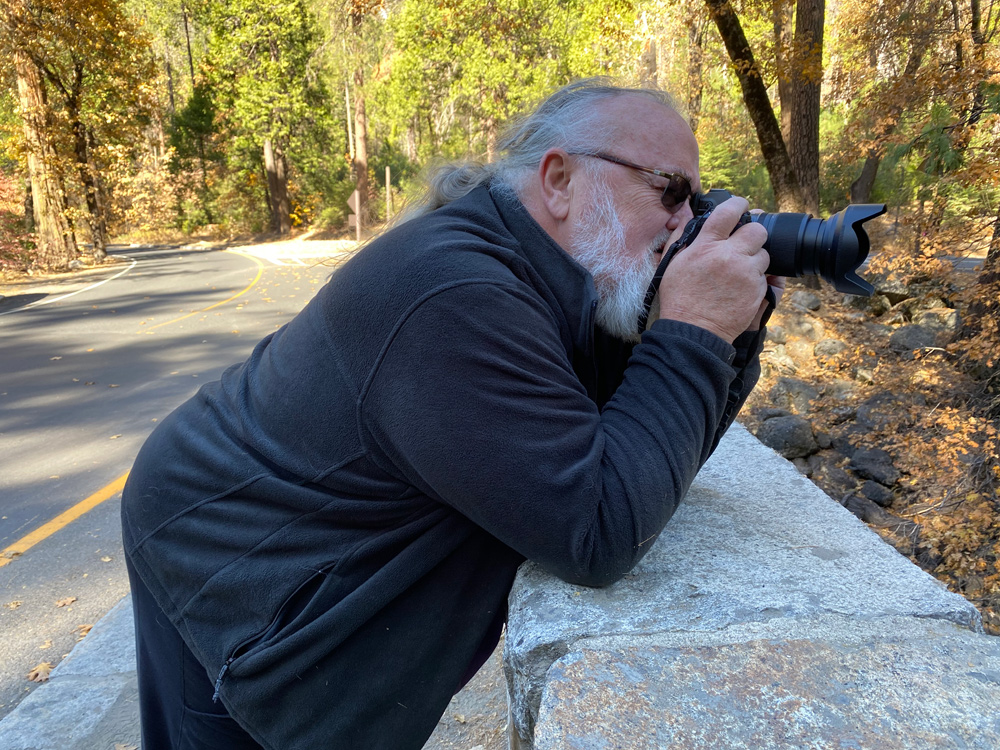
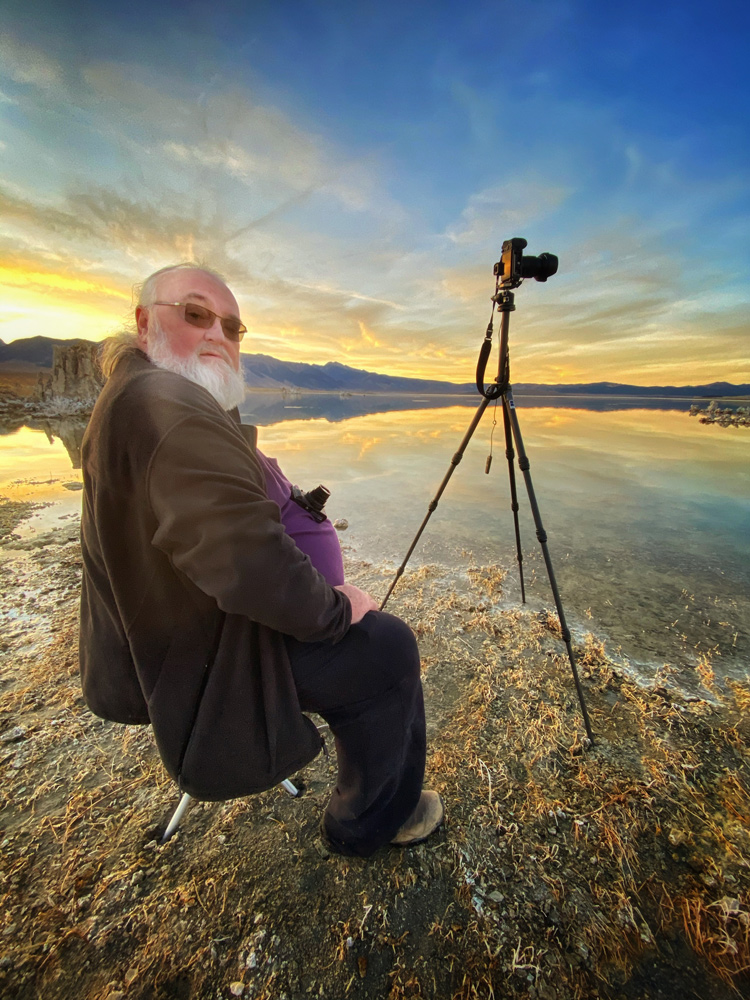
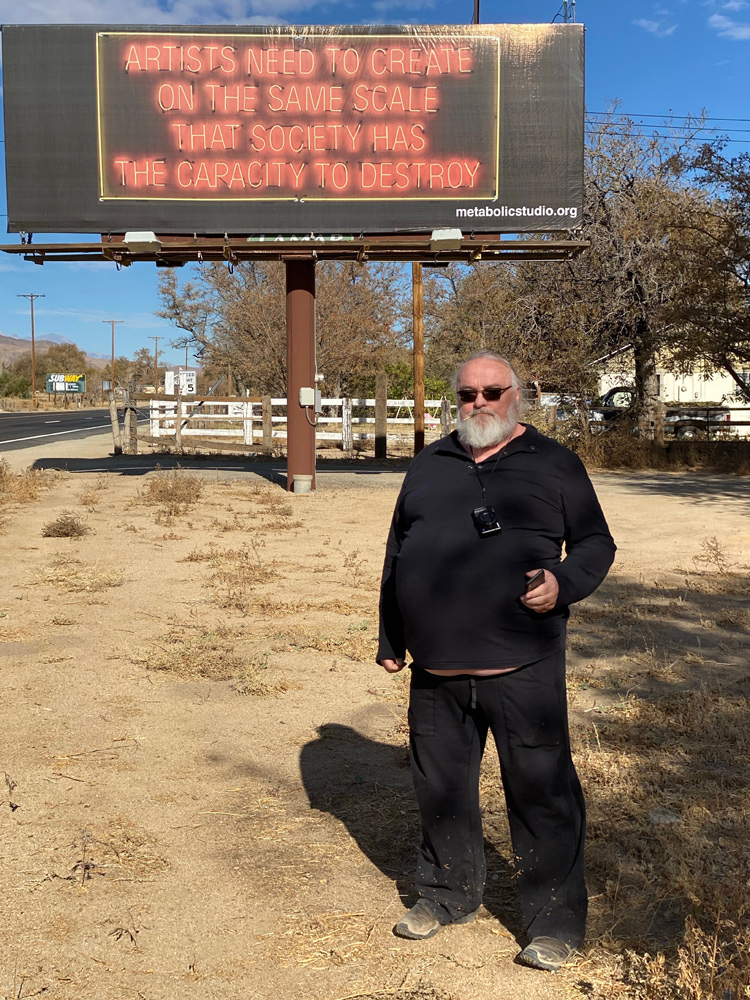
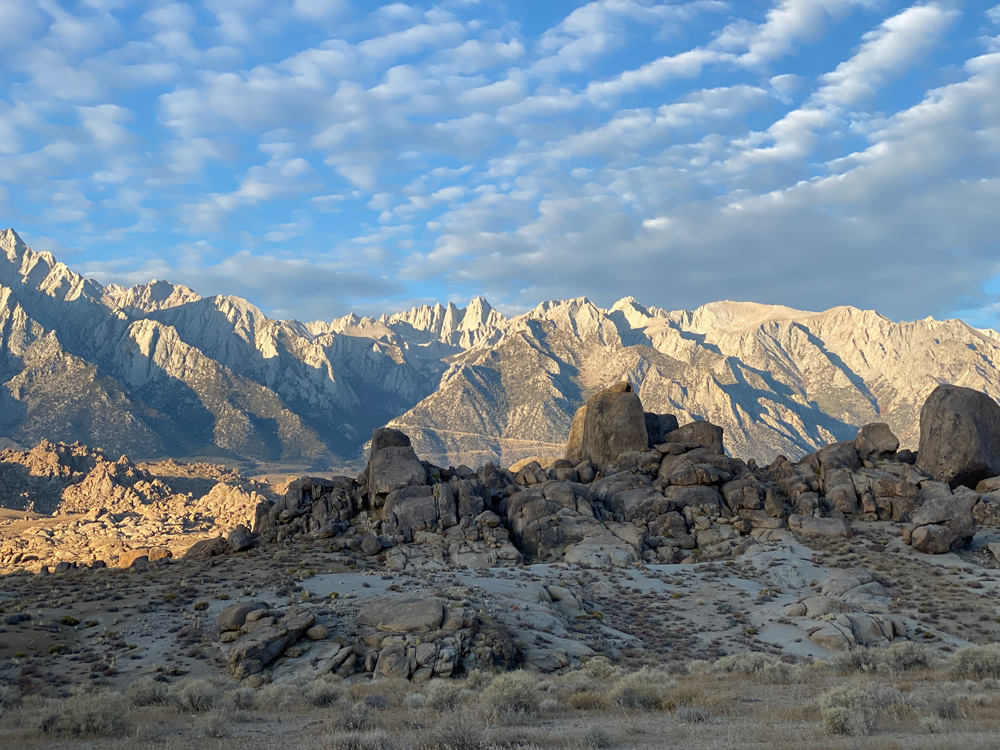
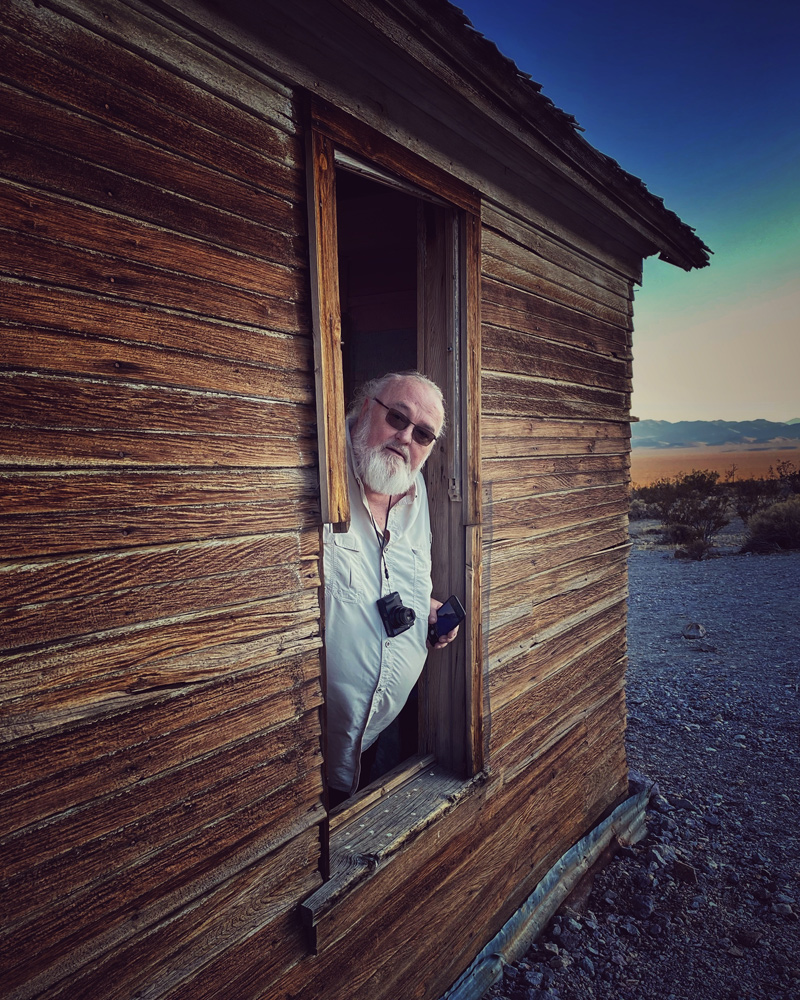
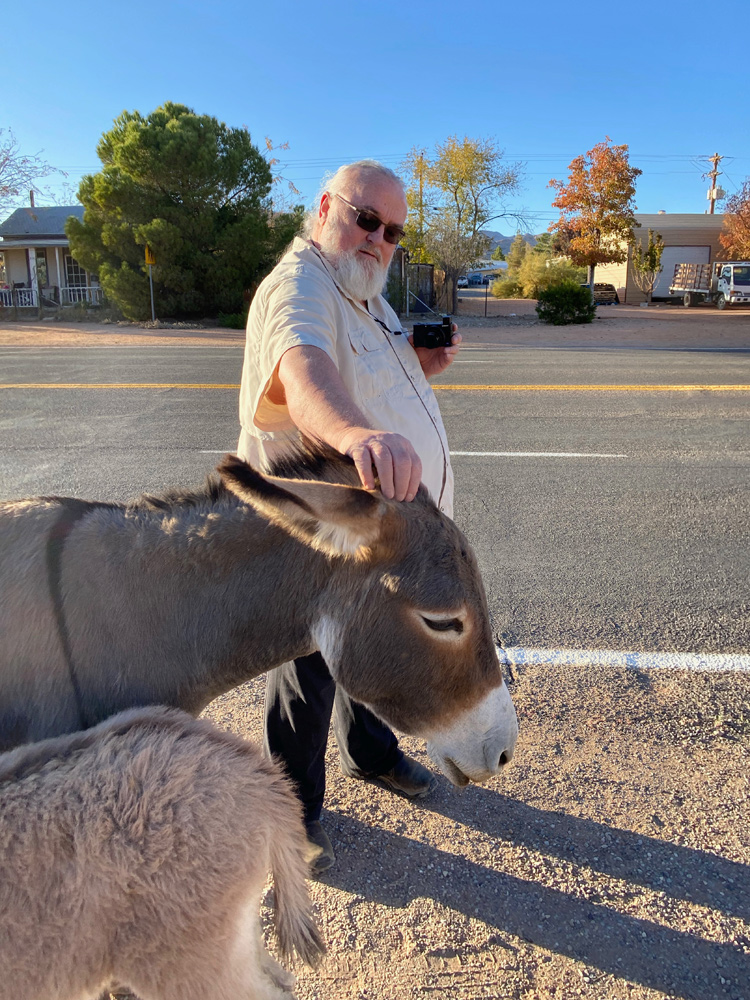
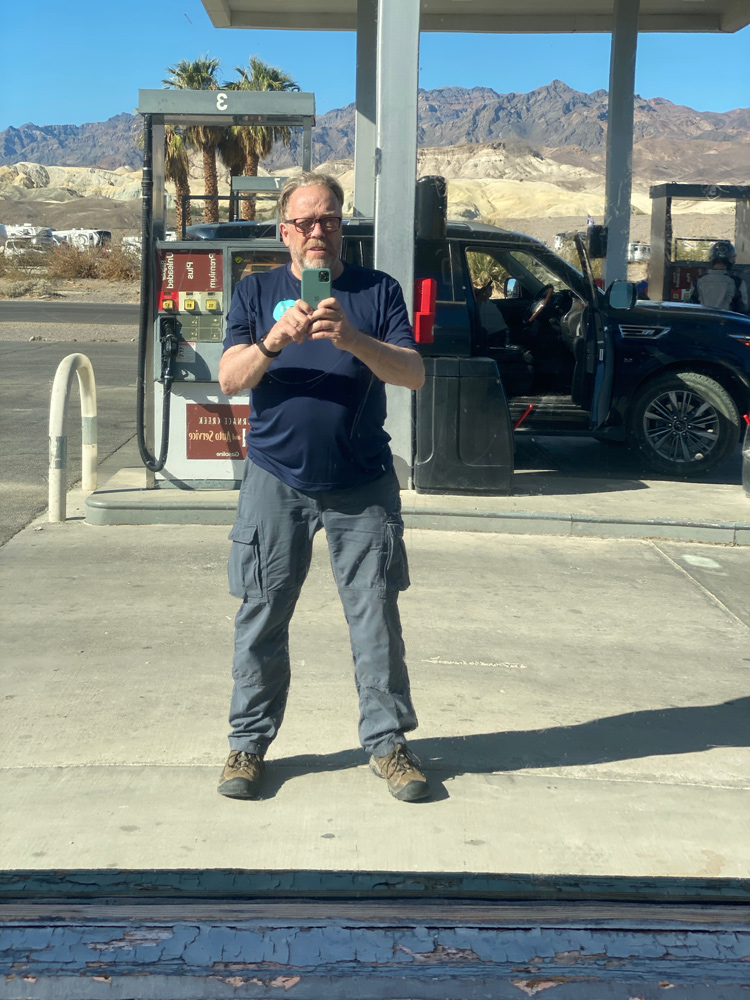
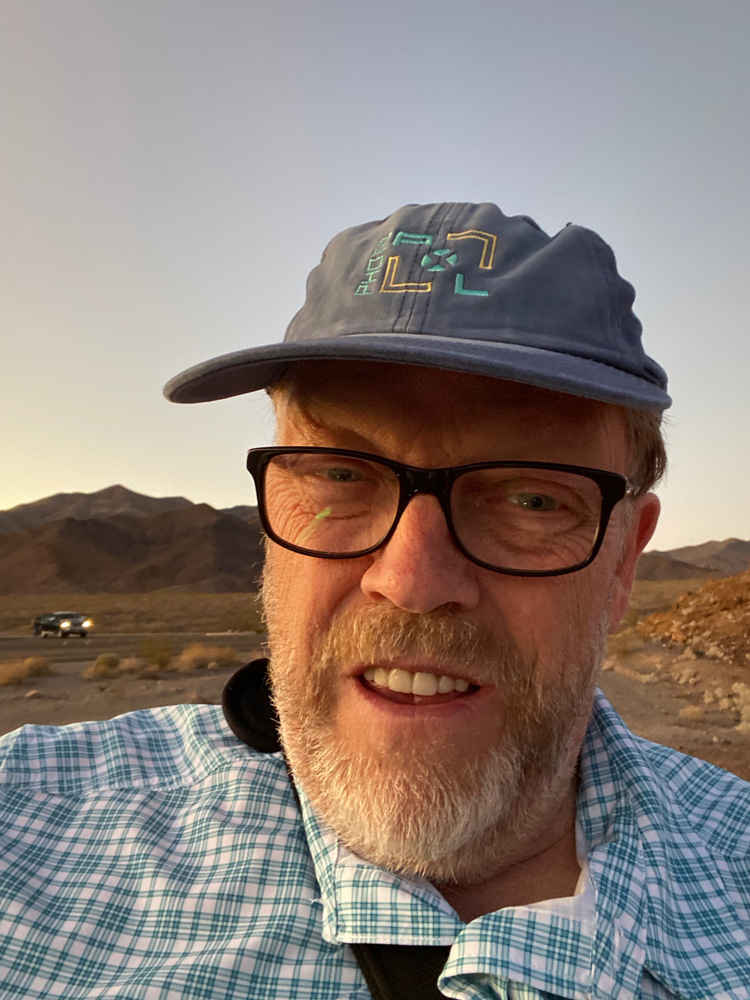
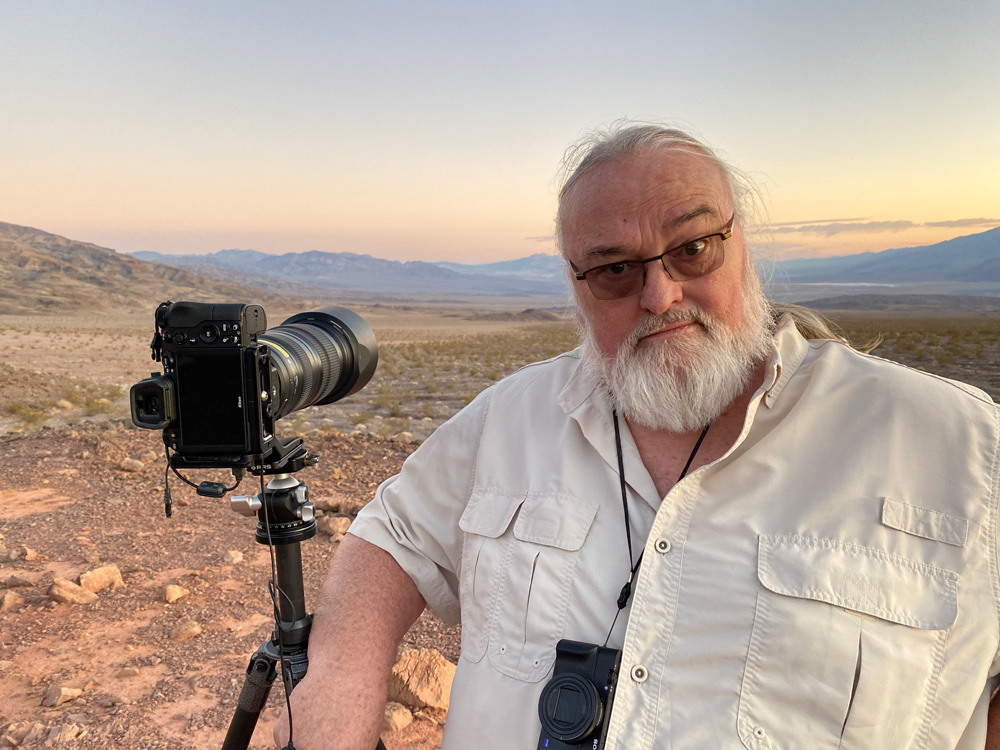
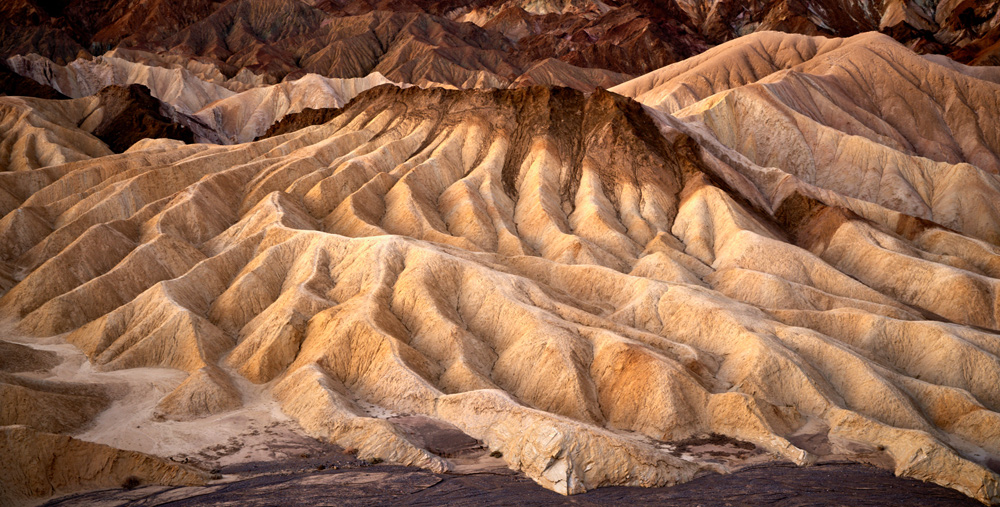
My Trip Out West with Jeff Schewe
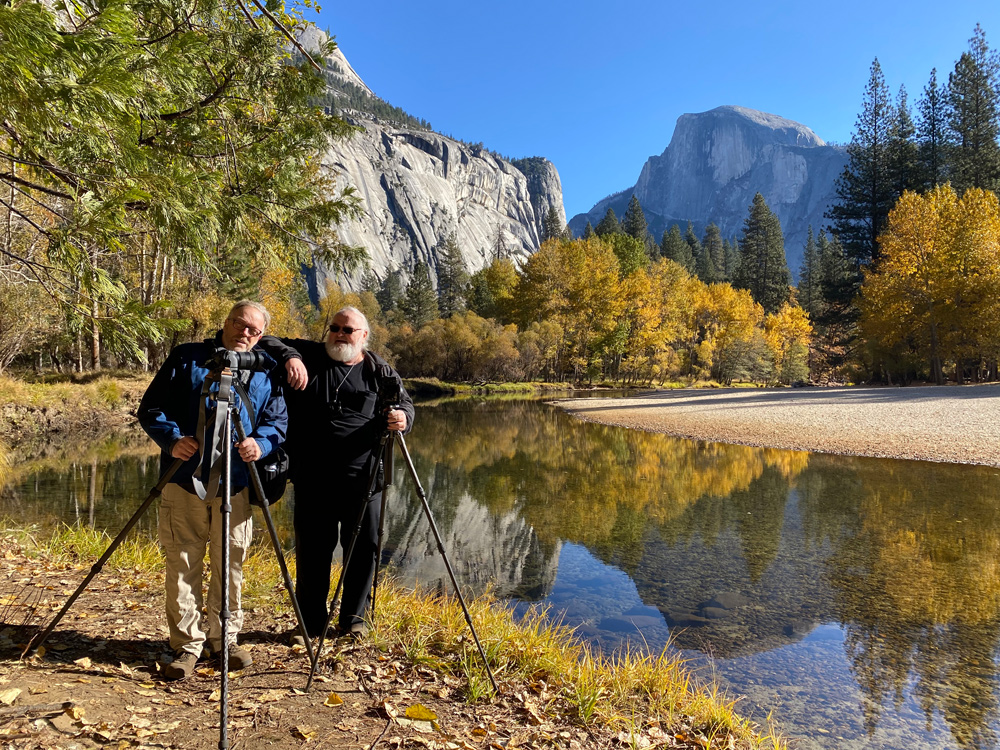
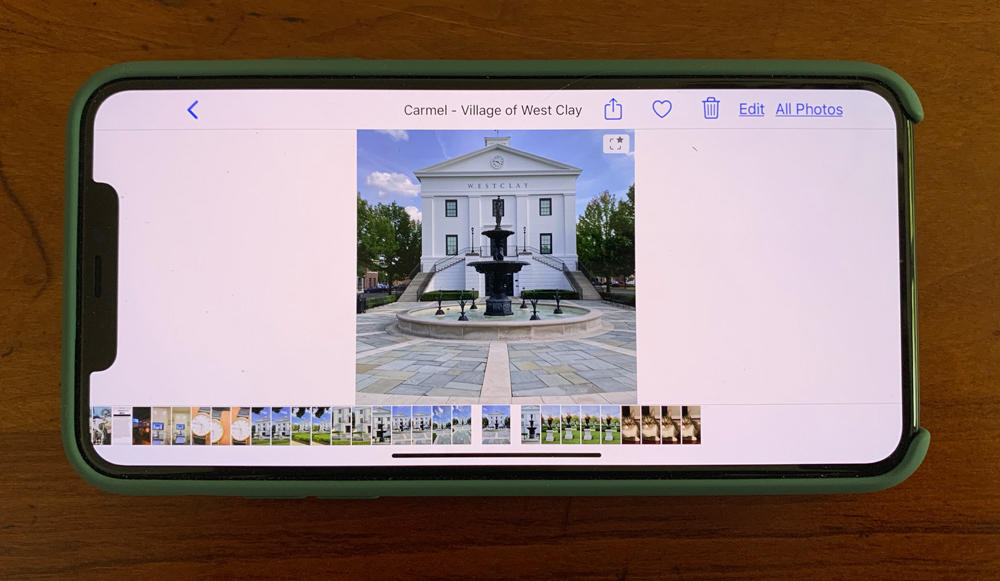
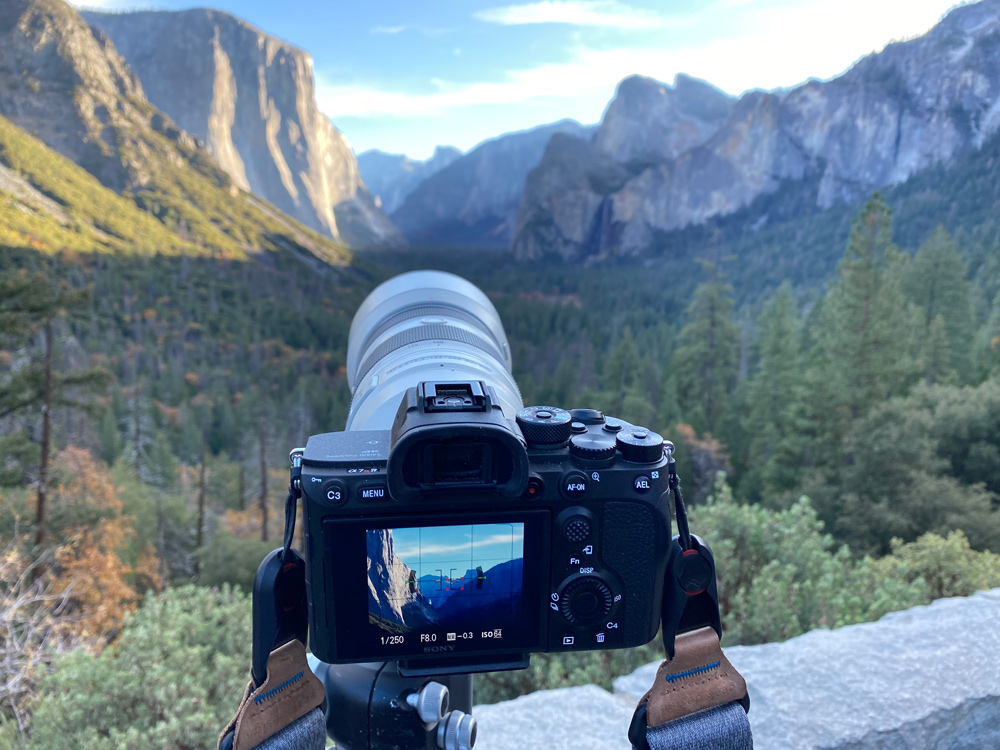
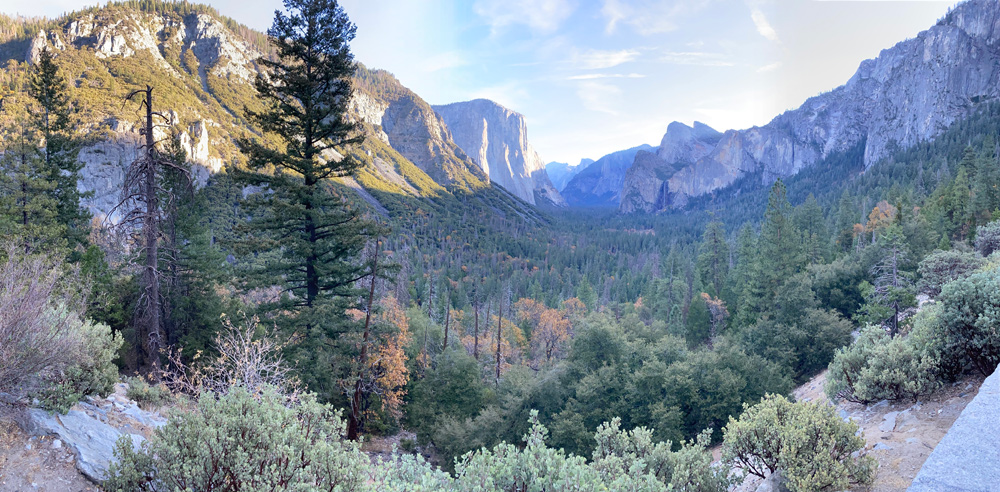
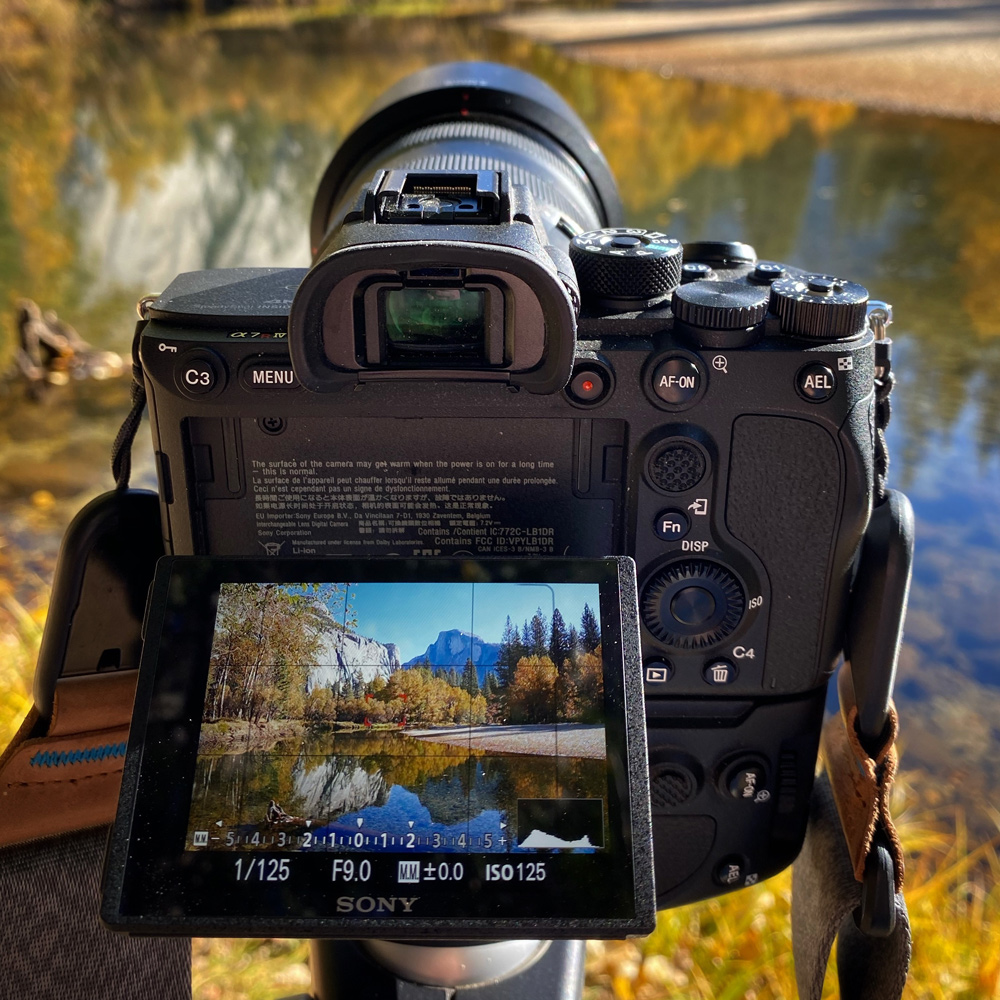
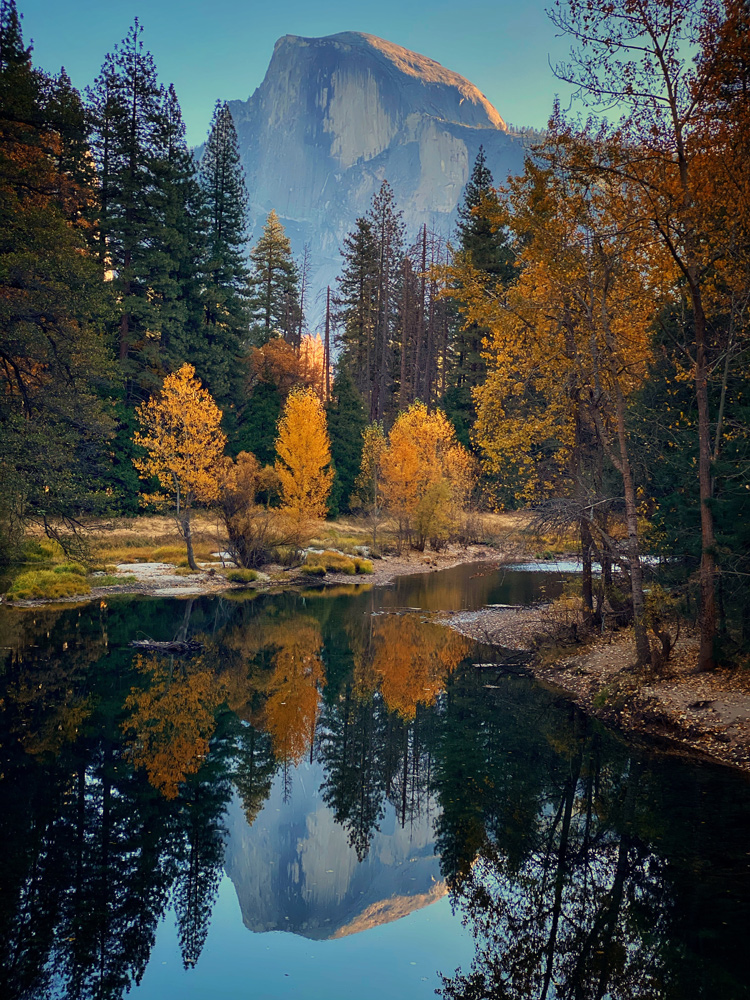
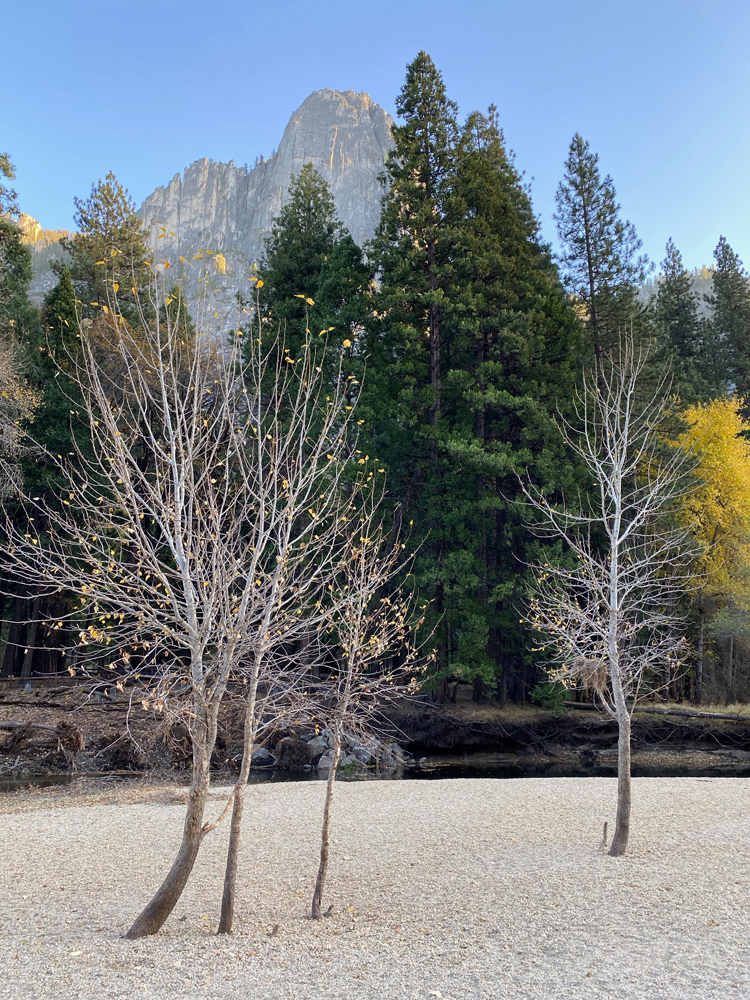
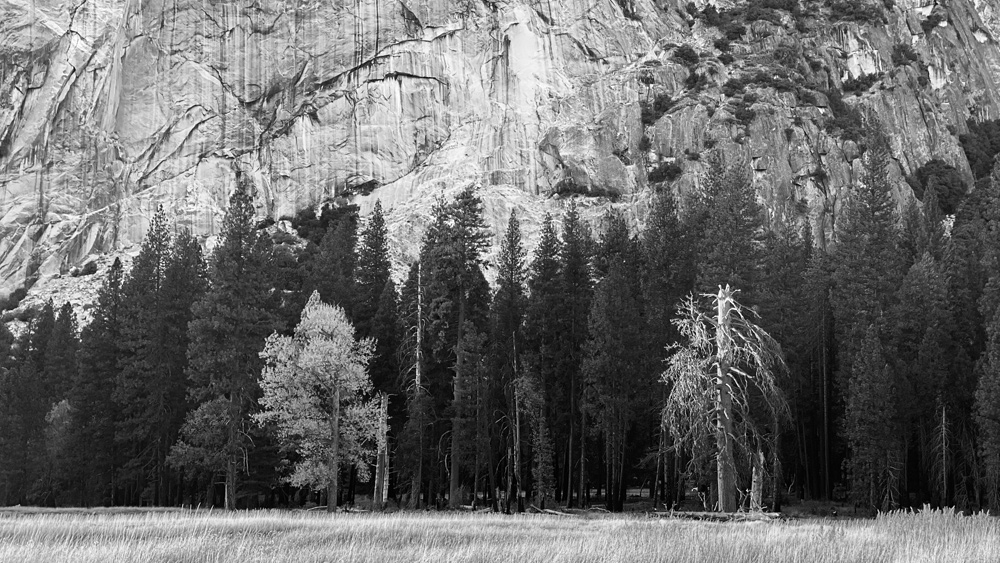
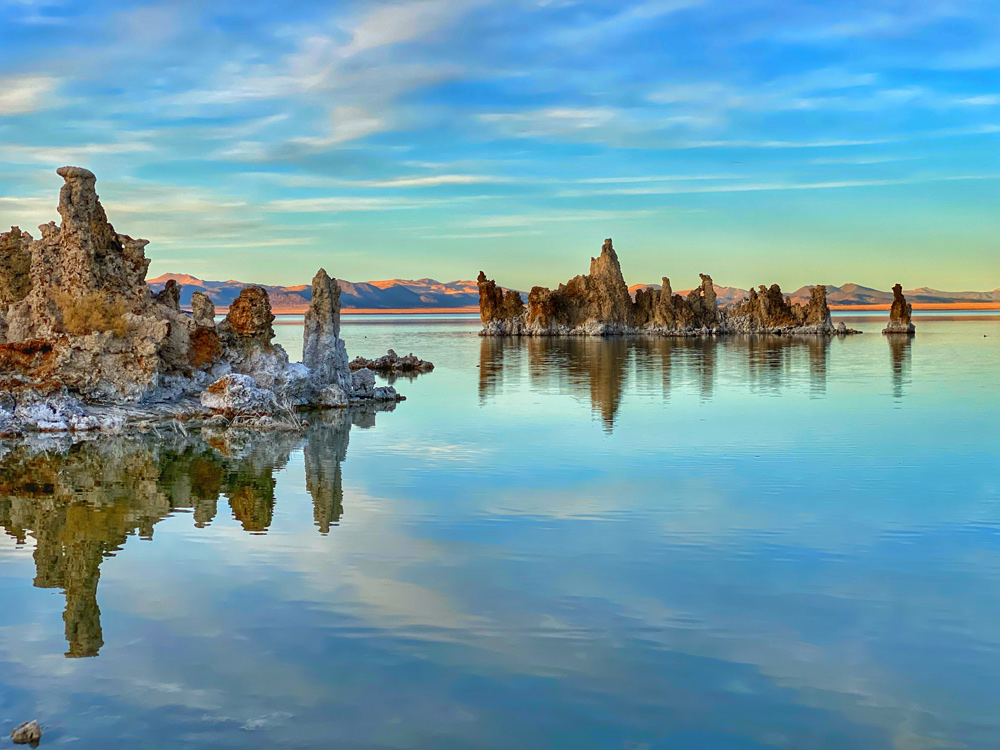
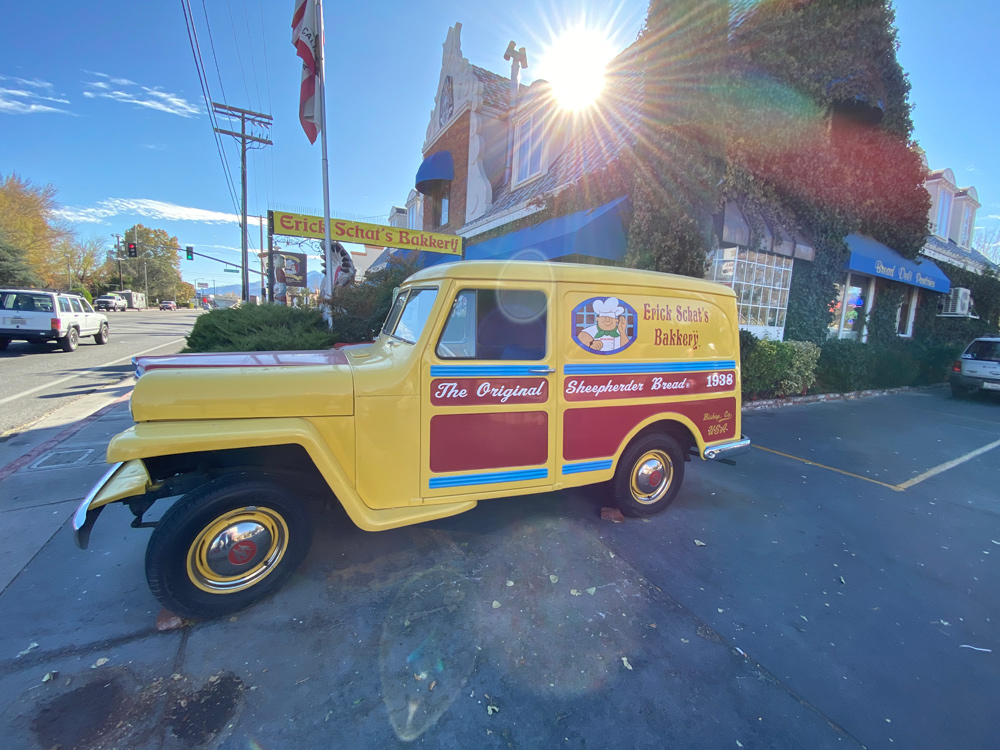
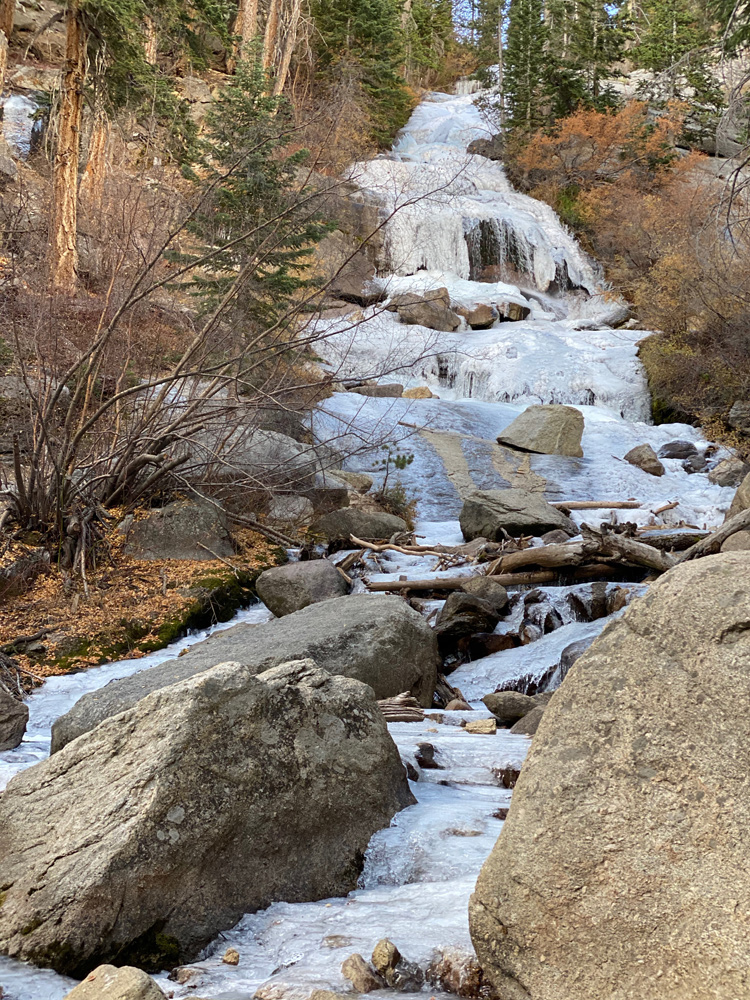
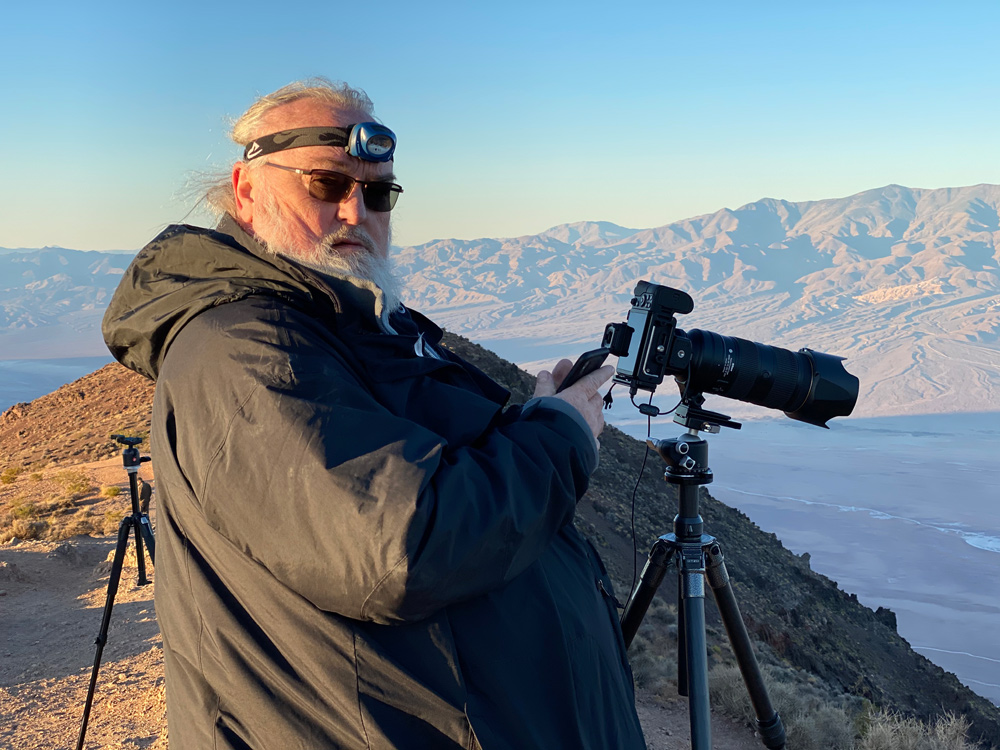
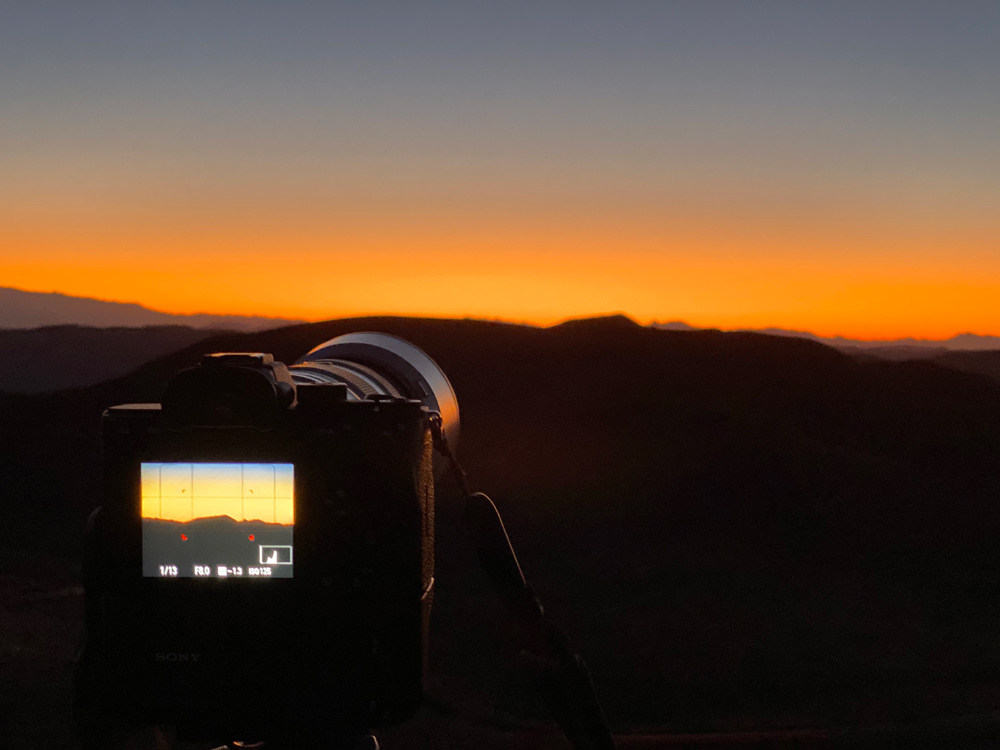
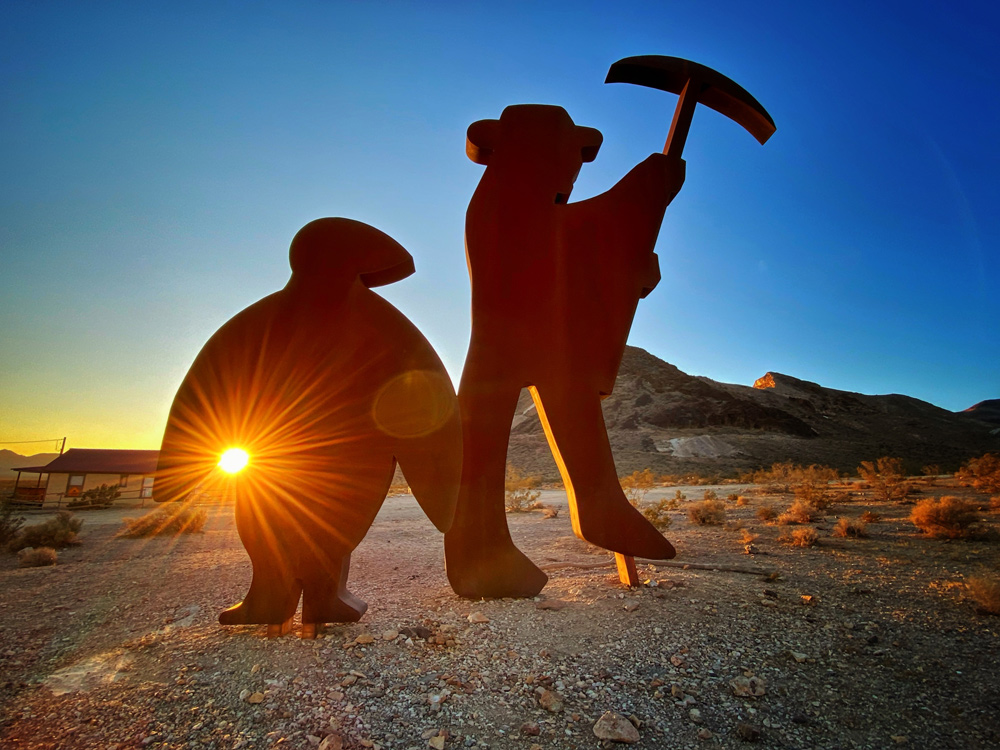
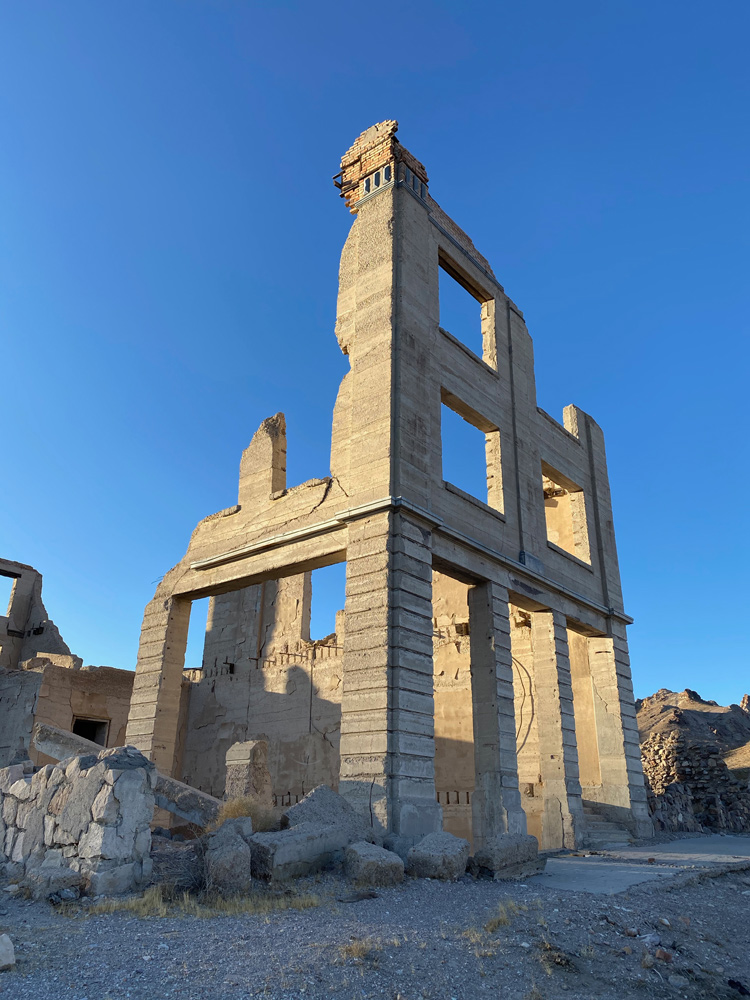
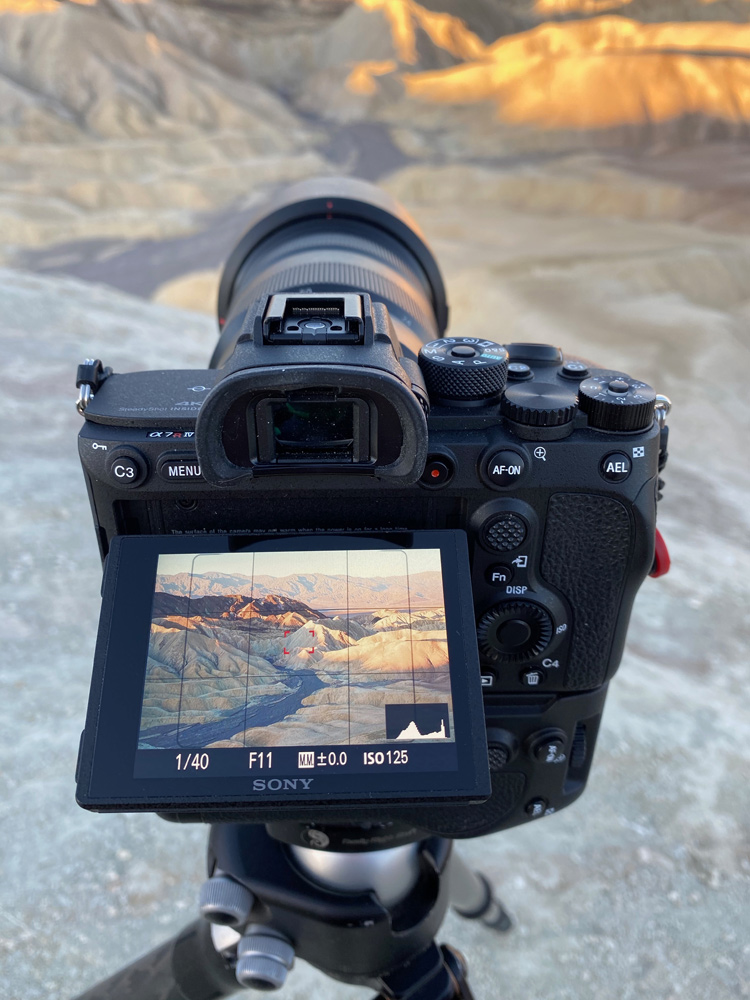
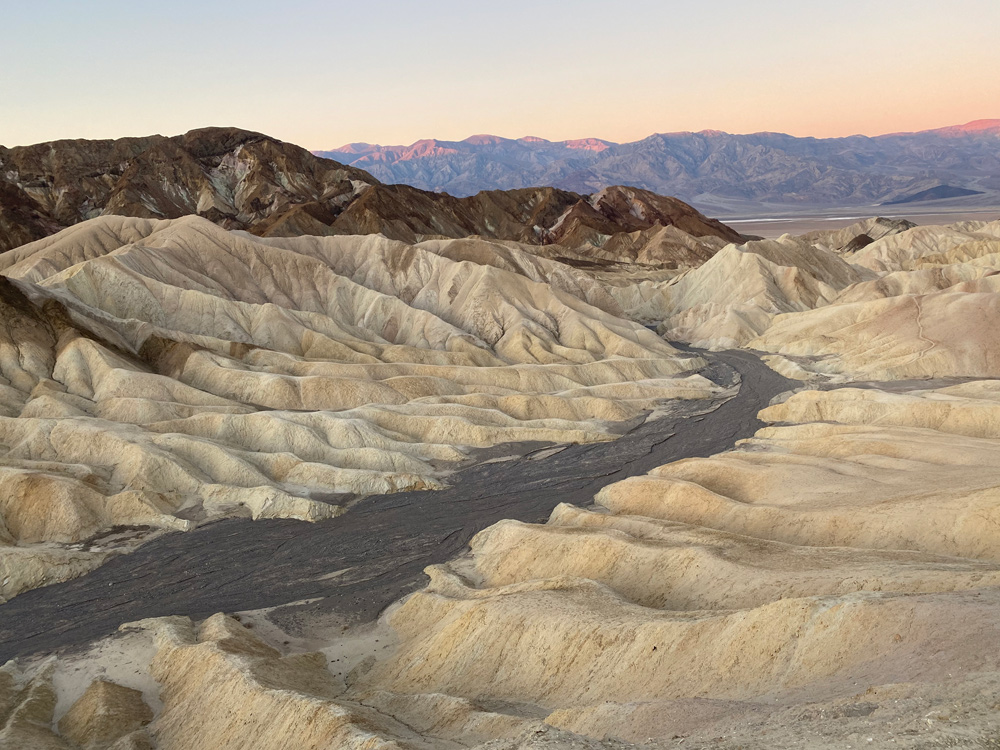
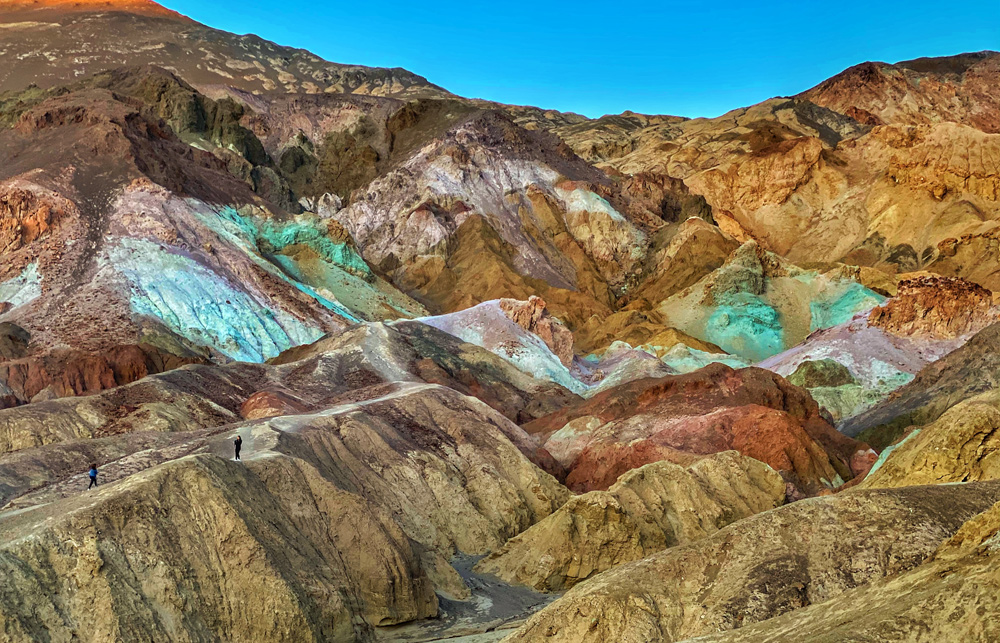
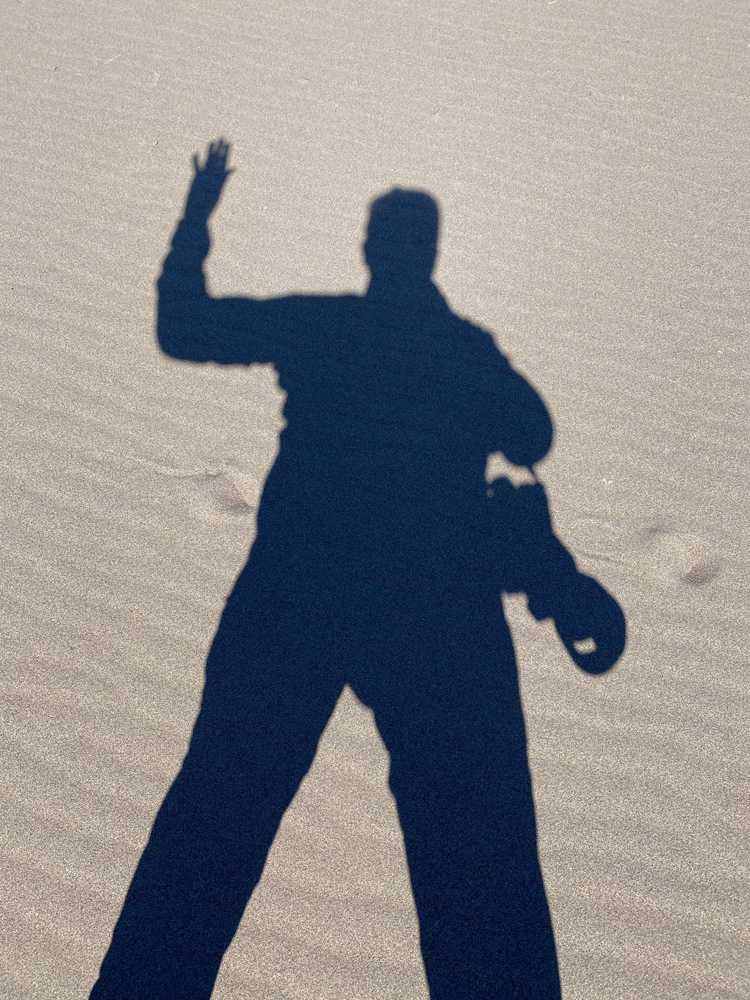
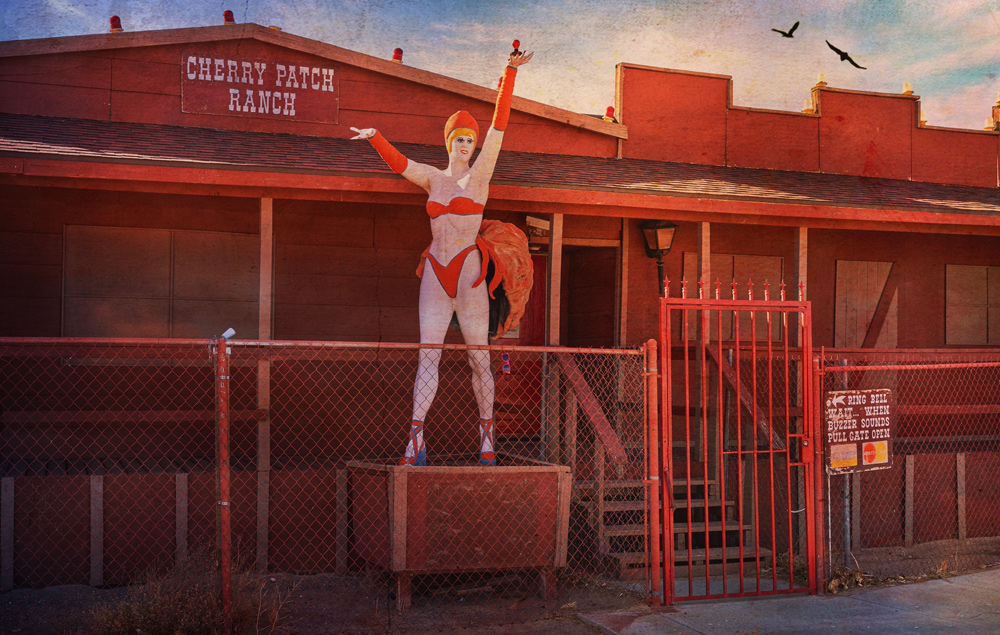
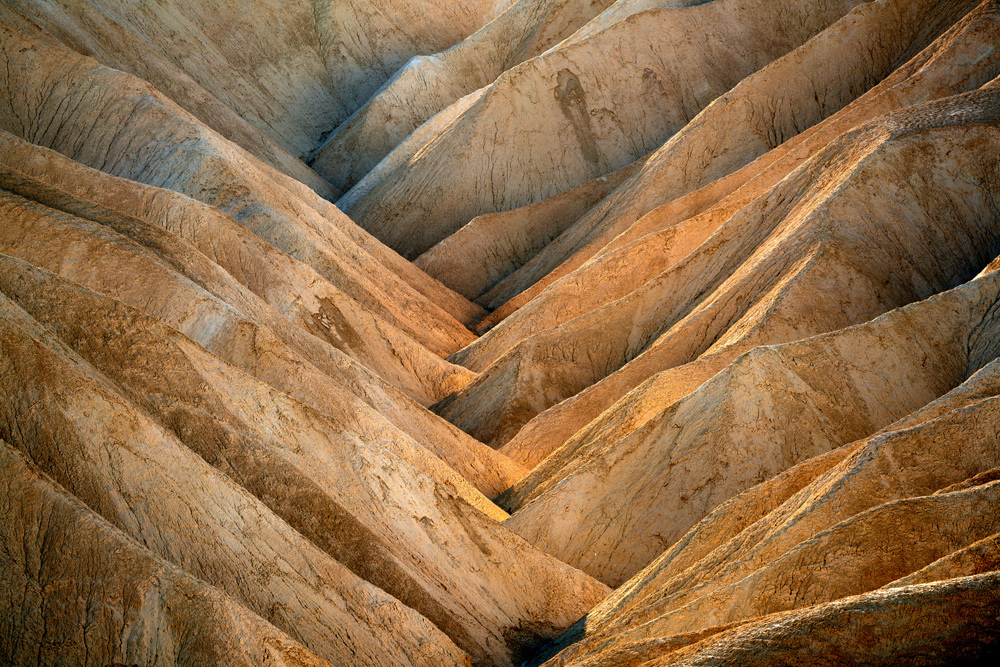
A few weeks ago, Jeff Schewe and I took a road trip together. We started our trip in Red Rock Canyon, outside of Las Vegas, and finished our trip in Reno, Nevada. Our stops for photography included Death Valley, Lone Pine, Alabama Hill, Mono Lake, and Yosemite National Park. I intended to make the iPhone an important part of the trip and use it to document the locations I found of major interest by using the geotagging feature.
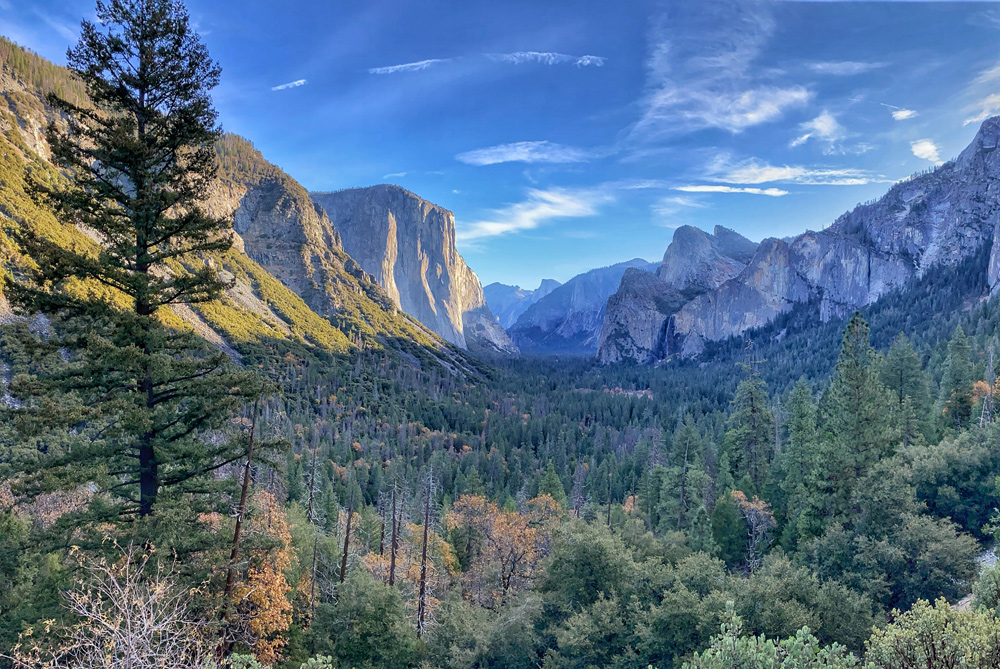
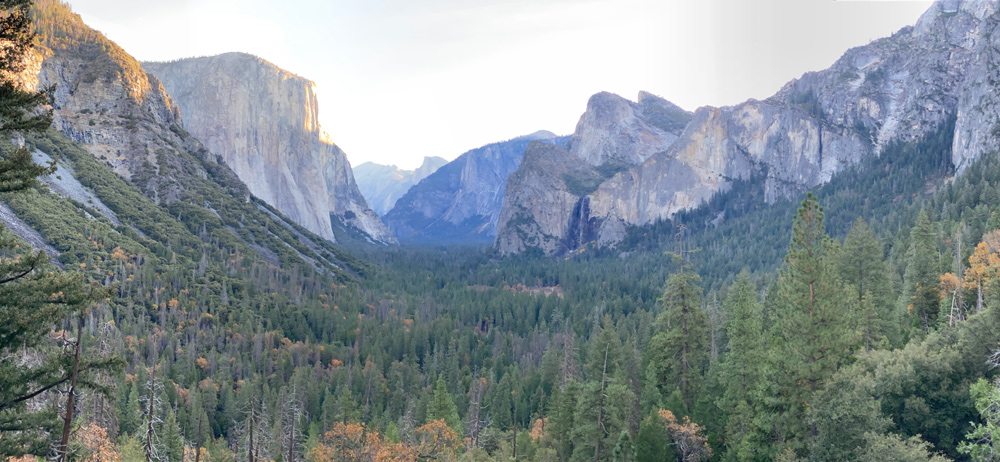
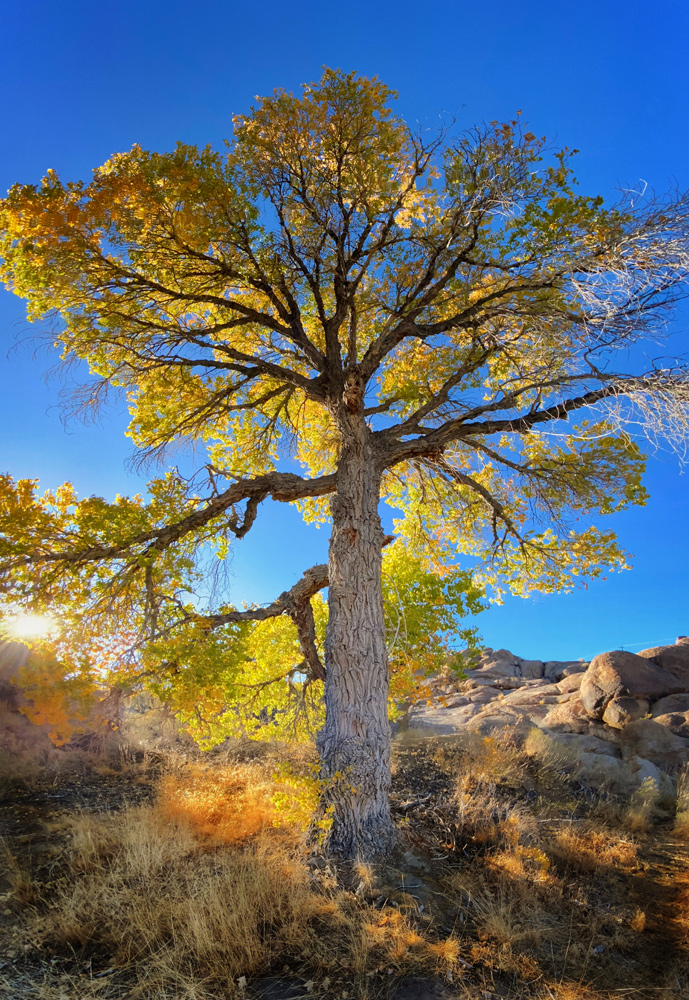
There is a small gallery below as well as some individual images. I have also included a couple of samples of maps showing where we visited and how images are shown on the map. I used the iPhone as a Polaroid in many cases. By shooting an image with the iPhone, I could take a general look at the scene and, with a few minor adjustments, get an idea of what I could do with an image.
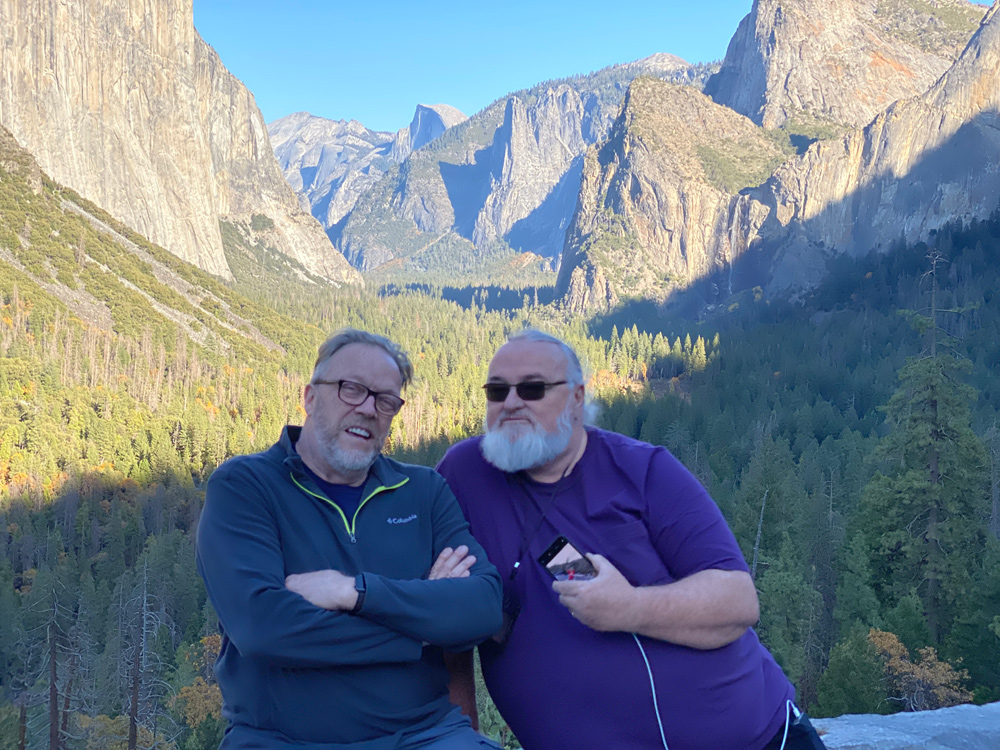
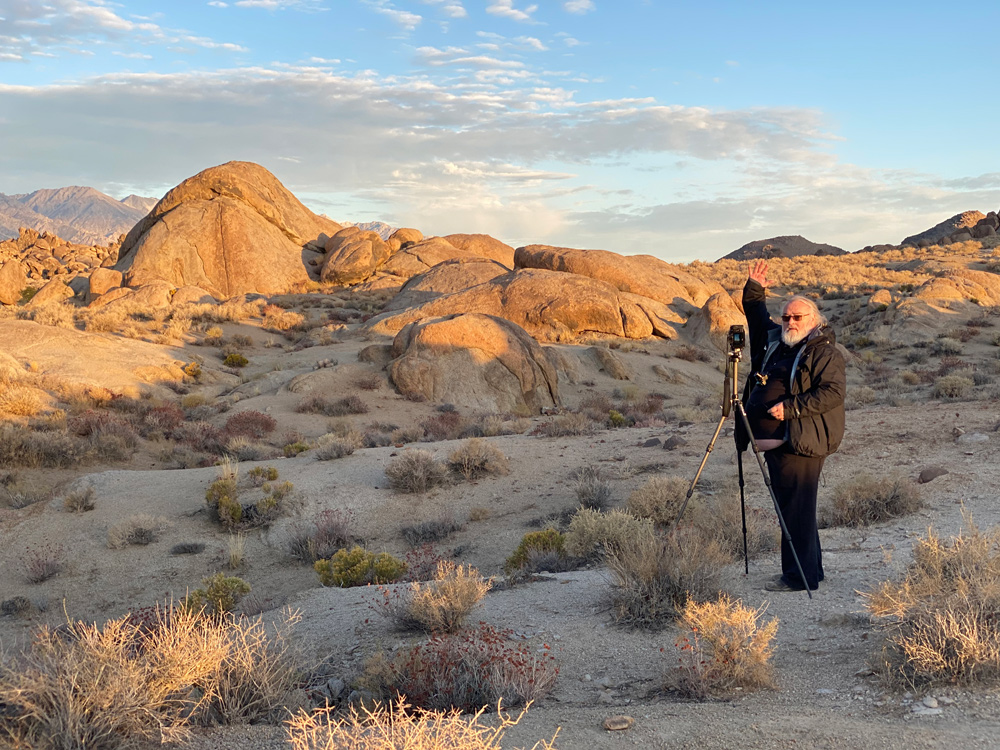
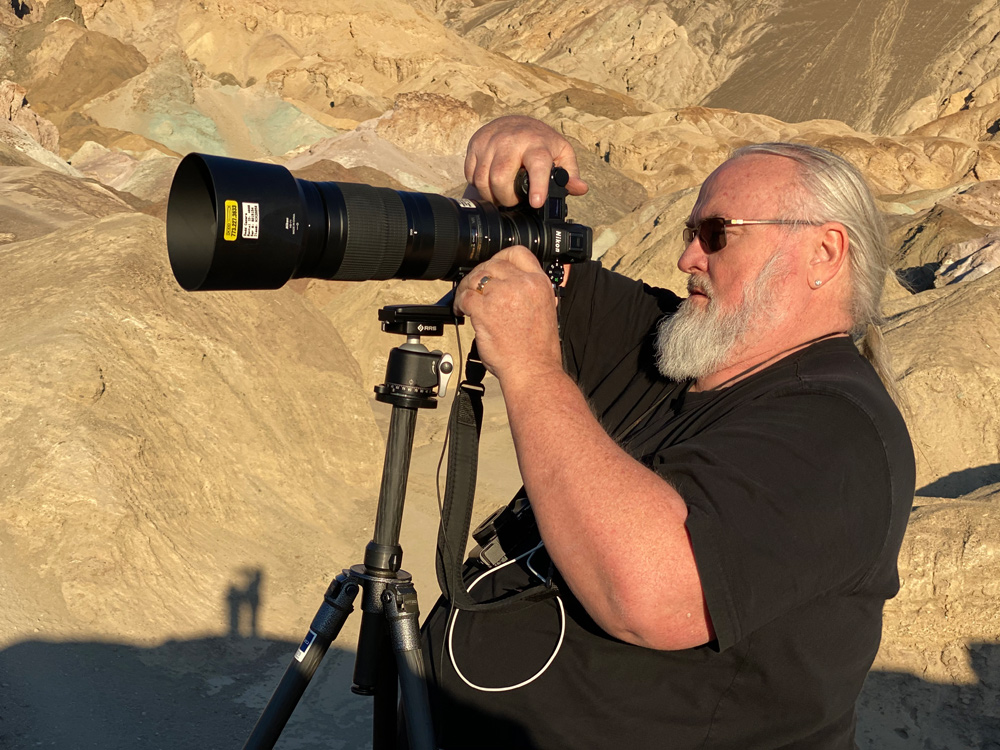
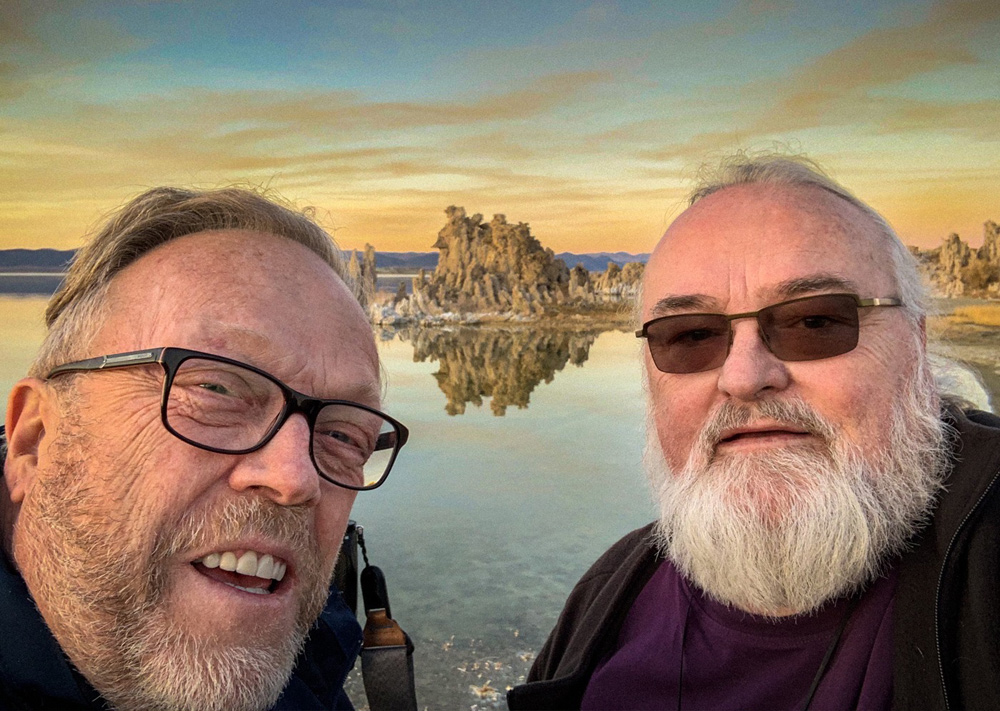
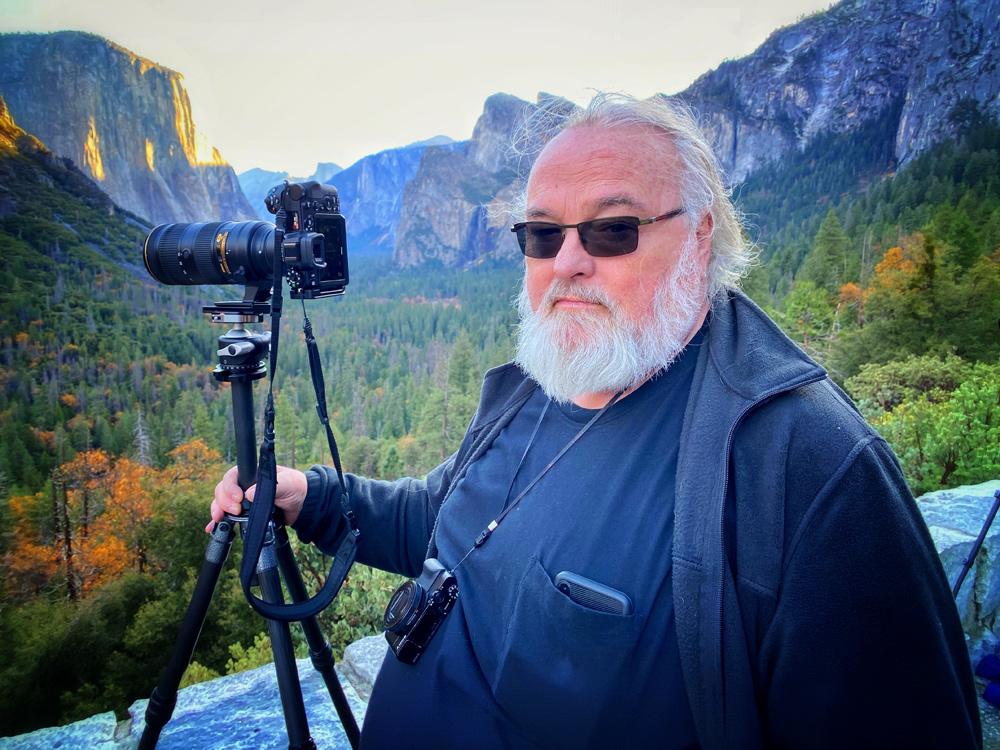
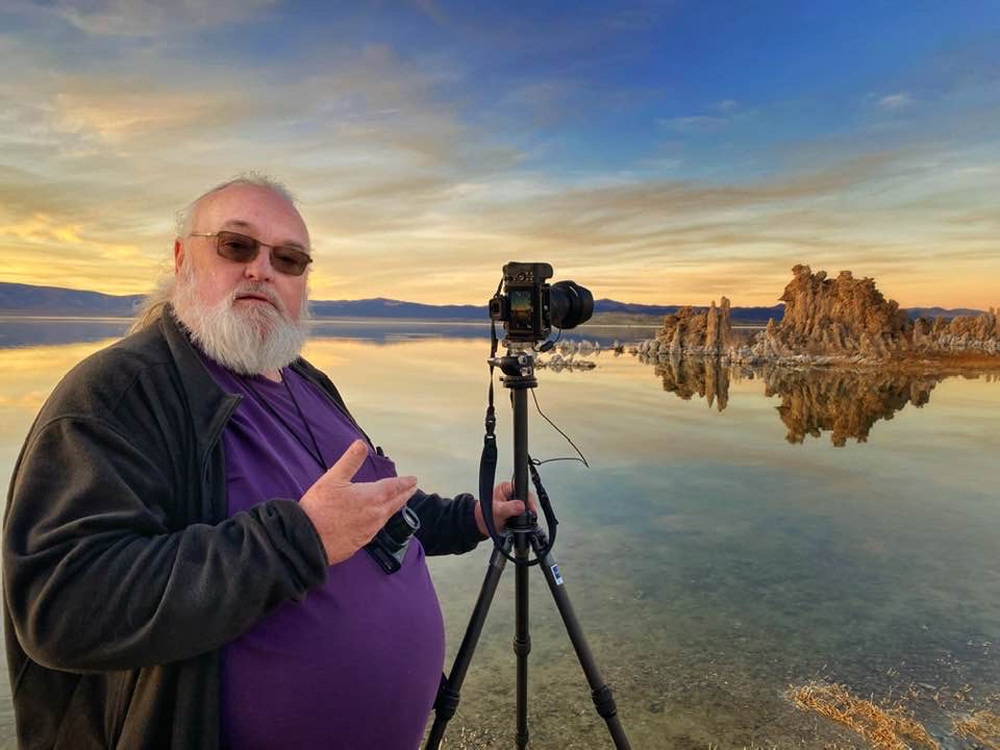
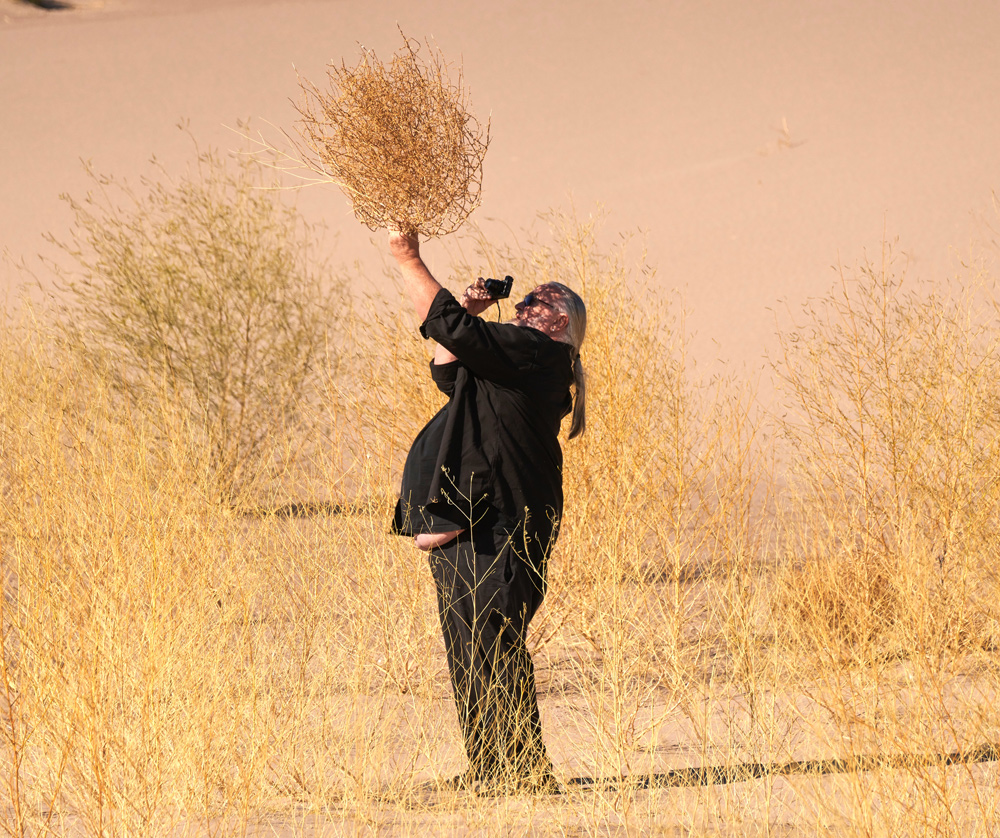
The iPhone also allowed me to take candid shots of Jeff and me or ask others to do so every now and then. Many times at a stop or in the car, I would take an image and do first adjustments in Snapseed on the iPhone and even post right to Facebook and Instagram.

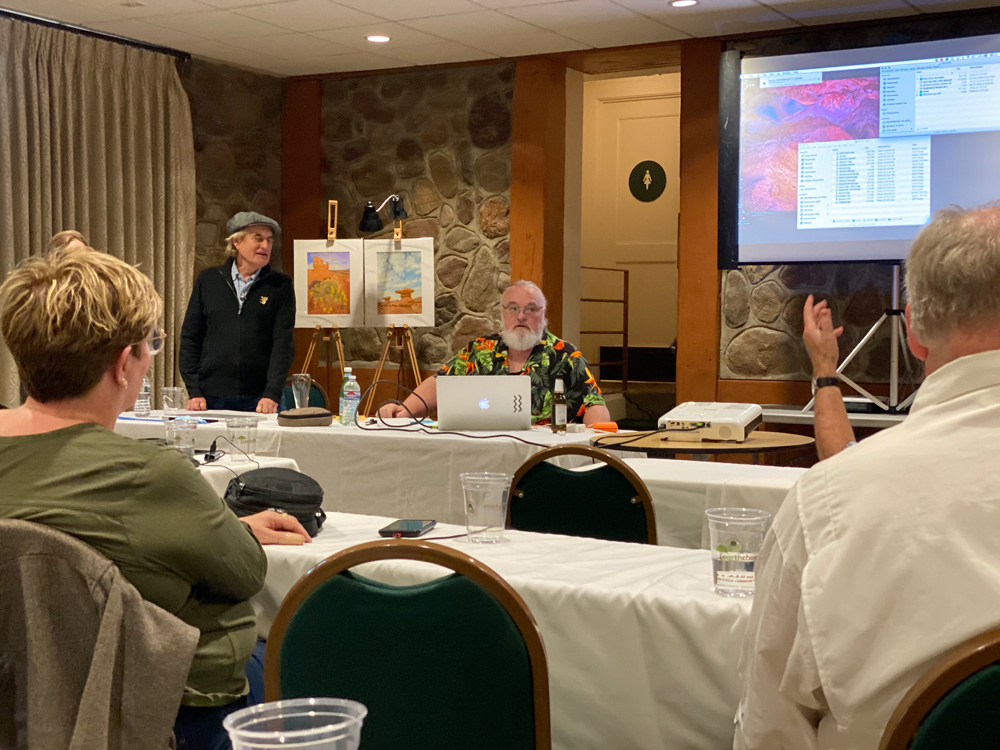


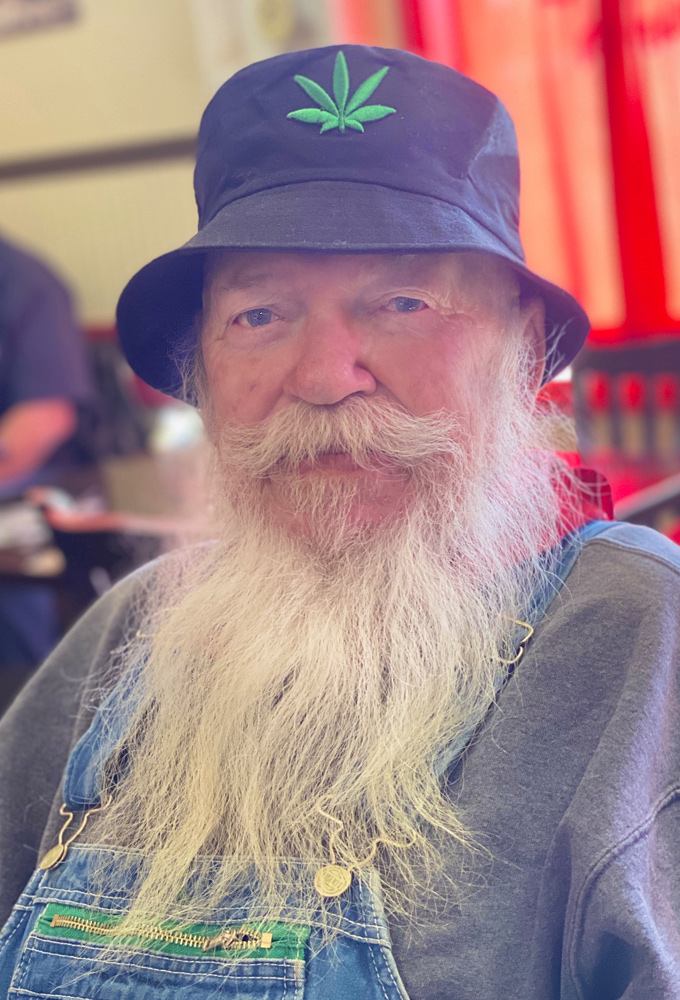
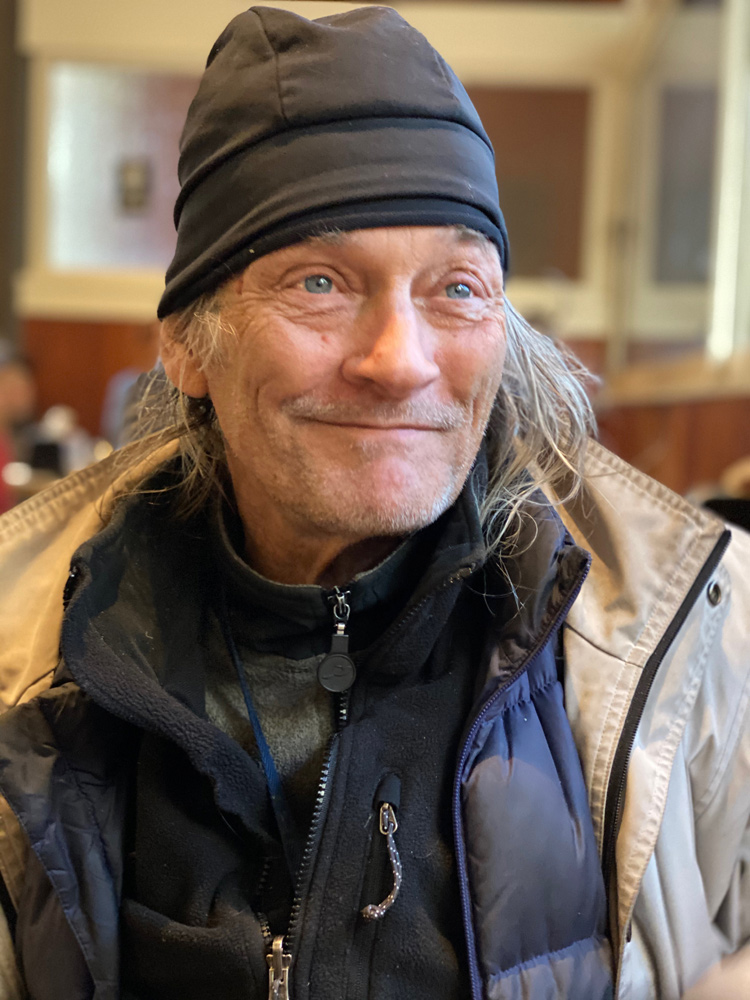


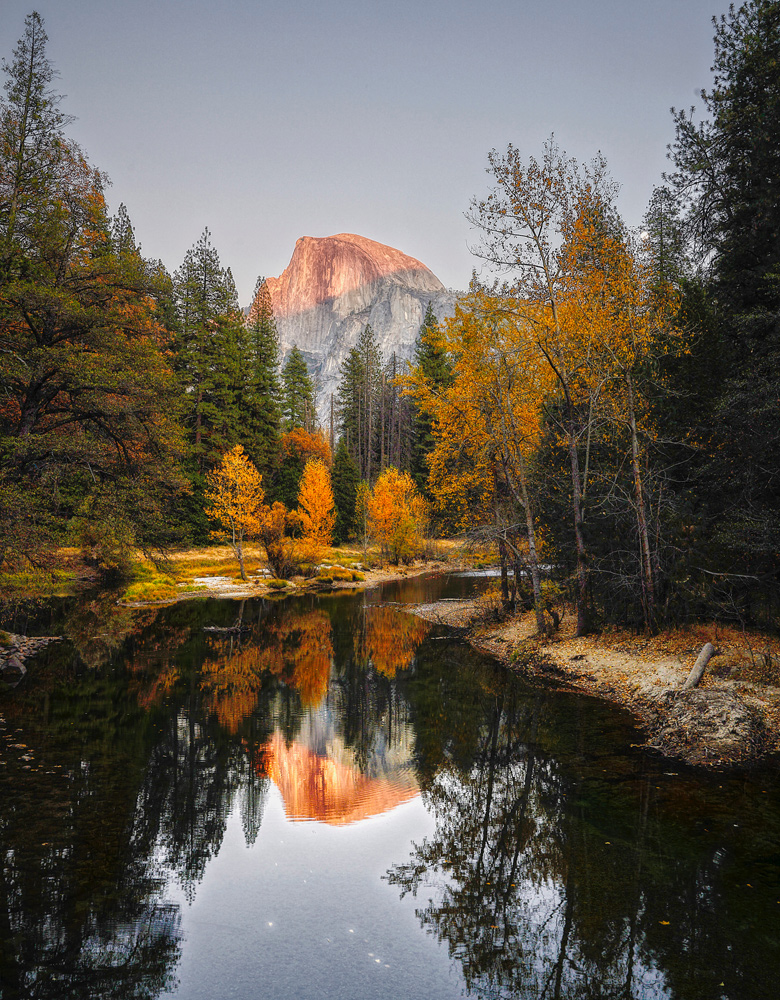
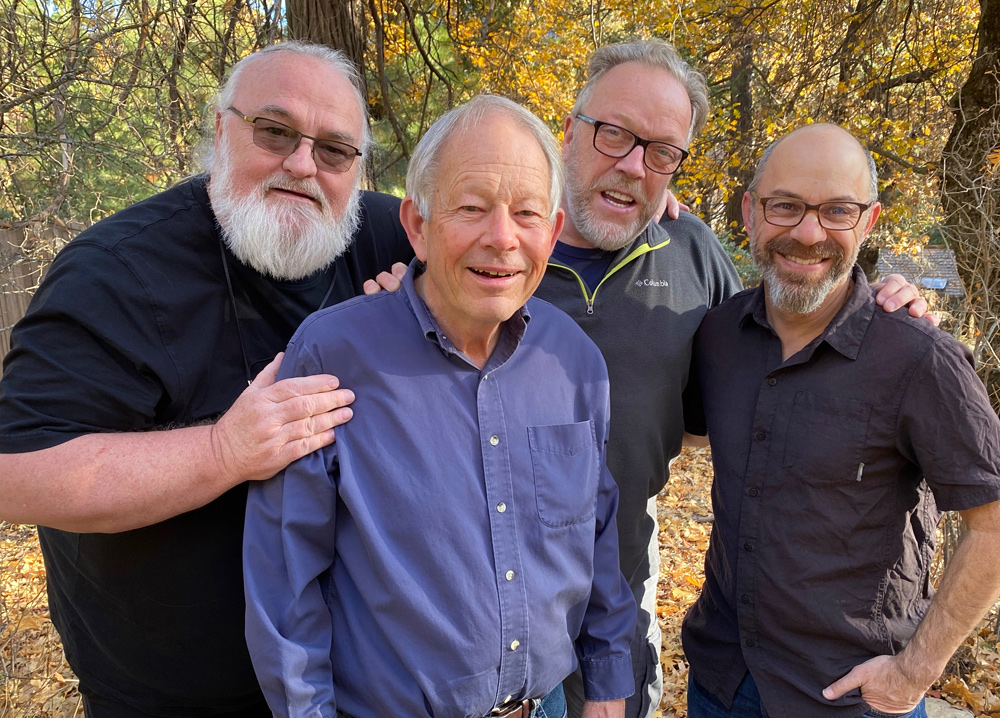
During this adventure, we bumped into a number of friends like William Neil, Charlie Cramer, David Chew, and others. It was like an old home week in Yosemite NP. While visiting Charlie at a workshop he was doing, we did a group photo and asked someone to use my iPhone to shoot a photo of the four of us. I ended up making a 17×22 of this image as you can see below with astounding quality considering it came from an iPhone. We will provide a download link soon.
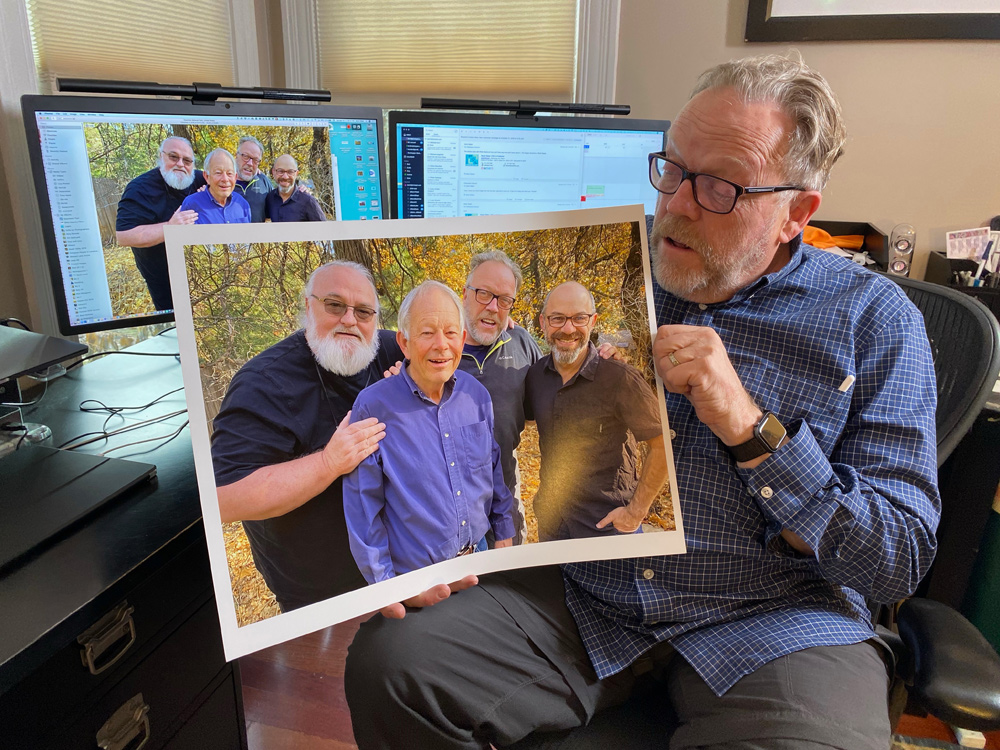
Download Two Files
One of these files was straight out of the iPhone then printed through ImagePrint. The other was sized and then printed through ImagePrint. Hard to see any differences. Go ahead try to print them through your system, and workflow.
Importing Other Images into Photos
There are times when I want to take images from Capture One output and put them into the Photos app so I can share them with others using the iPad. In this case, I make any adjustments in Capture One. Then I make an output recipe in the processing section. My specs for the recipe are set to 10 inches for the long edge at 144 ppi in Adobe RGB. You could also use sRGB, but my settings use the Adobe RGB space. I then make the selections and set a destination where I want these images to go. Usually, I name a folder on the desktop something like “Transfer Pics to Photos App.”
I then open up the Photos app on my Mac and select and drag those images over the Photos App icon. The Photos app then imports them. I select the images in the Photos app and drag them to a folder where I want to see them.
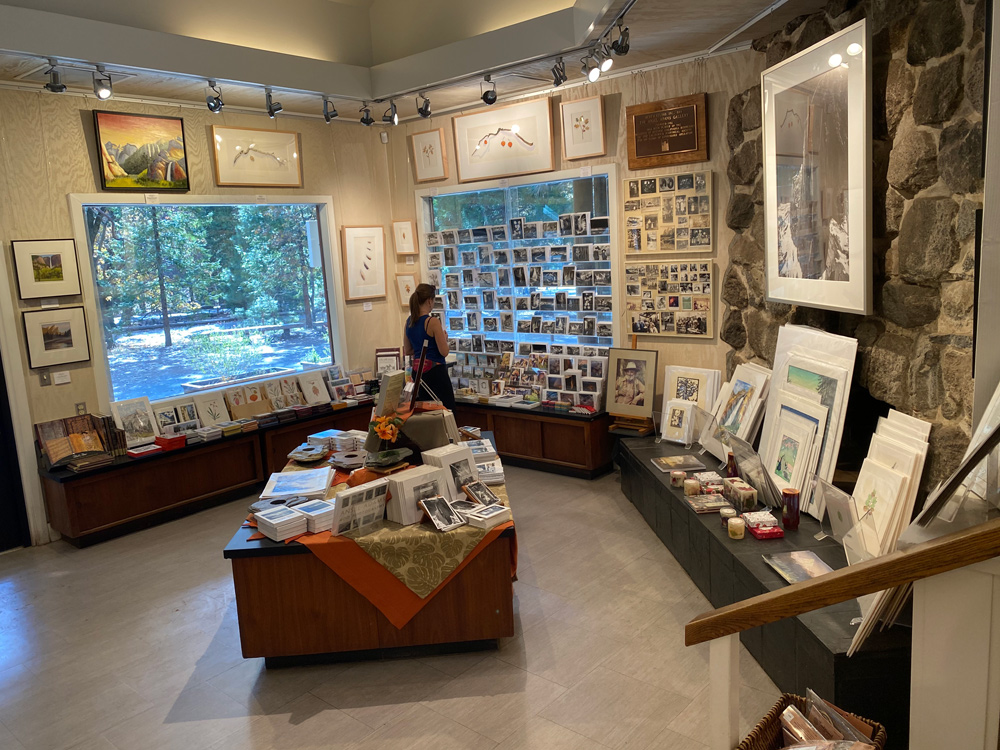
Now I have my favorite images on my iPhone and iPad. This makes it easy to share them anywhere as well as use them in social media. It is also helpful to have them because many times I meet with gallery owners or friends and customers and share my newest images with them. I must note, though, that location metadata is not part of these images since there was no geotagging done by the other cameras I use in the field.
Making Prints
I already shared one way to make prints using the Epson Picture Mate. However, there are many times I want bigger prints. I’m all about the print, and I don’t want to be limited in the print sizes I make. So I did a test and made several 13×19 prints as well as 17×22 prints, and they look great. It’s pretty cool that these phones will allow big prints like these.
My procedure was to export the images I wanted to print to my desktop. There, I dragged the files into Photoshop. I opened up the Image > Image Size and the original size from export was 56×42 inches at 72ppi (4000×3000 pixels at 72ppi). I then resized these to 22×16.5 inches at 300ppi (or 6000×4950 pixels at 72ppi).
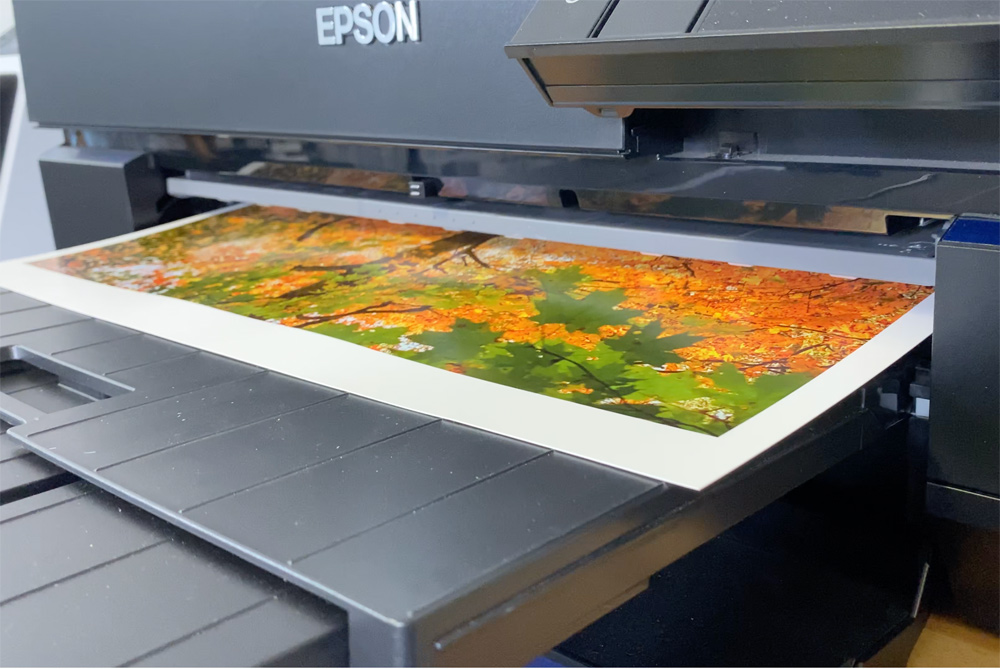
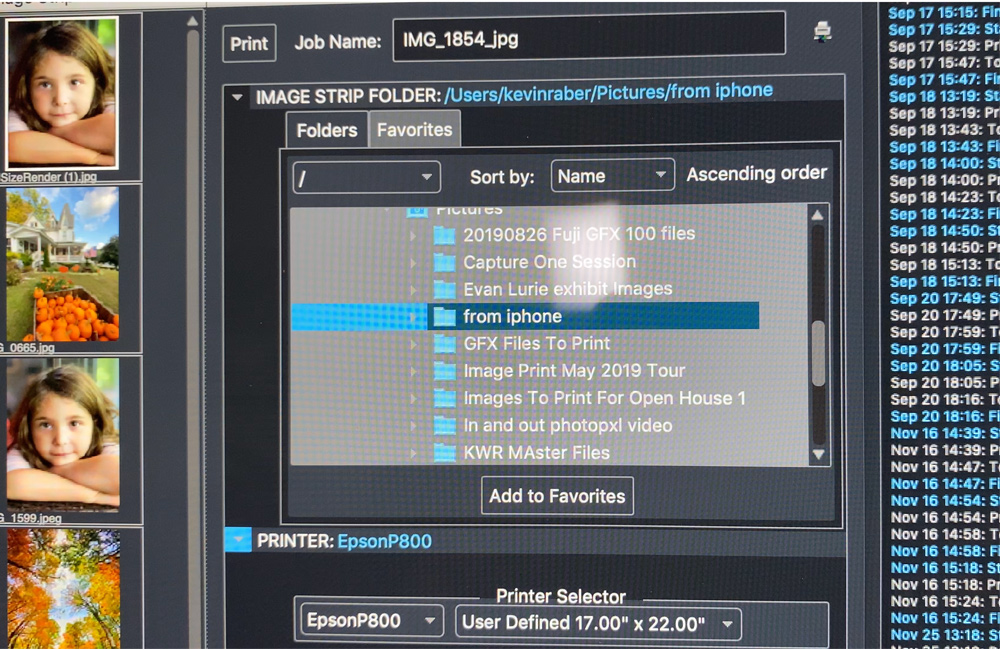
I then sent these files to my studio, where I have four different printers. Using my Epson P800, I made 13×19 and 17×22 prints. My printing workflow works through ImagePrint software by Colorbyte. I dragged the file onto the layout tool and then sized the image to have a one-inch border around the printed image. I am a big fan and user of ImagePrint. It provides the best color profiles out there and is one of the most versatile printing solutions there is. See my other articles and videos on ImagePrint here and here.
I then output these files and was I surprised. Typically, you wouldn’t think you could make prints from these files, but to my surprise, I made excellent 13×19 and 17×22 prints. I have included the files I used below as downloadable links so you can see for yourself.
Wrap-Up
I have heard from many photographers that the iPhone is not a camera. For the most part, I agreed with this. However, I had the phone with me all the time and found it handy for those spur-of-the-moment pictures or to supplement ones made with my larger cameras. The iPhone or any other mobile device doesn’t replace a camera with an interchangeable lens and the ability to control a lot of features. These mobile devices have come of age, though. In some ways, with their computational photographic capabilities, direct connections to the Internet, and the ability to produce such nice images with seemingly little work, they are turning out to set the benchmarks for other camera manufacturers.
As photographers, we can’t stick our heads in the sand any longer and say that these mobile devices are not cameras. They are cameras, and more people are taking images every day with mobile phones than by any other method. These mobile devices have become an industry disrupter. They have already made the compact camera segment outdated if not extinct. They do great 4K video, challenging big systems, and with the number of apps available, they allow people to do more with their images than one could ever have dreamed about.
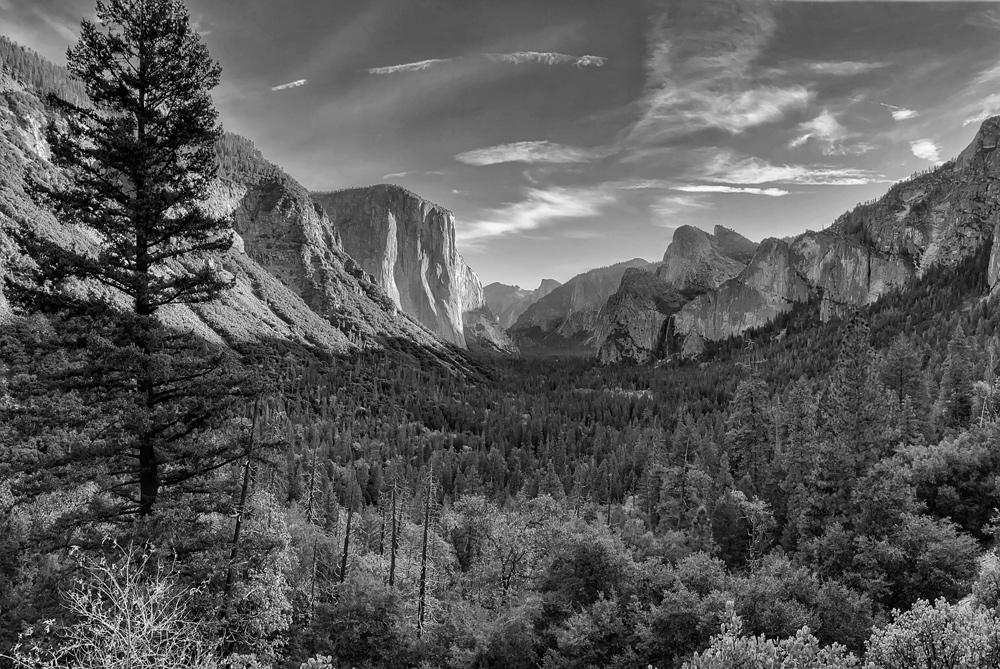
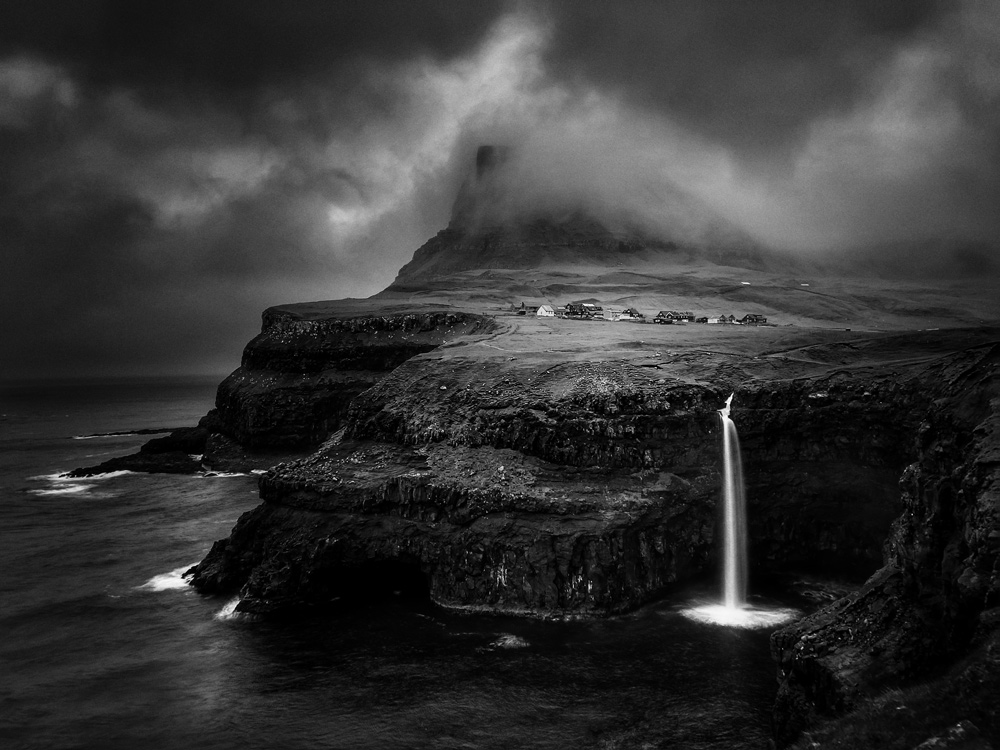
Adobe has a new camera app (Adobe Photoshop Camera) in beta right now that does some amazing image captures. I have been blown away by how much fun this app is. There is another app called Hydra that I used on a recent trip to the Faroe Islands. I wanted to make an image of the famous falls there. I did a few great shots with my Sony a7r iii with ND filters. I needed a tripod and a bit of fussing to get things right for a good exposure. After I shot the images with the Sony, I got out my iPhone camera and selected the Hydra app. This app takes several images and then blends them together. It was amazing. Below you can see the original image from Hydra and then the final image after I took it into SnapSeed, edited it, and converted it to BW. In the end, I had a 32mp image. The 17×22 print I made from the file was amazing.
The bottom line of all this is that I have a camera with me at all times that’s capable of producing great images. It’s fun to use, and it’s even more fun to mess around with the images in any one of the different apps that are also on the phone. The images sync up to the cloud and then sync with all my devices. I can share images instantly and easily make prints with my Picture Mate as gifts or to share with friends and family.
The ability to shoot wide-angle, normal, and slightly telephoto makes this camera (phone) even more useful. If you haven’t checked out the new iPhone, you owe it to yourself to do so. This is just one more tool for me to make better images. It’s also one more reason why I love photography so much. It’s always changing, and right when you think you have seen it all, something new comes along to make it more fun.
Please check back as we will add some download files in the near future after we work out the issue with the software.
Kevin Raber
December 2019
Indianapolis, IN
Photography is my passion and has been for 50 plus years. My career in photography has allowed me to travel the world, meet some of the most interesting people on the planet and see things I could never have dreamed of. My goal is to share the passion of picture taking through photographs and teaching with as many people as I can, hoping it brings them as much joy and happiness as it has me. I do this through photoPXL.com, this site, as well as Rockhopper Workshops, and other projects, as well as teaching as Artist In Residence at the Indianapolis Art Center.