The Reduction Method In Landscape Photography
If you think about how we ‘make a photograph’ and then compare it with painting or drawing, you soon realize that the two disciplines are diametrically opposed in their construction and method of expression.
With painting or drawing, you start with an empty canvas and then express your ideas through adding marks or paint to it. You don’t paint in all the things that are distracting or unimportant to the expression of your idea. You just ignore them and they don’t exist in your expression. With painting, things don’t have to appear the way they exist. You can add things in from another scene, at another time. You can turn them around or simply just reconstruct them to suit your expression.
With photography, you start with a full canvas, with everything in it. Whether you want it or not. The process from there is to work out what you want to say and then somehow leave out what isn’t important or what is distracting from what you wish to say.

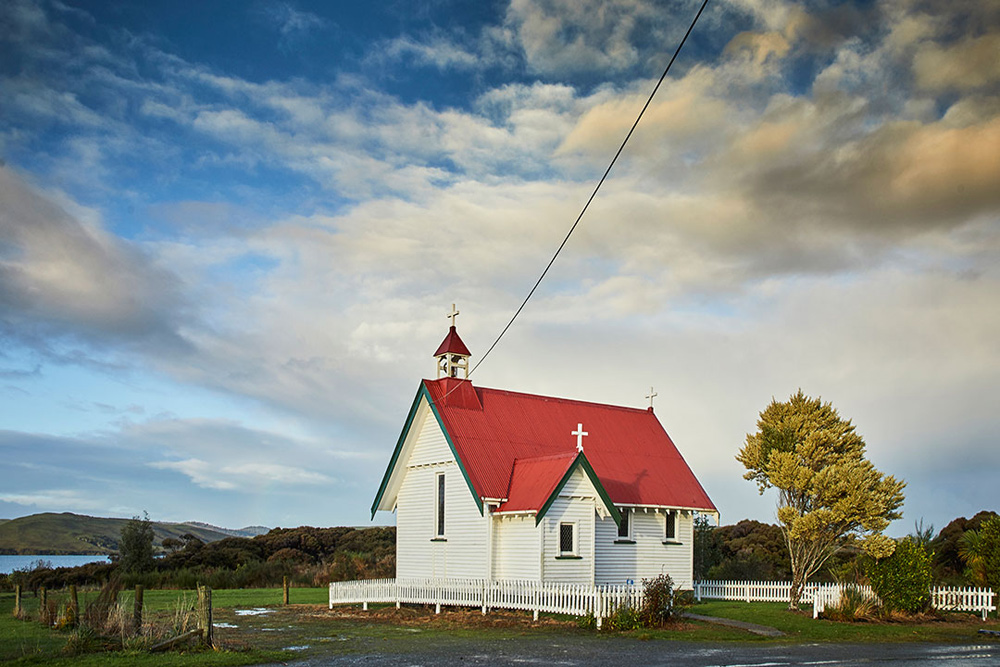
excluding unnecessary information, creates a much stronger composition.
This process starts at the time of shooting.
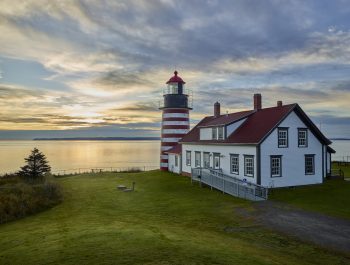
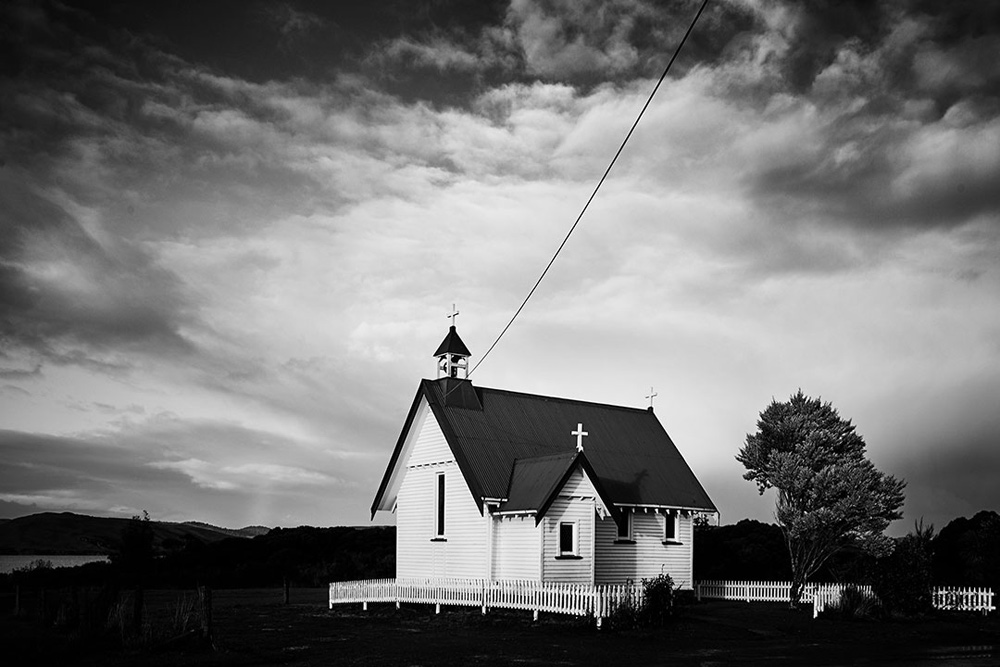
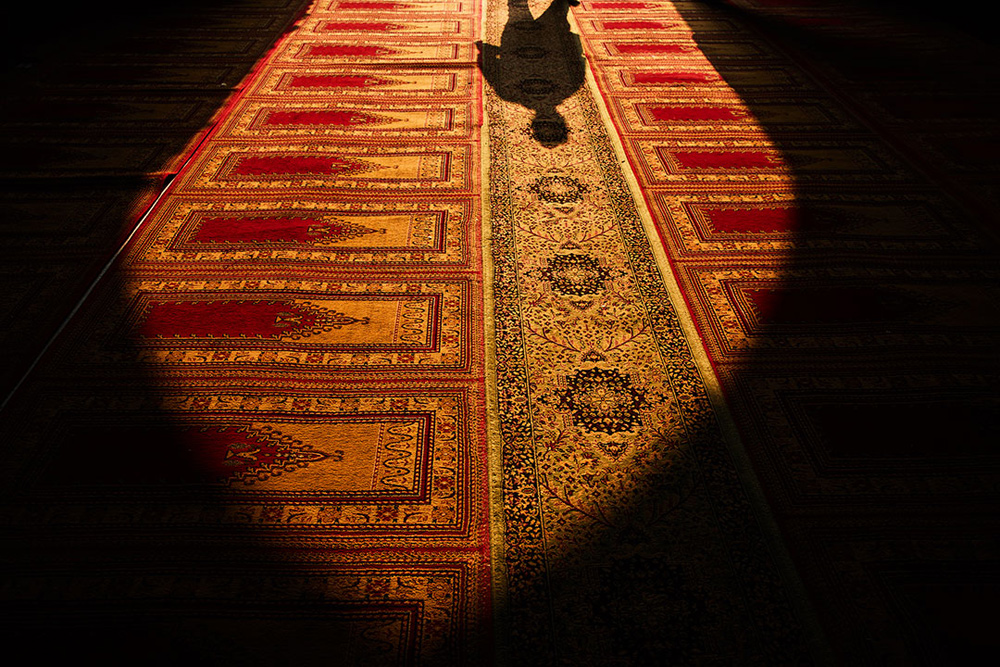
First, select a scene that interests you. It could be just the light and the way it falls on the landscape that is of interest. The way it creates a feeling a depth or roundness to a scene. Occasionally it is the lack of light and the way what little light there is, illuminates just a single subject.
We see these things first with our mind. It’s only after a period of analyzing (seeing) that scene, that we start to notice all the distractions there are around the subject, things that dilute the purity of that first thought.
We explore the subject by moving our feet and walking to a point where the subject separates out from the clutter that surrounds it. Or we walk to a point where the light falls in a more expressive manner.
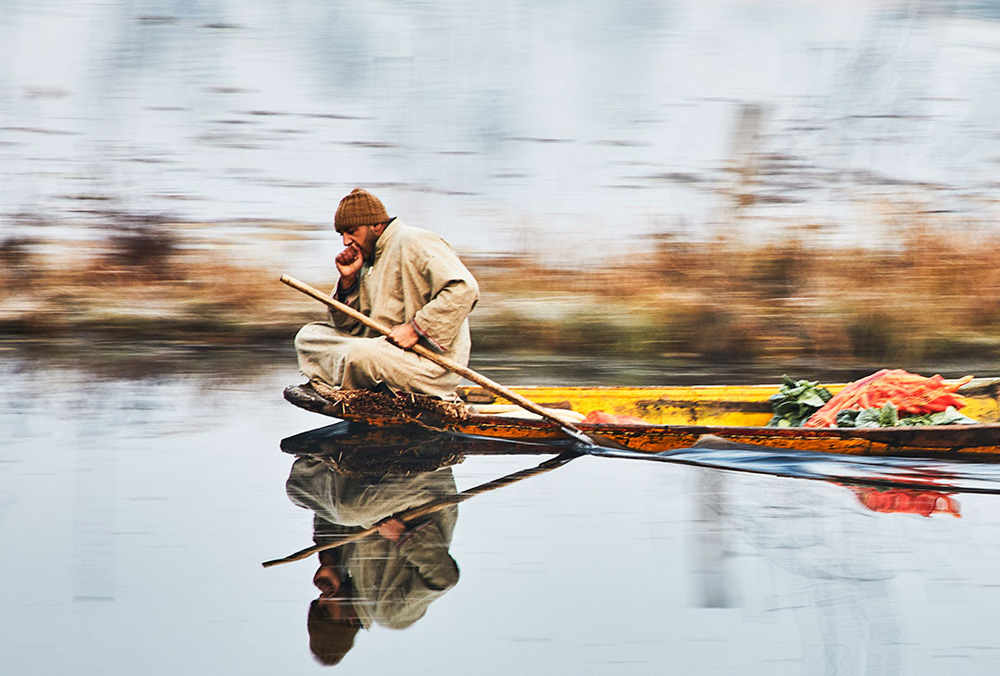
We then think about lens choice and which lens makes the subject stronger, with less clutter. We also explore aperture and which one best isolates the subject from the background or alternately puts the subject in harmony with the background. Shutter speed is also part of this expression. Which shutter speed is best in isolating the subject from the background. Does a sharp subject and a blurred background by panning with the subject reduce the amount of visual clutter in the image?
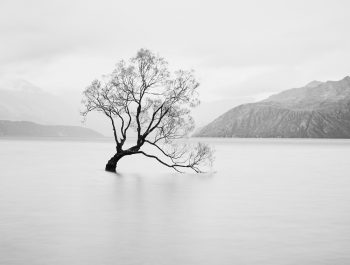
Maybe colour also isn’t important in your image and is only a distraction. Think about changing this to monochrome. You can do this in-camera using your picture style select, which will make your JPG capture monochrome, or you can do this later in Photoshop. It’s always good to at least have a look at this option, as it does tend to make your image more graphic and textural and less cluttered.
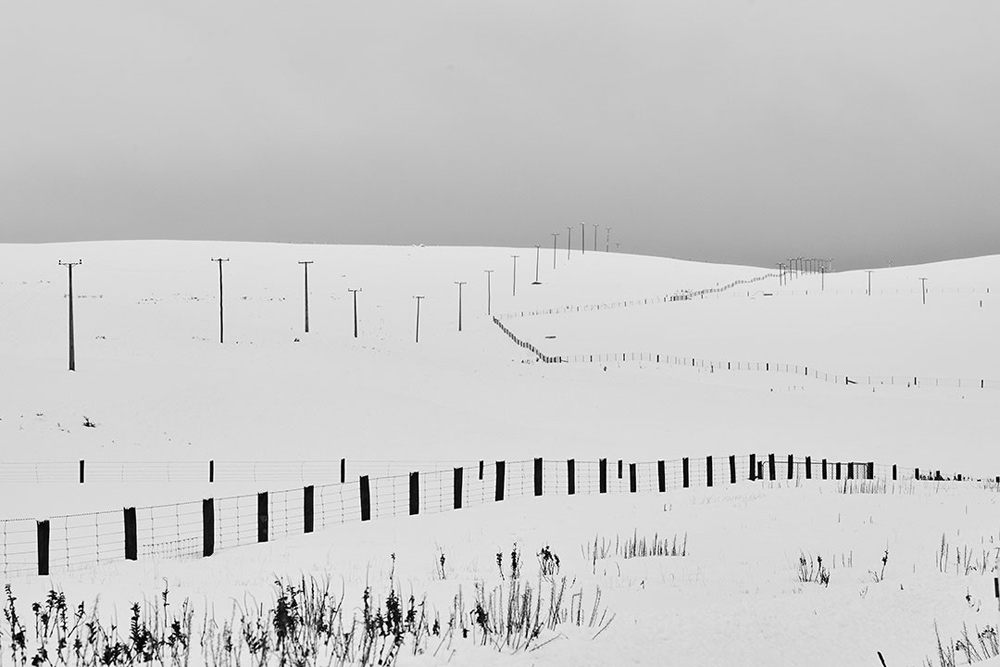
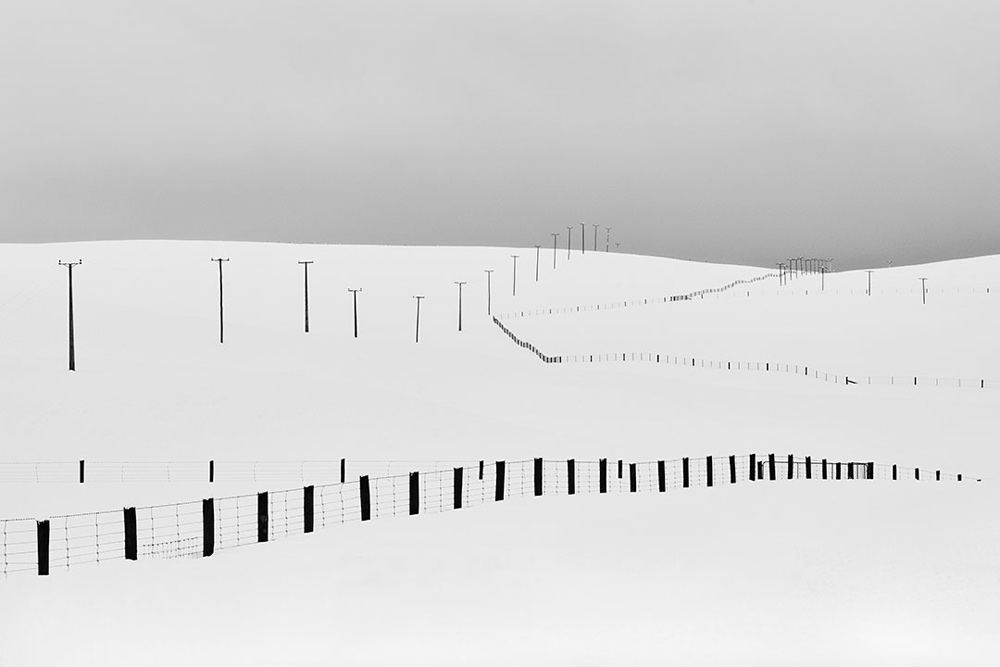
Michael Kenna has a great answer to this reduction method, in that he photographs the landscape when it is the most minimal, which is when it is mostly covered by snow. I like this method as well.
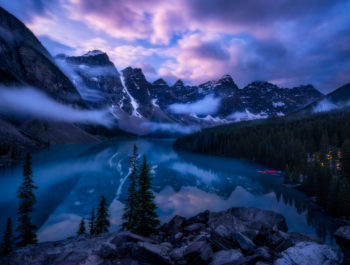
Sometimes it is impossible to get rid of all the clutter that exists in your image, even if you are prone to doing a little bit of gardening before you shoot, by physically removing items such as branches, leaves, and bits of rubbish.

the subject. Reduction can be used effectively in many different ways.
When this is the case, you then need to progress to some post-production, ie ‘Photoshop’, and delete all those problematic distractions by cloning them out of the scene altogether.
Even after we have made an image we still have several opportunities of reducing the scene down by the reduction method. You can reduce what is in your image by cropping when you first process your image. You can do this again when you print your image. If you find yourself putting a picture on the wall which is still full of visual cutter, then it means you have failed yourself many times.
There is a saying that my wife Jackie has and is very aware of when making her images, and that is to:- ‘Allow for imperfections in your search for perfection, as that’s where you will find the things that are the most interesting’!
My interpretation of that statement is that you need to recognize when to stop removing things from your image, as it’s very easy to go too far. Instead of making your image stronger, you can end up making it empty and boring.
Remember the adage of ‘Less is More’ when making those clean minimal landscapes that make your jaw drop due to their pure simplicity but it’s also necessary to keep them interesting.
Ultimately it comes down to the art of ‘Reduction’
Mike Langford
November 2019
Twizel, South Canterbury
Mike is a New Zealand born, multi-award winning international landscape and travel photographer. He has been a professional photographer for over 35 years and an International Awards judge and lecturer for 25 years. Mike’s passion is travel/Landscape photography and travel book publishing, with over 26 books to his name. He is a Canon Master, Grand Master and Fellow of the Australian Institute of Professional Photography (AIPP) and a Grand Master and Honorary Fellow and Life Member of the New Zealand Institute of Professional Photography (NZIPP). He is also an EIZO ambassador.